manuals.online logo
Brands
  1. Home
  2. •
  3. Brands
  4. •
  5. Sunjoy
  6. •
  7. Lawn And Garden Equipment
  8. •
  9. Sunjoy L-AB067PST User manual

Sunjoy L-AB067PST User manual

Page 1 of 4 Version: 8912 Made in China
L-AB067PST
ASSEMBLY INSTRUCTIONS
Read all instructions before assembly and using this
product.
Care & Maintenance
Our iron components for garden accessories and furniture are finished
using a powder coating process that protects it from rusting. However,
due to the nature of iron, surface oxidation (rusting) will occur if these
protective coatings are scratched. This is a natural process and is not a
defect. To minimize this condition, use care when assembling & handling
the product to prevent scratching the paint. Should any scratching or
damage occur, immediately touch-up with rust inhibiting paint, which is
readily available at local hardware stores. Surface rust. Surface rust can
be removed easily using a very light application of common cooking oil.
If surface oxidation (rusting) occurs and no measures are taken to
correct it, the oxidation may start dripping onto the deck or patio, which
may cause damaging stains that, may be difficult to remove.
Some parts may contain sharp edges. Wear protective gloves if
necessary.
Do not play with the construction of the pillar.
Select ideal location. Set out all parts on a clear and level surface prior
to assembly. Ideally, the pillar frame should be set up in its desired
location to avoid moving it after assembly.
Tools and Assistance. Ladder and screw driver are self-provided.
Whenever possible, assistance is preferred.
Check for damaged parts. Before assembling your pillar, check for damaged parts, any part that appear
damaged should be carefully checked to determine that it will be operated properly and perform its
intended function. Any part that is damaged should be properly repaired or replaced by a qualified
technician.
Refer to assembly diagram. During assembly, it will be helpful to referring to the assembly diagram.
Keep children away. Children must never be allowed in the work area. Do not let them handle parts and
tools. No people will be permitted to enter into work area except who is working.
In order to reduce the risk of personal injury and damage to equipment, basic safety precautions should
always be followed when assembling and using this product.
Begin the assembly at least 6 feet away from any obstruction, such as a fence, garage, house,
overhanging branches, laundry line, or electrical wires.
Install this pillar on level ground. This pillar cannot be permanently staked or attached to a concrete floor or
platform. This pillar is intended for decorative purposes only, and is not designed to withstand harsh
weather, including high winds, rain, and snow.
Verify that all nuts and bolts are tightly secured before and during use.
Page 2 of 4 Version: 8912 Made in China
Parts List
Base
A
1
Connector frame
B
1
Triangle stator
C
4
Screen
D
2
Roof frame
E
1
Decorative Frame
F
4
Top Ball
G
4
Upper Stator
H
1
Lower Stator
I
1
Hardware Pack
NO
QTY
Part Name
Photo
AA
1
M6×10screw
BB
8
M6×25screw
CC
12
M6×15screw
DD
4
M6×55screw
EE
37
M6 flat washer
FF
4
M6 nut
GG
9
M6 nut with cap
LL
4
Peg
WW
1
M6 wrench
NN
1
M6 Hex wrench
Page 3 of 4 Version: 8912 Made in China
F
i
g
,
1
F
i
g
4
Step 4: Connect Connector frame (B) to
Base (A) by M6 × 15 screws (CC), M6 flat
washer (EE) See Fig 4
Step 5: Connect Triangle stator (C ) with
Connector frame (B) by M6×55screw
( DD), M6 flat washer (EE), M6 nut (FF);
See Fig 5
Step1. Connect Decorative Top Ball (H) by
Upper Stator (H), M6×10screw (AA), M6 flat
washer (EE) and M6 nut with cap (GG);
Connect Lower Stator (I) and Decorative
Frame (F) by M6 flat washer (EE)and M6 nut
with cap (GG). See Fig 1
Step 2: Connect roof frame (E) and
assembled top by M6×25screw (BB), M6 flat
washer (EE) and M6 nut with cap (GG);
Tighten two opposite sides first and leave the
rest two corners during this step. See Fig 2
Step 3: Connect the left two corners by
attached the assembled top to screen(D) thru
roof frame(E). Use M6 × 25 screws (BB), M6
flat washer (EE) to tighten up.See Fig 3
Step 6: Fasten Triangle stator (C) to Connector
frame (B) as per right image.. Screen (D) by
M6×15screw (CC), M6 flat washer(EE); screw
M6 wrench ( WW )and M6 Hex wrench (NN)
tightened , but do not over tighten. See Fig 6
Page 4 of 4 Version: 8912 Made in China
Step 7: Place the assembly Pillar on the grand
fasten by Peg (LL); then it is completed. See Fig 7
E

Other Sunjoy Lawn And Garden Equipment manuals

Sunjoy L-BB050PCO-1 User manual

Sunjoy

Sunjoy L-BB050PCO-1 User manual

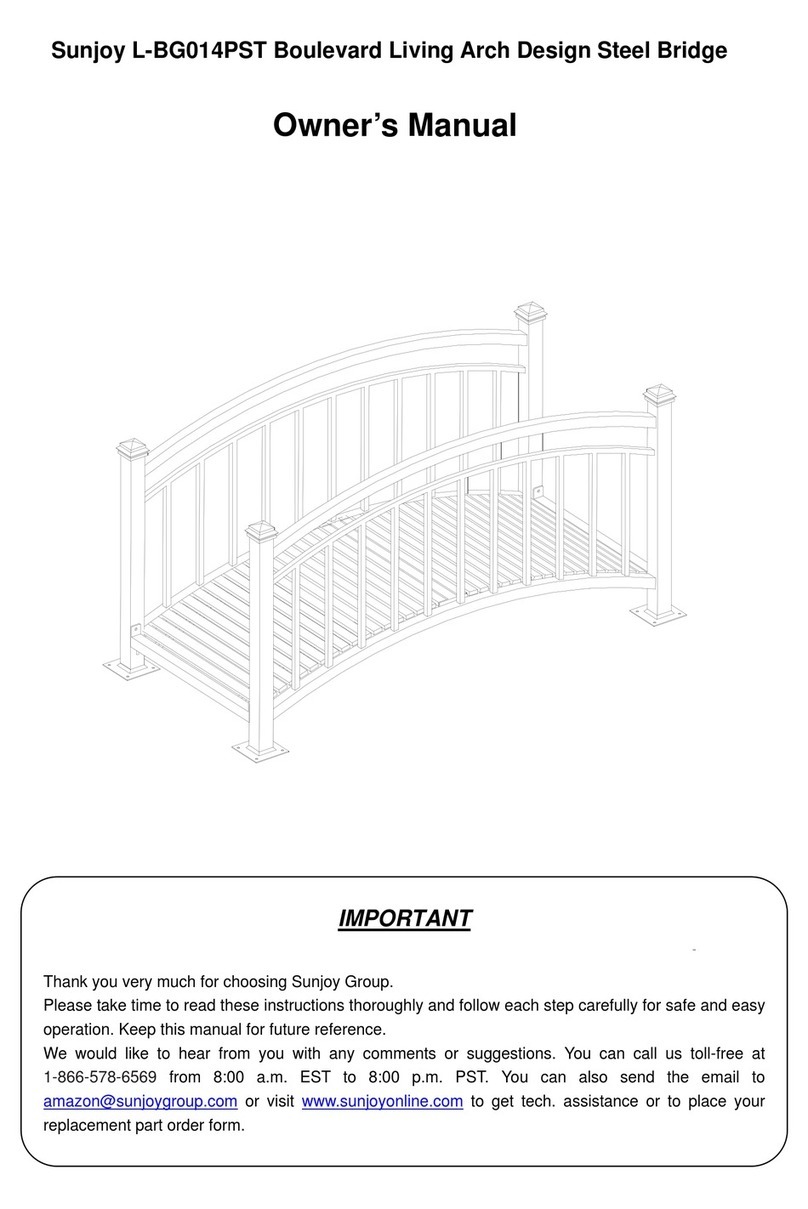
Sunjoy Boulevard Living Arch Design L-BG014PST User manual

Sunjoy

Sunjoy Boulevard Living Arch Design L-BG014PST User manual

Sunjoy Davis Pavilion User manual

Sunjoy

Sunjoy Davis Pavilion User manual

Sunjoy L-PG096PAL User manual

Sunjoy

Sunjoy L-PG096PAL User manual

Sunjoy Hardtop Pavilion User manual

Sunjoy

Sunjoy Hardtop Pavilion User manual

Sunjoy Patriot L-AB215PST User manual

Sunjoy

Sunjoy Patriot L-AB215PST User manual

Sunjoy L-PS158PST-5 User manual

Sunjoy

Sunjoy L-PS158PST-5 User manual

Sunjoy TJW24C-RM User manual

Sunjoy

Sunjoy TJW24C-RM User manual

Sunjoy L-PG080PST-W User manual

Sunjoy

Sunjoy L-PG080PST-W User manual

Popular Lawn And Garden Equipment manuals by other brands

Miracle-Gro AeroGarden AG4501 quick start guide

Miracle-Gro

Miracle-Gro AeroGarden AG4501 quick start guide

Costway GT3904 user manual

Costway

Costway GT3904 user manual

Segotendy 803 user manual

Segotendy

Segotendy 803 user manual

Atlantic Eco-Blox product manual

Atlantic

Atlantic Eco-Blox product manual

FRAME IT ALL 70001019-MD350 manual

FRAME IT ALL

FRAME IT ALL 70001019-MD350 manual

Eurotops 27326 instructions

Eurotops

Eurotops 27326 instructions

COSMO Bully ROTARY HOE FMA Series Operator's manual

COSMO Bully

COSMO Bully ROTARY HOE FMA Series Operator's manual

Agria 5500 KL operating instructions

Agria

Agria 5500 KL operating instructions

Naterial NORI 2 Assembly, Use, Maintenance Manual

Naterial

Naterial NORI 2 Assembly, Use, Maintenance Manual

BOLDLY GROWING BGLPK84 Assembly guide

BOLDLY GROWING

BOLDLY GROWING BGLPK84 Assembly guide

Stihl HS 82 instruction manual

Stihl

Stihl HS 82 instruction manual

Havahart 5250 instructions

Havahart

Havahart 5250 instructions

Oypla GARDEN 4338 user manual

Oypla GARDEN

Oypla GARDEN 4338 user manual

Gronomics DMGP-3-1T Assembly instruction

Gronomics

Gronomics DMGP-3-1T Assembly instruction

Gardena Master Operator's manual

Gardena

Gardena Master Operator's manual

GÜDE GVZ 1432 F 2in1 Translation of the original instructions

GÜDE

GÜDE GVZ 1432 F 2in1 Translation of the original instructions

SMART 3424WRM6 user manual

SMART

SMART 3424WRM6 user manual

EINHELL FBS 62A Assembly instructions

EINHELL

EINHELL FBS 62A Assembly instructions

manuals.online logo
manuals.online logoBrands
  • About & Mission
  • Contact us
  • Privacy Policy
  • Terms and Conditions

Copyright 2025 Manuals.Online. All Rights Reserved.