manuals.online logo
Brands
  1. Home
  2. •
  3. Brands
  4. •
  5. SunnCamp
  6. •
  7. Tent
  8. •
  9. SunnCamp Utility Lodge User manual

SunnCamp Utility Lodge User manual

Thank you for choosing the SunnCamp Utility Lodge tent . Please ensure you have fully read and understood this instruction sheet. Should there be anything that is unclear to you, please
refer to your supplier for additional instruction. If you follow these instructions when erecting and dismantling, packing and storing then you should enjoy many years of trouble free use.
It is essential that you check that all parts listed above are present BEFORE leaving home. It is also strongly
recommended to have a trial set up at home prior to proper use. Failure to do so could affect your warranty. If any
part is missing, contact your SunnCamp retailer for advice.
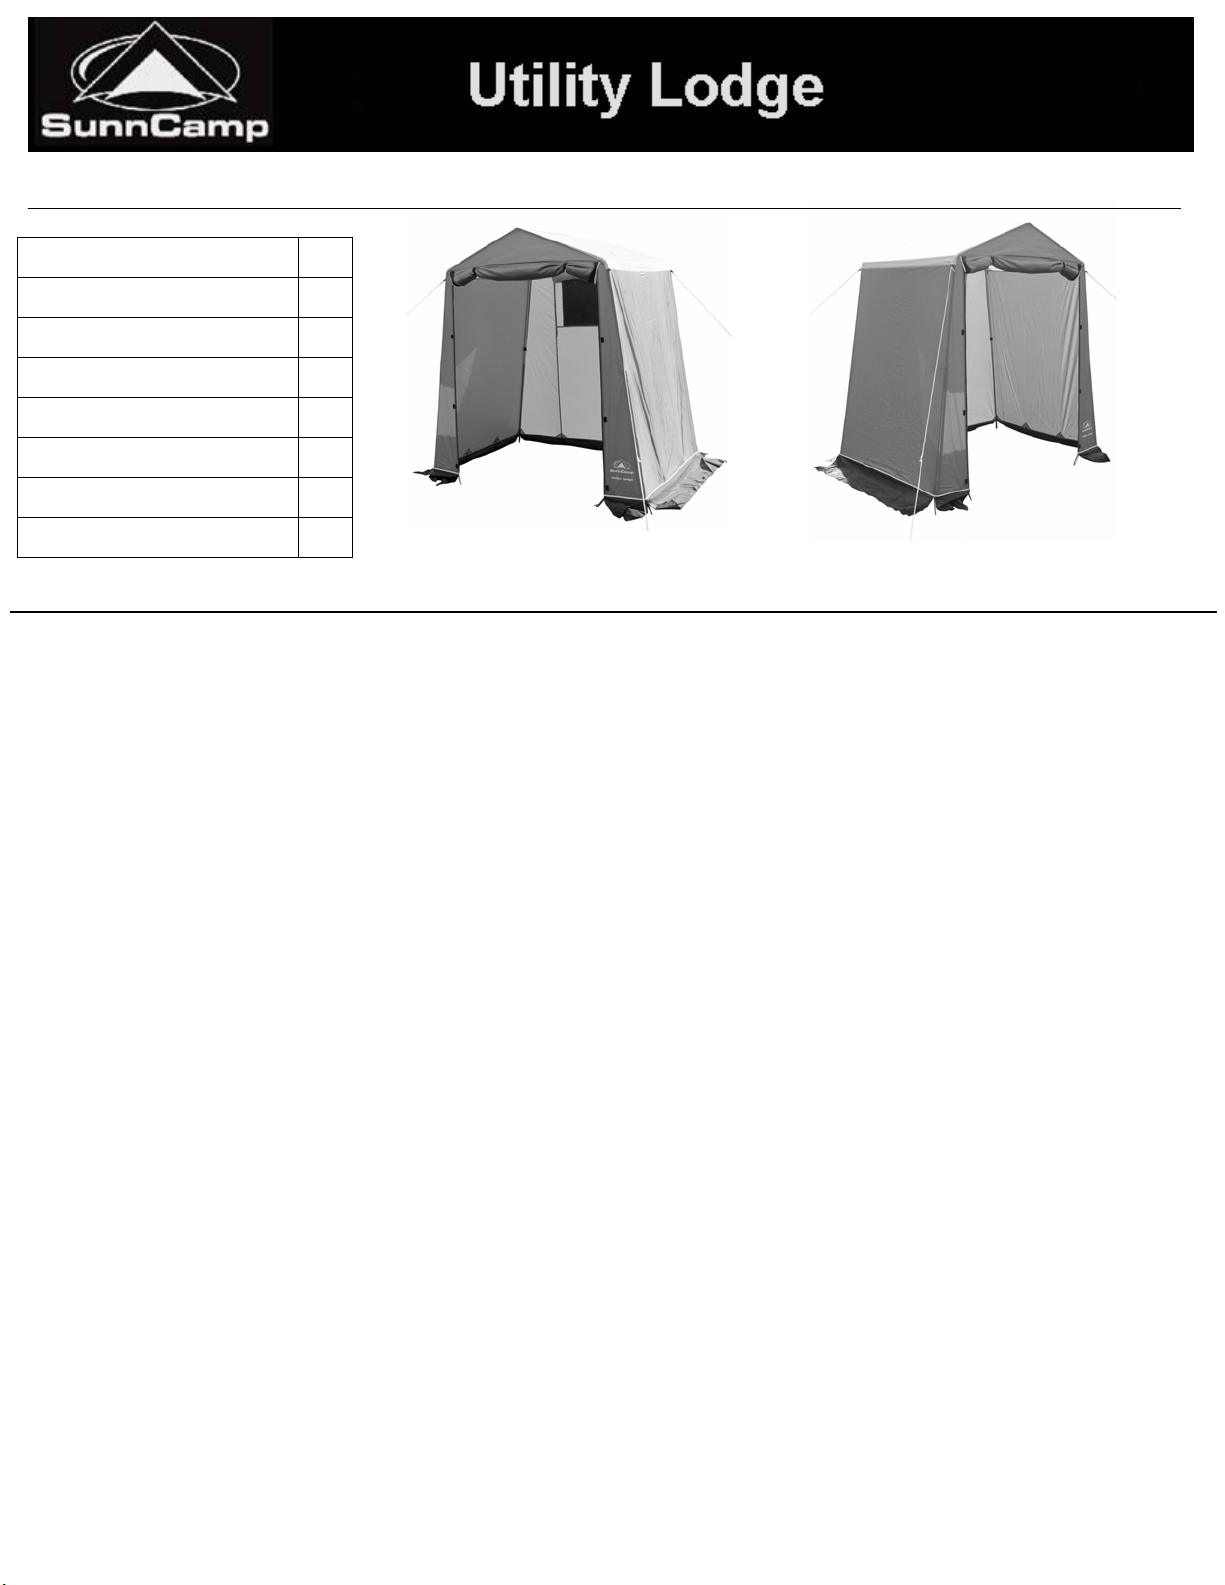
Flysheet 1
Front roof section pole 1
Rear roof section pole 1
Roof bar poles 3
Leg Poles 4
Groundsheet 1
Peg Bag 1
Carry/Storage Bag 1
SITE SELECTION
Choose a location where the ground is flat,
smooth and dry. Position the entrance away
from the direction of the wind, Do not position
on sharp, rocky or rough ground.
GETTING STARTED
Unpack the tent and place the carry/storage
bag somewhere safe. Separate all components
and check that everything is present.
POLES
Take each spring linked pole set and slot
together. The poles are folded down to aid
storage. When fitting the poles together, make
sure that the pole body is fully inserted into it’s
adjoining section. Join the two roof sections
together using the three roof bar poles.
Ensuring that the legs are broken at their joints,
attach to the roof assembly so that the frame is
standing at half height.
FLYSHEET
Place the tent flysheet over the frame ensuring
that the front door is positioned to the front of
the tent. Now use the tie tapes to secure the
four corners of the flysheet to the base of the
four steel angles.
ENTRANCE
You should now ensure that the entrance to the
tent is closed with the zips fully secured. If this
is not done now, the tent will be out of
alignment when fitting the pegs.
PEGS
Starting with the four corners secure the
flysheet to the ground by inserting tent pegs
through all the pegging points whilst pulling the
canvas taught to eliminate any creases. When
inserting into the ground, the peg should be set
at a 45°angle away from the tent. Pegs should
be hammered into the ground using a suitable
mallet and NOT pressed in with the foot.
SAFETY
It is advisable to have a ‘Fire’ bucket filled with
water, placed outside the tent. Hopefully it will
never be needed, but if it is, you will be glad you
made the effort. The tent’s fabric is fire
retardant, NOT fire proof and therefore you
must not smoke or use a naked flame in or near
it. This includes the traditional ‘camp fire’.
Guy ropes can cause a trip hazard and should
be marked so that passers by can see them.
Tent pegs are also a trip hazard and should not
be left ‘half in’.
CLEANING, STORAGE AND REPAIRS
Cleaning…
Both inside and outside of the tent should only
be cleaned using fresh clean after and a damp
cloth. Do not use detergents or chemical
cleaners.
Storing…
The tent is best stored in its original carry-bag.
However, if the awning is dismantled when wet,
you MUST thoroughly dry the tent as soon as
possible. After a wet pack-up, erect the tent as
soon as possible and allow its flysheet, guy
ropes, any inner tent and of course the carry-
bag to fully dry naturally before repacking
everything away. If stored when the flysheet
and / or guy ropes are wet, the tent will suffer
from mildew and will become unusable. Please
note that damage caused by incorrect storage
is NOT covered by the manufacturer’s warranty.
Repairs…
Repairs to the tent should only be made by the
manufacturer’s recommended agents.
Repairs made by an unauthorised third party
will make the manufacturer’s warranty void.
STORM AND WEATHER SUITABILITY
This tent is designed for use in normal weather
conditions. It is not suitable for storms, gales,
sub zero or tropical conditions.
UV DETERIORATION
Prolonged exposure to direct sunlight can
weaken the fabric of the tent. To avoid the risk
of UV deterioration, site the tent in a shaded
area, where it will be protected from exposure
to strong sunlight.
MOISTURE
Moisture collecting on the inside of the tent
fabric is condensation caused by the occupier; it
is NOT a sign of leakage. Note that damage
caused by condensation, is NOT covered by the
manufacturer’s warranty.
SEAMS
This tent has all its main seams hot air taped to
help prevent leakage. The remaining seams
should be treated with a seam sealant to
maximize the awnings weatherproofing.
Seam sealant should also be applied to main
seams where the tape has lost adhesion or has
been damaged (tie points or suspension points
for example). Seam sealant is available from
your SunnCamp stockist.
DISMANTLING
To dismantle the tent, simply reverse the
erection procedure. Do make sure that the
entrance is left open to allow air to escape
when rolling the flysheet up. All poles must be
dismantled and the tent should be carefully
rolled prior to placing back in the carry/storage
bag.
SAFETY WARNING: BBQ’S/GAS
APPLIANCES
Your tent has a sewn in label warning against
CARBON MONOXIDE POISONING. Please be
aware of carbon monoxide poisoning and do
not under any circumstances use or leave a
used BBQ (even if you think it is still not
burning) in your awning or tent.
WARRANTY
Please refer to the separate warranty sheet that
is enclosed with your Tent/Awning.
MANUFACTURERS WARRANTY
Your new SunnCamp tent/awning is covered by the Manufacturers Warranty against any manufacturing defect
for a twelve month period from the date of purchase. During this period the Company undertakes to replace or
repair, free of charge, any defect which the Company considers to be due to faulty workmanship or material.
Please ensure you retain your receipts and proof of purchase for this period.
The following items are NOT COVERED by the products Manufacturers Warranty:
• General wear and tear
• Defects arising from neglect, misuse or unauthorised modifications.
• Damage caused by storms, winds or other inclement weather conditions
• Damage caused by abuse, misuse, dropping or other similar damage caused by, or as a result
of, failure to follow storage or erection instructions.
• Moisture appearing on the inside of the flysheet, this is caused by condensation and is not a
leak.
• Leakage through the seams of the tent due to excessive abrasion and damage to the seam
sealant tape.
• Seams coming apart as a result of over tensioning.
• Broken or damaged zips caused by undue force, jamming or incorrect pegging.
• Broken buckles if they have been subject to undue force.
• Damaged carry bag if due to being overloaded, incorrect packing of tent or general misuse
• ALL pole breakages – These are a perishable part of your tent and are regarded as ‘Fair wear
and tear’. They are normally due to undue stress in the erection or dismantling procedures and
are easily replaced and readily available from your retailer.
• Collateral damage arising from a pole breakage (Such as ripped pole sleeve or flysheet)
• Damage caused by the incorrect pitching or dismantling of the tent/awning
• Any damage sustained due to cooking inside the tent/awning.
• Damage caused due to UV degradation.
• Unauthorised alterations, additions or repairs.
• Transportation or shipment costs to and from the Manufacturer or their recognised agents, for
repair or assessment against a warranty claim.
• Awnings/tents used on permanent sites or displays or commercial use by rental companies.
THIS DOES NOT AFFECT YOUR STATUTORY RIGHTS
The Manufacturer and/or their recognised agents, directors, employees or insurers will not be held liable for
consequential or other damages, losses or expenses in connection with or by reason of or the inability to use
the awning for any purpose.
NOTE; Any claim(s) arising due to missing parts or faulty goods MUST be made before use. The manufacturer
will not be responsible for any claims regarding missing parts or faulty items where the product has not been
checked by the user prior to use.
In the event of a faulty tent/awning being returned, it must be sent in a completely dry and clean condition.
Failure to do so will affect your warranty.
Sunnflair Ltd, The Coach House, Goodwood Avenue, Brentwood, Essex, CM13 1QD
Tel: 01245 329933 | www.sunncamp.co.uk | Fax: 01245 322636

Other SunnCamp Tent manuals

SunnCamp Companion 300 User manual

SunnCamp

SunnCamp Companion 300 User manual

SunnCamp Lodge 200 Motor User manual

SunnCamp

SunnCamp Lodge 200 Motor User manual

SunnCamp Breton 200 Air User manual

SunnCamp

SunnCamp Breton 200 Air User manual

SunnCamp Swift 325 User manual

SunnCamp

SunnCamp Swift 325 User manual

SunnCamp Ultima Air 280 Deluxe User manual

SunnCamp

SunnCamp Ultima Air 280 Deluxe User manual

SunnCamp Breton 300 Deluxe User manual

SunnCamp

SunnCamp Breton 300 Deluxe User manual

SunnCamp HOLIDAY 550 S User manual

SunnCamp

SunnCamp HOLIDAY 550 S User manual

SunnCamp ULTIMA ASPIRE 260 User manual

SunnCamp

SunnCamp ULTIMA ASPIRE 260 User manual

SunnCamp HOLIDAY 240 DUO User manual

SunnCamp

SunnCamp HOLIDAY 240 DUO User manual

Popular Tent manuals by other brands

PULEX PERGOLA SHUTTER HARDWARE installation manual

PULEX

PULEX PERGOLA SHUTTER HARDWARE installation manual

Eureka Solar Shade User instructions

Eureka

Eureka Solar Shade User instructions

James Baroud Space user guide

James Baroud

James Baroud Space user guide

skandika outdoor TIPII 301 Setup instructions

skandika outdoor

skandika outdoor TIPII 301 Setup instructions

Crivit 273728 Assembly instructions

Crivit

Crivit 273728 Assembly instructions

Coleman RONDEAU 2000002816 Setup

Coleman

Coleman RONDEAU 2000002816 Setup

KING CANOPY Hercules HC1020PCSL manual

KING CANOPY

KING CANOPY Hercules HC1020PCSL manual

Coleman TOUGH DOME /3025 Assembly & instruction manual

Coleman

Coleman TOUGH DOME /3025 Assembly & instruction manual

Dancover Vitoria 5000 Assembly instructions

Dancover

Dancover Vitoria 5000 Assembly instructions

ARB Touring 802200 Fitting instructions

ARB Touring

ARB Touring 802200 Fitting instructions

Gala Tent PVC Assembly, and care manual

Gala Tent

Gala Tent PVC Assembly, and care manual

SeaHawk 4693 instruction manual

SeaHawk

SeaHawk 4693 instruction manual

Asgard GLADIATOR PLUS 1 Assembly instructions

Asgard

Asgard GLADIATOR PLUS 1 Assembly instructions

Skandika Helsinki Setup & maintenance

Skandika

Skandika Helsinki Setup & maintenance

Vango Mokala 450 Pitching instructions

Vango

Vango Mokala 450 Pitching instructions

Vaude CAMPO CASA XT 5P user manual

Vaude

Vaude CAMPO CASA XT 5P user manual

Bestway 58460 owner's manual

Bestway

Bestway 58460 owner's manual

Kiwi Camping Falcon 9 Pitching instructions

Kiwi Camping

Kiwi Camping Falcon 9 Pitching instructions

manuals.online logo
manuals.online logoBrands
  • About & Mission
  • Contact us
  • Privacy Policy
  • Terms and Conditions

Copyright 2025 Manuals.Online. All Rights Reserved.