2
Table of Contents
Table of Contents ...............................................2
Safey Information ...............................................2
Warranty ............................................................2
Wha is covered ...............................................2
What is not covered ........................................2
Safety Information
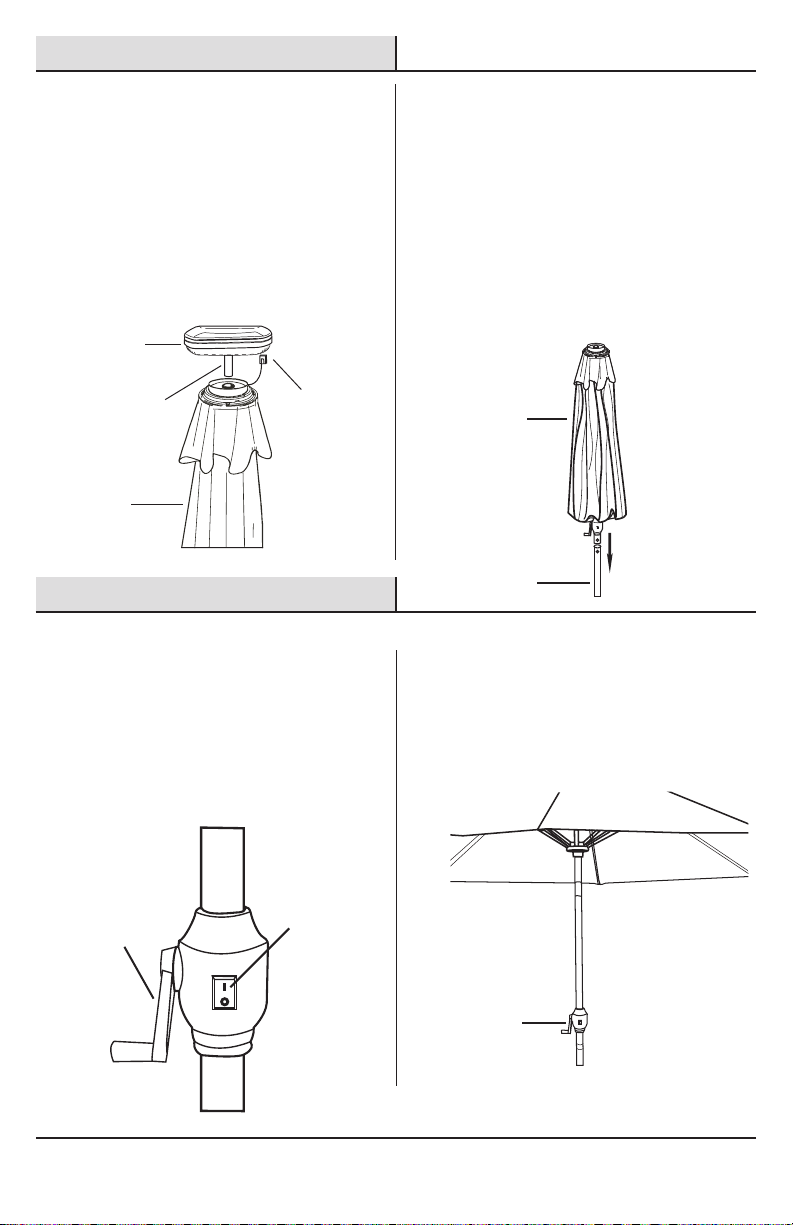
□Always put the umbrella in the down position
when not in use.
Securely fasten the umbrella to an appropriately size
umbrella base. Do not install into the ground.
This seasonal use product is not intended for
permanent insatllation or use.
□
□
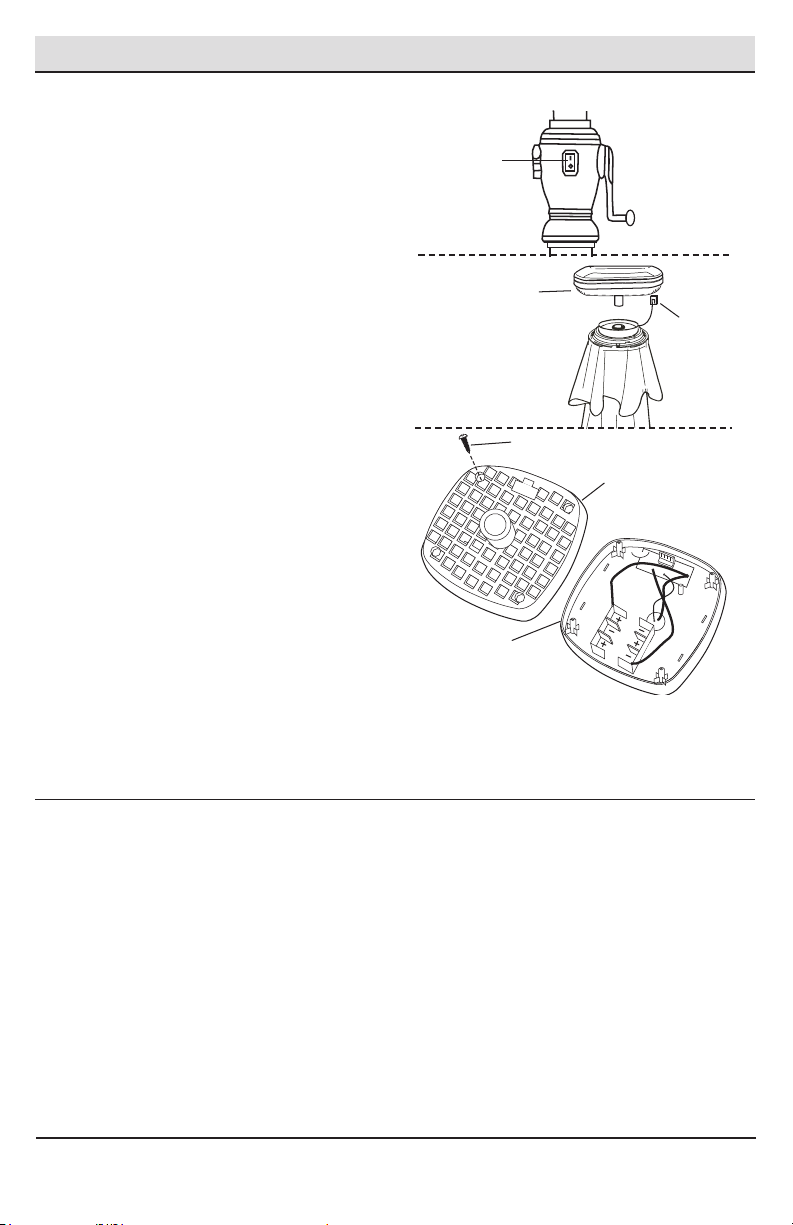
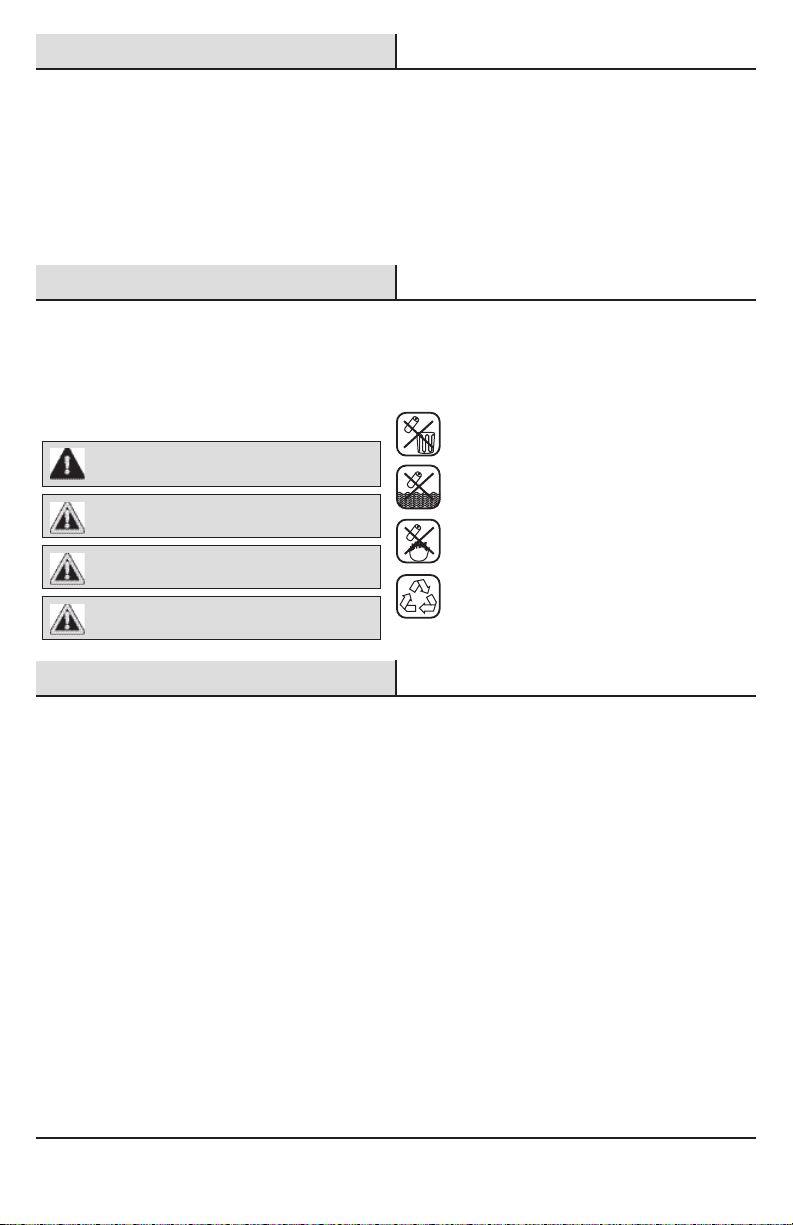
BATTERY RECYCLING
Please dispose of used batteries properly. Consult your local
telephone listings for a battery recycling center near your
area.
LIMITED WARRANTY
WHAT IS COVERED
WHAT IS NOT COVERED
Do not dispose batteries in household waste
Do not throw batteries into water
Protect batteries against heat and fire due to risk
of explosion
Recycling
Pre-Installation ......................................................3
Planning Installation ...........................................3
Assenbly ................................................................4
Operation ..............................................................4
Maintenance .........................................................6
Care and Cleaning ................................................7
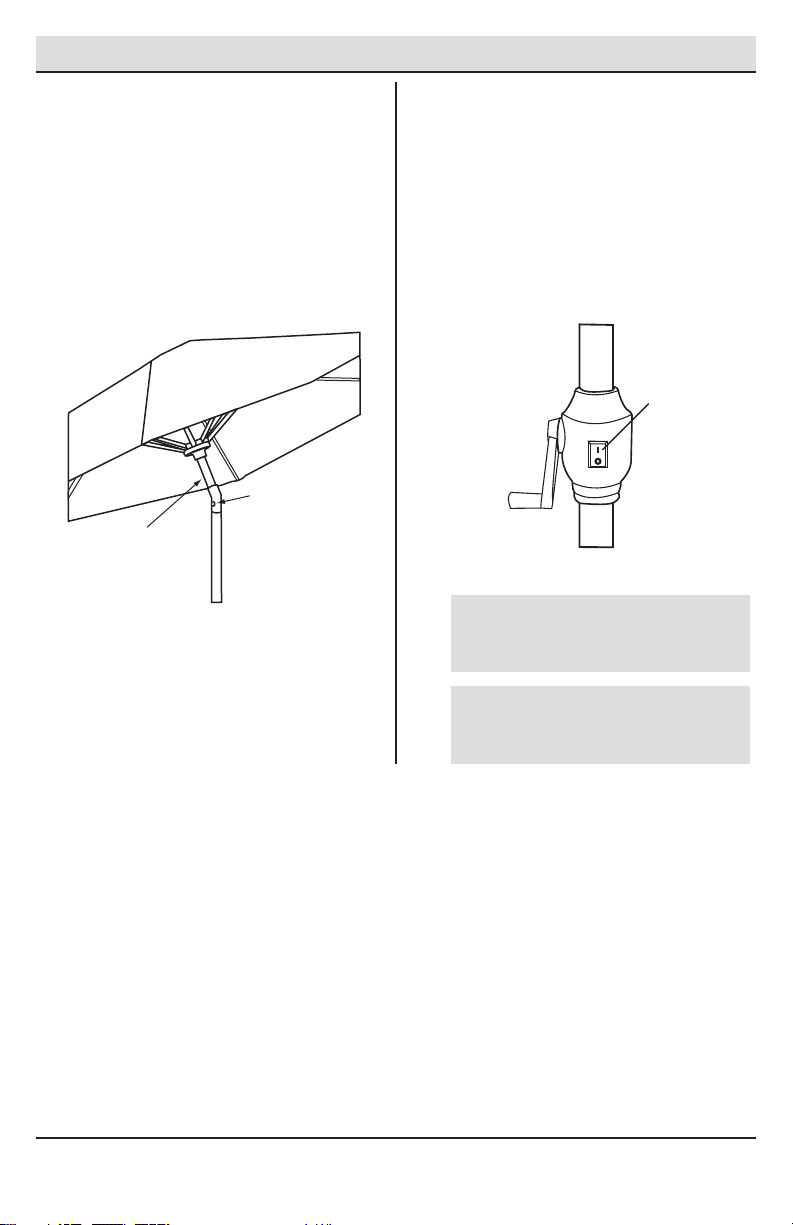
CAUTION: Do not attempt to alter the wiring or
operate the umbrella without all LEDs in place
CAUTION: Do not use the umbrella in windy
conditions. Store the closed umbrella indoors
DANGER: Do not use near open flame or other
heat soures.
Warranty
The manufacturer warrants to the original buyer only, that this product will be free from defects in material
and workmanship for a period of one (1) year from date of purchase. The manufacturer’s sole obligation and
the buyer’s exclusive remedy under this limited warranty shall be the repair or replacement of parts, without
charge, which are defective in material or workmanship. Any parts as determined by the manufacturuer
which have been misused; abused or damaged either directly or indirectly from repairs or alterations
attempted by unauthorized persons; improper maintenance, neglect or accident are not covered by this
limited warranty. This warranty does not apply to damage, heat-induced coloration changes, scratching or
alteration due to normal use or weathering. To make a claim under this Limited Warranty, you must return the
complete product with proof of purchase, transportation prepaid, to any authorized service center. Contact
the Customer Service Team www.ezreplacement.com.
This limitedwarranty does not apply to accessryo or consumable items including batteries related to this
product. All impliedwarranties shall be limited in druation to oneyear from date of pruchase. In no event
shall the manufacturer be liable for any incidental or consequential dama,ginecsluding but not limited to
liability for loss of profits, arising from the sale or use of this product. If anyopvirsion of this LimitedWarranty
is for anyreason held to be invalid or unenforceable, such provision shall not a ect any other opvrision
herein, this LimitedWarranty shall be construed as if such invalid and/or unenfroceable provision had never
been containedrheein.
CAUTION: Do not use this product for other
than its intended purpose.