manuals.online logo
Brands
  1. Home
  2. •
  3. Brands
  4. •
  5. Sunstream
  6. •
  7. Plumbing Product
  8. •
  9. Sunstream Mini User manual

Sunstream Mini User manual

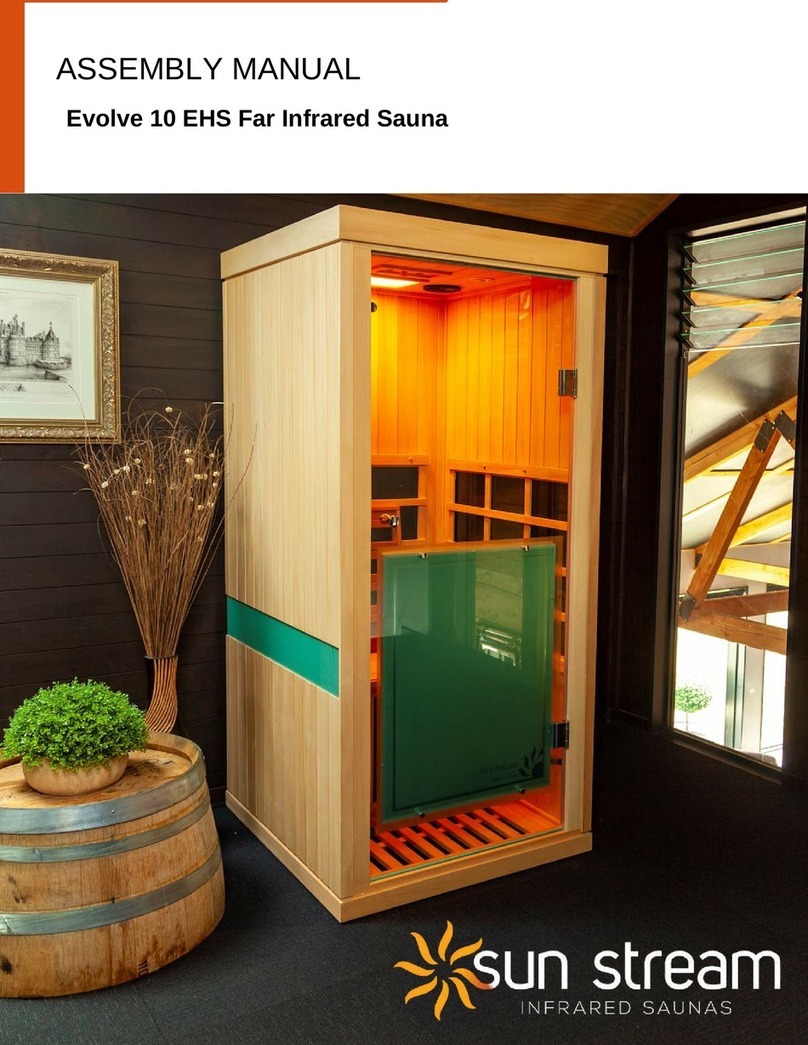
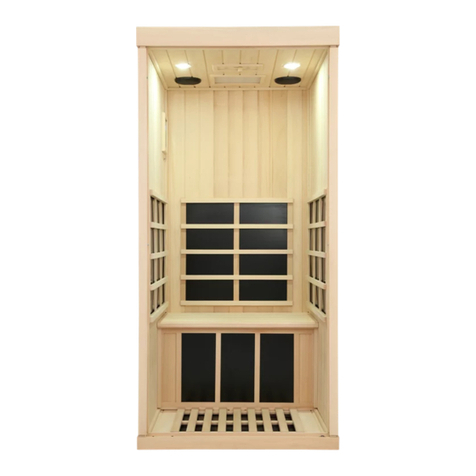
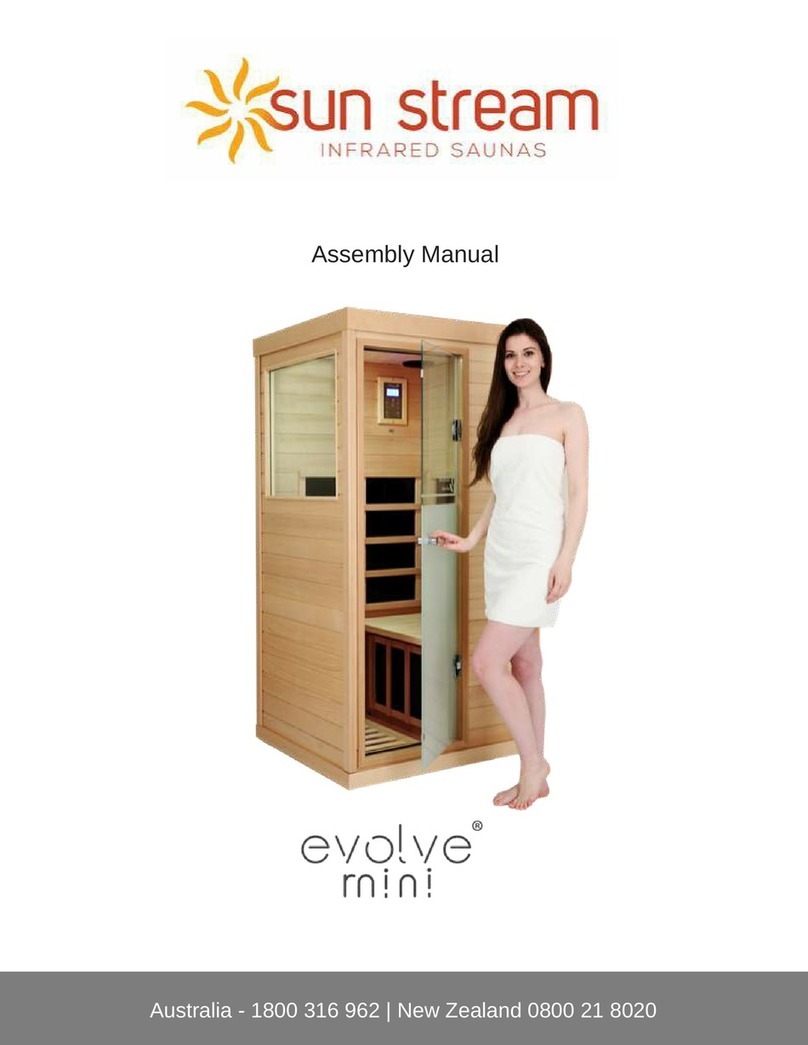
Assembly Manual
www.infraredsaunas.co.nzTel0212248020
Prepare&PositiontheSaunaFloor
Ifyouareassemblingyoursaunaon
ahardsurfaceflooritis
recommendedthatyouapplythe
includedadhesivefeltpadstothe
bottomofthesaunafloor.
Placethesaunafloorinthedesiredlocation.Itisnecessarytopositionthefloor
outfromyourwallsforassemblyandmovethesaunafollowingassembly.
Itisimportantthatthesaunafloorislevel.Checkingwithalargelevelis
recommended.Ifthefloorisnotlevel,shimmingorotherremedies
shouldbeappliedbeforeassemblingthesauna.
www.infraredsaunas.co.nzTel0212248020
LeftSideWall
Placetheleftsidewallonyourfloor
behindthesaunafloorbase.
FrontWall
Insertthefrontwall(withwindow)into
thechannelinthesaunafloorbase
www.infraredsaunas.co.nzTel0212248020
ConnectLeftSideWall
andFrontWall
Cinchtheleftsidewalland
thefrontwalltogetherby
applyingpressureon
theoutsideofthesidewall
withyourkneewhile
assistantgentlypushes
theedgeoffrontwallwith
theirfoot.
Slidethefrontwallupward
approx.3/4”withrighthand
whileholdingthesidewall
downwithyourlefthand.
Therearetwosetsoffastenerstojoin
thesaunas'cornerstogether.After
loweringthefrontwall,checktoensure
thatbothsetsoffastenershave
connectedbylookingatthecorner
insideofthesauna.Itispossibleto
connectonesetoffastenersandmiss
theother.Ifthereisanobviousgapin
thecornerbetweenthetwowallsthe
fastenershavenotconnectedandthe
raisingandloweringprocedurewill
needtoberepeated.
www.infraredsaunas.co.nzTel0212248020
BackWall
Repeattheprocedureto
connectthebackwallto
theleftsidewall
RightSideWall(withdoor)
Inserttherightsidewallintothe
channelinthesaunafloorbase
www.infraredsaunas.co.nzTel0212248020
ConnecttheRightSideWall
(doorwall)toBackWall
Itiseasiesttoconnectonecornerof
thesidewall(doorwall)atatime
.
Itisrecommendedthattheassistant
stablizesthesaunaonoppositeside
whileconnectingthedoorwall
ConnecttheRightSideWall
(doorwall)totheFrontWall
www.infraredsaunas.co.nzTel0212248020
Connectthefrontwallheaterelectrical
leadtothefloorbase.
Ensurehatthethreadedcuffofthe
connectorisfullyscrewedontothefloor
baseconnector.
UnderBenchElectrical
Connectallelectrical
cordstothemainpower
supplyboxrecessedin
thefloor.
www.infraredsaunas.co.nzTel0212248020
RemoveSideWall
HeaterGuards
Thewoodenlatticeworkinfrontof
theheatersisreferredtoasthe
heaterguard.Theseareheldin
placewithstrongmagnets.
Itisnecessarytoremovetheheater
guardsfromthetwosidewallsin
ordertoinstallthelegheater
andthesaunabench.
LegHeater
Installthelegheaterbyloweringitinto
theholdingbracketsmountedonthe
sidewalls.
Pluglegheaterintothepowersupply
boxinfloor.
www.infraredsaunas.co.nzTel0212248020
InstalltheSaunaBench
ReinstalltheSideWall
HeaterGuards
www.infraredsaunas.co.nzTel0212248020
PreparetheSaunaRoof
Removetheonepanelonthe
leftsideofrooftoaccess
electricalconnections.
InstallSaunaRoof
Lowertheroofintoplacebyfirst
fittingtherightsideofroof(door
side).
Keeptheleftsideofroof
elevatedtoenablefeedingof
electricalconnectionfromwall
throughtheroof.
www.infraredsaunas.co.nzTel0212248020
Thisiseasiestaccomplishedwithonepersonholdingtheweightoftheroofwhile
theotherfeedsthewirethroughthehole.
Whenthewireisfedentierlythroughtheroof,lowerroofintoplacetakingcare
nottopinchthewirebetweentheroofandthefrontwall
RoofWires
Beforeloweringtheroofit
isnecessarytofeedthe
wireupthroughthe
holeinthesaunaroofas
pictured.
RoofElectrical
Takethewirethatwasfedfromthesidewallthroughtheroofandmake
connectionontheroof.Thisconnectionisthe12voltpowerfortheLED
readinglightandtheBluetoothaudioreceiver/amplifier.
www.infraredsaunas.co.nzTel0212248020
BluetoothAudioReceiver
Musiccanbepipedtothe
speakersinthesaunatwo
differentways,eitherwireless
viatheBluetoothreceiverorby
directlyconnectingyourdevice
(smartphone,tablet,laptopetc.)
withanaudiocord(redaudio
cordnotincluded)
BluetoothMode:Searchforandpairyourdevice'sBluetoothto'BTspeaker'.
DirectConnectMode:
Connectyourdeviceto
thesaunas'speakersvia
yourdevice'sheadphone
jackbyinsertinganaudio
cordintotheBT
circuitboard.Thiswill
deactivatetheBluetooth
receiver.
www.infraredsaunas.co.nzTel0212248020
Reinstalltheroofpanels
andfeedyour
audiocordthroughthe
holeinroofifyou
havedecidedNOTtouse
Bluetooth
www.infraredsaunas.co.nzTel0212248020
ControlPanel
www.infraredsaunas.co.nzTel0212248020
InteriorControlPanel
TemperatureSensor
FRAGILE
DONOTTOUCH
www.infraredsaunas.co.nzTel0212248020
Connectingthesaunatoyourhousepowersupply
WhenthesaunaispluggedintoyouwalloutlettheredPowerIndicatorlightonthecontrol
panelwillbeon.
TheBluetoothaudioreceiverontheroofwillmakeabeepingnoiseitsindicatorlightwillturn
on.
ON/OFFforHeaters
PushthePOWERbuttontoturnthesaunaheatersON.Thevariousdisplayswillcomeon.
ThesaunaheaterswillremainONuntilthetimerrunsdownto00.
ThesaunaheaterscanbeturnedOFFatanytimebypushingthePOWERbutton.
TimerAdjustment
Thedefaulttimeis60minutes.Press+ortochangetheTimersetting.
Themaximumsettingis60minutes.
Theminimumsettingis5minutes.
PreHeat
SunStreamInfraredSaunasaretypicallyusedbypreheatingthesaunafor2030minutes.
ThermostatAdjustment
Press+ortochangetheThermostatsetting.
IncreaseThermostatSetting:Pressthe+buttontoincreasethetemperatureby1degreeC
increments.
Themaximumsettingis65C.
DecreaseThermostatSetting:Pressthebuttontodecreasethetemperatureby1degreeC
increments.
Theminimumsettingis25C.

www.infraredsaunas.co.nzTel0212248020
Thermometer/ThermostatDisplay
WhenthePOWERbuttonisturnedONthedigitaldisplaywillshowtheThermometerreading.
Anytimethe+andbuttonsarepushedtheThermostatsettingdisplaywillshow.
AftersettingthethermostatthedisplaywillreturntodisplayingThermometerreading.
TemperatureControl
WhentheinteriorairtemperatureisbelowtheThermostatsettemperature,theheaterswill
remainON.
WhentheinteriortemperatureishigherthantheThermostatsettemperature,thepowertothe
heaterswillbeturnedOFF.Theheaterpanelswillbegintocooldown,airtemperatureand
InfraredlevelswillslowlydropuntiltheThermostatisactivatedandthepowertotheheaters
willbeturnedbackon.
AII(AdjustableInfraredIntensity)
TheIntensitybuttononthecontrolpanelwilladjusttheInfraredintensitymuchlikeadimmer
switchforahouseholdlight.PresstheIntensitybuttontoselect100%,75%or50%levelsof
Infraredintensityfordifferentpurposesandindividualneeds.
www.infraredsaunas.co.nzTel0212248020
Enjoy your new
Sun Stream
Infrared Sauna !

Other Sunstream Plumbing Product manuals

Sunstream Evolve Mini User manual

Sunstream

Sunstream Evolve Mini User manual

Sunstream Supreme One User manual

Sunstream

Sunstream Supreme One User manual

Sunstream Evolve Mini EHS User manual

Sunstream

Sunstream Evolve Mini EHS User manual

Sunstream evolve EHS User manual

Sunstream

Sunstream evolve EHS User manual

Sunstream evolve 30 User manual

Sunstream

Sunstream evolve 30 User manual

Sunstream Evolve 30 User manual

Sunstream

Sunstream Evolve 30 User manual

Sunstream Evolve 20 User manual

Sunstream

Sunstream Evolve 20 User manual

Sunstream evolve 10 User manual

Sunstream

Sunstream evolve 10 User manual

Sunstream Evolve 20 EHS User manual

Sunstream

Sunstream Evolve 20 EHS User manual

Sunstream Evolve 10 EHS User manual

Sunstream

Sunstream Evolve 10 EHS User manual

Sunstream Evolve Mini EHS Far Infrared Sauna User manual
Sunstream

Sunstream Evolve Mini EHS Far Infrared Sauna User manual

Popular Plumbing Product manuals by other brands

aquabrass Etna 61616 installation guide

aquabrass

aquabrass Etna 61616 installation guide

BELLOSTA micheli 5801 instructions

BELLOSTA

BELLOSTA micheli 5801 instructions

Hans Grohe Croma 160 27450000 Assembly instructions

Hans Grohe

Hans Grohe Croma 160 27450000 Assembly instructions

METHVEN echo Basin Mixer installation guide

METHVEN

METHVEN echo Basin Mixer installation guide

Hans Grohe iBox Universal Plus Rough 01850181 Installation/User Instructions/Warranty

Hans Grohe

Hans Grohe iBox Universal Plus Rough 01850181 Installation/User Instructions/Warranty

Bristan Java J BF C Fitting instructions

Bristan

Bristan Java J BF C Fitting instructions

Sanela SLUN 45X Mounting instructions

Sanela

Sanela SLUN 45X Mounting instructions

Laufen EASYFIT 1.1 quick start guide

Laufen

Laufen EASYFIT 1.1 quick start guide

Moen TS9041 quick start guide

Moen

Moen TS9041 quick start guide

Grohe BAULOOP 20 225 manual

Grohe

Grohe BAULOOP 20 225 manual

Hans Grohe Croma 1jet Series Assembly instructions

Hans Grohe

Hans Grohe Croma 1jet Series Assembly instructions

Helvex SQUADRA E-711 installation guide

Helvex

Helvex SQUADRA E-711 installation guide

Moen WEYMOUTH S22105 installation guide

Moen

Moen WEYMOUTH S22105 installation guide

Tylo Alu Line 190 manual

Tylo

Tylo Alu Line 190 manual

Mora armatur MMIX W1 Installation instruction

Mora armatur

Mora armatur MMIX W1 Installation instruction

brondell SouthSpa LH-20 owner's manual

brondell

brondell SouthSpa LH-20 owner's manual

Toto Keane TS211D Installation and owner's manual

Toto

Toto Keane TS211D Installation and owner's manual

Heritage Bathrooms TDCC00 Installation instructions and user guide

Heritage Bathrooms

Heritage Bathrooms TDCC00 Installation instructions and user guide

manuals.online logo
manuals.online logoBrands
  • About & Mission
  • Contact us
  • Privacy Policy
  • Terms and Conditions

Copyright 2025 Manuals.Online. All Rights Reserved.