ADDITIONAL IMPORTANT
SAFEGUARDS
CAUTION HOT SURFACES: This appliance generates heat and may release steam
during use. Proper precautions must be taken to prevent the risk of burns, fires, or
other injury to persons or damage to property.
CAUTION: This appliance is hot during operation and retains heat for some time
after turning OFF. Always use oven mitts when handling hot materials and allow
metal parts to cool before cleaning. Do not place anything on top of the appliance
while it is operating or while it is hot.
1. All users of this appliance must read and understand this instruction manual before
operating or cleaning this appliance.
2. The cord to this appliance should be plugged into a 120V AC electrical outlet only.
3. If this appliance begins to malfunction during use, press and pull any active fryer
basket(s) out of the body. Remove plug from wall outlet. Do not use or attempt to repair
the malfunctioning appliance. Contact Consumer Service.
4. Do not immerse power cord in any liquid. If the power cord to this appliance is
damaged, it must be replaced.
5. Keep the cord out of reach from children and infants to avoid the risk of electric shock
and choking.
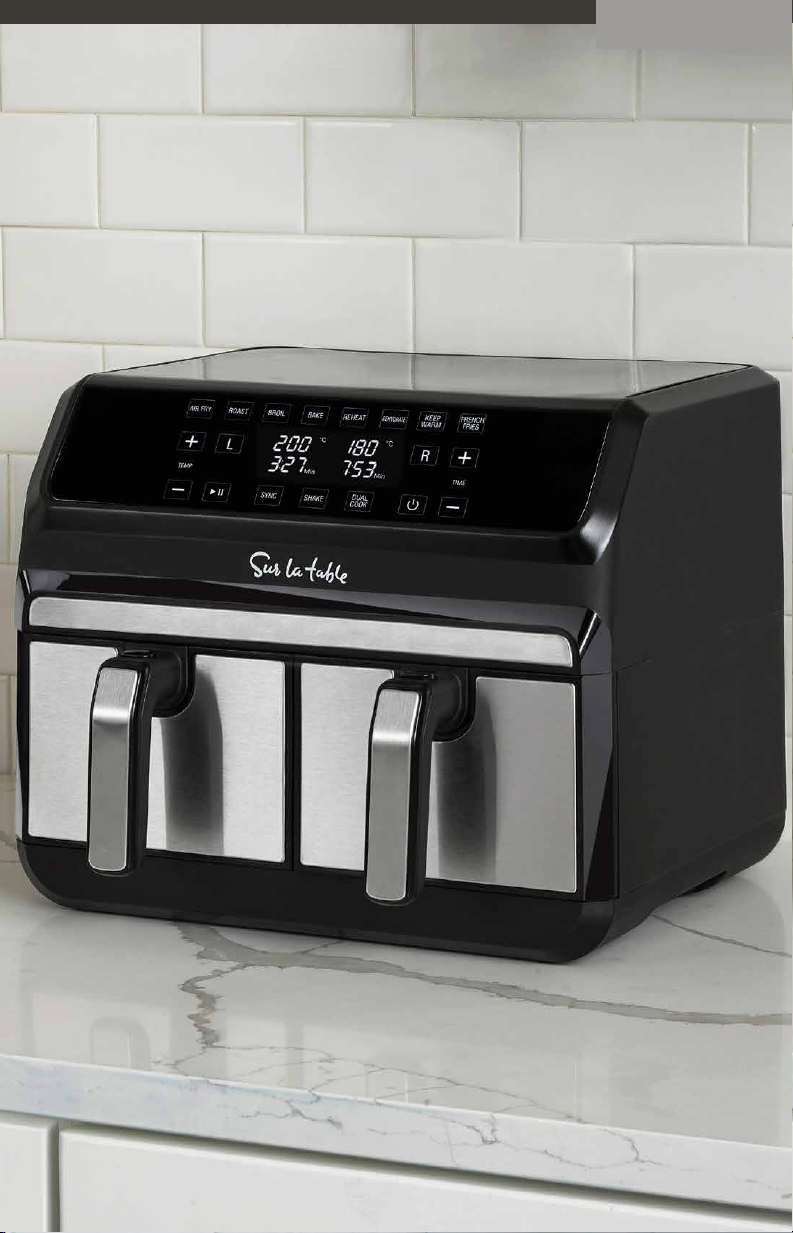
6. Place the Dual Basket Air Fryer on a stable, heat-resistant work area.
7. Do not obstruct the air outlet or air inlets on the back and sides of the Air Fryer, with any
objects. Avoid escaping steam from the air outlet during air frying.
8. Keep appliance at least 4 inches away from walls or other objects during operation.
9. Always use each fryer basket handle to remove each fryer basket.
WARNING: Under- or over-filling the fryer basket may damage the Air Fryer and could
result in serious personal injury.
10. Never move a hot Air Fryer or an Air Fryer containing hot food.
11. Allow to cool before moving.
WARNING! This Air Fryer should not be used to boil water.
WARNING! This Air Fryer should never be used to deep fry foods.
Plug and Cord
This appliance has a polarized plug (one blade is wider than the other). To reduce the risk of
electric shock, this plug will fit in a polarized outlet only one way. If the plug does not fit fully
into the outlet, reverse the plug. If it still does not fit, contact a qualified electrician. Do not
modify the plug in any way.
Only the included cord should be used.
Plasticizer Warning
CAUTION: To prevent Plasticizers from migrating from the finish of the counter top or table
top or other furniture, place NON-PLASTIC coasters or place mats between the appliance
and the finish of the counter top or table top. Failure to do so may cause the finish to
darken; permanent blemishes may occur or stains can appear.
Electric Power
If the electrical circuit is overloaded with other appliances, your appliance may not operate
properly. It should be operated on a separate electrical circuit from other appliances.
98
ENGLISHENGLISH