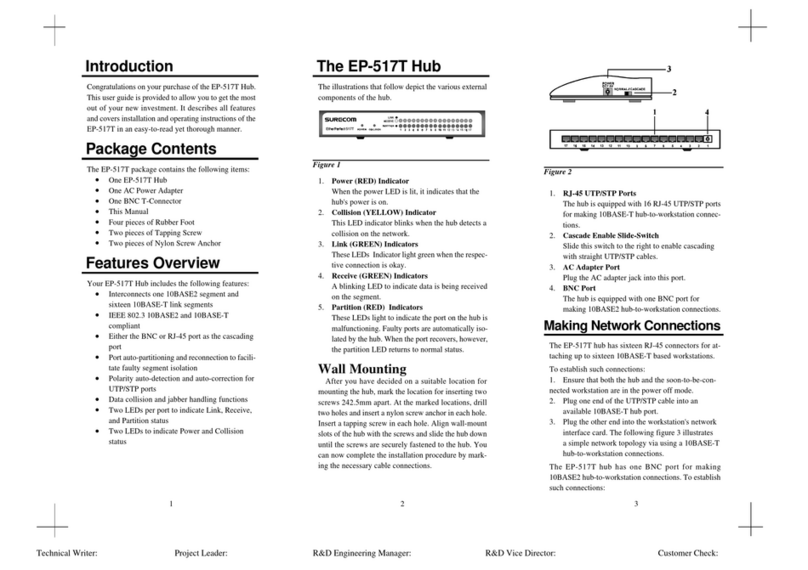
The rear panel consists of an AC power socket, a power switch, and a console port.The rear panel consists of an AC power socket, a power switch, and a console port.
The rear panel consists of an AC power socket, a power switch, and a console port.The rear panel consists of an AC power socket, a power switch, and a console port.
The rear panel consists of an AC power socket, a power switch, and a console port.
TT
TT
Two system fans are located at the both sides of the Switch.wo system fans are located at the both sides of the Switch.
wo system fans are located at the both sides of the Switch.wo system fans are located at the both sides of the Switch.
wo system fans are located at the both sides of the Switch.
Figure 2-3: Rear PanelFigure 2-3: Rear Panel
Figure 2-3: Rear PanelFigure 2-3: Rear Panel
Figure 2-3: Rear Panel
Rear Panel
1. Power Socket
Plugs the power cord into this socket.Plugs the power cord into this socket.
Plugs the power cord into this socket.Plugs the power cord into this socket.
Plugs the power cord into this socket.
2. Power On/off Switch
To turn the power on or off.To turn the power on or off.
To turn the power on or off.To turn the power on or off.
To turn the power on or off.
2-32-
CHAPTER 3 Network DIY
ThisThis
ThisThis
This chapter describes how to connect this Switch to your Fast Ethernet network.chapter describes how to connect this Switch to your Fast Ethernet network.
chapter describes how to connect this Switch to your Fast Ethernet network.chapter describes how to connect this Switch to your Fast Ethernet network.
chapter describes how to connect this Switch to your Fast Ethernet network.
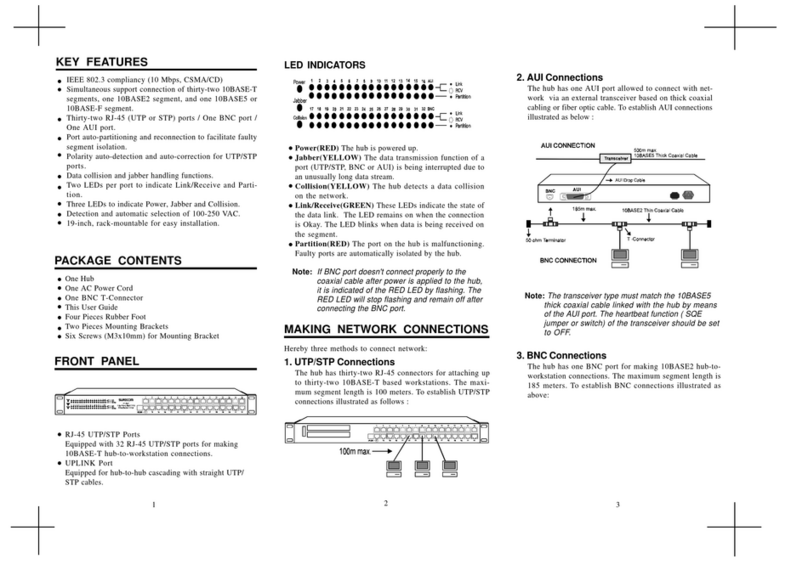
3. Network Connections
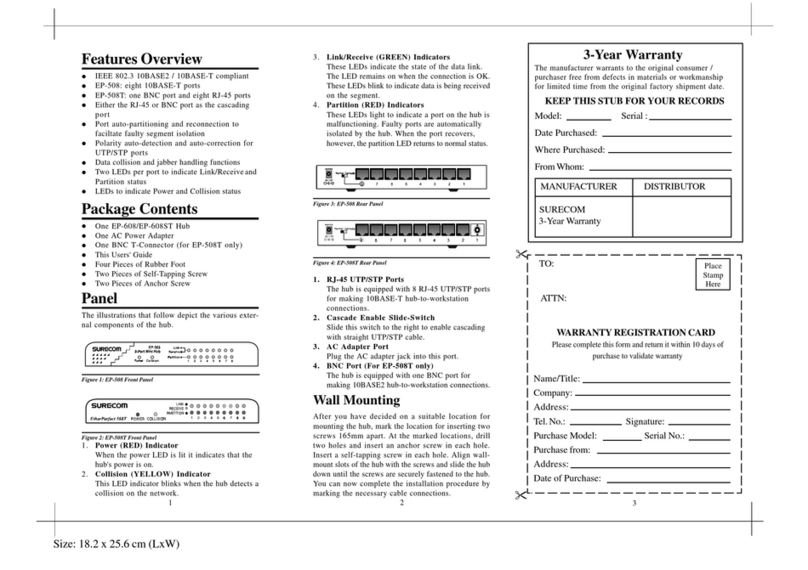
Figure 3-1: PC or Workstation ConnectionFigure 3-1: PC or Workstation Connection
Figure 3-1: PC or Workstation ConnectionFigure 3-1: PC or Workstation Connection
Figure 3-1: PC or Workstation Connection
Make sure you have installed a 10BASE-T or 100BASE-TX network interface cardMake sure you have installed a 10BASE-T or 100BASE-TX network interface card
Make sure you have installed a 10BASE-T or 100BASE-TX network interface cardMake sure you have installed a 10BASE-T or 100BASE-TX network interface card
Make sure you have installed a 10BASE-T or 100BASE-TX network interface card
for connecting a PC to the Switch’for connecting a PC to the Switch’
for connecting a PC to the Switch’for connecting a PC to the Switch’
for connecting a PC to the Switch’s RJ-45 (MDI-X) station ports. If LEDs don’s RJ-45 (MDI-X) station ports. If LEDs don’
s RJ-45 (MDI-X) station ports. If LEDs don’s RJ-45 (MDI-X) station ports. If LEDs don’
s RJ-45 (MDI-X) station ports. If LEDs don’tt
tt
t
light after powering on the Switch, check if the LAN card, the cable and connectorslight after powering on the Switch, check if the LAN card, the cable and connectors
light after powering on the Switch, check if the LAN card, the cable and connectorslight after powering on the Switch, check if the LAN card, the cable and connectors
light after powering on the Switch, check if the LAN card, the cable and connectors
are properly attached to the PC and the Switch.are properly attached to the PC and the Switch.
are properly attached to the PC and the Switch.are properly attached to the PC and the Switch.
are properly attached to the PC and the Switch.
When a attached PC is powered on or reset:When a attached PC is powered on or reset:
When a attached PC is powered on or reset:When a attached PC is powered on or reset:
When a attached PC is powered on or reset:
1.1.
1.1.
1. The Link/Act LED will lightThe Link/Act LED will light
The Link/Act LED will lightThe Link/Act LED will light
The Link/Act LED will light
2.2.
2.2.
2. The FDX/Col LED depends on the installed LAN card’The FDX/Col LED depends on the installed LAN card’
The FDX/Col LED depends on the installed LAN card’The FDX/Col LED depends on the installed LAN card’
The FDX/Col LED depends on the installed LAN card’s capabilities for the PCs capabilities for the PC
s capabilities for the PCs capabilities for the PC
s capabilities for the PC
and the Switch connection.and the Switch connection.
and the Switch connection.and the Switch connection.
and the Switch connection.
3.3.
3.3.
3. The 100M LED will light for 100Mbps connection, otherwise it will be unlighted.The 100M LED will light for 100Mbps connection, otherwise it will be unlighted.
The 100M LED will light for 100Mbps connection, otherwise it will be unlighted.The 100M LED will light for 100Mbps connection, otherwise it will be unlighted.
The 100M LED will light for 100Mbps connection, otherwise it will be unlighted.
○○○○○○○○○○○○○○○○○○○○○○○○○○○○○○○○○○○○○○○○○○○○
2-32-3
2-32-3
2-3 3-13-1
3-13-1
3-1
Switch to PC
YY
YY
You can connect any RJ-45 (MDI-X) station port on the Switch to a PC viaou can connect any RJ-45 (MDI-X) station port on the Switch to a PC via
ou can connect any RJ-45 (MDI-X) station port on the Switch to a PC viaou can connect any RJ-45 (MDI-X) station port on the Switch to a PC via
ou can connect any RJ-45 (MDI-X) station port on the Switch to a PC via
twisted-pair cable with RJ-45 plugs at both ends. Use 100 Category 3, 4 or 5 cabletwisted-pair cable with RJ-45 plugs at both ends. Use 100 Category 3, 4 or 5 cable
twisted-pair cable with RJ-45 plugs at both ends. Use 100 Category 3, 4 or 5 cabletwisted-pair cable with RJ-45 plugs at both ends. Use 100 Category 3, 4 or 5 cable
twisted-pair cable with RJ-45 plugs at both ends. Use 100 Category 3, 4 or 5 cable
for standard 10Mbps Ethernet connections, or 100 Category 5 cable for 100Mbpsfor standard 10Mbps Ethernet connections, or 100 Category 5 cable for 100Mbps
for standard 10Mbps Ethernet connections, or 100 Category 5 cable for 100Mbpsfor standard 10Mbps Ethernet connections, or 100 Category 5 cable for 100Mbps
for standard 10Mbps Ethernet connections, or 100 Category 5 cable for 100Mbps
Fast Ethernet connections.Fast Ethernet connections.
Fast Ethernet connections.Fast Ethernet connections.
Fast Ethernet connections.
£[£[
£[£[
£[
£[£[
£[£[
£[
3. Console Port (RS-232C D-Sub Connector)
Connects a normal RS-232C Serial DB9 Cable to this console port connector.Connects a normal RS-232C Serial DB9 Cable to this console port connector.
Connects a normal RS-232C Serial DB9 Cable to this console port connector.Connects a normal RS-232C Serial DB9 Cable to this console port connector.
Connects a normal RS-232C Serial DB9 Cable to this console port connector.
13 14 15
1234 5678 9101112
16 17 18 19 20 21 22 23 24
123 54 6789101112131415161718192021222324
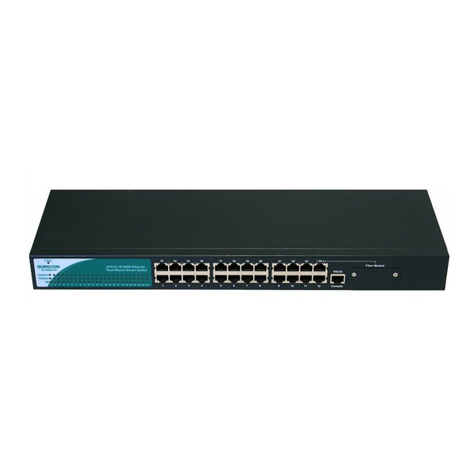
EP-824DX-CS
24
-Port 100/10M N-Way 19" Rack-Mount Smart Switch
