Swema SwemaCO2 User manual

SwemaCO2
Operating instructions
vers 1.01 AÖ202002
SWEMA AB
Pepparv. 27
SE-123 56 FARSTA
Tel: +46 8 94 00 90
Web page: www.swema.com
Contents:
1. Introduction............................ 1
2. Start of instrument................... 2
3. Measurement (Mode)................... 2
4. Function keys.......................... 3
5. Settings.................................. 3
6. Logging.................................. 5
7. PC transfer.............................. 5
8. Saved data................................ 7
9. Technical data......................... 8
NOTE! Before you start measuring please read chapter 2.
”Start of instrument”, warm up time of the measurement
sensor.

1. Introduction
Swema CO2is a handheld instrument that measures and logs CO2-le-
vels (ppm) and air pressure (hPa). A built-in pump allow measurements
to be made exactly where you wish, whilst also ensuring the fastest
possible response time. The instrument can display the average value,
as well as saving and logging values. Measurement series can also be
transferred to a PC using the included USB cable.
1.
Pump intake
Function keys
ON / OFF
Display backlight
Right arrow
Enter
Left arrow
Medel
Up arrow
Max
Pump On
Down arrow
Min
Pump Off
USB port USB port LED

2.
NOTE! Warm up of the instrument takes around one mi-
nute, please wait to ensure the sensor is fully functional.
Pump: Press up arrow to start the pump, down arrow to shut off.
Display backlight: Quickly press the ON/OFF-button.
Shut off: Hold the ON/OFF-button for more than 2 seconds.
3. Measurement
The instrument updates the measurements according to 9. Technical data.
NOTE! Refrain from breathing directly on the sensor as this may af-
fect the CO2-measurement.
Collect measurements: Save a point of measurement
in the temporary memory by pressing Enter. The amount
of measurement points saved in the measurement series
will then show below the measured values on the display.
”1P” indicates that a point of measurement has been
saved in the temporary memory. The average value of
the measurement points is shown for a second upon
pressing Enter. The instrument then shows the current
measurement in real-time.
Average, Max & Min: The Left arrow (average), Up arrow (max)
or Down arrow (min) can be held down respectively to check the
average, max or min-value of a measurement series.
Save Measurement: Measurement series can be saved by pressing
Save after a point of measurement has been taken. The display will
show which memory position the saved measurement has (e.g. n3
= position 3). To wipe the temporary memory and remove the saved
series, press Clear.
2. Start of instrument
A star on the left side of the display will blink until the
sensor has warmed up. When booting up the instru-
ment (ON/OFF – button), the display shows Init
along with a 5 second countdown. This is followed by
the software version, battery voltage, and calibration
date. The instrument then proceeds to enter measuring
mode, and can be used even during the sensor warm
up. The display now shows the CO2level (ppm) and
air pressure (hPa). A battery warning symbol is shown
when it’s time to connect the USB power adapter for
external power suppliance and charging.

5. Settings (SEtt InGS)
Use the Left & Right arrow keys to navigate
the settings. Use the Up & Down arrow keys
to change a setting.
Press Esc or Enter after a change has been
made to apply it, SwemaCO2then returns to its
measuring mode. The following settings can be
changed:
bAC. LIGH (Display backlight)
Backlight: Via settings, use the Up or Down
arrows. The ON/OFF button also lls this fun-
ction with a short press.
•
Choose Mode to access Set-
tings, Log and Notebook.
SEtt InGS - Settings
Auto Shut
Auto Shut: Time before automatic shut off, (af-
ter the last button press) 60min, 30min, 10min,
5min and 1min (OFF disables the auto shut off
completely.)
•
Unlt SySt
Unit system: Système international (SI) Uni-
ted States customary (US)
change of international measurement (SI) or
american measurement (US) Arrow Up and
Arrow Down.
•
4. Function keys
The bottom section of the display is divided into
three sections, and three function keys are situated
directly below these. The function of these keys
vary, and is described in the three sections above.
Mode is the only possible choice while the instru-
ment is measuring.
Mode allows you to change Settings, Log or
view saved measurements and logs (Notebook).
To access Settings for example, press Mode, move
with the arrow keys until Settings starts blinking.
Press Enter.
”Up” or ”Down” arrows,
for On/Off.
3.

4.
4,11V, 50,4 hours of logging
with chosen interval.
Pump OFF
LOG Int.S
Log interval: Adjust the log interval in seconds.
Choose between 16, 30, 60, 120, 240, 600, 900,
1200, 1800, 3600, 7200 second intervals. Use
the Up and Down arrows. The bold second inter-
vals are in phase with the
CO2-sensors
measuring
frequency. If a logging is initiated without *, the
logged measurements with these time constants
will be measured values (non predicted - *).
•
Battery symbol - initiate logging
The display to the right shows the battery vol-
tage (V)
and how long the instrument can log
with the set log interval (hours until the memo-
ry is full). The battery life may be shorter.
By pressing Enter a logging is initiated.
Start
once the star disappears to collect a measured
value.
Longer log intervals can be chosen for
longtime logging, see (LOG Int.S). Use a USB
power supply to prevent power loss. See also 6.
Logging.
•
PuP.
Pump: Use the Up and Down arrows, to switch
between ON/OFF. It is also possible to switch
the pump on and off during a measurement. The
pump absorbs air and blows it into the Carbon
dioxide sensor. Refrain from breathing on the in-
strument as this may affect the
CO2-measurement
even when the pump is switched on.
•
noti Fy
Notify: ON or OFF. The instrument will beep once for every thou-
sandth PPM. E.g. at 5300 ppm the instrument shall beep ve times.
If the ppm rises, the beeps will sound in higher pitched tones, and
the backlight will turn on for ve seconds. If the PPM is stable on the
same thousandth, the beeps will sound in the same pitch. If the PPM
drops, the beeps will also drop in pitch. The instrument waits for a
few minutes between every beep-sequence.
•
AdJ. 410
Adjust: Adjust the
CO2-sensor
to show 410 ppm. Enable the pump
and absorb some fresh air. This is assumed to have 410 ppm
CO2.
This adjustment is done to prevent drift (offset) of the sensor.
•
Log interval

6. Logging
Logging can be initiated in two different ways. The rst method is to
select
Mode
and thereafter LOG and Enter. This leads to the bat-
tery setting (battery symbol). This can also be accessed by selecting
Mode followed by Settings and then by navigating to this setting.
To initiate a logging see Battery symbol - initiate logging in 5. Set-
tings (SEtt InGS).
NOTE! If the battery runs out during the logging, the instrument will shut
off after the logging has been saved. If the pump is turned on during
the start of the logging, the pump will work for 30 seconds before the
measurement is taken. At other times the pump is shut off, meaning the
pump is always on if the interval is set to 30 seconds or less.
To stop and save a log, press All.
For a brief moment the display will read Notebook with ”n3” blinking,
which in this case means that the log was saved as measurement series
3 in notebook. The instrument then switches back to measuring mode
without logging.
7. PC transfer
Install the following program Swema Terminal 3 which can be found
on Swema’s website. After the installation is complete, connect the
instrument with its included USB-ADAPTER, make sure this is done
before starting the program. The USB port LED should be lit green.
Start the program. Click on Ter.. ”Terminal COM22” and then press
”Enter” to access the menu.
SwemaCO2 410 S/N: 671099
Firmware: 1.30 Hardware: 1.00
[O] Decimal delimiter: Point
[U] Unit system: SI
[S] Auto shutoff after: 60.0 passive minutes
[P] Print calibration certicate
[L] Print note (all measurements)
[N] Print notes
[ ] Space - Print measurement values
[,] Comma - Print measurement values with units
5.

Notebook display
8. Saved data (Notebook)
To print or control saved measurement series, go to Notebook, see 4.
Function keys.
Navigate between saved measurement series
with the Left & Right arrow keys, which me-
mory position being shown is indicated with n1,
n2, n3 etc. directly below the lower measure-
ment (the number is the memory position). The
measurment shown in ”Notebook” is the average
value of the saved measurement series. To see
the Max & Min values, press Arrow Up & Ar-
row down.
Erase saved data
Erase makes it possible to delete saved measurement values. Upon
pressing Erase the text ”Erase” is shown on the display, to erase the
entire memory, press All. Press Esc to cancel.
It is also possible to erase the last saved measure-
ment value. This is done by navigating to the last
memory position and pressing Erase, in this case
three alternatives will show. Press Note to erase
the last note or All to erase the entire memory.
WARNING! Only All can be chosen if the last
measurement series isn’t selected, which means
all notes will be erased.
NOTE!
Note = Selects the last log.
ALL = Selects all logs.
Should the last note or the
entire memory be erased?
6.

7.
9. Technical data
Measurement Range:
CO2: 0...5000 ppm
Barometer: 600...1200 hPa
Measurement Uncertainty:
(1 minute after start)
CO2: ±35 ppm ± 3,7 % read value
Barometer: ± 3,5 hPa
Measurement uncertainty with 95% coverage probability in non con-
densating air.
In relative humidity below 80 %, at 0...35°C,
In relative humidity below 70 %, at 35...50°C, non aggressive gases
Sampling Interval:
CO2: 16 seconds
Barometer: Twice per second
Display Interval:
CO2: 16 seconds for the measured value.
Two prognostications in between, indicated by a * on
display. In stable conditions prognostications equal
measured value.
Barometer: Twice per second
Log Interval:
16 seconds - 2 hours. Pump can be set on or off. Set-
ting pump on turns it on 30 seconds before measure
ment is made.
General:
Memory: 50 series of measurements, max 15700 measurement
pairs all series combined. (CO2 and air pressure is a
measurement pair)
PC Communi-
cation: Mini USB
Lithium-Ion
Battery: Almost one week up time without pump and backlight
(150 hours, 24 hours with backlight)
USB charger and USB cable included
Table of contents
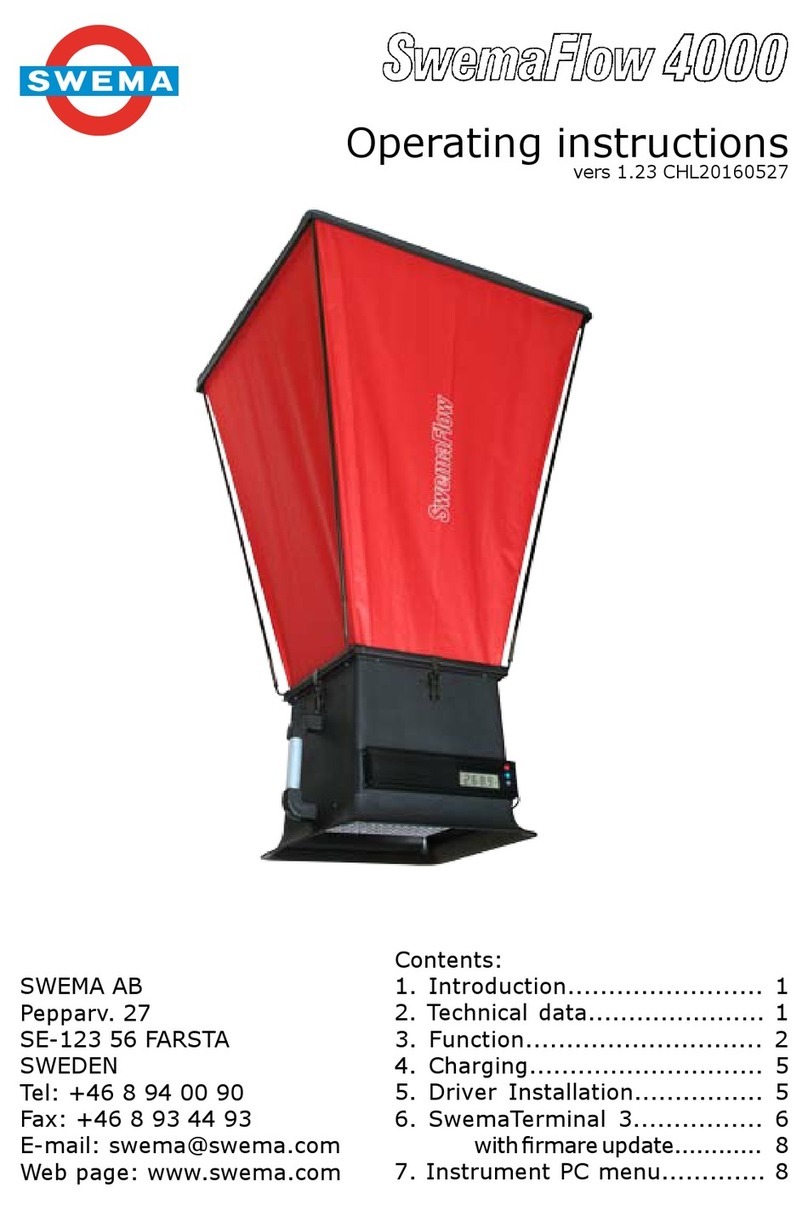
Other Swema Measuring Instrument manuals
Swema
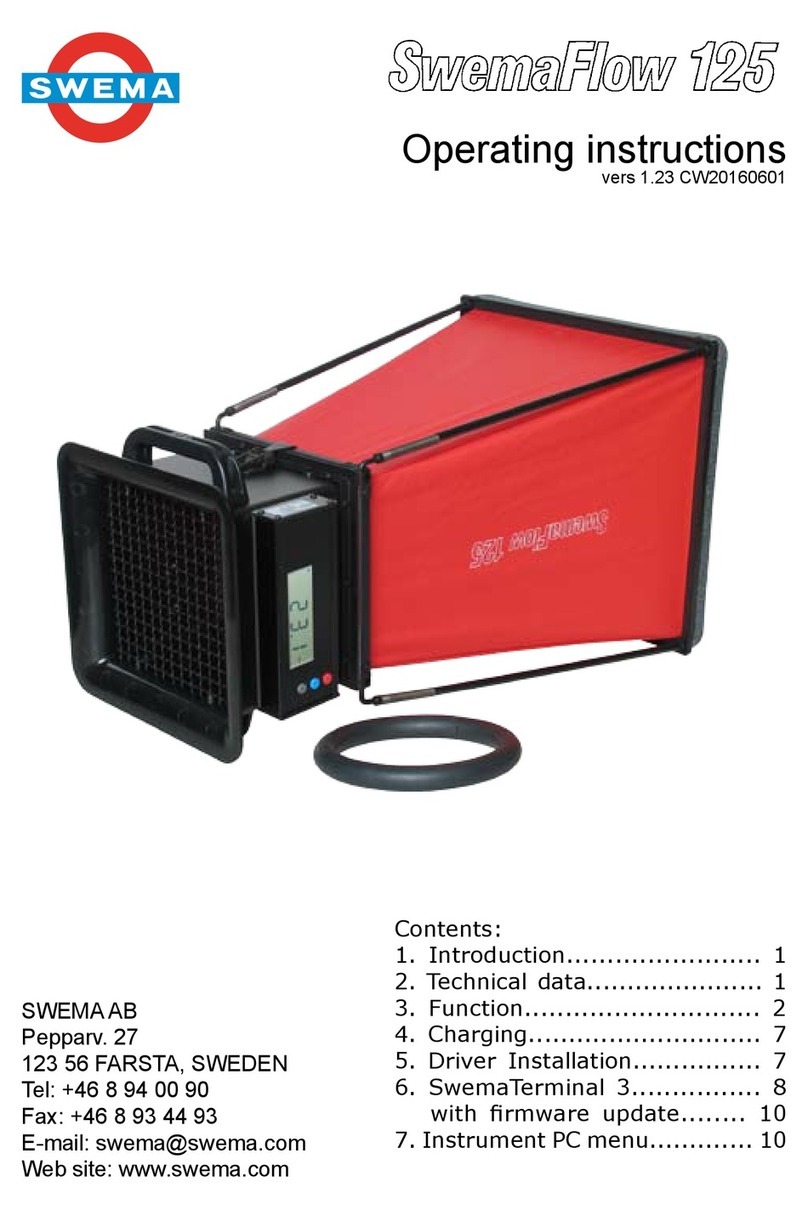
Swema SwemaFlow 125 User manual

Swema
Swema SwemaMan 60 User manual
Swema
Swema Air 5 User manual

Swema
Swema 3000md User manual

Swema
Swema SwemaAir 40 User manual
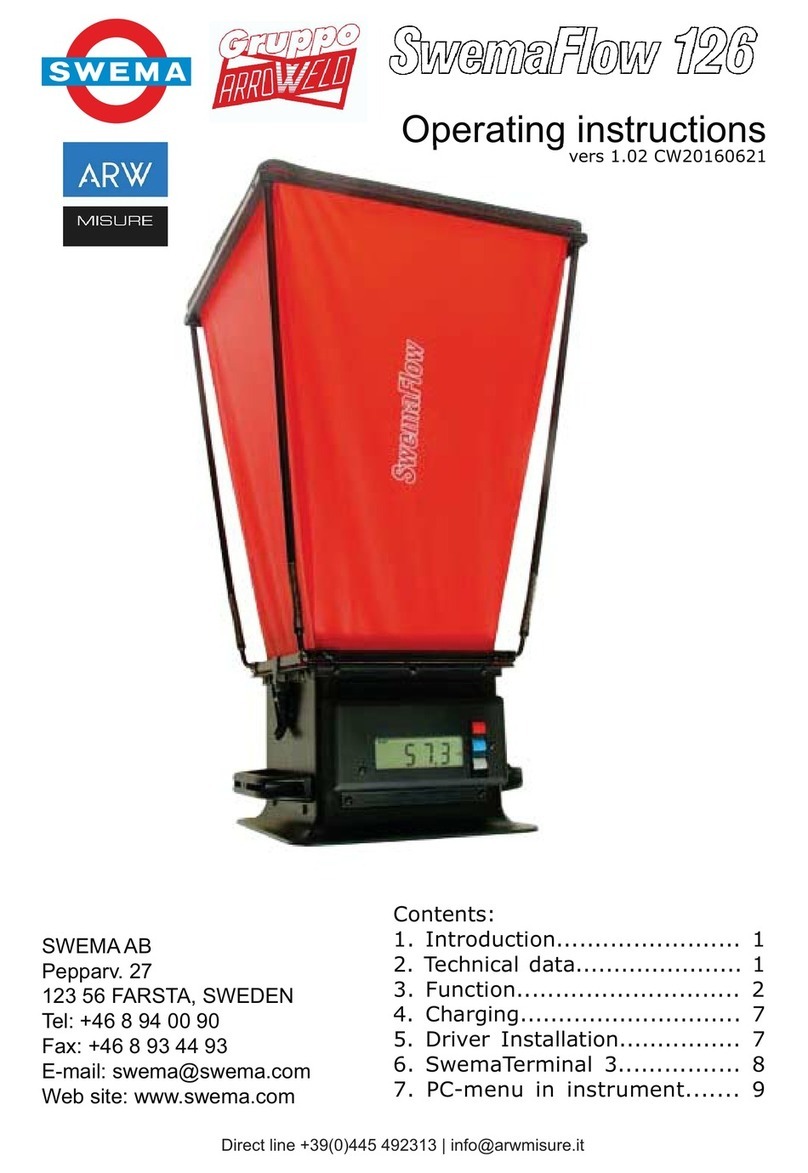
Swema
Swema SwemaTemp 21 User manual

Swema
Swema 03 User manual

Swema
Swema SwemaFlow 126 User manual
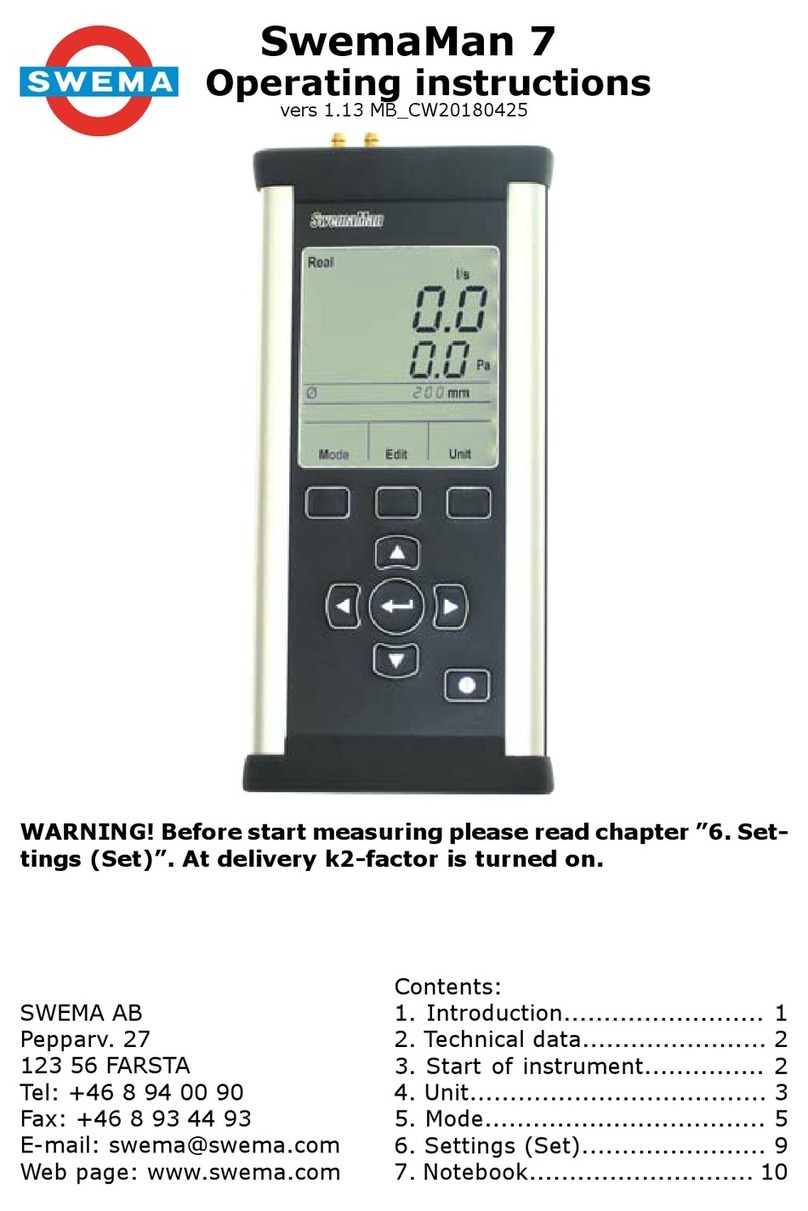
Swema
Swema 3000 User manual

Swema
Swema SwemaFlow 4000 User manual