6
First Steps
Gigaset S45 / SWZ PTT-en / Internet / start_guide_time.fm / 02.06.2006
1. On the handset
v¢Ð¢Handset ¢Register H/Set
sSelect base station, e.g. Base
1, and press §OK§.
~Enter the system PIN of the
base station (the default is
0000) and press §OK§. The
screen will display, e.g. Base 1.
2. On the base station
Within 60 secs. press and hold the regis-
tration/paging key on the base station
(page 1) (approx. 3 secs.).
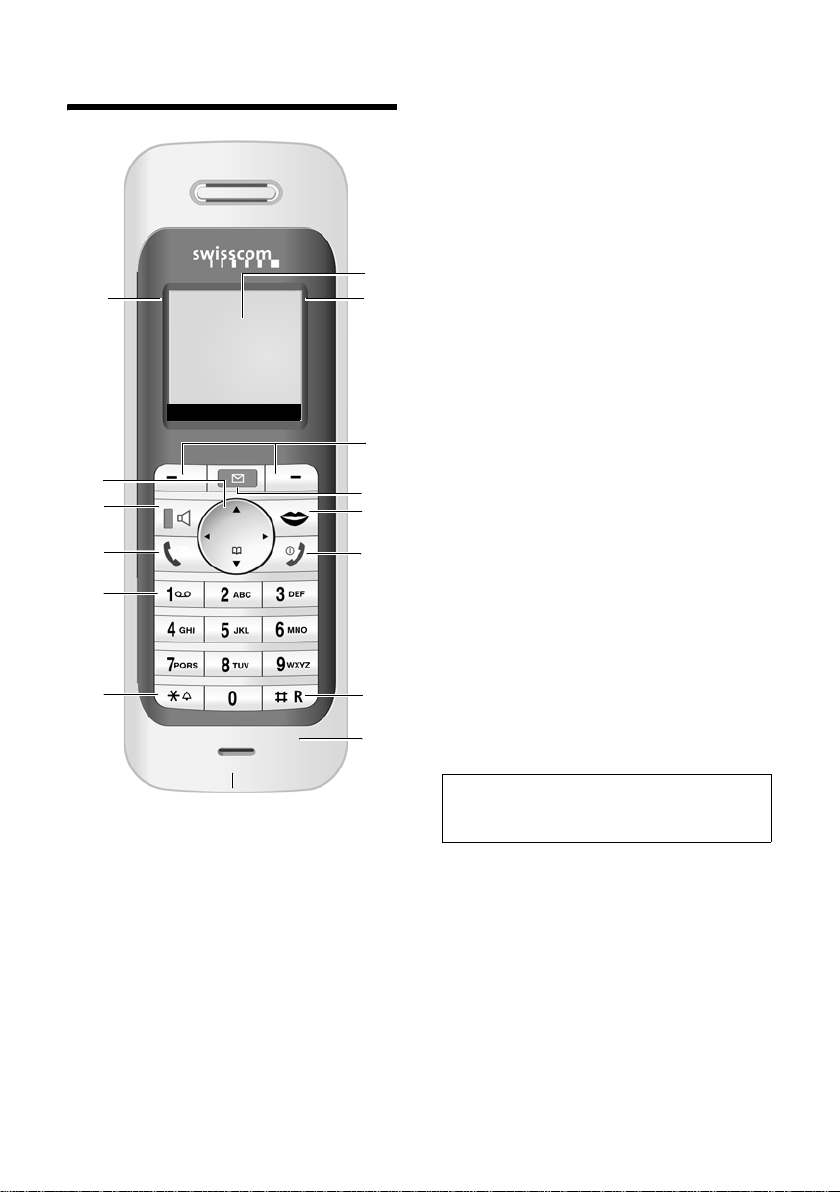
Headset socket
You can connect the following types of
headset (with jack connector): HAMA
Plantronics M40, MX100, MX150 and the
supplied Headset.
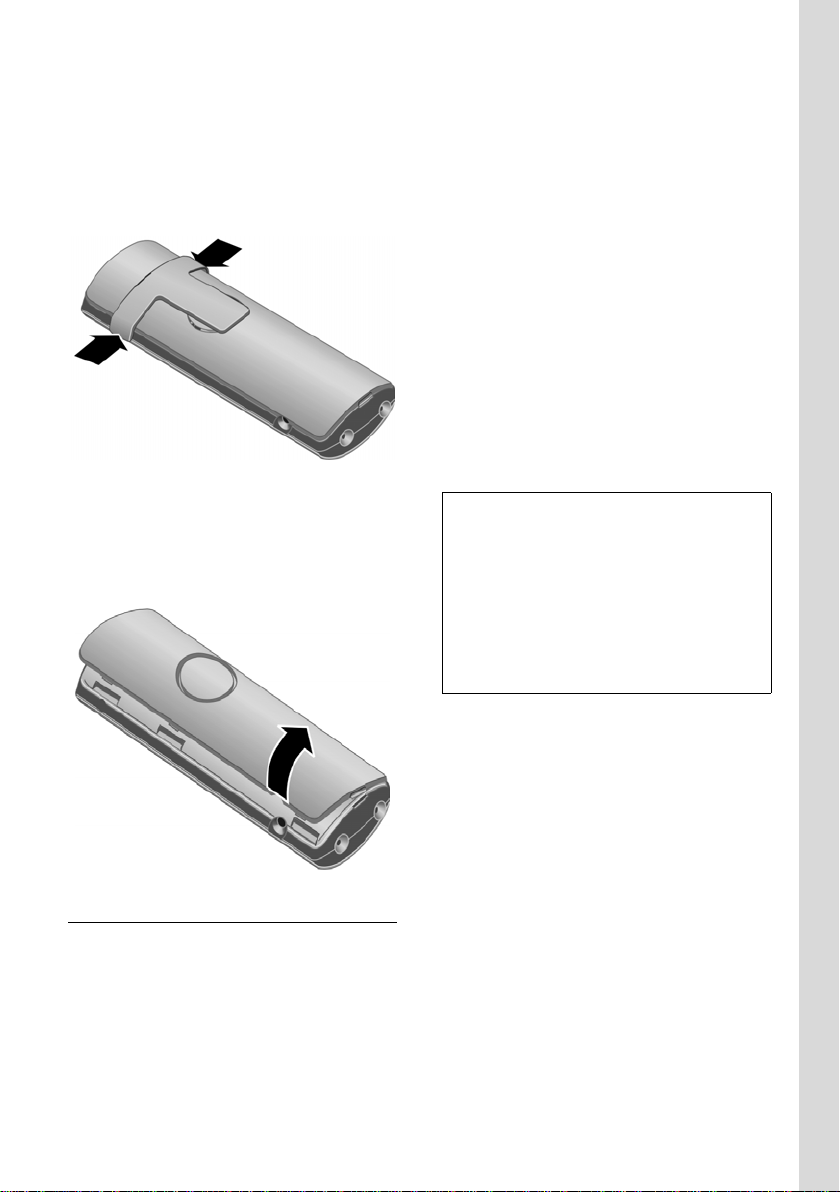
Charging batteries
¤Plug the mains adapter of the charging
cradle into a mains power socket.
¤Place the handset in the cradle with its
display facing forward.
To charge the batteries, leave the handset
in the charging cradle. If the handset is
activated, the flashing battery icon ein
the top right of the display indicates that
the batteries are charging. During handset
operation, the battery icon indicates the
charge status of the batteries (page 1).
Initial charging and discharging of
batteries
The correct charge level can only be dis-
played if the batteries are first fully
charged and discharged.
¤To do this, leave the handset in the
charging cradle continuously for ten
hours. Your handset need not be
switched on for it to charge.
¤Once the batteries are fully charged,
remove the handset from the charging
cradle and do not put it back again until
the batteries are fully discharged.
Please remember:
uAlways repeat the charging and dis-
charging procedure if you remove the
batteries from the handset and re-
insert them.
uThe batteries may become warm as
they are charging. This is not danger-
ous.
uAfter a time the charge capacity of the
batteries will decrease for technical rea-
sons.
Setting the date and time
If you have not yet set the date and time,
press the display key §Time§ to open the
input field.
To change the time, open the input field
via:
v¢Ð¢Date/Time
¤Change multiple line input:
Date:
Enter day, month and year in 6-digit
format.
Time:
Enter hours and minutes with 4 digits,
e.g. Q M 1 5 for 07:15
a.m.
§Save§ Press the display key.
Notes:
– The handset should only be placed in a
base station or charging cradle that is
designed for it.
– When the handset is in the cradle, it
charges even if it is switched off.
– If the handset has switched itself off
because the batteries are flat and it is then
placed in the charging cradle, it will switch
itself on automatically.
– After the first battery charge and discharge
you may replace your handset in the charg-
ing cradle after every call.