manuals.online logo
Brands
  1. Home
  2. •
  3. Brands
  4. •
  5. SWS
  6. •
  7. Welding System
  8. •
  9. SWS ALUMTIG 200 User manual

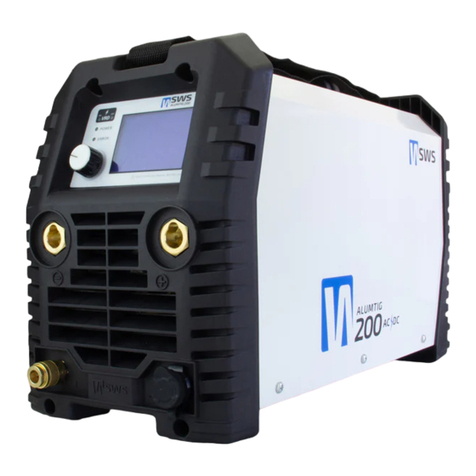
SWS ALUMTIG 200 User manual

TIG Modes - Torch Switch
TIG Modes - Foot Pedal
Stick Welding Mode
Main Menu
ALUMTIG
QUICK START GUIDE
™200
VRD
TIG Welding Mode
MMA ONLY: Voltage Reduction Device
reduces maximum unloaded voltage of
output terminals to safe levels.
EASY AC & EASY DC TIG - Ease of setup with
optimum settings and the ability to change the
trigger mode (2T or 4T) set pulse up to 2Hz and
adjust welding amps.
Stick Welding Mode
MMA AUTO - Ease of setup with automatic
settings with the ability to choose the electrode
diameter then fine tune with the Amps Fine
mode to increase or decrease amperage while
the machine takes care of the rest.
Power LED
When illuminated the power source is turned
on.
Error LED
When illuminated refer to error code on
display and resolve.
Rotary Encoder
1. Rotate to choose setting.
2. Press to select setting.
3. Rotate to adjust setting.
4. Press to store setting.
5. Press and hold for GAS purge / Gas check then press to stop.
6. Press and hold then switch on machine for hard reset (Use hard reset if frozen or for other errors)
1
1
2
2
Settings
Reset - Reset all welding parameters to defaults and reset welding timer.
Timer - Displays current total welding time for all welding modes.
Firmware Version - Displays the current version.
Input Power
15 A Outlet - Use a suitable 15 amp power outlet or lead.
10 A Outlet - Use a suitable 15 amp to 10 amp converter with 10 A
breaker.
Generator - 10 KVA minimum.
Polarity
DCEN - Connect the TIG torch into the socket with the (-)
symbol for direct current electrode negative. Connect the
ground cable into the (+) symbol.
Shielding Gas
Bottle Type - Side outlet bottle is needed for included gas regulator.
Gas Type - 100% Argon
Flow Rate - 8 Litres per minute (Flow rate is approximate do a test weld
to determine optimal gas coverage)
TIG Torch Amp Control
Torch Push Botton Switch - Controls the TIG welding arc and works dierently
depending on the mode see functions on back for operation.
Finger/Thumb Wheel - Controls the welding amps and can only be adjusted
when welding. 0 is the minimum welding amps (10A) 10 is machine setting amps.
The amp value displays when welding and holds for 5 seconds aer the arc
finishes.
3
3
ALUMTIG 200
1
2
3
4
4
4
4
1
2
2
Foot Pedal
TIG Torch
Torch Selection - Both the 4-meter torch and 6-meter
torch can be used with the foot pedal. If using the 6
meter torch leave the plug to the side.
Pedal Mode - Plug in the foot pedal then turn the machine
on to detect. (Pedal can also be used as ON/OFF switch in
2T/4T mode by not detecting the pedal)
Operation - The foot pedal can be used to precisely
manipulate the welding amps, which is highly beneficial
when welding aluminium. When the pedal is fully
depressed the output will ma the set weld amps.
PRO TIP - When using the foot pedal set the machine just
above the desired amps for the material being welded.
2
2
Polarity
Connect the stick lead into the socket with the (+) symbol
for direct current electrode positiv and connect the ground
cable into the (-) symbol.
In most MMA welding applica-
tions DCEP (Direct Current Electrode Positive) is used.
In some cases when welding very thin material
reversing the polarity to DCEN can be an advantage.
3
3
ALUMTIG 200
1
2
3
PRO AC & PRO DC TIG - Control all TIG AC or
DC welding parameters when a setting is
modified it saves automatically in the current
program selection. eg PROAC 1, 2, 3, 4, 5.
MMA PRO - Control all stick welding parameters.
TIG (GTAW) Functions
Stick (MMA) PRO Functions
Function
PRE FLOW (1-10 Seconds)
Purpose
Provides shielding gas to the weld zone before striking an arc to prevent porosity and contamination. When using dierent torch cup
setups and long welding cables, the pre-flow can be increased to provide adequate shielding.
Function
START AMPS (10-200 Amps N/A EASY MODES N/A FOOT CONTROL)
Purpose
This parameter is used to set the start current for TIG. In 4T mode the Initial Current remains on until the torch trigger switch is released
aer it has been depressed. In 2T mode this is the Initial Current for the Up Slope current ramp.
Function
UPSLOPE (0-10 Seconds N/A EASY MODES)
Purpose
This parameter is used to set the time for the weld current to ramp up from INITIAL current to BASE current.
Function
WELD AMPS (10-200 Amps)
Purpose
This parameter sets the welding current. In PULSE TIG mode, this parameter sets the PEAK current.
Function
PULSE BASE AMPS (10-200 Amps)
Purpose
In PULSE TIG mode, this parameter sets the BASE current.
Function
DOWNSLOPE (0-10 Seconds N/A EASY MODES)
Purpose
Down Slope will ramp amps “down” from the welding amp value to the end amp value to give time to fill the crater le at the end of the
weld bead. Can also be used in the 4T mode to help with heat control by briefly tapping the switch to cool o the weld before tapping it
again to restart the up slope sequence before the arc reaches the end amp stage.
Function
END AMPS (10-200 Amps N/A EASY MODES N/A FOOT CONTROL)
Purpose
Sets the final or minimum current before the arc is terminated. Used for filling craters at the ends of the weld and crack prevention.
Function
PULSE TIME ON (10-90% NA EASY MODES)
Purpose
The pulse consists of two stages: Welding amps (upper /Peak) and Pulse amps (lower/background current). This is represented by a % of
total time the pulse spends in the pulse amp stage of the cycle during one full pulse. The feature can be used to increase or decrease
pulse amp time relative to the welding amp time of the cycle to help manage heat input.
Function
HOT START (0-60 Amps)
Purpose
Sets the starting amps to reduce sticking of the electrode during the arc strike phase.
Stick (MMA) AUTO Functions
Function
ELEC DIA (2-5mm)
Purpose
Machine automatically adjusts amps relevant to the diameter of electrode being used.
Function
Amps Fine Tuning (-20-20%)
Purpose
Fine tunes the amps for the metal being welded.
Function
WELD AMPS (10-200 Amps)
Purpose
Welding amps define the top limit of amps at which the machine has been programmed to operate.
Function
ARC FORCE (0-99%)
Purpose
Controls the arc response when an arc is held short and voltage begins to drop. Arc force automatically compensates by modifying the
volt/amp curve to maintain the energy needed to weld. Represented as a percent of available arc force amperage.
Function
PULSE FREQUENCY (1-500Hz NA EASY MODES)
Purpose
Represented by Hertz (Hz), the pulse frequency defines the actual number of times each second the pulse makes one complete cycle
between welding amps (peak/high amp value) and pulse amps (background/low amp value).
This is also commonly referred to as Pulses Per Second (PPS). Low pulse frequencies are ideal for timing the point where filler metal is
added. This helps improve appearance and uniformity. Higher pulse frequencies are useful for welding seams and edges of thin material
and for better penetration on thicker metals.
Function
HF ON/OFF
Purpose
HF - High Frequency Start which allows non contact starting of the arc or when o (li tig) requires contact with the metal to initiate the
arc (for AC and DC). (HF is selected when symbol is not striked out) The li start function on the ALUMTIG 200 provides a cold electrode
for safety, and prevents accidental starts.
Function
AC BALANCE (50-98% NA EASY MODES)
Purpose
Controls arc cleaning action when welding on AC. Adjusting the % electrode negative (EN) AC wave controls the width of the cleaning
zone surrounding the weld. Lower percentage AC balance more cleaning action but less penetration. Higher percentage AC balance less
cleaning action but more penetration. PRO TIP: Typically a range between 65% - 75% is used.
Function
AC FREQUENCY (50-98% NA EASY MODES)
Purpose
Governs the number of times per second that the current alternates in AC mode. To achieve greater arc focus (constriction) and increase
puddle agitation while welding in AC mode, increase AC frequency. This allows pinpoint use on thin materials, and helps penetration on
thicker materials. Ideal adjustment range is usually between 80-120Hertz. For comparison most transformer welders operate on 60 Hz.
Greater arc control and stability can be achieved through the higher frequency range oered by this welder. Lower Frequencies will
widen and soen the arc and reduce the level of control.
Function
2T, 4T, TACK CONTROL (0.1 - 10 Seconds)
Purpose
2T MODE: Press and hold the switch. The program will cycle automatically. When the switch is released, the arc will
downslope and terminate with post gas flow.
4T MODE: Switch is pressed and held to start the pre-flow then start amps part of the cycle. When released, upslope
begins and continues until the amps are raised to the preset welding amps. When pressed and held again,
downslope starts and ramps down to the end amp stage. If released before downslope ends program will cycle to main amps if released
aer downslope ends the arc terminates, and post flow begins.
TACK CONTROL: Select this mode to control the arc on time for precision tack welds.

Other manuals for ALUMTIG 200

2

Other SWS Welding System manuals

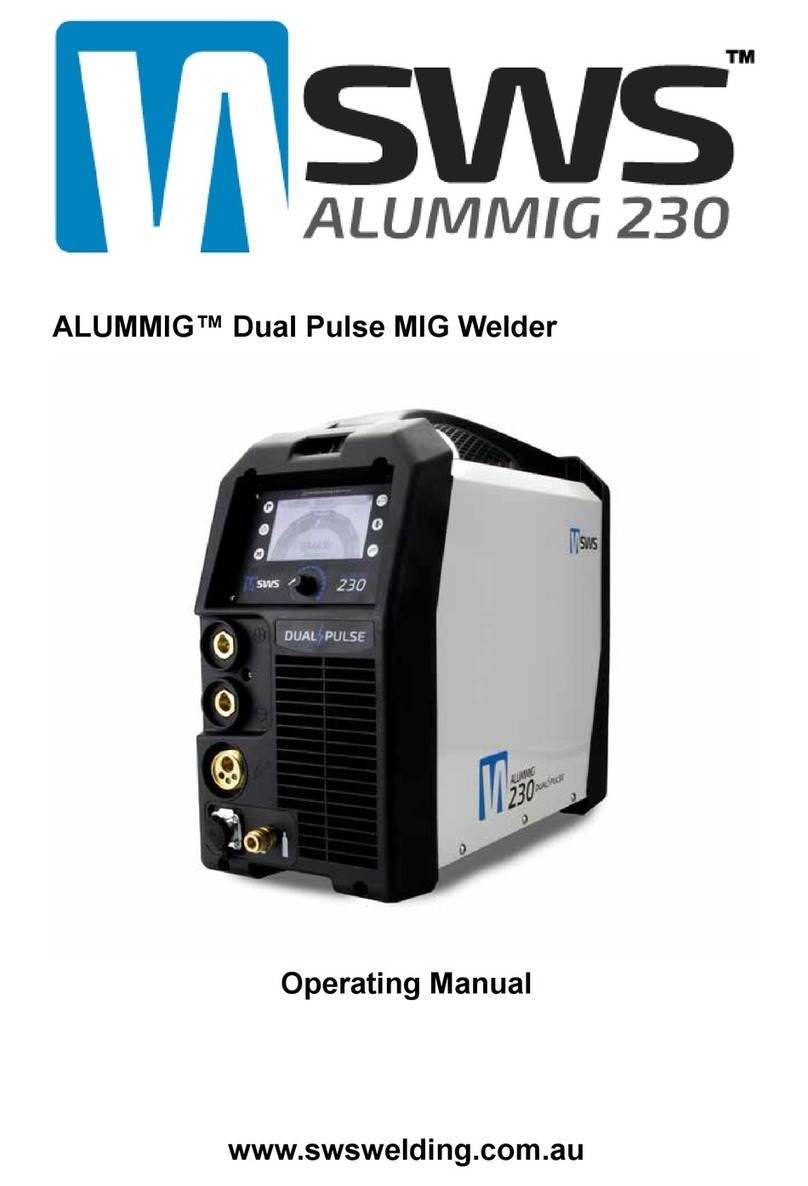
SWS ALUMMIG 230 User manual

SWS

SWS ALUMMIG 230 User manual

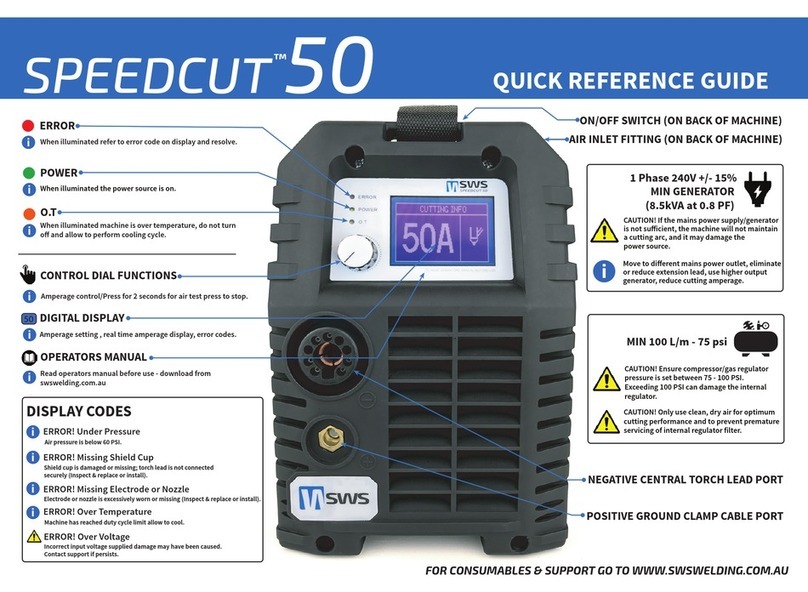
SWS SPEEDCUT 50 User manual

SWS

SWS SPEEDCUT 50 User manual

SWS ALUMMIG 230 User manual

SWS

SWS ALUMMIG 230 User manual

SWS ALUMTIG 200 User manual

SWS

SWS ALUMTIG 200 User manual

SWS SPEEDCUT 50 User manual

SWS

SWS SPEEDCUT 50 User manual

SWS ALUMTIG 20 User manual

SWS

SWS ALUMTIG 20 User manual

SWS ALUMTIG 200 User manual

SWS

SWS ALUMTIG 200 User manual

Popular Welding System manuals by other brands

Lincoln Electric SEVERE DUTY SVM187-A Service manual

Lincoln Electric

Lincoln Electric SEVERE DUTY SVM187-A Service manual

ESAB Heliarc 353iAC/DC operating manual

ESAB

ESAB Heliarc 353iAC/DC operating manual

BOSITE 5001A user manual

BOSITE

BOSITE 5001A user manual

Lincoln Electric RANGER 10,000 Service manual

Lincoln Electric

Lincoln Electric RANGER 10,000 Service manual

Kemppi Flexlite GX Series operating manual

Kemppi

Kemppi Flexlite GX Series operating manual

Jasic L20701 Operator's manual

Jasic

Jasic L20701 Operator's manual

WELDPRO MMA160GDsv Operator's manual

WELDPRO

WELDPRO MMA160GDsv Operator's manual

STE POTENZA 160 Operating	 instruction

STE

STE POTENZA 160 Operating instruction

Miller Blue Thunder 253 owner's manual

Miller

Miller Blue Thunder 253 owner's manual

CIGWELD TRANSTIG 200 Service manual

CIGWELD

CIGWELD TRANSTIG 200 Service manual

Rainbow 170 HF Operator's manual

Rainbow

Rainbow 170 HF Operator's manual

HBS CDi 2302 operating manual

HBS

HBS CDi 2302 operating manual

Luna WM 1605 F manual

Luna

Luna WM 1605 F manual

Zenit Powertools MMA-200/2 instruction manual

Zenit Powertools

Zenit Powertools MMA-200/2 instruction manual

Miller Electric Coolmate 1 W owner's manual

Miller Electric

Miller Electric Coolmate 1 W owner's manual

Lincoln CV-655 Service manual

Lincoln

Lincoln CV-655 Service manual

ESAB PT-26 instruction manual

ESAB

ESAB PT-26 instruction manual

CEMONT COLT 90 Safety instruction for use and maintenance

CEMONT

CEMONT COLT 90 Safety instruction for use and maintenance

manuals.online logo
manuals.online logoBrands
  • About & Mission
  • Contact us
  • Privacy Policy
  • Terms and Conditions

Copyright 2025 Manuals.Online. All Rights Reserved.