manuals.online logo
Brands
  1. Home
  2. •
  3. Brands
  4. •
  5. SWS
  6. •
  7. Welding System
  8. •
  9. SWS SPEEDCUT 50 User manual

SWS SPEEDCUT 50 User manual

SPEEDCUT
50
1 Phase 240V +/- 15%
MIN GENERATOR
(8.5kVA at 0.8 PF)
MIN 100 L/m - 75 psi
ERROR
FOR CONSUMABLES & SUPPORT GO TO WWW.SWSWELDING.COM.AU
DISPLAY CODES
ERROR! Under Pressure
ERROR! Missing Shield Cup
ERROR! Missing Electrode or Nozzle
ERROR! Over Temperature
QUICK REFERENCE GUIDE
CONTROL DIAL FUNCTIONS
NEGATIVE CENTRAL TORCH LEAD PORT
AIR INLET FITTING (ON BACK OF MACHINE)
ON/OFF SWITCH (ON BACK OF MACHINE)
POSITIVE GROUND CLAMP CABLE PORT
OPERATORS MANUAL
When illuminated refer to error code on display and resolve.
Amperage control/Press for 2 seconds for air test press to stop.
Read operators manual before use - download from
swswelding.com.au
Air pressure is below 60 PSI.
Shield cup is damaged or missing; torch lead is not connected
securely (Inspect & replace or install).
Electrode or nozzle is excessively worn or missing (Inspect & replace or install).
Machine has reached duty cycle limit allow to cool.
CAUTION! Only use clean, dry air for optimum
cutting performance and to prevent premature
servicing of internal regulator filter.
CAUTION! Ensure compressor/gas regulator
pressure is set between 75 - 100 PSI.
Exceeding 100 PSI can damage the internal
regulator.
Move to dierent mains power outlet, eliminate
or reduce extension lead, use higher output
generator, reduce cutting amperage.
™
i
i
POWER
When illuminated the power source is on.
i
O.T
When illuminated machine is over temperature, do not turn
o and allow to perform cooling cycle.
i
i
DIGITAL DISPLAY
Amperage setting , real time amperage display, error codes.
i
i
i
i
i
i
ERROR! Over Voltage
Incorrect input voltage supplied damage may have been caused.
Contact support if persists.
50
CAUTION! If the mains power supply/generator
is not suicient, the machine will not maintain
a cutting arc, and it may damage the
power source.
Always turn the machine on and let it perform booting up
cycle before connecting pressurised air line.
™
1
2
3
4Secure quick connect fitting to the airline using supplied hose clamp
and connect to male inlet fitting (Located on the back of the
machine).
Connect the plasma torch lead to the torch socket and secure using the
retaining nut. (Ensure to tighten)
Connect the ground cable connector to the positive terminal and turn
clockwise to lock in place.
Plug machine into a suitable mains power supply or generator and
turn on using the ON/OFF switch (Located on the back of the machine).
1
2
3
4
Protect your eyes and body. Always use an approved
welding helmet/googles and filter lens shade #5 and
wear protective clothing.
Push safety switch
away with finger and
pull trigger.
System will adjust air pressure
then start pilot arc aer 2
seconds.
Release trigger to stop arc aer
cut and to start the air cooling
cycle (15 seconds).
Pull then release trigger to stop
cooling cycle prematurely.
Always let machine perform
cooling cycle aer long cuts as
you may damage the torch
cartridge.
Place stando guide, drag tip, or position torch tip 3-9mm o the
metal at 90 degrees and pull the trigger. Once the cutting starts
begin to slowly move across the workpiece
i
WARNING! The pilot arc can cause serious burns - Never
engage trigger switch when torch tip is directed towards
the eyes, face or body of yourself or others.
Adjust your speed so that sparks are coming from the backside of the
metal. If sparks are not visible at the bottom of the metal, you are not
penetrating the metal. This can be caused by moving too fast, insuicient
amperage or too thick of material for the rated capacity. At the end of the
cut angle, your torch past 90 degrees to completely sever the metal.
NOTE: Cut quality is highly
dependent on setup and
the cutting parameters
such as alignment with the
workpiece, torch stando,
cutting speed, gas
pressures, and operator
ability.
FOR CONSUMABLES & SUPPORT GO TO WWW.SWSWELDING.COM.AU
START UP PROCEDURE

Other manuals for SPEEDCUT 50

1

Other SWS Welding System manuals

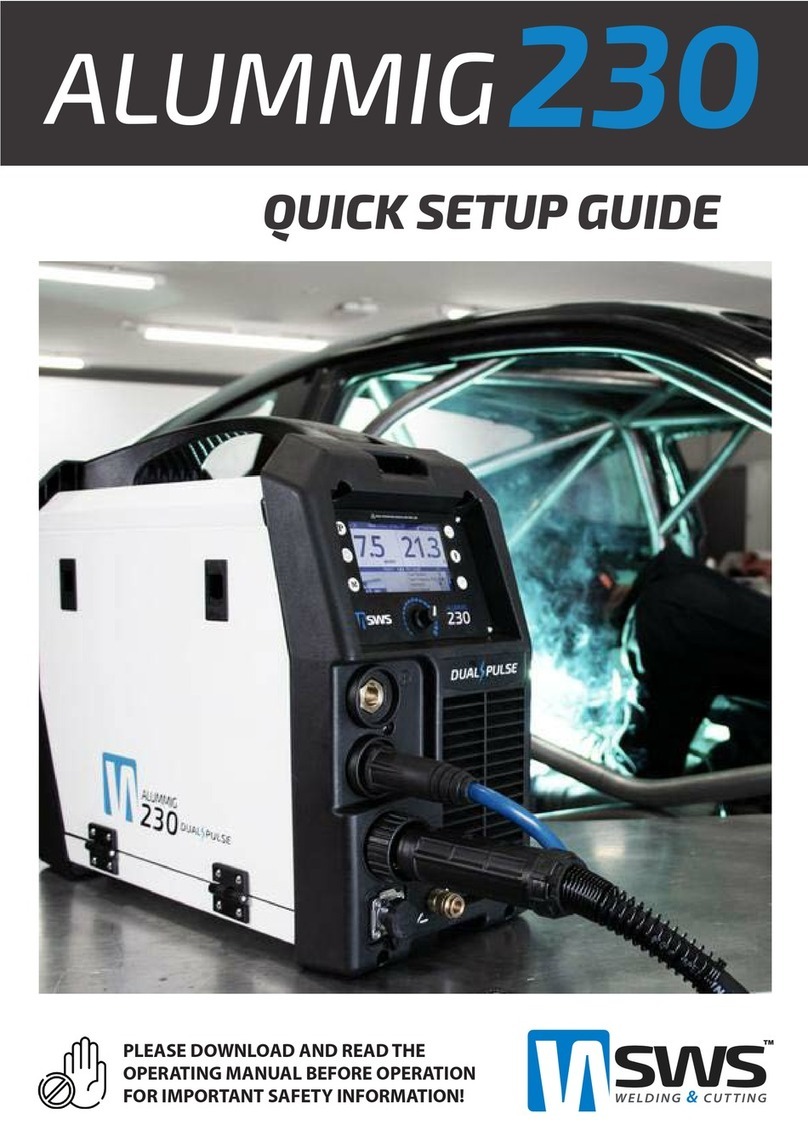
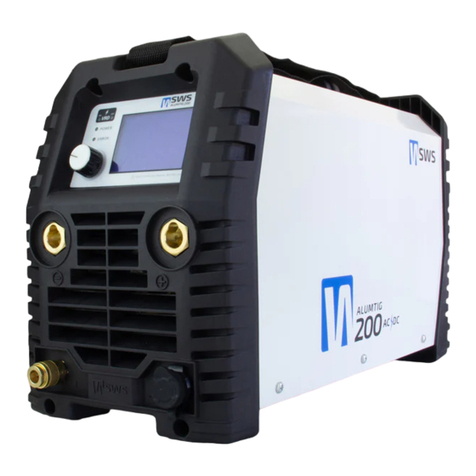
SWS ALUMTIG 200 User manual

SWS

SWS ALUMTIG 200 User manual

SWS ALUMMIG 230 User manual

SWS

SWS ALUMMIG 230 User manual

SWS SPEEDCUT 50 User manual

SWS

SWS SPEEDCUT 50 User manual

SWS ALUMMIG 230 User manual

SWS

SWS ALUMMIG 230 User manual

SWS ALUMTIG 200 User manual

SWS

SWS ALUMTIG 200 User manual

SWS ALUMTIG 200 User manual

SWS

SWS ALUMTIG 200 User manual

SWS ALUMTIG 20 User manual

SWS

SWS ALUMTIG 20 User manual

Popular Welding System manuals by other brands

LOKERMANN GRAND ARC 400 CEL user manual

LOKERMANN

LOKERMANN GRAND ARC 400 CEL user manual

Pro Spot NP-3 instruction manual

Pro Spot

Pro Spot NP-3 instruction manual

SUNSTONE Orion PJ user guide

SUNSTONE

SUNSTONE Orion PJ user guide

Eastwood MIG 175 Service manual

Eastwood

Eastwood MIG 175 Service manual

EWM Pico 162 VRD operating instructions

EWM

EWM Pico 162 VRD operating instructions

HERKULES 15.749.91 operating instructions

HERKULES

HERKULES 15.749.91 operating instructions

Lincoln Electric ASPECT 300 Operator's manual

Lincoln Electric

Lincoln Electric ASPECT 300 Operator's manual

voestalpine Bohler URANOS 2000 SMC instruction manual

voestalpine

voestalpine Bohler URANOS 2000 SMC instruction manual

Deca SW 28 instruction manual

Deca

Deca SW 28 instruction manual

ASKAYNAK MasterSTICK 505 user manual

ASKAYNAK

ASKAYNAK MasterSTICK 505 user manual

Amada MH-1H-01 Operation manual

Amada

Amada MH-1H-01 Operation manual

DuroStar DS4000WGE owner's manual

DuroStar

DuroStar DS4000WGE owner's manual

EINHELL BT-IW 150 Original operating instructions

EINHELL

EINHELL BT-IW 150 Original operating instructions

Miller Electric OM-229 038D owner's manual

Miller Electric

Miller Electric OM-229 038D owner's manual

ESAB Aristo Origo Feed 3004 instruction manual

ESAB

ESAB Aristo Origo Feed 3004 instruction manual

Sua ionTig 200 AC/DC Operation manual

Sua

Sua ionTig 200 AC/DC Operation manual

Lincoln Electric 12719 Operator's manual

Lincoln Electric

Lincoln Electric 12719 Operator's manual

Lincoln Electric Semiautomatic Wire Feeders LN-8 Technical specifications

Lincoln Electric

Lincoln Electric Semiautomatic Wire Feeders LN-8 Technical specifications

manuals.online logo
manuals.online logoBrands
  • About & Mission
  • Contact us
  • Privacy Policy
  • Terms and Conditions

Copyright 2025 Manuals.Online. All Rights Reserved.