Symmetrikit Meywalk 4 Series Instruction Manual

User Handbook

2
Introduction
CE marking and labels
Safety precautions
Prior to rst use
Meywalk®4 part names
Warranty
Assembly
Adjustments
Cleaning and maintenance
Recycling
Disposal
Pre-assessment
Technical specications
Meywalk®4 accessories
CONTENTS
3
3
4
5
6
7
8
10
18
18
18
20
21
22

3
Meywalk® 4 Micro, Mini, Small, Medium and Large are primarily designed for young children, youths
and adults who have diculty walking without support. The user-friendly Meywalk®4 is designed
for indoor and outdoor use. The maximum permitted body weight of the user is: Micro - 60kg, Mini
- 80 kg, Small - 100 kg and Medium and Large - 130 kg.
With the Meywalk®4 you have purchased one of the best walkers available. A higher standard is
reached due to its unique design and high-quality materials. You will be impressed by the multiple
functions:
• Meywalk®4 follows individual body movements and walking patterns.
• Helps the user keep his/her torso upright and makes the user feel safe.
• The handlebar supports the user’s arms and reduces the strain on them.
• The seat can be lowered when getting in and out.
• The rear stop helps with keeping the user comfortably seated.
• The integrated springs and dynamic seat support the walking function.
CE marking and labels
The type and manufacturer label is placed on the bottom frame. Labels must always be readable.
Replace any unreadable or missing labels as soon as possible. The type and manufacturer label is
important for the identication of the product and may not be removed.
The Meywalk®4 is CE marked. This guarantees that the Meywalk®4 is in compliance with all relevant
safety requirements specied in Council Directive 93/42/EEC on medical devices. The Meywalk®4
was tested by Berlin Cert, Prüf- und Zertizierstelle für Medizinprodukte GmbH, at the BerlinTechnical
University.
INTRODUCTION

4
• Never leave the user in Meywalk®4 unattended! Meywalk®4 is a therapy
product and should only be used as such!
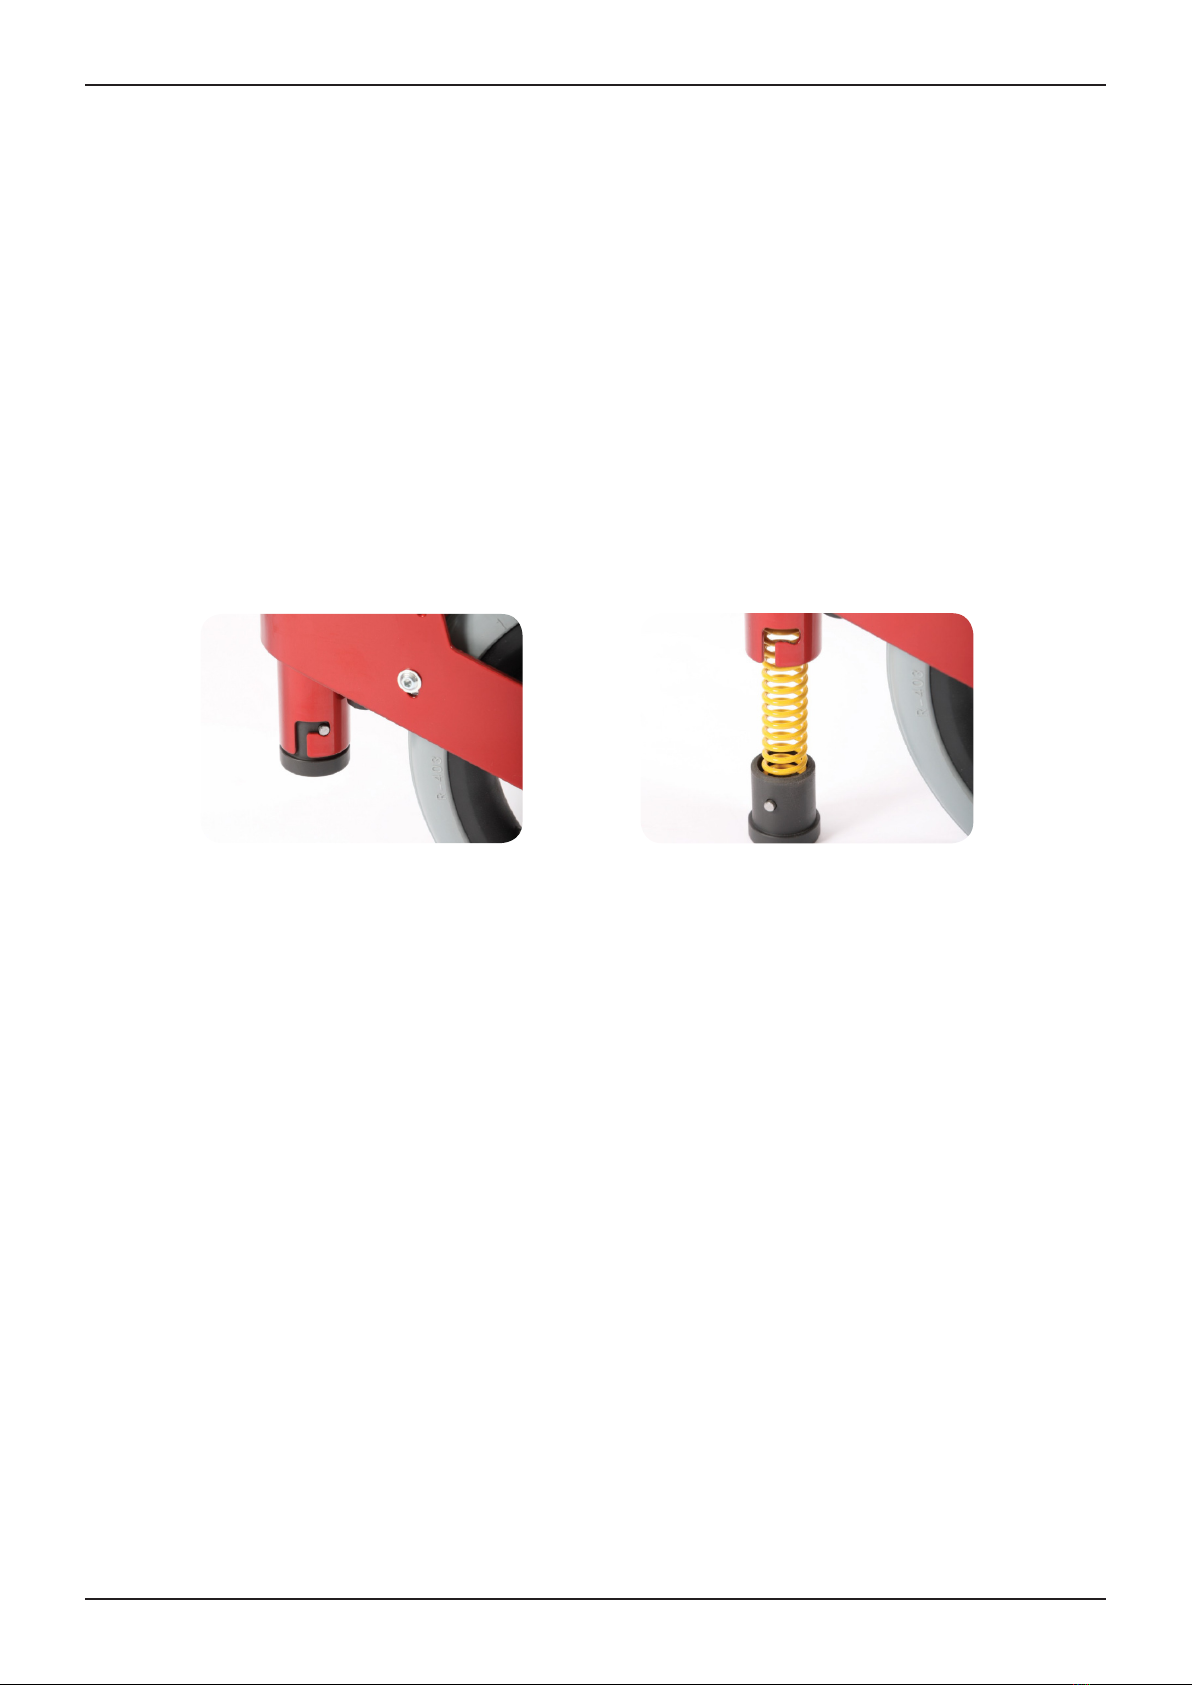
• The spring system of Meywalk®4 may involve a risk of the walking aid toppling
over if used by a very restless user.
• Meywalk®4 rolls very easily and you should always consider potential dangers
that the user may get access to.
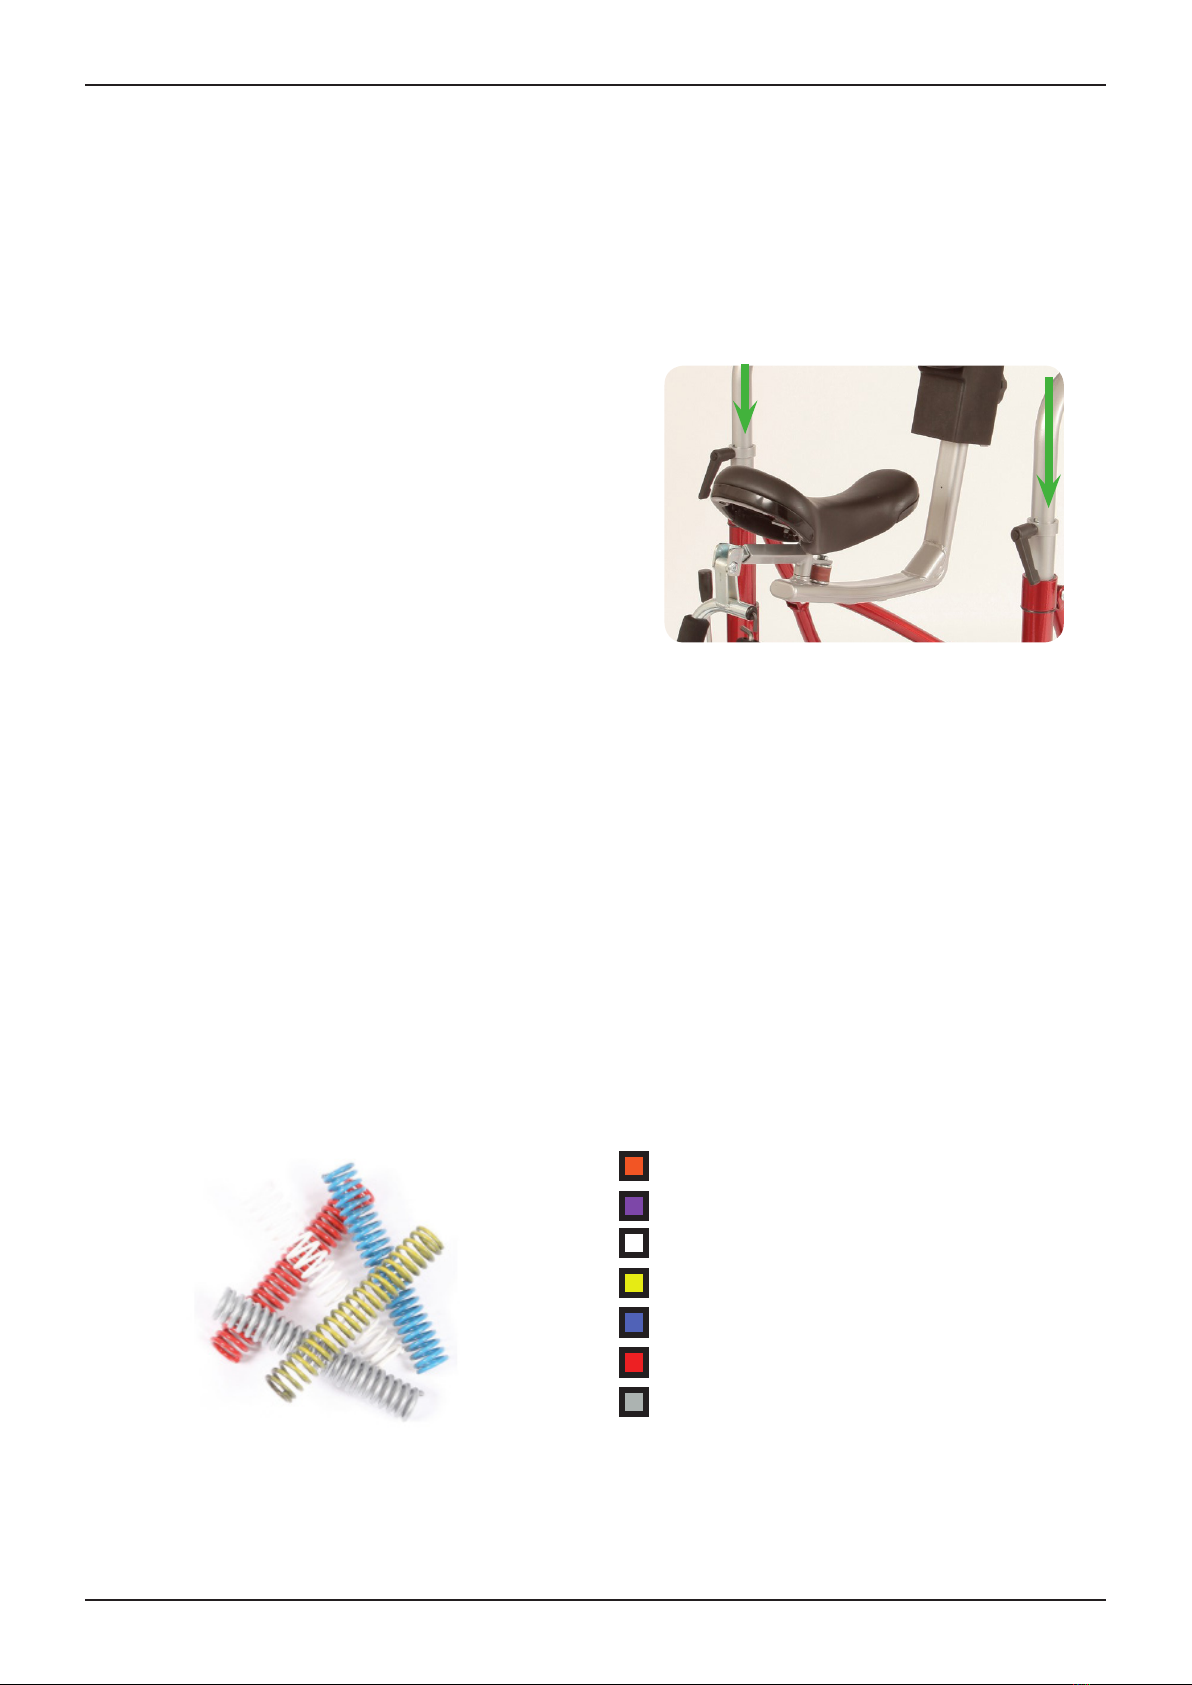
• Always hold the tilt bar securely when a user is being lifted or lowered. Especially
when opening the tilt bar to lower the user, you must be prepared for the
upward force which gradually increases as the tilt bar rises.
• Never let go of the tilt bar in the middle of a lifting or lowering operation, even
if taken by surprise by the heavy weight loading.
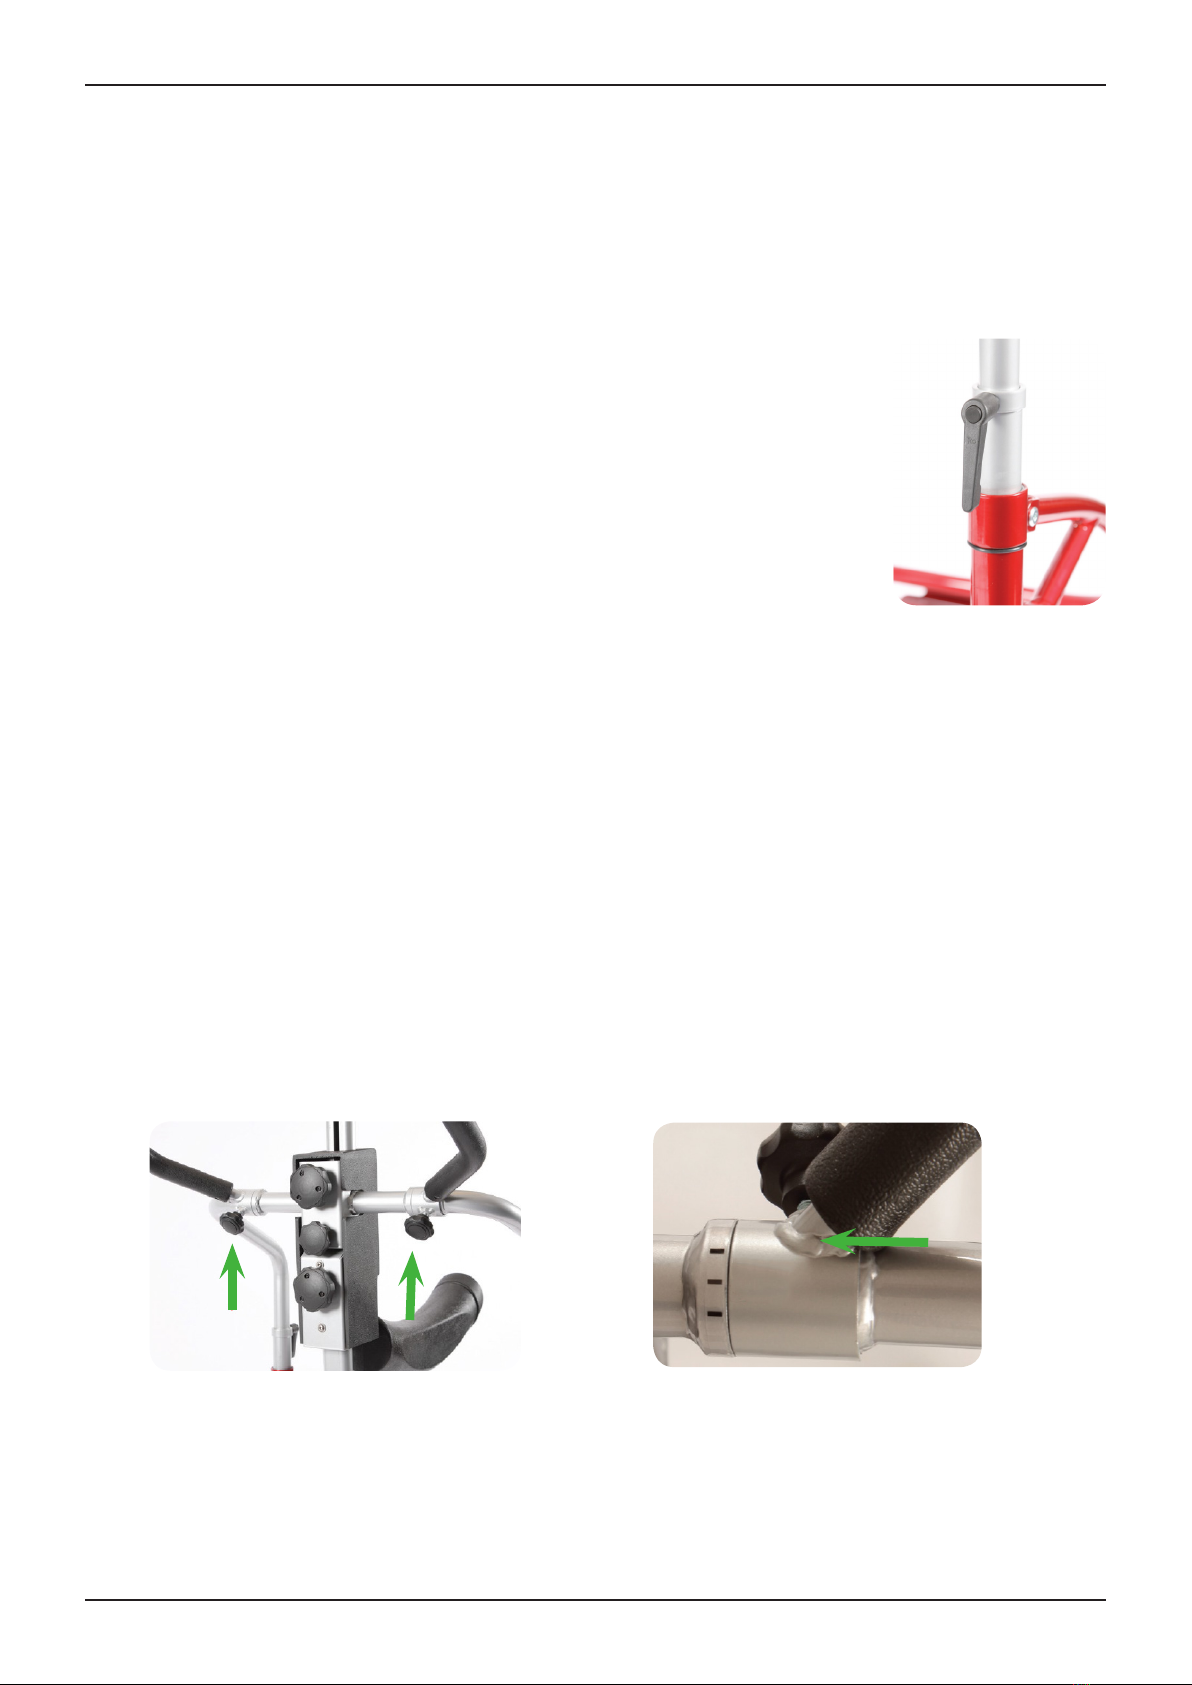
• Be aware of the higher risk of squeezing your ngers when adjusting the
walker.
• If ttings are removed, open tube ends may be revealed. These may have sharp
inner edges and may be dangerous for probing ngers. However, Meywalk®4
and its accessories are designed to avoid open ends! If a situation with open
tube ends should ever arise, it is recommended that they are closed o with
plastic plugs.
• Polyurethane foam and foam tubing may not be consumed.
• Please be aware that the upholstery heats up if placed in direct sun light. This
can cause skin damage if the upholstery is touched. Therefore, cover up the
upholstery parts or protect the walker from direct sun light.
• The walker should only be used on level and rm ooring. Avoid loose surfaces
such as gravel, sand or foliage. Be aware of unevenness and holes in the ooring
as there is a risk of toppling over or getting stuck. Be especially careful on wet or
icy surfaces as the risk of slipping is considerably higher.
SAFETY PRECAUTIONS

5
Meywalk®4 is supplied almost fully assembled. Please check that the package contains the following
parts:
• Bottom frame with wheels and brakes.
• Top part with seat and trunk support.
• A set of springs according to the user’s body weight.
• Accessories as ordered.
• Check that all parts are securely fastened before using the walker.
• Do not use high-pressure cleaning tools or caustic chemicals when cleaning the
walker.
• Unlike previous generations of Meywalk® Walkers, the Meywalk®4 is now
equipped with drag brakes, non-reverse brakes and front wheel swivel-locks as
standard.
• The product is not made with natural rubber latex.
Prior to rst use

6
Meywalk®4parts
Trunk support
Handlebar
Trunk support
height adjustment
Tilt function
Seat height
adjustment
Seat with
rear stop
Spanner grip for
adjustment of
upper tube
Brakes
Swing bar, not
for Mini model
Fender
wheel
Rear wheels
Front wheels

7
Warranty is granted on all defects that are proven to be caused
by material or manufacturer fault. The warranty period is 24
months from the time of dispatch readiness alternatively time
of delivery. The warranty does not cover any damage due to
normal wear and tear, intentional, negligent or inexpedient
handling or use. This also applies if using unsuitable detergents
and lubricants.
WARRANTY

8
Joining the top part and bottom frame
Spring loading
ASSEMBLY
Place the top part in the tubes on the bottom
frame. Remember to position the top part so
that the handlebar points in the direction of
the swivelling front wheels.
The two springs inside the tubes can be changed to obtain harder or softer suspension. As a
guideline, the springs should be fully compressed by the body weight of the user. There are
seven dierent spring hardness levels corresponding to the following body weight:
Orange 10 -15 kg
Purple 15 - 20 kg
White 20 - 50 kg
Yellow 45 - 65 kg
Blue 65 - 80 kg
Red 80 - 100 kg
Silver 100 - 130 kg

9
The springs can easily be interchanged. Grab and open the swing bar so that the frame is
lowered. The tube ends are closed with a lid - open the lids to remove the springs. To open
the lid push up and turn clockwise before pulling the lid down and o. After removal of the
old springs the new ones can be inserted into the tubes. Now the lid can be fastened again
by repeating the steps above in reverse order. On the Model Mini, you have to lift the top
part, then you can easily change the springs.

10
ADJUSTMENTS
Stanchions
Warning! Do not carry out this adjustment while a user is
placed in Meywalk®4. The height of Meywalk®4 is adjusted by way
of the black spanner grips. Loosen the spanner grips on both sides
and adjust the frame to the desired height. Fasten the spanner grips
rmly. It is important that both sides are adjusted to an equal height.
You can check this by way of the indentations on the tubes.
Handlebar
The angle of the handlebar can be adjusted in three steps. Loosen the two thumb screws and
turn the handlebar to the desired position. Fasten the thumb screws lightly. If the handlebar
is seated correctly it should not be possible to turn it with the thumb screws lightly fastened.
When you have made sure that the handlebar is placed correctly you may tightly fasten the
thumb screws.

11
Seat
Warning! Do not carry out this adjustment while a user
is placed in Meywalk®4. Adjust the seat height according
to the length of the user’s legs. Turn the lower thumb screw
located at the front of Meywalk®4. The thumb screw features a
“child lock” which is released by simultaneously pressing and
turning. When released, the seat can be adjusted up or down.
Position the seat at the correct height. Hold your hand under
the seat bar bottom to make the seat slide easily up and down.
Re-tighten the thumb screw when the desired height has been
found.
Trunk support height
Adjust the trunk support according to the individual user’s
height. Turn the upper thumb screw located at the front of
Meywalk®4. The thumb screw features a “child lock” which is
released by simultaneously pressing and turning. When released,
the trunk support can be adjusted up or down until the correct
height has been found. Re-tighten the thumb screw.
Trunk support replacement
Warning! Do not carry out this adjustment while a user
is placed in Meywalk®4. For trunk support replacement,
loosen the two Allen screws in front of the support. The two
screws t all trunk supports. The trunk support is available in
ve variants: Circumference 70, 90, 105, 120 and 130 cm.

12
Tilt function
Warning! Do not carry out this adjustment while a user
is placed in Meywalk®4. By means of the tilt function the
user’s posture can be changed. Turn the middle thumb
screw to tilt the support. The thumb screw is located at the
front of Meywalk®4. While turning the screw, you can change
the angle of the trunk support and seat up to 15°. The tilt
function is continuously adjustable.
Getting in and out
Featuring a unique lifting and lowering system Meywalk®4 has made it easier for the user to
get in and out. Grab the front of the swing bar with both hands and tip it up. This way the
seat will be lowered approx. 11 cm for Small, 13 cm for Medium and 22 cm for Large. When
the user has been seated, close the trunk support and pull up the rear stop. The seat is lifted
by pushing down the swing bar until it locks with an audible click. The integrated gearing in
the lifting and lowering system means that the downward pressure need only be about one
third of the user’s weight.

13
Rear stop
The rear stop should always be closed in the upright position when there is a user in
Meywalk®4. Pull the rear stop backwards out of the seat and turn it upwards. Now you can
push it down into the locked position. Repeat the procedure in reverse order to open the
rear stop again. The rear stop behind the seat can be adjusted in depth. First lift up the rear
stop and tilt it backwards. This reveals an Allen screw inside the U-prole. When the Allen
screw is loosened, the rear stop can be slid forwards or backwards in the external tube. After
adjustment, re-tighten the Allen screw.
Trunk support
To open the trunk support push the two padded tube pieces inwards and turn down. To
close the trunk support push the tube pieces inwards and turn up to the locked position.

14
Brakes
The brakes are parking brakes that work by directly blocking the
rear wheels with a braking pulley pressing against the tyre. To
brake the walking aid, pull the brake levers away from the frame
until they come to a denite stop. In this position the brakes are
self-locking and it should not be possible to push the walker. The
brakes are released by pushing the brake levers back towards
the frame.
Drag brakes
The drag brakes work by the roller at the back pressing against
the tyre. First loosen the nut on the Allen screw. Then turn the
Allen screw to press the roller against the tyre. Tighten the nut in
the opposite direction. Use a method of trial and error to nd the
correct pressure against the tyre. Test the drag brake function.
Wheel swivel / locks
To activate or de-activate the
swivel locks pull and turn the pin
locks 90º.
Non-reverse brake
The non-reverse brake works by the grooved side pressing
against the tyre preventing the wheel from going backwards.
The non-reverse brake can be engaged / disengaged through
the snap lock on the upper side of the brake housing. Finally test
the function of the non-reverse brake.
Front wheel swivel lock
location
Rear wheel swivel lock
location

15
Anti-tip support
Anti-tip supports are mounted on each side by rst removing the bolts xing the wheels. Use
a 6mm Allen key. Place the anti-tip support against the outside of the rear fork of Meywalk®4
so that they fall into place in the two rear fork recesses. Screw bolts on both sides back on.
Re-tighten rmly.
Leg divider
Fasten the leg divider under the seat bar with the two screws. The leg divider is height-
adjustable. Loosen the screw at the front of the central tube. Adjust the leg divider to the
desired height and re-tighten the screw rmly.

16
Trunk pad
The trunk pad is mounted on the black polyurethane shell of the center box. First remove the
screws and washers from the shell. Then mount the trunk pad using the screws that came
with the trunk pad.
Hip pads
The hip-/side pads are to be mounted on the uprights. Fit the two pipe sections around the
stanchion, tighten them together using the two screws. The hip-/side pads can be adjusted
in or out of the seat by loosening the thumbscrew. Tighten the thumbscrew again after
adjustment.

17
Height reductions set
Each reduction set consists of 1 pair of 4 units – 2 x special
ttings, 2 x threaded rod, 2 x bushing and 2 x Allen screw
head (see right). The height reductions set is unavailable for
the Mini model.
Height reductions set instructions
Loosen the tilt bar from lower frame. The existing threaded
rod, the bushing and the Allen screw head is used to mount
the special tting on the tilt bar.
The new threaded rod, the bushing and the Allen screw
head is used to mount the special tting on the lower
frame and the wide open part of the new tting. The new
threaded rod is somewhat longer than the red holder to
give free access to the special tting.

18
Meywalk®4 can be washed in warm water with detergent but take care not to wash the foam
padding on the rear of the trunk support, handlebar and rearstop. With time the painted
frame may take on a matt appearance if washed with detergent repeatedly. If so, the frame
can be polished with car polish. Follow the instructions of the polish manufacturer. The
frame and plastic parts can be disinfected with standard, alcohol-based disinfectants. The
foam padding may not be disinfected. It is recommended to regularly check the tightness
of all thumbscrews, nuts, bolts and screws. Re-tighten if necessary. Check the parking brake
function.When the brakes are on it should not be possible to push the walker.When the brakes
are o it should be easy to push the walker. Furthermore, all moving parts should function
easily and at a low level of noise. Should you experience any friction noise or squeaking, then
have the walker checked by a professional.
RECYCLING
When handing over or recycling the walker all necessary technical documentation must be
delivered to the new user to ensure safe handling. The walker must be cleaned, disinfected
and checked for damages by a professional before handing over.
DISPOSAL
When your walker is no longer in use and you wish to dispose of it please check the rules
and regulations with your local waste management company.
CLEANING AND MAINTENANCE

19
TECHNICAL AND ACCESSORIES

20
Ask for the following:
• Inside leg measurement
• Body weight (if possible - not essential)
• Chest circumference
• Seat height*
• Trunk support height*
PRE-ASSESSMENT
This manual suits for next models
5
Table of contents
Other Symmetrikit Mobility Aid manuals