IMPORTAnT WARnIng And SAFEgUARdS
Read and follow all instructions.
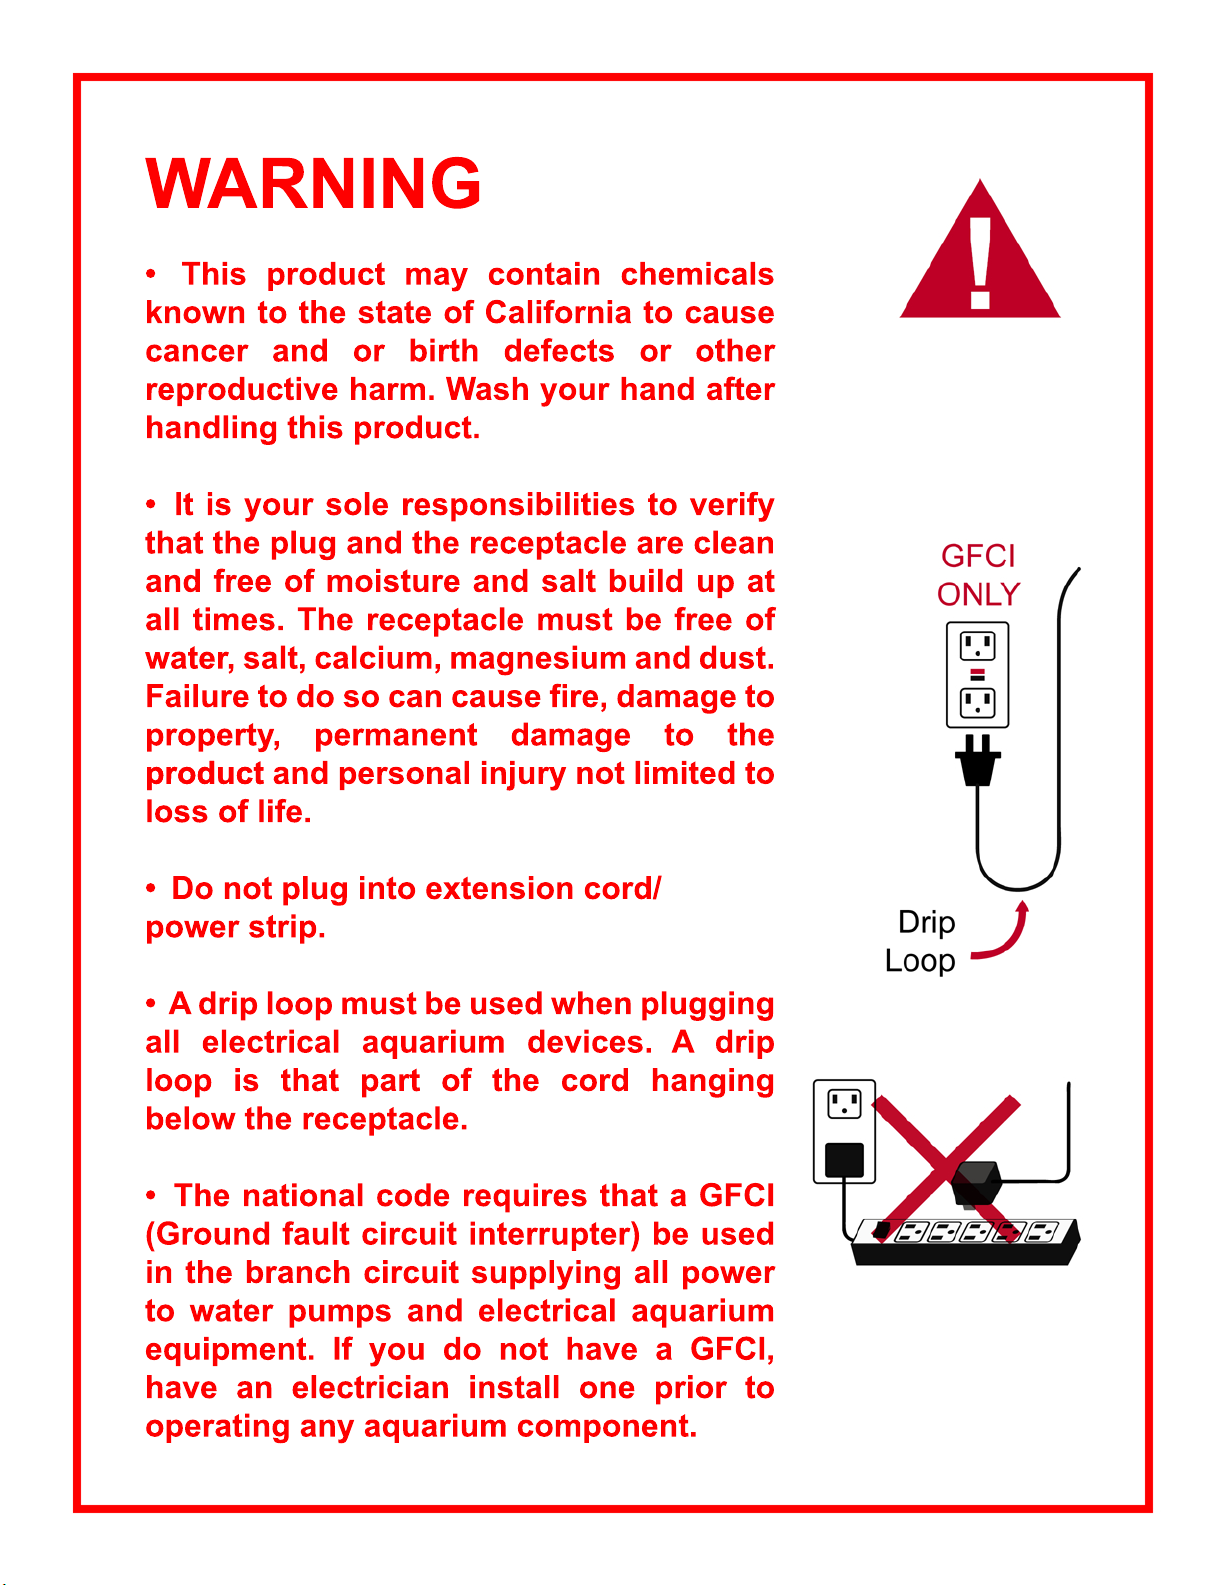
The national code requires all aquarium equipment be plugged into a
GFCI (Ground Fault Circuit Interrupter) electrical outlet. The national
code requires that a GFCI be used in the branch circuit supplying all
water pumps and electrical aquarium equipment. If you do not have
a GFCI, have a licensed electrician install one prior to operating any
aquarium components.
Do not use with an extension cord or power strip.
Use this product for its intended use only.
Never yank or pull the cord from the electrical outlet.
Do not operate if the plug or wire is damaged. Discard unit.
Never let light xture come in contact with water.
The light xture must be turned off/disconnected
from the power supply before weekly
maintenance is done to either the light xture or
the aquarium.
Verify that hands are dry prior to disconnecting
the power.
To reduce the risk of electrocution, keep all
connections dry.
If the light xture falls or comes into contact with water/excess moisture,
unplug the light xture from the power supply before removing. Failure to
do so may cause electrical shock or injury.
The light xture and connections need to be free of water, moisture and
salt build-up at all times. Failure to do so will cause electrical arching
resulting in re and/or electrical shock.
Do not place above an open top aquarium.
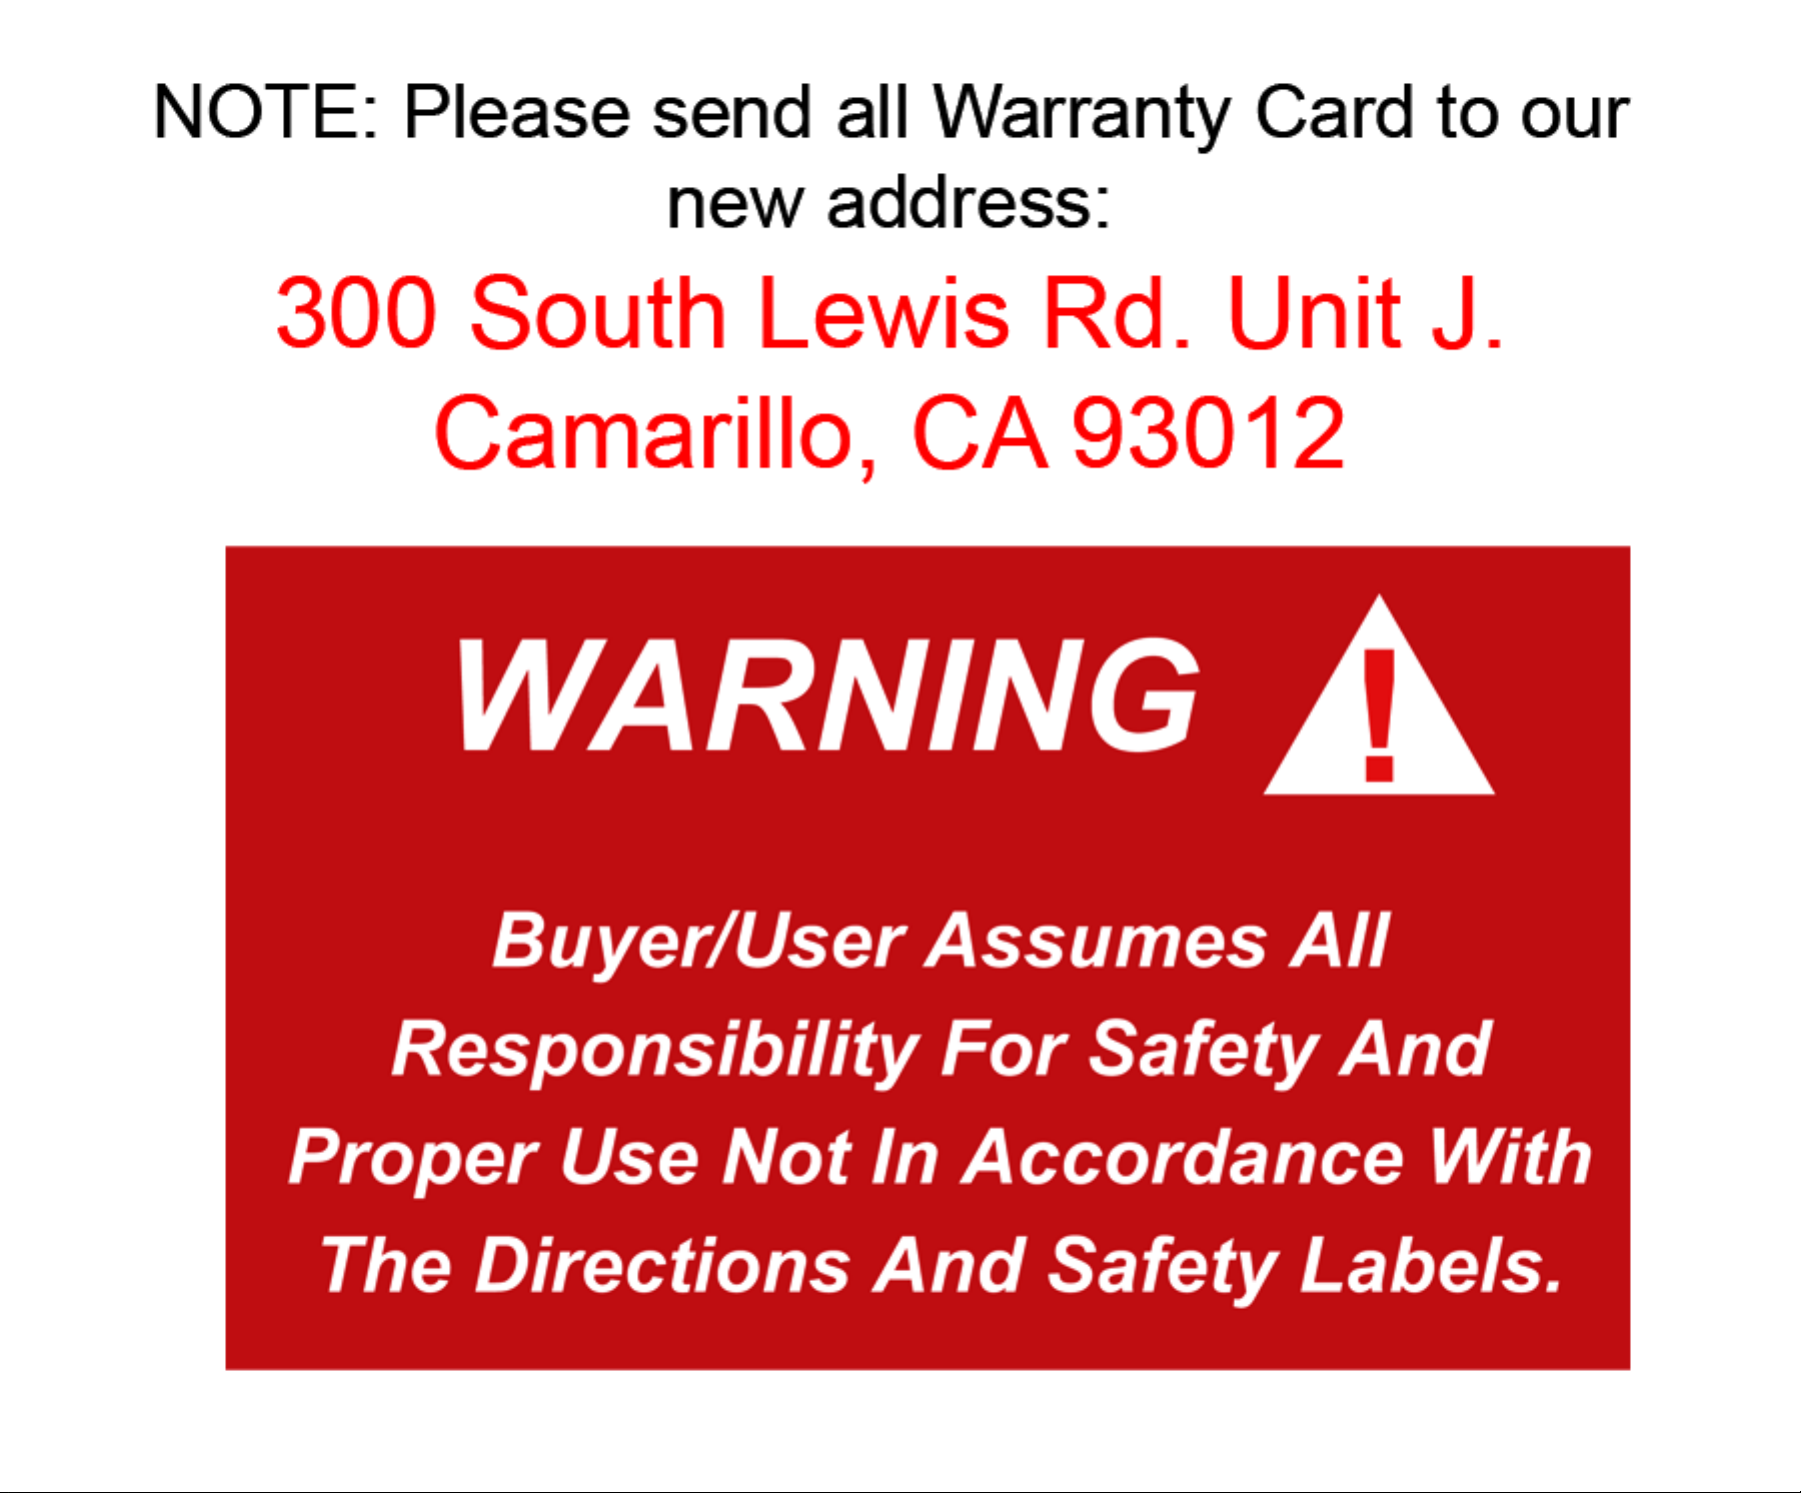
It is your sole responsibility to verify that the plug and the receptacle
are clean and free of moisture and salt build up at all times. The
receptacle must be free of water, salt, calcium and magnesium. Failure
to do so will cause re and/or permanent damage to the light xture.
Do not plug into an extension cord.The user must arrange a drip loop if
the pump is plugged into a GFCI outlet below the aquarium. A drip loop
is the part of the cord hanging below the receptacle.
dIRECTIOnS FOR InSTALLATIOn:
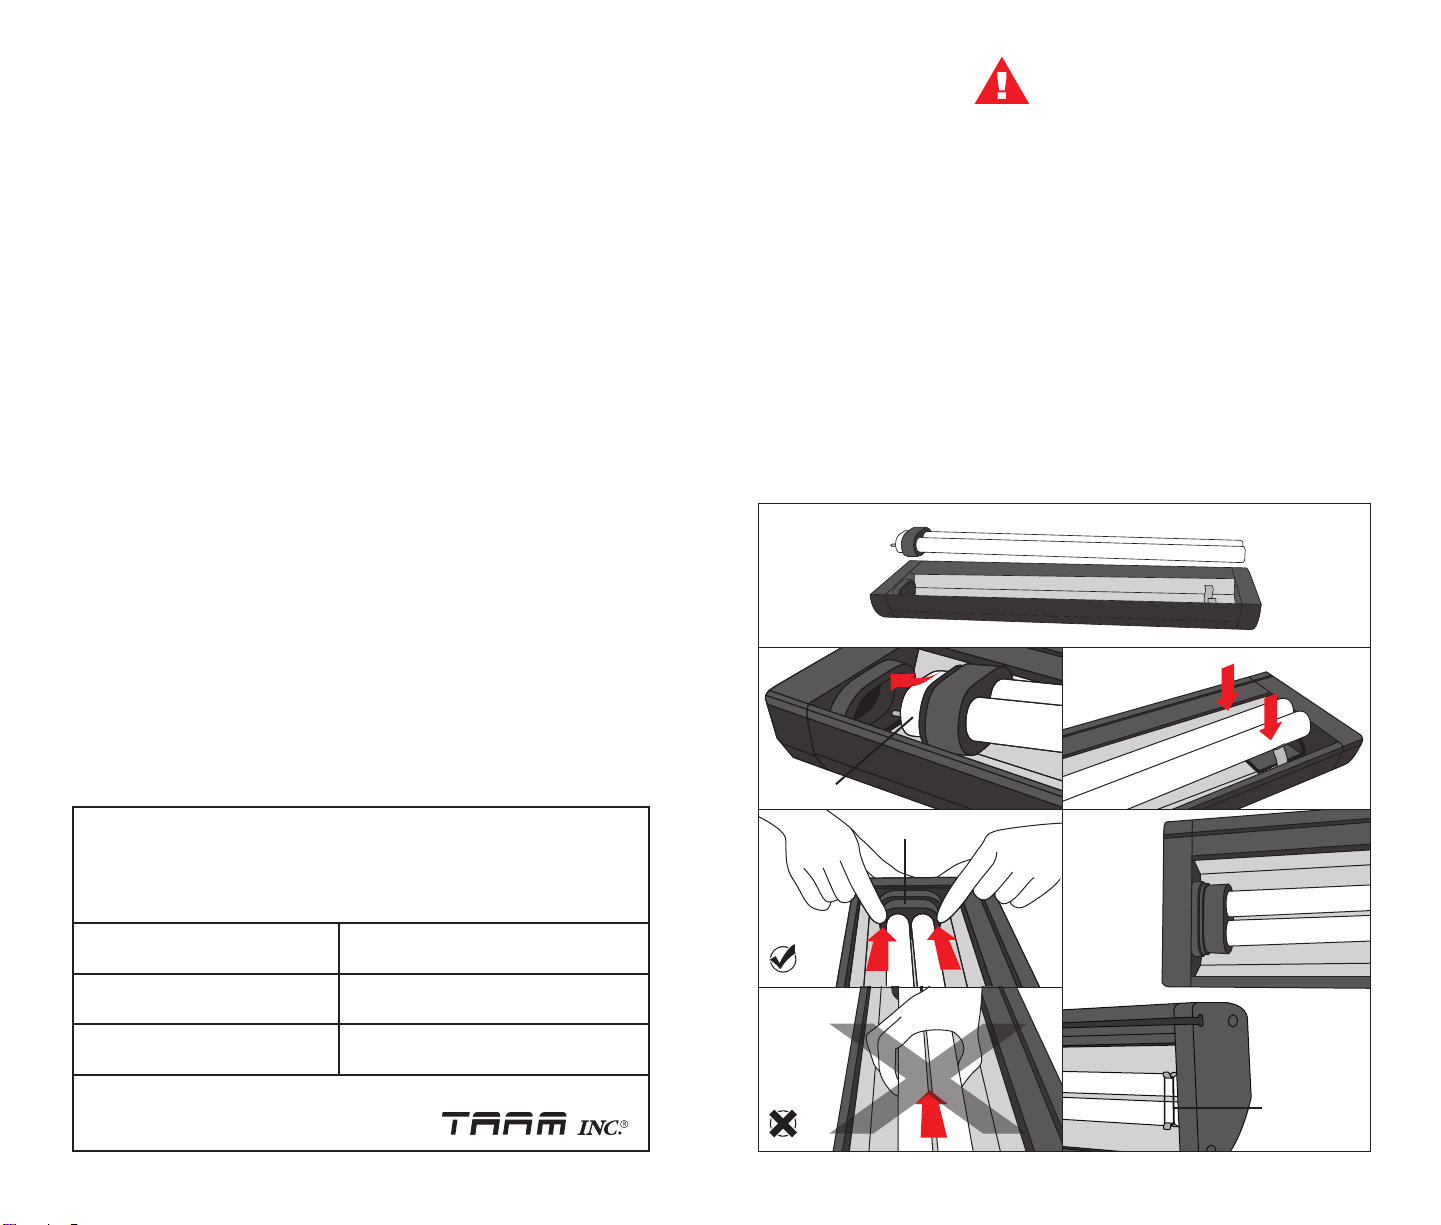
Note: Do not force the bulb into
the socket. Handle with care!
BULB InSTALLATIOn: (see last page for
more detail direction of installation.)
Remove protective plastic from
the reector.
Insert bulb into socket. Avoid a
twisting motion. Press directly into
the bulb socket.The silicon boot is
1.
2.
3.
4.
5.
6.
7.
8.
9.
10.
11.
12.
13.
1.
2.
designed to t into the socket.
Secure the bulb using the silicon
band. The band is designed
to secure the end of the bulb
between the bulb clamps.
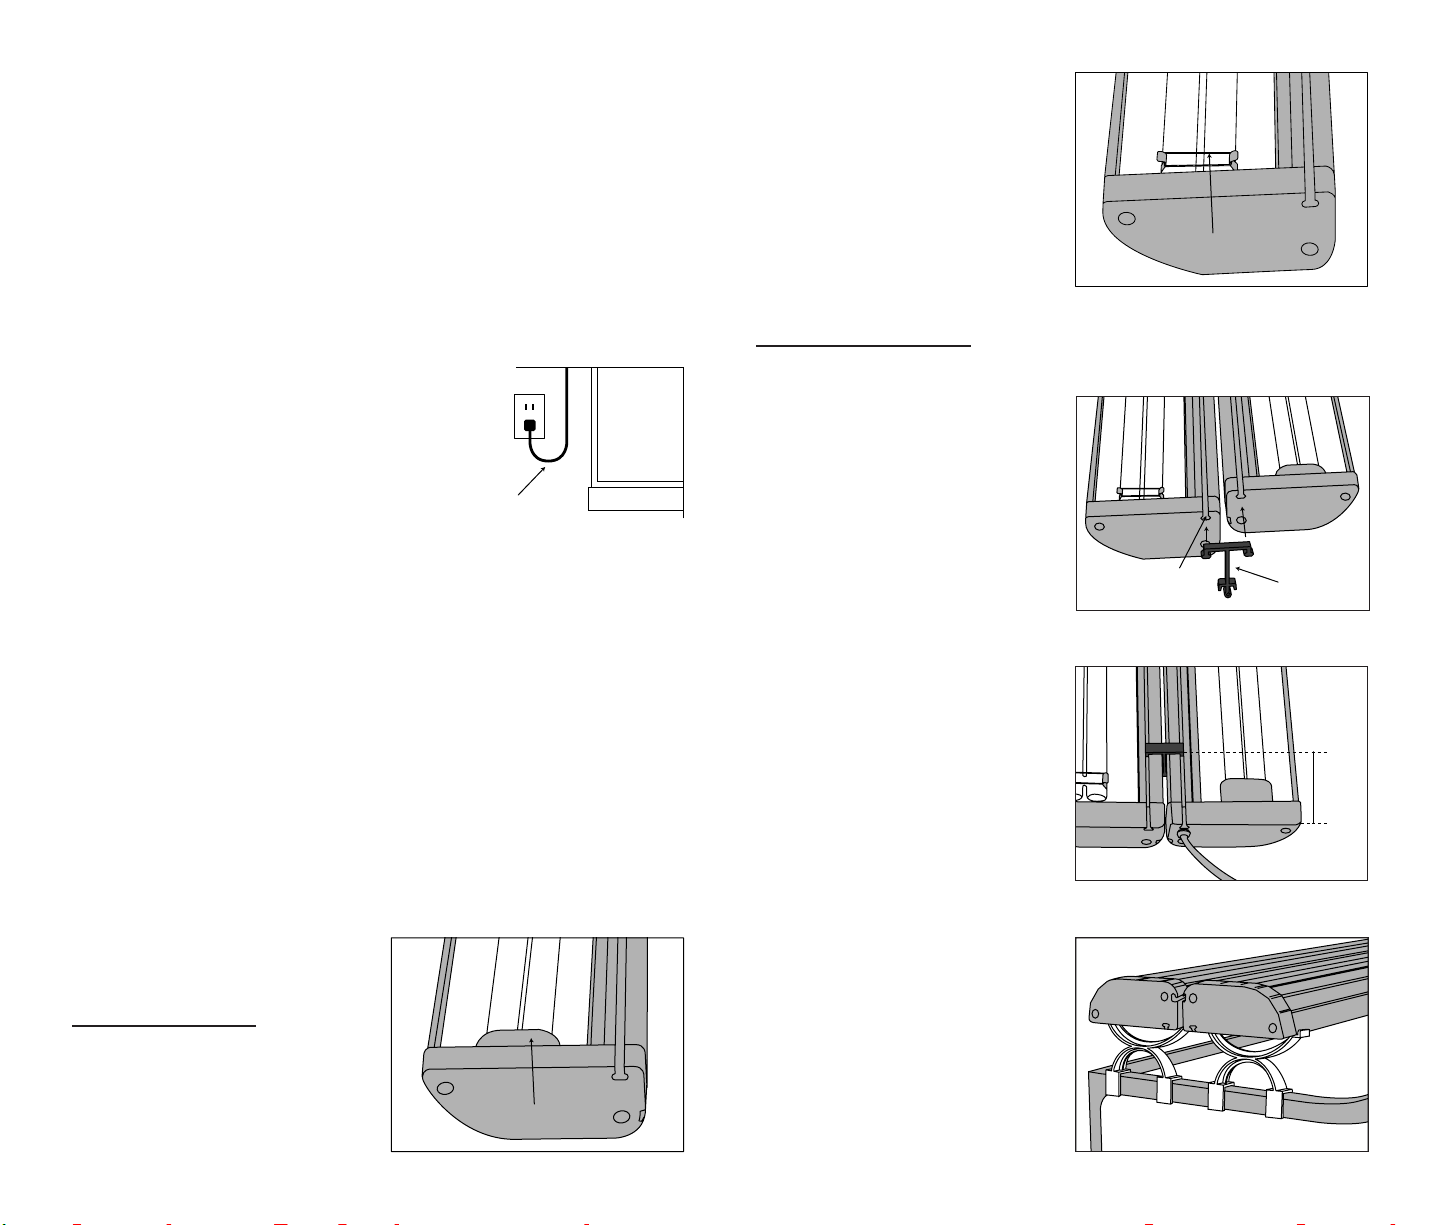
Insert the legs into the tracks
on the bottom of the light xture
to elevate the hood above
the aquarium.
Plug the unit directly into
a GFCI outlet.
COnnECTIng FIXTURES:
Items needed: T-Joint bracket (sold separately)
Slide the T-Joint bracket into
Track A. Avoid any angles. Both
hoods must be level and placed
on a at surface.
The T-Joint bracket must be
positioned a minimum of 4in from
the end of the xture.
Once both T-Joint brackets
are installed, secure the xture
above the aquarium by one of the
following methods:
Insert the legs into the tracks
on the bottom of the light
xture to elevate the hood
above the aquarium.
The T-Joint brackets enable
the xture to be hung over the
aquarium. Secure the cable
to the T-Joint bracket. Follow
manufacturers guidelines for
installation on the hanger.
NOTE: To hang the hood straight,
both T-joint brackets must be the
same distance from the end of
the xture.
NOTE: All units come equipped
with a replaceable fuse. If the
light xture is not working, check
fuse and replace as needed
(1 amp/120v). Replace with only
genuine Realux™VHO PL lamps.
Other lamps will not work in
the xture.
3.
4.
5.
1.
2.
3.
A.
B.
4 in.
T-Joint Bracket
Silicon Boot
Track A
Silicon Band
Drip Loop