manuals.online logo
Brands
  1. Home
  2. •
  3. Brands
  4. •
  5. Tach-It
  6. •
  7. Dispenser
  8. •
  9. Tach-It 6175 User manual

Tach-It 6175 User manual

INSTRUCTIONMANUALFOR
MODEL#6175
DEFINITELENGTHTAPEDISPENSER

BenClementsandSons,Inc./ClementsIndustries,Inc.
50RutaCourt,SouthHackensack,NewJersey07606USA
Tel:201‐440‐5500TollFree:800‐222‐5540Fax:201‐440‐1455
Email:sales@tach‐it.comWebsite:www.tach‐it.com
ClementsIndustriesJapan,ClementsIndustriesInc.Korea
CopyrightBenClementsandSons,Inc.andClementsIndustries,Inc.May2012
Overview:
TheTach‐ItModel#6175isadefinitelengthtapedispenserforuseinfeedingandcungpressuresensivetapesranginginwidthfrom
21/4”to31/8”andfrom1”to39.4”inlength.Thisunithasasmalltabletopdesign,andwillfeedandcutmosttypesoftapesusedin
shipping,assembly,wireharnessing,industrial,retailandmostotherapplicaonswherepressuresensivetapeisused.TheModel#6175
worksin3differentmodes:
Manual:Theoperatorpressesandholdsthefeedbuonunlthedesiredlengthisreachedandthenpressesthecutbuonforthetapeto
becut.
Semi‐Automac:Usingthearrowbuonslocatedonthetopofthemachinetheoperatorpre‐determinesthelengthoftapetobefed.The
lengthcanbeseenintheLEDlocatedonthetopofthemachineandtheLEDdisplaysthelengthtobefedinmillimeterincrements(there
are25.4mmtoaninch).Whenthetapeisneededtheoperatorpushesthecutbuononthetopoftheunit,thepre‐determinedlengthof
tapeisfedandcutwaingfortheoperatortoremove.Thenextpieceoftapeisfedandcutwhentheoperatorpressesthecutbuonlo‐
catedonthetopofthemachineagain.
Automac:Usingthearrowbuonslocatedonthetopofthemachinetheoperatorpre‐determinesthelengthoftapetobefed.The
lengthcanbeseenintheLEDlocatedonthetopofthemachineandtheLEDdisplaysthelengthtobefedinmillimeterincrements(there
are25.4mmtoaninch).Oncesetinautomacmode,thetapeisfedandcut.Whentheoperatorremovesthepresentedpieceofpre‐cut
tapethenextpieceisfedandcuttothepre‐determinedlength.
Modechangesareaccomplishedbypushingabuonlocatedonthetopofthemachineandalsothereisanscrewadjustmentonthetopof
themachinetoaccommodatedifferentthicknessesoftapes.
TheTach‐ItModel#6175hasauniquecradledevicewhichholdstherolloftape.Thisallowsforuseontapesofwithanycorediameterand
withamaximumrolldiameterofupto11.75”Oponallargerollstandsareavailableandsoldseparately.
TheModel#6175usesstandard110voltelectricityandrequiresnoair.220voltunitsareavailableonaspecialorderbasis.
Tach‐Italsomanufacturer’safulllineofmanual,semi‐automac,automacandcarouseltypedefinitelengthtapedispensersandplease
contactTach‐ItoryourlocalTach‐Itdistributorforinformaonontheirfulllineofpressuresensivetapedispenserandapplicangequip‐
mentforuseinallindustries.
1)Beforeoperangthismachinemakesuretoreadandunderstandthecompleteinstruconmanual.
2)Neverhavethepowercordofthismachinepluggedintoanoutletwhenanycoversorthecuerassemblyofthismachinehavebeen
removed.
3)Installandoperatethismachineonlyonaflat,levelanddrysurface.
4)Useonlythespecifiedelectricalpowerinputwiththismachine.
5)Alwaysturnthepoweroffandunplugthismachinepriortoclearinganytapeortapejamsfromthemachine,parcularlyintheareasof
thecuersandfeedmechanisms.
6)Alwayskeephand,clothing,jewelryandhairawayfromallmovingpartsofthismachine.
7)Thismachinehasaverysharpguillonecuerassembly.Neverputhandsoranyotherpartofthebodyoranyotheritemintothe
cueropeningunlessthemachineisoffandthepowerhasbeenunplugged.
8)Neveroperatethismachinewithanyofthesafetycoversremoved.
9)Keepthismachinecleananddryatallmes.
10)Serviceonthismachineshouldonlybeperformedbyfactorytrainedauthorizedservicepersonnel.
11)Neverusethismachineforotherthanitsintendedpurposeoffeedingandcungpressuresensivetapes.Useofthismachinefor
otherthanitsintendedpurposescancauseharmtotheoperator,themachineandtotheproductandwillvoidallactualandimplied
warranes.Pleasecontactthemanufacturerifthereareanyquesonsastowhetherthismachinecanbeusedforaparcular
applicaon.
Cauons:
Specificaons:
MachineDimensions:Length:9”(229mm),Width:7.5”(191mm),Height:6”(153mm),Weight:11.5Lbs(5.2Kgs)
TapeWidths: Maximum:31/8”(80mm),Minimum:21/4”(57mm)
TapeLengths: Maximum:39.4”(999mm),Minimum:1”(25.4mm)
CoreSize: NotApplicable.
RollDiameter: Maximum11.75”(300mm)
Power:  110Volt50/60Hz(220voltavailable)
PartsIdenficaon:
Figure1TopView:
TapeRoll
Cradle
TapeRoll
Flanges
Feed
Roller
Tape
Thickness
Adjustment
Screw
Mode
Buon
Length
LED
RewindTape
IncreaseLengthBuon
FeedTape
DecreaseLengthBuon
CutTape
Semi‐AutomacMode
FeedBuon
TapeRoll
HoldDownBar
ModeIndicator
Lights
Cuer
Assembly
Figure2BackView:
TapeRoll
HoldDownBar
TapeRoll
Flanges
TapeRoll
Cradle
On/Off
Switch
IECPower
CordReceptacle
andFuseHolder
Figure3FrontView:
Tape
Thickness
Adjustment
Screw
Cuer
Assembly
Adjustable
Tape
Rampforlong
Lengthsof
Tape.
UnpackingoftheMachine:
1)Carefullyopentheboxwiththemachineandremoveallcomponents.
2)Removeallpackingmaterialsandsetitaside.Itissuggestedthattheboxandpackingmaterialsiskeptincasethemachineneedstobe
re‐packedandshippedforrepair.
3)Placethemachineonaclean,dry,flatsurfacenearanelectricoutlethavingthesamevoltageasthemachine.Itisnotrecommended
thatthemachinebeusedwithanextensioncordandthatthereisasurgeprotectorbetweenthepoweroutletandthemachineto
protecttheelectronicsofthemachinefrompowersurgesandirregularies.
LoadingtheMachinewithTape:
1)PlugthePowerCordintotheproperelectricaloutletmakingsurethevoltageoftheoutletisthesameasthevoltageofthemachine.
2)LocatetheTapeRollCradleandmakesurethatitisextendedasshowninFigure1ofthePartsIdenficaon.Ifitisnotextendedflip
thebarbacktowardstherearofthemachineunlitisextended.Ifthetapebeingusedisonasmalldiameterrollthismaynotbe
necessary.
3)FliptheTapeRollHoldDownBarupbypullingittowardsthebackofthemachineunlitreleasesfromitspinsandthatrotateitup.
4)PlacetherollofTapeintotheTapeRollCradlemakingsurethattheTapeisfeedingfromthetopoftherollandthattheadhesiveside
oftheTapeisdowntowardsthebodyofthemachine.
5)WiththeTapeRollHoldDownBarintheupposionmanuallyadvancetheTapeunlitreachedtheFeedRollerasshowninFigure1of
thePartsIdenficaonandadheretheTapetotheFeedRollerbypressingitdownagainsttheFeedRoller.
6)SpreadingtheTapeRollFlangesasshowninFigure1ofthePartsIdenficaon,lowertheTapeRollHoldDownBarandmoveitforward
llitlocksintoplaceandreleasetheTapeRollFlangesunltheystraddletherollofTape.
7)UsingtheFeedTapeDecreaseLengthBuonasshowninFigure1ofthePartsIdenficaonadvancetheTapeunlitexitstheCuer
Assembly.IftheTapedoesnotfeedthroughtheCuerAssemblyandexitthefrontthemachineadjusttheTapeThicknessAdjustment
ScrewbyturningitclockwiseunlthereisenoughclearancefortheTapetoexit.

PleaseNotethatfortheinialpieceoftapeitmaybenecessarytoassisttheTapethroughtheCuerAssemblybyusingapairof
needlenosepliersandpullingtheTapethroughasyoupresstheFeedTapeDecreaseLengthBuon.Donotatanymeplaceyour
fingersintotheCuerAssembly.
8)PresstheCutTapeSemi‐AutomacModeFeedBuontocuttheinialpieceofTape.
9)Themachineisnowreadyforuse.
UsingtheMachineinManualMode:
ManualMode:Theoperatorpressesandholdsthefeedbuonunlthedesiredlengthisreachedandthenpressesthecutbuonforthe
tapetobecut.
1)LoadtheunitwithTapepertheinstruconsabove.
2)LocatetheModeBuononthemachine(seeFigure1ofPartsIdenficaon)andpressitunlonlytheManualsideoftheMode
IndicatorLightisilluminated(onlythisindicatorshouldbeilluminatedforManualMode).Thislightislocatedslightlyaboveandtothe
leoftheModeBuon(seeFigure1ofPartsIdenficaon).
3)TofeedtheTapepressandholdtheFeedTapeDecreaseLengthBuonunlthedesiredlengthofTapeisdispensed.
4)TocuttheTapepresstheCutTapeSemi‐AutomacModeFeedBuonandtheTapewillbecutautomacally.
5)TofeedthenextpieceofTaperepeatsteps3and4above.
UsingtheMachineinSemi‐AutomacMode:
Semi‐Automac:Usingthearrowbuonslocatedonthetopofthemachinetheoperatorpre‐determinesthelengthoftapetobefed.The
lengthcanbeseenintheLEDlocatedonthetopofthemachineandtheLEDdisplaysthelengthtobefedinmillimeterincrements(there
are25.4mmtoaninch).Whenthetapeisneededtheoperatorpushesthecutbuononthetopoftheunit,thepre‐determinedlengthof
tapeisfedandcutwaingfortheoperatortoremove.Thenextpieceoftapeisfedandcutwhentheoperatorpressesthecutbuonlo‐
catedonthetopofthemachineagain.
1)LoadtheunitwithTapeperthepreviousinstrucons.
2)UsingtheModeBuon(seeFigure1ofthePartsIdenficaon),pressitunlbothModeIndicatorLightsareilluminated.Thelightsare
locatedaboveandtothesidesoftheModeBuon(seeFigure1ofthePartsIdenficaon).
3)UsingtheRewindTapeIncreaseLengthBuonandtheFeedTapeDecreaseLengthBuon(seeFigure1ofthePartsIdenficaon)
alternatelypresstheseunlthedesiredlengthisdisplayedintheLengthLED(seeFigure1ofthePartsIdenficaon).

Pleasenotethatthislengthisdisplayedinmillimeters(mm)andthatthereare25.4mmperinchsothat1inchoftapeisequivalent
to25mm,2inchesoftape50mm,3inches76mmandetc.Todeterminethelengthdesiredmulplyyourdesiredlengthx25.4to
equalthemillimeterequivalent.
4)TodispensetheTape,theoperatorpushestheCutTapeSemi‐AutomacModeFeedBuonlocatedonthetopofthemachine(see
Figure1ofthePartsIdenficaon)andtheTapewillbefedtothedesiredlengthandcut.
5)TofeedthesamelengthofTapeconnuepressingtheCutTapeSemi‐AutomacModeFeedBuon.TofeedadifferentlengthofTape
pleaserepeatsteps3and4.
UsingtheMachineinAutomacMode:
Automac:Usingthearrowbuonslocatedonthetopofthemachinetheoperatorpre‐determinesthelengthoftapetobefed.The
lengthcanbeseenintheLEDlocatedonthetopofthemachineandtheLEDdisplaysthelengthtobefedinmillimeterincrements(there
are25.4mmtoaninch).Oncesetinautomacmode,thetapeisfedandcut.Whentheoperatorremovesthepresentedpieceofpre‐cut
tapethenextpieceisfedandcuttothepre‐determinedlength.
1)LoadtheunitwithTapeperthepreviousinstrucons.
2)UsingtheModeBuon(seeFigure1ofthePartsIdenficaon),pressitunlAutoModeIndicatorLightistheonlylightilluminated.
ThislightislocatedaboveandtotherightoftheModeBuon(seeFigure1ofthePartsIdenficaon).
3)UsingtheRewindTapeIncreaseLengthBuonandtheFeedTapeDecreaseLengthBuon(seeFigure1ofthePartsIdenficaon)
alternatelypresstheseunlthedesiredlengthisdisplayedintheLengthLED(seeFigure1ofthePartsIdenficaon).

Pleasenotethatthislengthisdisplayedinmillimeters(mm)andthatthereare25.4mmperinchsothat1inchoftapeisequivalent
to25mm,2inchesoftape50mm,3inches76mmandetc.Todeterminethelengthdesiredmulplyyourdesiredlengthx25.4to
equalthemillimeterequivalent.
4)TodispensetheTape,theoperatorpushestheCutTapeSemi‐AutomacModeFeedBuonlocatedonthetopofthemachine(see
Figure1ofthePartsIdenficaon)andtheTapewillbefedtothedesiredlengthandcut.AsthepieceofTapeisremovedfromthe
machineanotherpieceofTapewillbefedandcuttothedesiredlength.Thisprocesswillconnuallyrepeat.
5)TochangethelengthofTapebeingfedrepeatsteps3and4.
RemovingTapefromtheMachine:
1)RemoveanycutpiecesofTapefromthemachine.
2)PresstheRewindTapeIncreaseLengthBuonunltheTapehasbeenretractedandcanberemovedmanuallyfromtheFeedRoller.
3)LetheTapeRollHoldDownBarpertheinstruconsinLoadingtheMachinewithTapeseconofthismanualandremovetherollof
TapefromtheTapeCradle.
4)MachineisnowreadyforanotherrollofTape.
AdjustmentsandMaintenanceoftheMachine:
Adjustments:TheonlyadjustmentofthemachineisiftheTapeisnotfeedingoutstraight.DifferentthicknessesofTapemayfeed
differentlycausingtheTapetocurlortonotfeedoutstraight.ThiscanbecausedbythespacingbetweentheFeedRollersofthemachine.
Toalleviatethisproblem,theModel#6175hastheTapeThicknessAdjustmentScrewlocatedonthetopofthemachineabovetheCuer
Assembly(seeFigure1ofthePartsIdenficaon).IftheTapeiscurling,orthereareindentaonsintheTapefromtheknurledrollers,
increasethespacingbetweentheFeedRollersbyturningtheTapeThicknessAdjustmentScrewinaclockwiserotaon.IftheTapeisnot
feedingconsistentlyorisjustfallingdownagainstthebodyofthemachinedecreasethespacingbetweentheFeedRollersbyturningthe
TapeThicknessAdjustmentScrewinacounter‐clockwiserotaon.

Pleasenote,thattheTapeThicknessAdjustmentScrewshouldbeturnedcarefullyasnottodamagetheheadofthescrewortheinternal
FeedRollers.Also,therewillbesometrialanderrorinsengthisadjustmentandwehighlyrecommendthatthescrewisrotated
slightlythentheunitistriedandifnecessarythisprocedureisrepeatedunlthedesiredtensionisreached.
ForsomeTapeswhenfeedinglongerlengthstheymaytendtofallbackagainstthemachineandthetablethemachineismountedon.IF
thisishappeningdecreasethespacebetweentheFeedRollersbyturningtheTapeThicknessAdjustmentScrewcounter‐clockwise.Also,
IfthisisoccurringlocatetheTapeRamp(seeFigure3FrontViewofthePartsIdenficaon)andextendtheTapeRamp.Thiswillhelp
keeptheTapefromfoldingdirectlydownagainstthemachineandthetable.
Maintenance:Wheneveramachineisworkingwithadhesives,itisimportanttoavoidanyadhesivebuildup.Ifthisisoccurringusean
adhesivesolventtokeepallcomponentsoftheFeedRollersandtheCuerAssemblycleanandfreeofadhesivebuildup.ThetypeofTape
willdictatehowoenthisisnecessary.
Itisnotrecommendedthatanylubricantbeusedonthismachineasitcanaffectthefunconofthemachineandcancauseproblemspar‐
cularlyiftheunitisbeingusedintheAutomacmodeastheTapemaynotholdattheendoftheCuerAssemblyorbeseenbythesen‐
Troubleshoong:
SymptomCauseRemedy
Machinewillnotturnon:BadFuse
Machinenotpluggedin
CheckandreplaceFuseifNecessary
PlugMachineintoproperPowerOutlet
TapeWillnotFeedStuckPieceofTapeinFeedRollers
FeedRollersadjustedtoclose
LocatestuckpieceofTapeandRemove
AdjustspacinginFeedRollerspertheinstrucons
intheAdjustmentsseconofthismanual
Machinewillnotstayin
AutomacMode
Sensorsaredirty
Tapeisbeingremovedtoquickly,beforethesensorscan
pickupthecutpieceofTape..
Usinganadhesivesolventcleansensors.
Theoperatormustwaitafraconofasecond
beforeremovingthecutpieceofTapegivingthe
sensorsmetolocateand“See”thatapieceof
Tapewasdispensed.
TapeiscurlingFeedRollersareadjustedtocloseAdjustthespacingintheFeedRollersperthe
instruconsintheAdjustmentseconofthis
manual.
TapeFeedisinconsistentFeedRollersareadjustedtofarapartAdjustthespacingintheFeedRollersperthe
instruconsintheAdjustmentseconofthis
manual.
Tapeisfallingdownagainst
themachineortable.
FeedRollersareadjustedtofarapartAdjustthespacingintheFeedRollersperthe
instruconsintheAdjustmentseconofthis
manual.

Other Tach-It Dispenser manuals

Tach-It 6250 User manual

Tach-It

Tach-It 6250 User manual

Tach-It SH-402TR User manual

Tach-It

Tach-It SH-402TR User manual

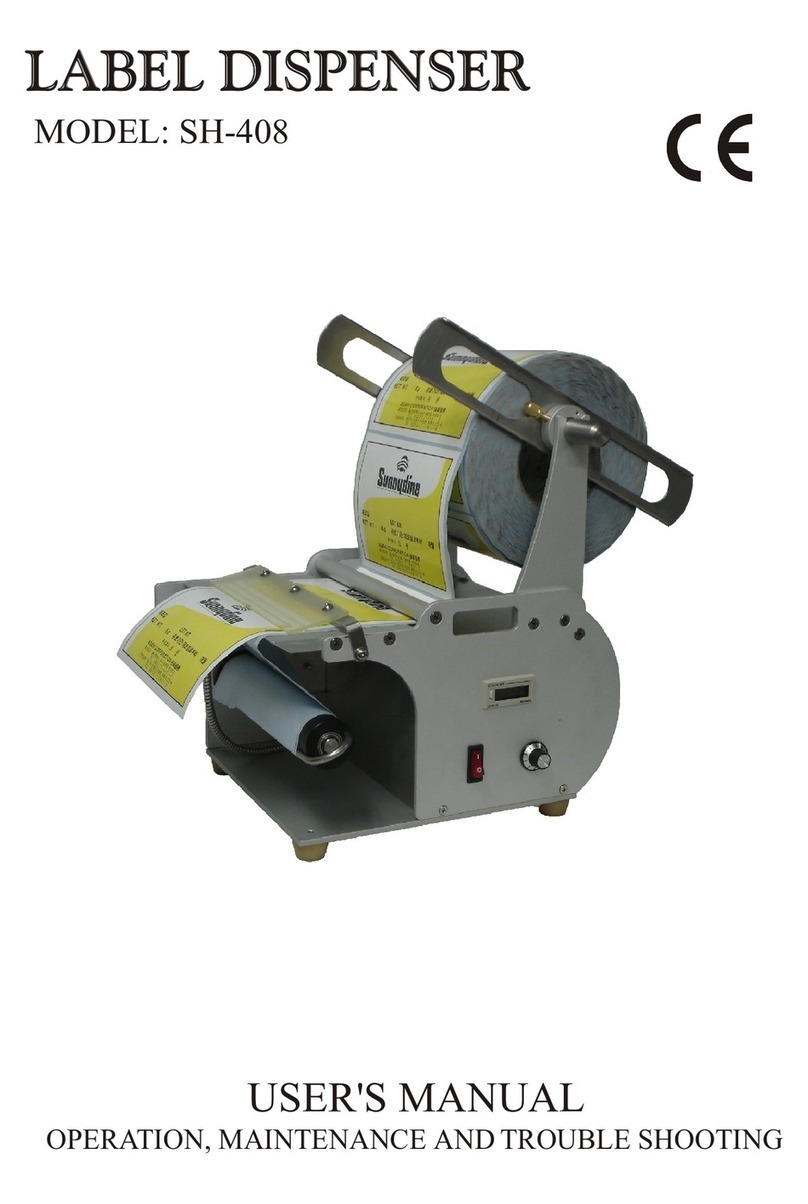
Tach-It SH-408 User manual

Tach-It

Tach-It SH-408 User manual

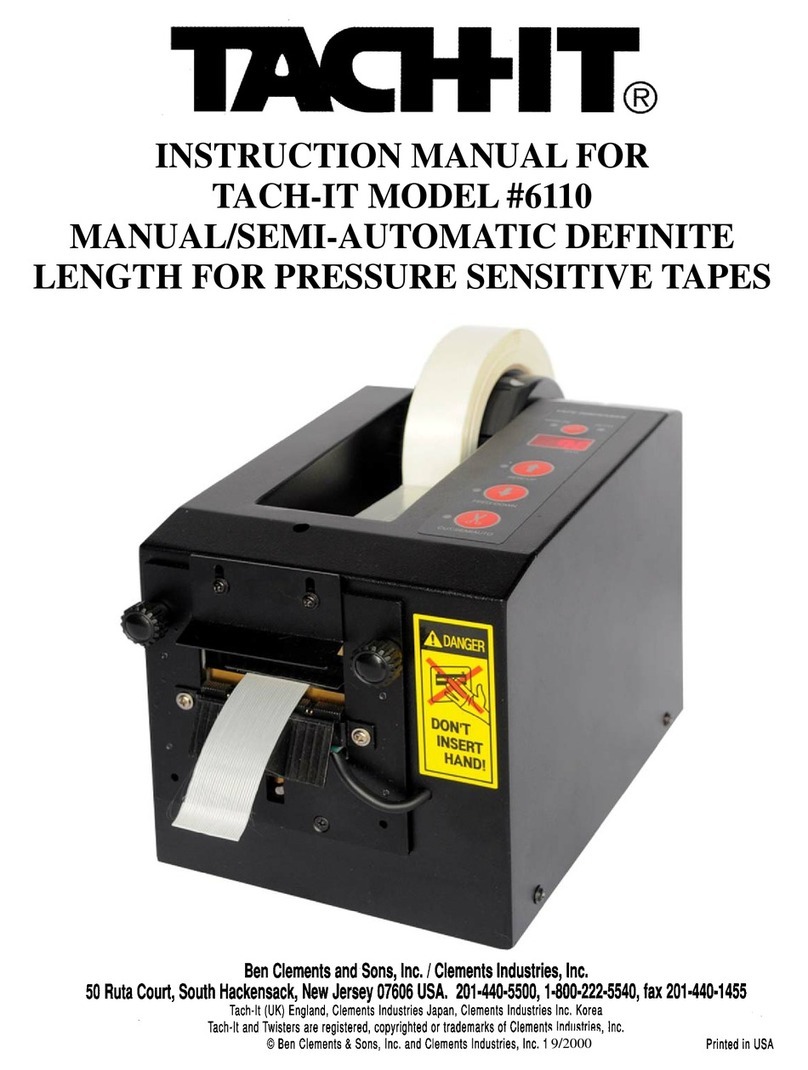
Tach-It 6110 User manual

Tach-It

Tach-It 6110 User manual

Popular Dispenser manuals by other brands

BATCHEN COMMANDER II Installer manual

BATCHEN

BATCHEN COMMANDER II Installer manual

lancer 800 series Installation and service manual

lancer

lancer 800 series Installation and service manual

Thermo Scientific Multidrop Pico 8 operating manual

Thermo Scientific

Thermo Scientific Multidrop Pico 8 operating manual

Vollrath LidSaver 2 Operator's manual

Vollrath

Vollrath LidSaver 2 Operator's manual

Vola RS10 FITTING INSTRUCTION

Vola

Vola RS10 FITTING INSTRUCTION

SC Johnson Professional Stoko Vario Ultra Instructions and Mounting Manual

SC Johnson Professional

SC Johnson Professional Stoko Vario Ultra Instructions and Mounting Manual

Fast & Fluid Management TM300 Technical notes

Fast & Fluid Management

Fast & Fluid Management TM300 Technical notes

Follett U150 Operation, service and parts manual

Follett

Follett U150 Operation, service and parts manual

rosseto EZ-PRO 1W quick start guide

rosseto

rosseto EZ-PRO 1W quick start guide

Curtis GEMX  IntelliFresh FreshTrac GEM3XIFT user guide

Curtis

Curtis GEMX IntelliFresh FreshTrac GEM3XIFT user guide

KWC STRATOS STRX637 Installation and operating instructions

KWC

KWC STRATOS STRX637 Installation and operating instructions

Silver King SK2SB Technical manual and replacement parts list

Silver King

Silver King SK2SB Technical manual and replacement parts list

Cornelius HELIX installation manual

Cornelius

Cornelius HELIX installation manual

Cornelius Pro Fast Gate IDC255 Specification sheet

Cornelius

Cornelius Pro Fast Gate IDC255 Specification sheet

Manitowoc K00400 instructions

Manitowoc

Manitowoc K00400 instructions

WEPA satino 331090 Assembly instructions

WEPA

WEPA satino 331090 Assembly instructions

START International ZCM1000 Series manual

START International

START International ZCM1000 Series manual

Kimberly-Clark PROFESSIONAL ICON Replacement guide

Kimberly-Clark PROFESSIONAL

Kimberly-Clark PROFESSIONAL ICON Replacement guide

manuals.online logo
manuals.online logoBrands
  • About & Mission
  • Contact us
  • Privacy Policy
  • Terms and Conditions

Copyright 2025 Manuals.Online. All Rights Reserved.