TAG Heuer CHRONOPRINTER User manual
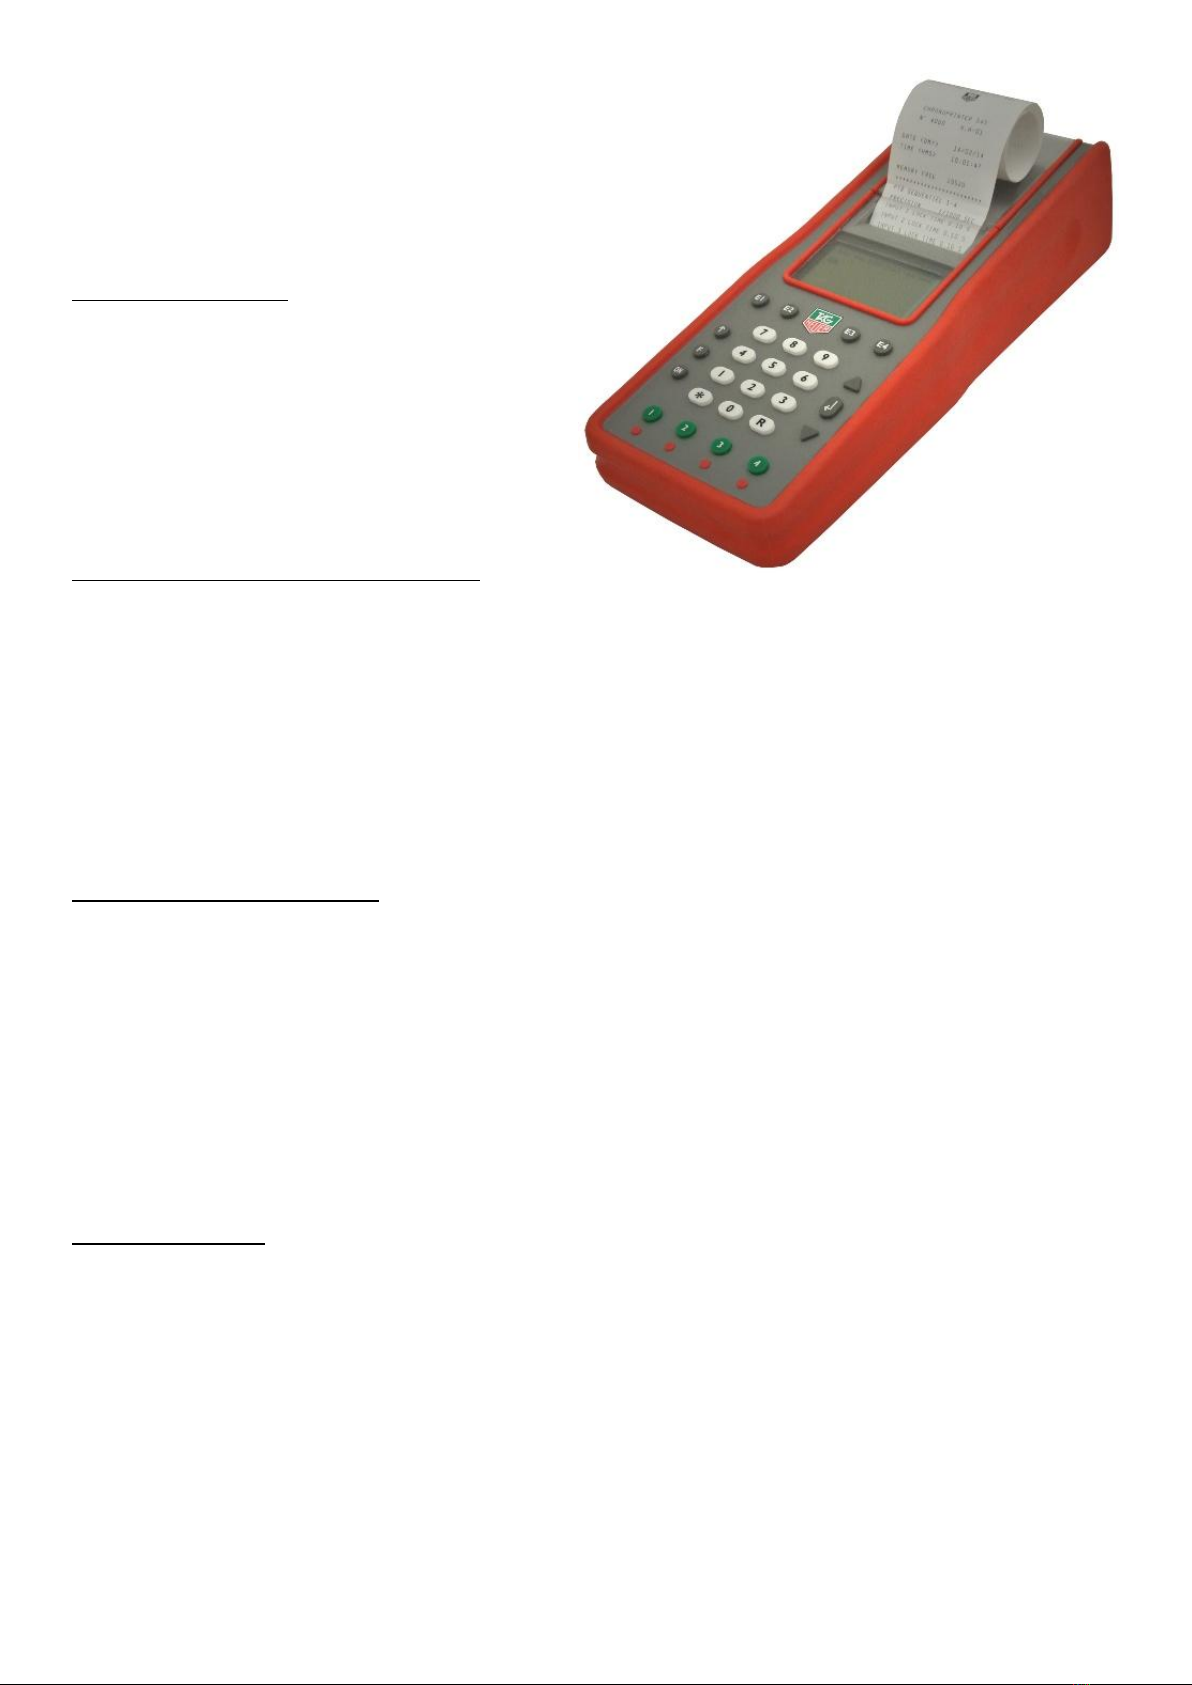
CHRONOPRINTER (CP)
Insert 5x (charged) batteries into underside of CP or
Plug CP to a power supply.
Turn CP on - hold ON button for about 5 seconds.
1. TURN PRINTER OFF on start line CP only
Press F button
Press t to get to 'Printer'
Press
Press s to 'OFF'
2. SYNCHRO BOTH CP WITH EACH OTHER
Press s to get to 'Synchro' (or Press F in not still in menu)
Press Press on 'Manual or External'
Press 3 times to bipass 'Year', 'Month' and 'Day' settings. On the next screen enter the time on both CP's - 24hr
Press (on both CPs). Then on this screen at the exact same time on both CPs - Press the Green #1 button.
This will synchronize the clocks.
3. LOCK TIME (DELAY SETTING)
Press F button
Press t to get to 'Parameters'. Press . Press t to get to 'Lock Time'.
Press on 'Input #1'. Default is set to 0.10 sec. Change to 5.00 sec. Press .
(This will eliminate false readings when car triggers beam)
Press F button to return back to home screen.
4. OPEN CHANNELS
Each CP requires its channel to be opened.
On the Start Line CP - Press the small red button below the Green #1 button. (a line on the screen will disappear)
On the Finish Line CP - Press the red button below the Green #4 button.

START LINE
CHRONOPRINTER
PHOTOCELLS
connect banana
plugs into #1 on
CP and to
photocell on
start line
DATA RADIO
connect data radio to
external aerial.
DO NOT turn data
radio on until aerial
is connected.
connect CP to
power supply
(if available)
or batteries
can be used.
connect hub
via usb cable
to laptop
the hub will
be powered
by the laptop
connect data radio
via serial port to
serial port #2 on hub
connect CP via
RS 232 plug to
serial port #1
on hub
HUB
PRINTER
BATTERY + INVERTER
no aerial
required on
photocells

FINISH LINE
CHRONOPRINTER
PHOTOCELLS
connect banana plugs into #4 on
CP and to photocell on finish line
DATA RADIO
connect data radio to external
aerial.
DO NOT turn data radio on
until aerial is connected.
connect data radio to battery.
connect CP to
power supply
(if available)
or batteries
can be used.
connect data radio via
serial port cable to RS
232 socket on CP
BATTERY
no aerial
required on
photocells
Other TAG Heuer Printer manuals


