■ Features
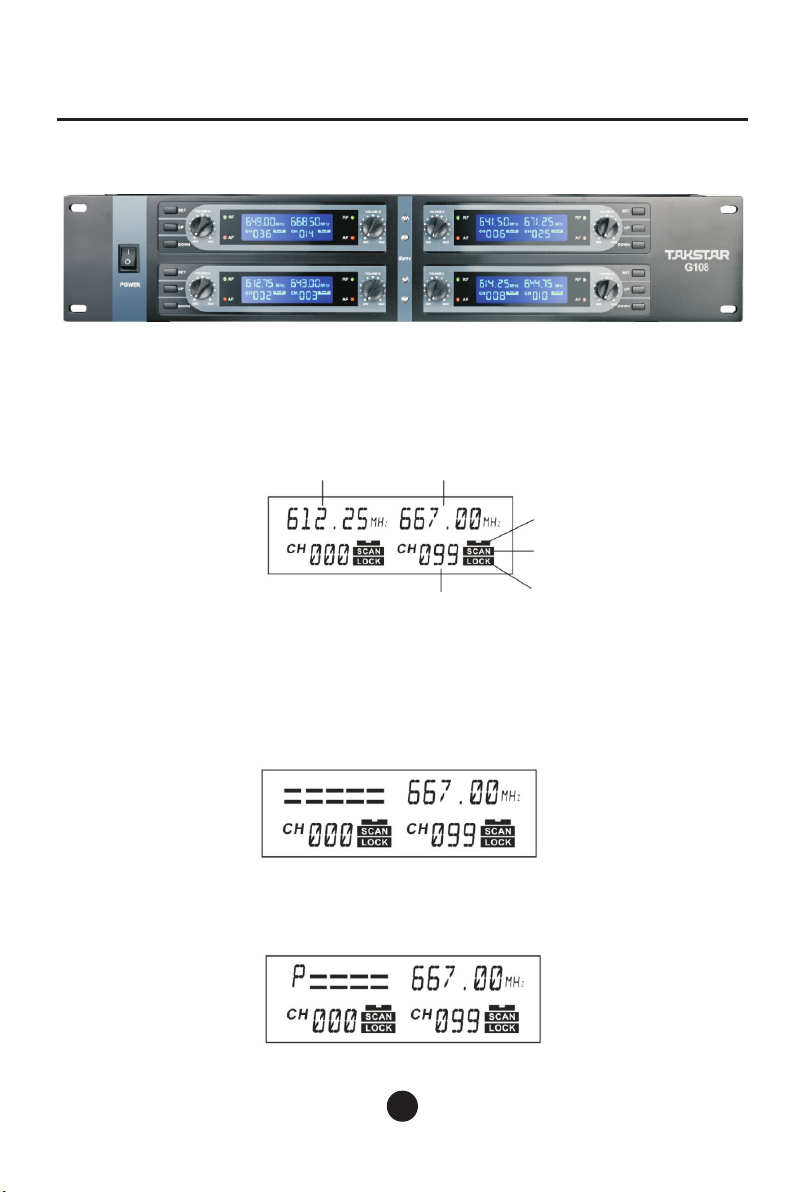
G108 8-Channel Wireless Conference System
■ Welcome
■ Application
09
Dear Customer,
Thank you for purchasing TAKSTAR G108 8-Channel Wireless Conference System. In
order to better understand and use the product, please read this manual carefully.
If you have any questions or suggestions, please contact our local dealer.
• UHF 612.25MHz~690.00MHz with strong anti-interference property.
• PLL and high-precision quartz crystal, plus MCU control for high frequency stability.
• IR sync function for ease of use.
• Advanced digital pilot frequency effectively resolves interference and crosstalk.
• Three AND-logic squelch circuits to prevent noise and surge upon power on/off.
• Auto frequency finder to help find the interference-free channel quickly and easily.
• Adjustable transmission power and noise gate, effectively adapting to different use
distance.
• Dual boost circuit to ensure transmission performance unaffected by decrease of
battery voltage.
• Simple UI and controls to prevent accidental setting changes leading to malfunction.
• Silent switch on conference microphone to avoid mechanical switch noise.
• Highly sensitive vocal pickup, allowing effortless speech or singing.
• Use multiple sets together without interference or crosstalk between one another.
• Conference room, classroom, multifunction hall.