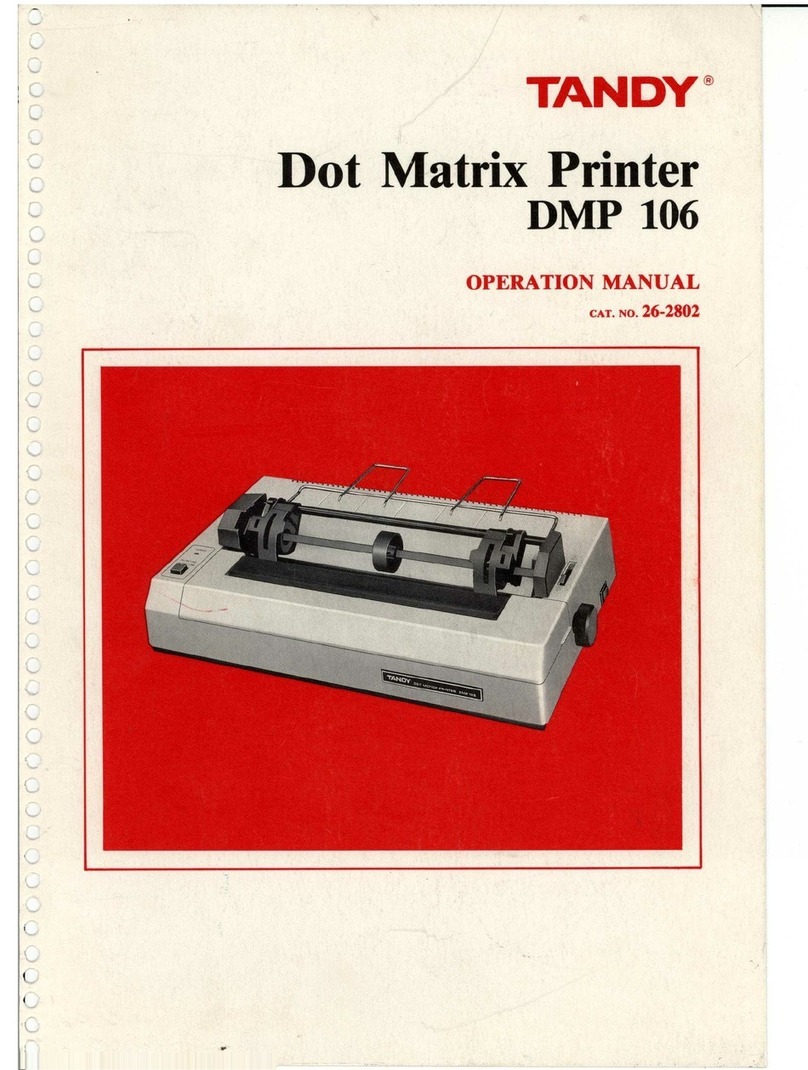
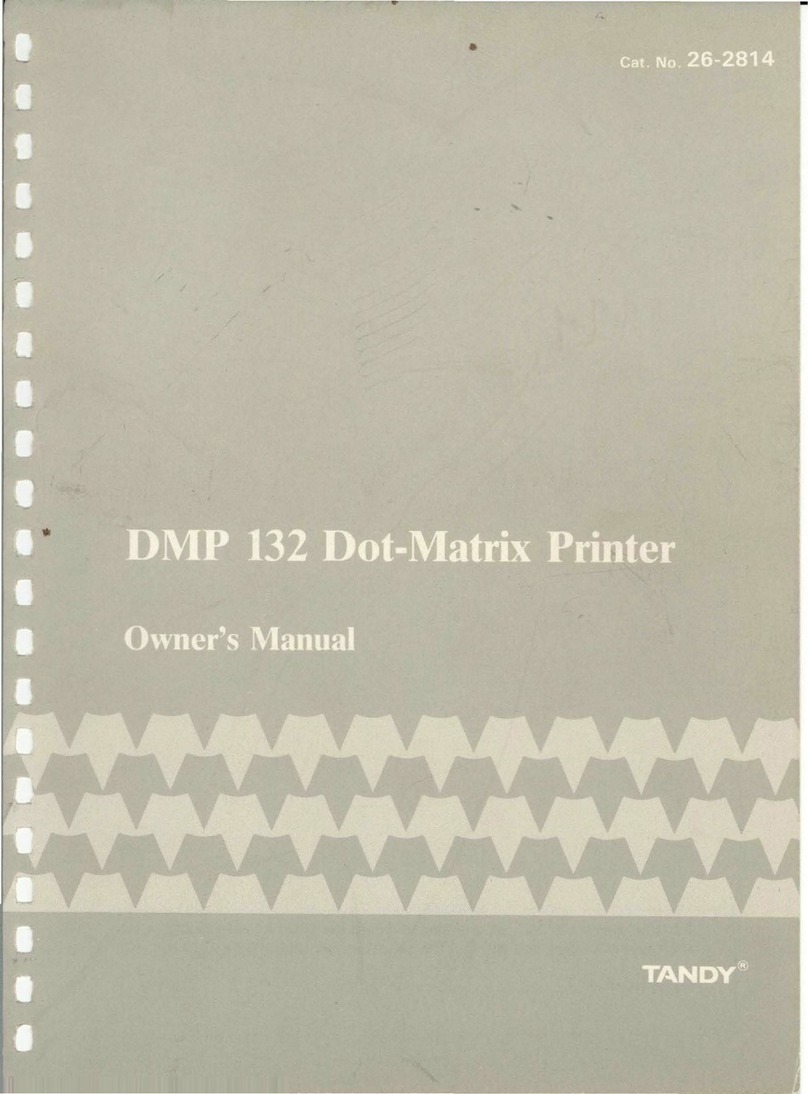
Tandy DMP 106 User manual

TANDY®
Dot
Matrix Printer
DMP
106
OPERATION MANUAL
CAT. NO. 26-2802

For
your
own
protection,
we urge you
to
record the serial number
of
this
unit
in
the space provided. You
will
find the serial number on the back panel
of
the
unit.
Serial
Number
_

TERMS
AND
CONDITIONS
OF
SALE
AND
LICENSE
OF
TANDY
COMPUTER
EQUIPMENT
AND
SOFTWARE
PURCHASED
FROM
RADIO
SHACK
COMPANY-OWNED
COMPUTER
CENTERS,
RETAIL
STORES
AND
RADIO
SHACK
FRANCHISEES
OR
DEALERS
AT
THEIR
AUTHORIZED
LOCATIONS
LIMITED
WARRANTY
CUSTOMER
OBLIGATIONS
A
CUSTOMER
assumes
full
responsibility
thaf
this
computer
hardware
purchased
(the
"EQuipment'),
and
any
copies
of
software
Included
with
the
EQuipment
or
licensed
separately
(.the
"Software')
meets
the
specifications,
capacity,
capabilities,
versatility,
and
other
reqUIrements
of
CUSTOMER
CUSTOMER
assumes
full
responsibility
tor
the
condition
and
eftectlveness
at
the
operating
enVironmenf
In
which
the
EQUipment
and
Software
are
fa
funcflon,
and
for
ItS
Installaflon
II,
L1MITEO
WARRANTIES
AND
CONDITIONS
OF
SALE
A
For
a
period
of
ninety
(90)
calendar
days
from
the
date
of
the
Radio
Shack
sales
document
received
upon
purchase
of
the
EQUipment
RADIO
SHACK
warrants
to
the
Original
CUSTOMER
thaf
the
EQUipment
and
the
medium
upon
which
fhe
Software
IS
stored
IS
free
from
manufacturing
defects.
This
warranty
is
only
applicable
to
purchases
of
Tandy
Equipment
by
the
original
customer
from
Radio
Shack
company-owned
computer
centers,
retail
stores,
and
Radio
Shack
franchisees
and
dealers
at
their
authorized
locations
The
warranfy
IS
vOId
If
the
EQUipment
or
Software
has
been
sublected
to
Improper
or
abnormal
use.
If
a
manufacturing
defect
IS
discovered
dUring
the
sfafed
warranty
period,
the
defective
EQUipment
must
be
returned
to
a
Radio
Shack
Compul€r
Center,
a
Radio
Shack
ret,,1
store,
a
participating
Radio
Shack
franchisee
or
a
partlclpaflng
Radio
Shack
dealer
for
repair,
along
with
a
copy
of
the
sales
document
or
lease
agreement
The
original
CUSTOMER'S
sale
and
exclusive
remedy
In
the
evenf
of
a
defect
IS
limited
to
the
correction
at
the
defect
by
repair,
replacement
or
refund
of
the
purchase
price.
at
RADIO
SHACK'S
election
and
sale
expense
RADIO
SHACK
has
no
obligation
to
replace
or
repaIr
expendable
Items.
B.
RADIO
SHACK
makes
no
warranty
as
to
the
deSign,
capability,
capacity,
or
sUitability
for
use
of
the
Software
except
as
provided
In
this
paragraph.
Software
IS
licensed
on
an
"AS
IS"
baSIS,
Without
warranty,
The
Original
CUSTOMERS
exclUSive
remedy,
In
the
evenf
of
a
Software
manufactUring
defect,
IS
ItS
repair
or
replacemenf
Within
thirty
(30)
calendar
days
of
fhe
date
of
the
RadiO
Shack
sales
document
received
upon
license
of
the
Software
The
defective
Software
shall
be
returned
to
a
RadiO
Shack
Computer
Center,
a
RadiO
Shack
ref"l
store.
a
participating
RadiO
Shack
franchisee
or
RadiO
Shack
dealer
along
With
the
sales
document
Except
as
provided
herein
no
employee,
agent
fr.anchlsee,
dealer
or
,other
person
IS
authOrized
to
give
any
warranties
of
any
nature
on
behalf
of
RADIO
SHACK
EXCEPT
AS
PROVIDED
HEREIN,
RADIO
SHACK
MAKES
NO
EXPRESS
WARRANTIES,
AND
ANY
IMPLIED
WARRANTY
OF
MERCHANTABILITY
OR
FITNESS
FOR
A
PARTICULAR
PURPOSE
IS
LIMITED
IN
ITS
DURATION
TO
THE
DURATION
OF
THE
WRITIEN
LIMITED
WARRANTIES
SET
FORTH
HEREIN,
Some
states
do
not
allow
limitations
on
how
long
an
Implied
warranty
lasts,
so
the
above
IlmltatlOn(s)
may
not
apply
to
CUSTOMER
III.
LIMITATION
OF
LIABILITY
A
EXCEPT
AS
PROVIDED
HEREIN,
RADIO
SHACK
SHALL
HAVE
NO
LIABILITY
OR
RESPONSIBILITY
TO
CUSTOMER
OR
ANY
OTHER
PERSON
OR
ENTITY
WITH
RESPECT
TO
ANY
LIABILITY,
LOSS
OR
DAMAGE
CAUSED
OR
ALLEGED
TO
BE
CAUSED
DIRECTLY
OR
INDIRECTLY
BY
"EQUIPMENT"
OR
"SOFTWARE"
SOLD,
LEASED,
LICENSED
DR
FURNISHED
BY
RADIO
SHACK,
INCLUDING,
BUT
NOT
LIMITED
TO,
ANY
INTERRUPTION
OF
SERVICE,
LOSS
OF
BUSINESS
OR
ANTICIPATORY
PROFITS
OR
CONSEQUENTIAL
DAMAGES
RESULTING
FROM
THE
USE
OR
OPERATION
OF
THE
"EQUIPMENT"
OR
"SOFTWARE,"
IN
NO
EVENT
SHALL
RADIO
SHACK
BE
LIABLE
FOR
LOSS
OF
PROFITS,
OR
ANY
INDIRECT,
SPECIAL,
OR
CONSEQUENTIAL
DAMAGES
ARISING
OUT
OF
ANY
BREACH
OF
THIS
WARRANTY
OR
IN
ANY
MANNER
ARISING
OUT
OF
OR
CONNECTED
WITH
THE
SALE,
LEASE,
LICENSE,
USE
OR
ANTICIPATED
USE
OF
THE
"EQUIPMENT"
OR
"SOFTWARE,"
NOTWITHSTANDING
THE
ABOVE
LIMITATIONS
AND
WARRANTIES,
RADID
SHACK'S
LIABILITY
HEREUNDER
FOR
DAMAGES
INCURRED
BY
CUSTOMER
OR
OTHERS
SHALL
NOT
EXCEED
THE
AMOUNT
PAID
BY
CUSTOMER
FOR
THE
PARTICULAR
"EQUIPMENT"
OR
"SOFTWARE"
INVOLVED,
RADIO
SHACK
shall
nof
be
liable
for
any
damages
caused
by
delay
In
delivering
or
furnishing
EQUipment
andor
Software
No
action
arising
out
of
any
claimed
breach
of
thiS
Warranfy'or
transactions
under
thiS
Warranty
may
be
brought
more
than
two
(2)
years
after
the
cause
of
action
has
accrued
or
more
than
four
(4)
years
after
fhe
date
of
the
RadiO
Shack
sales
document
for
the
EQUipment
or
Software,
whichever
first
occurs.
Some
states
do
not
allow
the
IImltaflon
or
exclUSion
of
InCidental
or
conseQuent,,1
damages.
so
the
above
IlmltatlOn(s)
or
excluslon(sl
may
not
apply
to
CUSTOMER
IV,
SOFTWARE
LICENSE
RADIO
SHACK
grants
to
CUSTOMER
a
non-exclUSive,
paId-up
license
to
use
the
TANDY
Software
on
one
computer,
subject
to
the
follOWing
provIsions
A
Except
as
otherwise
provided
In
thiS
Software
license,
applicable
COPYright
laws
shall
apply
to
the
Software
B
Title
to
the
medium
on
which
the
Software
IS
recorded
(cassette
and
or
diskette)
or
stored
(ROM)
IS
transferred
to
CUSTOMER,
but
not
title
to
the
Software
CUSTOMER
may
use
Software
on
a
multiuser
or
network
system
only
If
either,
the
Software
IS
expressly
labeled
to
be
for
use
on
a
multiuser
or
network
system
or
one
copy
of
thiS
software
IS
purchased
for
each
node
or
terminal
on
which
Software
IS
to
be
used
Simultaneously.
CUSTOMER
shall
not
use
make,
manufacture,
or
reproduce
copies
of
Software
except
for
use
on
one
computer
and
as
IS
specifically
proVided
In
Ih,s
Software
License
Customer
IS
expressly
prohibited
from
disassembling
the
Software.
CUSTOMER
IS
permitted
fo
make
additIOnal
copies
of
the
Software
only
for
backup
or
archival
purposes
or
If
additional
copies
are
reqUIred
In
the
operation
of
one
computer
With
the
Software,
but
only
to
the
extent
the
Software
allows
a
backup
copy
to
be
made.
However,
for
TRSDOS
Software,
CUSTOMER
Is
permitted
to
make
a
limited
number
of
additional
copies
for
CUSTOMER'S
own
use,
CUSTOMER
may
resell
or
distribute
unmodified
copies
of
the
Software
provided
CUSTOMER
has
purchased
one
coPy
of
the
Software
for
each
one
sold
or
distributed.
The
provIsions
of
thiS
Software
License
shall
also
be
applicable
to
third
parties
receiving
copies
of
the
Software
from
CUSTOMER
G
All
COPYright
notices
shall
be
retaIned
on
all
copies
of
the
Software,
V,
APPLICABILITY
OF
WARRANTY
A
The
terms
and
conditions
of
thiS
Warranty
are
applicable
as
between
RADIO
SHACK
and
CUSTOMER
to
either
a
sale
of
the
EQUipment
and
or
Software
license
to
CUSTOMER
or
to
a
transaction
whereby
RadiO
Shack
sells
or
conveys
such
EQUipment
to
a
third
party
for
lease
to
CUSTOMER
The
limitations
of
liability
and
Warranty
provIsions
herein
shall
Inure
to
the
benefit
of
RADIO
SHACK,
the
author,
owner
and
or
licensor
of
fhe
Software
and
any
manufacturer
of
fhe
EQulpmenf
sold
by
RadiO
Shack
VI.
STATE
LAW
RIGHTS
The
warranties
granted
herein
give
the
orlgina'
CUSTOMER
specific
legal
rights
and
the
original
CUSTOMER
may
have
other
rights
which
vary
from
state
to
state
686

The
FCC
Wants You to Know
This
equipment
generates and uses radio
frequency
energy.
If
not
installed and used properly,
that
is in
strict
accordance
with
the
manufacturer's
instructions,
it
may cause interference
to
radio and television reception.
It
has been
type
tested
and
found
to
comply
with
the
limits
for
aClass B
computing
device
in accordance
with
the
specifications
in Subpart J
of
Part
15
of
FCC Rules,
which
are designed
to provide reasonable
protection
against such
interference in aresidential
installation.
However, there is no guarantee
that
interference
will
not
occur
in a
particular
installation.
If
this
equipment
does cause interference
to
radio or television reception,
which
can be
determined by
turning
the
equipment
off
and on, the user is encouraged
to
try
to
correct
the in·
terference by one or more
of
the
following
measures:
Reorient
the
receiving antenna
Relocate
the
computer
with
respect to
the
receiver
Move
the
computer
away from
the
receiver
•Plug the
computer
into
a
different
outlet
so
that
computer
and receiver are
on
different
branch
circuits.
Warning
This equipment has been
certified
to
comply
with
the
limits
for aClass B
computing
device,
pursuant
to
Subpart J
of
Part
15
of
FCC Ruies. Only peripherals
(computer
inputlouput
devices. terminals, printers. etc.)
certified
to
comply
with
the Class B
limits
may be
attached
to
this
computer. Operation
with
non-certified peripherals is likely to result in interference
to
radio and
TV
reception.
2/86
Dot
Matrix Printer
DMP
106 Operation Manual:
Copyright ©1986 Tandy Corporation
Fort Worth, Texas 76102
All rights reserved.
Reproduction or use, without express written
permission from Tandy Corporation
and/or
its
licensor,
of
any portion
of
this manual
is
pro-
hibited. While reasonable efforts have been
taken in the preparation
of
this manual to as-
sure its accuracy, Tandy Corporation assumes
no liability resulting from any errors or omis-
sions in this manual, or from the use
of
the in-
formation contained herein.
IBM
is
aregistered trademark
of
International
Business Machines Corp.
10
9 8 7 6 5 4 3 2
Contents
Introduction ,......
..
... 1
1Description
of
the DMP
106
............ 3
2Setting Up the DMP
106
. . . .
..
......... 9
Paper Separator Installation. .................
10
Tractor Installation and Removal .............
10
Paper Loading
12
Ribbon Installation/Replacement. . . . . . . . . . . . .
16
Setting Print Function (DIP) Switches ,
19
Connecting the DMP
106
to
aPower Source.
..
21
Carriage Movement Test ,
21
Self-Test ,
22
Connecting the DMP
106
to aComputer
22
Power-Up Sequence. . . . . . . . . . . . . . . . . . . . . . .
..
24
3Using the DMP
106
(General Printer Operation) ,.....
..
25
Control Codes ,
25
Sending Control Codes from
BASIC.
.......
..
26
Character Printing Mode
27
Graphics Mode . . . . . . . . . . . . . . . . . . . . . . . . . . .
..
27
Selecting aPrint Mode ,
28
4Print Font Styles and Character
Widths..
29
Selecting Font Styles
29
Standard Character Font Style. .............
..
30
Graphics Characters. . . . . . . . . . . . . . . . . . . . . . .
..
31
Wrap-Around ,
32
Elongated Characters. . . . . . . . . . . . . . . . . . . . . .
..
32
I(
r/'
A.
\,//
~
"\
"---.J

Bold Characters
33
Mixing Bold
and
Elongated ................
..
34
Superscript and Subscript "
34
Selecting Character Sets
35
5General Control Codes "
37
Line Feed Codes (LF) "
37
Special Line Feed
Codes.
..................
..
37
Carriage Return (CR)
38
Setting Top-of-Form and Form Length "
39
Entering IBM Mode "
39
Ignored or Undefined Codes , "
39
DMP
106
Buffer Operation "
40
6Character Printing Mode "
43
Repeat Printing "
43
Underline Printing "
43
Print Head Positioning ....................
..
44
Printing Directions "
47
7Graphics
Mode.
. ....... .... .. .. . .. .. .. . .
..
49
Printing Graphics Patterns "
51
Line
Feed.
...............................
..
53
Repeat Function "
54
Print Density "
54
Leaving Graphics Mode
55
Mixing Modes on the Same Line
55
Freehand Drawing ..................
..
55
8IBM Emulation Mode. ......... .... .....
..
59
Description
of
the IBM Emulation Mode ....
..
59
Carriage Return
59

Vertical
Formatting
Control
Codes.
.........
..
60
Horizontal
Formatting
Control
Codes . . . . . . .
..
62
Printing
Mode
Control
. . . . . . . . . . . . . . . . . . . .
..
63
Other
Control
Codes . . . . . . . . . . . . . . . . . . . . . .
..
69
Appendices
AControl Code Summary. .... ..... .. ..... ..
73
Tandy
Control
Codes
73
IBM
Control
Codes..
. . . . . .
..
.............
..
76
BInterface
..
;.... .. ....... .. ..............
..
79
Parallel Interface 79
Serial
Interface.
. . . . . . . . . . . . . . . . . . . . . . . . . . . . 82
CCharacter Sets. ........... .. ..... .. ........
85
Tandy
Character
Sets
85
IBM
Character
Sets . . . . . . . . . . . . . . . . . . . . . . .
..
89
DProgramming Information .. .. ..... ....
93
Programming
Examples 94
ECare and Maintenance
..
.. ....... .. .....
..
97
Care.
.. .. .. .. .. ..
.
..
97
Maintenance 98
If
You
Have
Problems
98
Printing
Limits (Duty Cycle)
..
. . . . . . . . . . . . .
..
100
FSchematic Diagram.. .. .. ..
..
.. ..
.. ..
.
..
...
101
G
Specifications..............................
103


Introduction
Tandy
is
proud to introduce the newest addition to its line -the DMP
106.
It
is
avery portable dot-matrix printer which can perform avariety
of
differ-
ent printing operations. For instance, it can print:
•Standard characters -Normal, Condensed and Compressed.
•Graphics characters.
The DMP
106
operates in two modes:
•Character Printing Mode for output
Of
program listings, report writing,
or the creation
of
any text documentation.
•Graphics Mode for drawing pictures, figures, or graphs.
In the Character Printing Mode, the DMP
106
prints monospaced, 9x7dot-
matrix characters.
In Graphics Mode, you can use graphic data to draw just about any type
of
graphic configuration you desire.
You can use two types
of
paper with the DMP
106:
•Standard (4"
-9.5"
wide) computer fanfold forms with guide holes. The
Printer can also print one original plus one carbon copy.
•Standard (4"
-9.5"
wide) single-sheet typewriter paper.
Other software-controlled features include:
•Bidirectional minimum-distance access carriage motion.
•Full, half, and
3/4
Forward Line Feed.
•Underline capability.
and much more!


Description
of
t e DMP 106 1
Unpacking
Carefully unpack the DMP 106, being sure to locate the Ribbon Cassette
and the Paper Separator. Keep the empty ox and packing materials just
in case you ever need to transport the Prin er.
Figure 1. DMP 106 Dot Matrix Printer
3

Description
of
the
DMP
106
Be
sure to remove the Yellow Band from the Carriage. (Refer to Figure 2.)
Figure 2. Removing the Yellow Band
Read this manual carefully. The more familiar you become with the DMP
106,
the more value you will get from the Printer.
4

Chapter 1
®
®
Figure 3. DMP
106
(Top
View)
CD
Power
ON/OFF
Switch. Press the side
of
the switch
marked"
I"
to turn
the power ON. Press the switch the other way to turn the power OFF.
Note: Turning the power OFF and ON during operation may cause loss
of
the current data.
Figure
4.
Power Switch
5

Description
of
the
DMP
106
@
POWER
ON
Indicator.
Illuminates when the
DMP
106 is
properly
con-
nected with
the
Power
ON/OFF
Switch
ON.
@
ON-LINE/OFF-LINE
Switch.
When
pressed in,
the
Printer
is ready
to
communicate with
the
computer.
When
pressed again
and
released,
the
Printer
stops the communication.
@
Platen
Pressure Lever. This lever has two positions.
One
is Release,
for
the
tractor
feed feature
(toward
the
front
of
the Printer);
the
other
is
Friction, for the friction feed feature (toward the rear side
of
the Printer).
®
Paper
Bail.
For
optimum
print
quality, keep
the
Bail
down
on
the
paper.
®
Tractor
Feed. This
Tractor
Feed is removable. See Setting
Up
the
DMP
106
for
details
on
using
the
Tractor
Feed. You
can
remove
the
Tractor
when printing
on
single-sheet
paper.
(})
Tractor
Cam.
Whenthe
Cam
is moved toward the rear side
of
the Printer,
the Tractor can slide from side
to
side,
and
when moved toward the front,
it is locked
into
position.
®
Paper
Feed
Knob.
Turn
clockwise
to
manually advance
the
paper.
®
Paper
Insertion Opening. Insert
the
paper
here.
@)
Platen.
®
Top
Cover.
@
Transparent
Cover. Should
be
opened
while handling
the
Paper
Bail.
@
Hole
Cover.
Put
this Cover
in
place when the
Tractor
is removed.
@
Paper
Separator.
@
AC
Power
Cord.
Model
II
users:
If
aBASIC
program
stops execution because
of
a
Printer
error,
typing:
CON
T [
ENTER
Iwill cause printing
to
resume. However
the
en-
tire contents
of
the print
buffer
will be printed, starting with the current
Print
Head
position.
6

CD
®®
®
Chapter 1
®
Figure 5. DMP
106
(Rear View)
CD
Power Cord. Plug the power cord into awall outlet or approved power
strip.
@Parallel Interface Connector.
If
your computer has parallel interface
capabilities, connect the cable here.
See
Setting Up the DMP 106 for
the right cable for your computer.
@Serial Interface Connector.
If
you have acomputer with serial printer
interface capabilities, connect the cable to the serial interface connector
indicated.
See
Setting Up the DMP
106
for the right cable for your Color
Computer or Data Terminal.
Note: Serial interface
is
not supported in IBM emulation mode.
@Print Function (DIP) Switches. The settings
of
these switches will deter-
mine exactly how your Printer prints in various situations.
See
Setting
Print Function (DIP) switches.
®Ground Screw. Connect the ground wire from the shielded printer cable
here.
7


Setting Up the DMP 106 2
The following Start-Up Checklist
is
asummary
of
how to set
up
your Printer.
You should follow this procedure every time you start-up the Printer -NOT
JUST
THE
FIRST
TIME.
oFind agood spot for your Printer. Be sure to consider:
•
Work
surface. Place the Printer
on
asturdy desk, table,
or
printer
stand.
•Length
of
the printer cable. This determines the maximum distance
allowed between your computer
and
printer.
•Papertakes up space.
Be
sure to leave enough
room
for smooth paper
flow.
•Noise factors. Situate the Printer as far as possible from noise gener-
ators such as refrigerators
and
industrial equipment.
[Z]
Be
sure the Power Switch
is
OFF.
Figure 6.
Power
Switch (OFF Position)
[2] Remove the packing materials, including the Yellow Band.
[Z]
Install continuous form fanfold paper
or
single-sheet paper.
oCheck the Ribbon Cassette.
If
it has
not
been installed, see Ribbon In-
stallation/Replacement.
oSet the
Print
Function (DIP) Switches (on the rear side
of
the Printer).
oConnect the
AC
power plug
to
a3-wire, 120 volt, 60
Hz
grounded
AC
outlet (220/240
V,
50
Hz
where the unit
is
so marked).
9

Setting Up the
DMP
106
oCheck to
see
if
the Printer
is
ready by running the Self-Test.
oConnect the interface cable from the computer to the printer interface
connector.
oTurn the Power ON and check that the Power ON Indicator (on the Con-
trol Panel)
is
illuminated.
oPlace the ON-LINE/OFF-LINE Switch in the ON-LINE position.
o
Be
sure that the Top Cover
is
closed securely.
Paper Separator Installation
Install the Paper Separator by inserting the tips
of
the Separator into holes
provided on the top
of
the Printer (behind the Paper Insertion Opening).
Tractor Installation and Removal
This Printer can be used with either the Tractor Feed system or the Friction
Feed system. The difference
is
that the Tractor Feed system
is
used with paper
which has guide holes on both edges, while the paper used with the Friction
Feed system does not have these holes.
The Friction Feed system may be used with the Tractor installed; however,
better operation can be achieved
if
it
is
removed -especially when using
single sheets
of
paper.
Installing the Tractor
1.
Set the Power
ON/OFF
Switch to OFF.
2.
Open the Top Cover and remove the Hole Cover.
3.
Move the Paper Bail forward (toward the front
of
the Printer)
4. Place the pins in the Tractor onto the cutouts,
as
shown. Then push down
on the Tractor until it
is
securely locked into position.
5. Move the Paper Bail back against the platen.
6.
Close the Top Cover.
10

Chapter 2
Removing the Tractor
1.
Set the Power
ON/OFF
Switch to OFF.
2. Open the Top Cover.
3.
Move the Paper Bail forward (toward the front
of
the Printer).
4.
Hold the front bar
of
the Tractor in your hand and pull upward; then
push it away and remove the Tractor.
5.
Move the Paper Bail back against the platen.
6.
Replace the Hole Cover.
7. Close the Top Cover.
Figure 7. Installing the Tractor
11

Setting Up the
DMP
106
Paper Loading
Warning! When loading paper (single-sheet or fanfold), be sure the paper
correctly enters the Paper Insertion Opening.
It
is
very important that the paper enters the DMP
106
straight. The paper
must be directly behind the Printer or paper skewing or jamming may oc-
cur. Proper positioning
of
the Paper Separator
is
also important to help pre-
vent paper jamming.
PRINTER
I I
I I
L-~
I_
I I
I I
I I
iPAPER I
WRONG RIGHT
If
the fanfold paper
is
correctly loaded, it should enter between the body
of
the Printer and the PaperSeparator. Once the paper
is
loaded and power
is
ON, press
to
set the ON-LINE/OFF-LINE Switch
to
ON-LINE. Then you
may begin printing.
Sing~e-Sheet
paper Loading
1.
Be
sure the Power Switch
is
OFF.
2.
Remove the Tractor and replace the Hole Cover. (See Tractor Installa-
tion and Removal.)
3.
Move the Platen Pressure Lever forward (toward the front
of
the Printer).
4.
Open the Transparent Cover and tilt the Paper Bail forward.
5.
Insert the paper into the Paper Insertion Opening and push the Platen
Pressure Lever back toward the rear side
of
the Printer. Use the Paper
Feed Knob to pull the paper around until it appears between the Platen
and the Print Head.
6. Move the Platen Pressure Lever forward
to
align the paper. Push the
Platen Pressure Lever back again.
12
Other manuals for DMP 106
1
Table of contents
Other Tandy Printer manuals

Tandy
Tandy DMP-I05 User manual

Tandy
Tandy TRP-100 User manual

Tandy
Tandy 26-2814 User manual

Tandy
Tandy DMP 132 User manual

Tandy
Tandy DMP-130 User manual

Tandy
Tandy DMP 106 User manual

Tandy
Tandy DWP-220 User manual

Tandy
Tandy DMP-130 User manual

Tandy
Tandy DMP-105 Installation manual

Tandy
Tandy DMP 135 User manual