Tandy DMP 132 User manual


For your own
protection,
we urge you
to
record the serial number
of
this
unit
in
the space provided. You
will
find the serial number on the
bottom
of
the unit.
Serial
Number
.

TERMS
AND
CONDITIONS
OF
SALE
AND LICENSE
OF
TANDY
COMPUTER
EQUIPMENT
AND
SOFTWARE
PURCHASED
FROM
RADIO
SHACK
COMPANY-OWNED
COMPUTER
CENTERS,
RETAIL
STORES
AND
RADIO
SHACK
FRANCHISEES
DR
DEALERS
AT
THEIR
AUTHORIZED
LOCATIONS
USA
LIMITED
WARRANTY
I.
CUSTOMER
OBLIGATIONS
A.
CUSTOMER
assumes
full
responsibility
that
this
computer
hardware
purchased
(the
"EqUipment"),
and
any
copies
of
software
Included
wifh
the
EqUipment
or
licensed
separately
(the
"Software")
meefs
the
specifications
capacity,
capabiiitles,
versatility,
and
other
requirements
of
CUSTOMER
B,
CUSTOMER
assumes
tuli
responSibility
for
the
condition
and
effectiveness
of
the
operafmg
environment
In
which
the
Equipment
and
Software
are
to
function,
and
for
ItS
installation,
II,
LIMITED
WARRANTIES
AND
CONDITIONS
OF
SALE
A,
For
a
period
of
ninety
(90)
calendar
days
from
the
date
of
the
RadiO
Shack
sales
document
received
upon
purchase
of
the
Equipment
RADIO
SHACK
warrants
to
the
orlgmai
CUSTOMER
that
the
EqUipment
and
the
medium
upon
which
the
Software
is
stored
IS
free
from
manufactUring
defects,
This
warranty
is
only
applicable
to
purchases
of
Tandy
Equipment
by
the
original
customer
from
Radio
Shack
company-owned
computer
centers,
retail
stores,
and
Radio
Shack
franchisees
and
dealers
at
their
authorized
locations,
The
wdrranty
IS
VOId
if
the
Equipment
or
Software
has
been
subjected
to
improper
or
abnormal
use,
If
a
manufactUring
defect
IS
discovered
dUring
the
stated
warranty
period,
the
defective
EqUipment
must
be
returned
to
a
RadiO
Shack
Computer
Center,
a
Radio
Shack
retail
store,
a
participating
RadiO
Shack
franchisee
or
a
participating
Radio
Shack
dealer
for
repair,
along
with
a
copy
of
the
sales
document
or
iease
agreement
The
orlgmai
CUSTOMER'S
soie
and
exclusive
remedy
in
the
event
of
a
defect
IS
iimlted
to
the
correction
of
the
defect
by
repair,
repiacement
or
refund
of
the
purchase
price,
at
RADIO
SHACK'S
election
and
sale
expense
RADIO
SHACK
has
no
obligation
to
replace
or
repair
expendabie
Items,
B,
RADIO
SHACK
makes
no
warranty
os
to
the
deSign,
capability,
capacity,
or
suitabillfy
for
use
of
the
Software,
except
as
prOVided
m
this
paragraph,
Software
is
licensed
on
an
"AS
IS"
baSIS,
without
warranty,
The
original
CUSTOMER'S
exclusive
remedy,
in
the
event
of
a
Software
manufacturing
defect,
is
its
repair
or
replacement
within
thirty
(3D)
calendar
days
of
the
date
of
the
RadiO
Shack
sales
document
received
upon
iicense
of
the
Software,
The
defective
Software
shali
be
returned
to
a
Radio
Shack
Computer
Center,
a
RadiO
Shack
retali
store,
a
participating
Radio
Shack
franchisee
or
RadiO
Shack
dealer
along
With
the
sales
do~ument
C,
Except
as
proVided
herein
no
employee,
agent,
franchisee,
dealer
or
other
person
IS
authOrIZed
to
give
any
warranties
of
any
nature
on
behalf
of
RADIO
SHACK
o
EXCEPT
AS
PROVIDED
HEREIN,
RADIO
SHACK
MAKES
NO
EXPRESS
WARRANTIES,
AND
ANY
IMPLIED
WARRANTY
OF
MERCHANTABILITY
OR
FITNESS
FOR
A
PARTICULAR
PURPOSE
IS
LIMITED
IN
ITS
DURATION
TO
THE
DURATION
OF
THE
WRITIEN
LIMITED
WARRANTIES
SET
FORTH
HEREIN,
Some
states
do
not
allow
ilmltatlons
on
how
long
an
Implied
warranty
iasts,
so
the
above
limitafion(s)
may
not
apply
to
CUSTOMER
III.
L1MITATIDN
OF
LIABILITY
A,
EXCEPT
AS
PROVIDED
HEREIN,
RAOID
SHACK
SHALL
HAVE
NO
LIABILITY
OR
RESPONSIBILITY
TO
CUSTOMER
OR
ANY
OTHER
PERSON
OR
ENTITY
WITH
RESPECT
TO
ANY
LIABILITY,
LOSS
OR
DAMAGE
CAUSED
OR
ALLEGED
TO
BE
CAUSED
DIRECTLY
OR
INDIRECTlY
BY
"EQUIPMENT"
OR
"SOFTWARE"
SOLO,
LEASED,
LICENSED
OR
FURNISHED
BY
RADIO
SHACK,
INCLUDING,
BUT
NOT
LIMITED
TO,
ANY
INTERRUPTION
OF
SERVICE,
LOSS
OF
BUSINESS
OR
ANTICIPATORY
PROFITS
OR
CONSEQUENTIAL
DAMAGES
RESUlTING
FROM
THE
USE
OR
OPERATION
OF
THE
"EQUIPMENT"
OR
"SOFTWARE."
IN
NO
EVENT
SHALL
RADIO
SHACK
BE
LIABLE
FOR
LOSS
OF
PROFITS,
OR
ANY
INDIRECT,
SPECIAL,
OR
CONSEQUENTIAL
DAMAGES
ARISING
OUT
OF
ANY
BREACH
OF
THIS
WARRANTY
OR
IN
ANY
MANNER
ARISING
OUT
OF
OR
CONNECTED
WITH
THE
SALE,
LEASE,
LICENSE,
USE
OR
ANTICIPATED
USE
OF
THE
"EQUIPMENT"
OR
"SOFTWARE."
NOTWITHSTANDING
THE
ABOVE
LIMITATIONS
AND
WARRANTIES,
RADIO
SHACK'S
LIABILITY
HEREUNDER
FOR
DAMAGES
INCURRED
BY
CUSTOMER
OR
OTHERS
SHALL
NOT
EXCEED
THE
AMOUNT
PAID
BY
CUSTOMER
FOR
THE
PARTICULAR
"EQUIPMENT"
OR
"SOFTWARE"
INVOLVED.
B,
RADIO
SHACK
shall
not
be
liable
for
any
damages
caused
by
delay
In
delivering
or
furnishing
Equipment
and'or
Software
No
action
a"sing
out
of
any
claimed
breach
of
thiS
Warranty
or
transactions
under
this
Warranty
may
be
brought
more
than
two
(2)
years
after
the
cause
of
action
has
accrued
or
more
than
four
(4)
years
after
the
date
at
the
RadiO
Shack
sales
document
for
the
EqUipment
or
Software,
whichever
tirst
occurs,
Some
states
do
not,
allow
the
limitation
or
exclusion
at
mCldental
or
consequential
damages,
so
the
above
limitation(s)
or
excluslon(s)
may
not
apply
to
CUSTOMER,
IV.
SOFTWARE
LICENSE
RADIO
SHACK
grants
to
CUSTOMER
a
non-exclUSive,
paid-up
license
to
use
the
TANDY
Software
on
one
computer
subject
to
the
followmg
proVisions:
A.
Except
as
otherwise
provided
in
thiS
Software
License,
applicable
COPYright
laws
shall
apply
to
the
Software,
B
Title
to
the
medium
on
which
the
Software
is
recorded
(cassette
and/or
diskette)
or
stored
(ROM)
IS
transferred
fa
CUSTOMER,
but
not
title
to
the
Software
C,
CUSTOMER
may
use
Software
on
a
muilluser
or
network
system
only
it
either,
the
Software
IS
expressly
labeled
to
be
for
use
on
a
multiuser
or
network
system,
or
one
copy
of
thiS
software
is
purchased
tor
each
node
0'
termmal
on
which
Software
IS
to
be
used
simultaneously,
0,
CUSTOMER
shall
not
use,
make,
manufacture,
or
reproduce
copies
of
Software
except
for
use
on
one
computer
~~1t;~r~s
specifically
provided
m
this
Software
License,
Customer
is
expressly
prohibited
from
disassembling
the
E.
CUSTOMER
is
permitted
to
make
additional
copies
at
the
Software
only
for
backup
or
archival
purposes
or
If
additional
copies
are
reqUired
in
the
operation
of
one
computer
With
the
Software,
but
only
to
the
extent
the
Software
allows
a
backup
copy
to
be
made,
However,
for
TASDOS
Software,
CUSTOMER
IS
permitted
to
make
a
limited
number
of
additional
copies
for
CUSTOMER'S
own
use,
CUSTOMER
may
resell
or
distribute
unmodified
copies
of
the
Software
proVided
CUSTOMER
has
purchased
one
copy
of
the
Software
for
each
one
sold
or
distributed,
The
prOVISions
of
this
Software
License
shall
also
be
applicable
to
third
parties
recelvmg
copies
of
the
Software
from
CUSTOMER,
G,
All
copyright
notices
shall
be
retamed
on
all
copies
of
the
Software,
V.
APPLICABILITY
OF
WARRANTY
A,
The
terms
and
conditions
of
thiS
Warranty
are
applicable
as
between
RADIO
SHACK
and
CUSTOMER
to
either
a
sale
of
the
EqUipment
and/or
Software
License
to
CUSTOMER
or
to
a
transaction
whereby
RadiO
Shack
sells
or
conveys
such
Equipment
to
a
third
party
for
lease
to
CUSTOMER
B,
The
limifations
of
liability
and
Warranty
provisions
herem
shall
Inure
to
the
benefit
of
RADIO
SHACK,
the
author,
owner
and
or
licensor
of
the
Software
and
any
manufacturer
of
the
Equipment
sold
by
Radio
Shack
VI.
STATE
LAW
RIGHTS
The
warranties
granted
herein
give
the
original
CUSTOMER
specific
legal
rights,
and
the
original
CUSTOMER
may
have
other
fIghts
which
vary
from
state
to
state
4/87

The FCC Wants
You
to
Know
This
equipment
generates and uses radio
frequency
energy.
If
not
Installed and used properly,
that is in
strict
accordance
with
the
manufacturer's
instructions,
It may cause
interference
to
radio and
television
reception.
It has been type
tested
and found
to
comply
with
the
limits
for
aClass B
computing
device
in
accordance
with
the
specifications
in SUbpart J
of
Part 15
of
FCC Rules,
which
are
designed
to provide reasonable
protection
against
such
interference
in a
residential
installation.
However, there is no
guarantee
that
interference
will
not
occur
in a
particular
installation.
If
this
equipment
does
cause
interference
to
radio
or
television
reception,
which
can be
determined
by
turning
the
equipment
off
and on, the
user
Is encouraged
to
try
to
correct
the in-
terference by one
or
more
of
the
following
measures:
•Reorient the receiving
antenna
•Relocate the
computer
with
respect
to
the receiver
•Move the
computer
away
from
the receiver
Plug the
computer
into
a
different
outlet
so
that
computer
and receiver are
on
different
branch
circuits.
Warning
This
equipment
has been
certified
to
comply
with
the
limits
for
aClass B
computing
device,
pursuant
to
Subpart J
of
Part
15
of
FCC Rules.
Only
peripherals
(computer
input/ouput
devices, terminals,
printers,
etc.)
certified
to
comply
with
the Class B
limits
may be
attached
to
this
computer.
Operation
with
non-certified
peripherals
is
likely
to
result
in
interference
to
radio and
TV
reception.
2/86
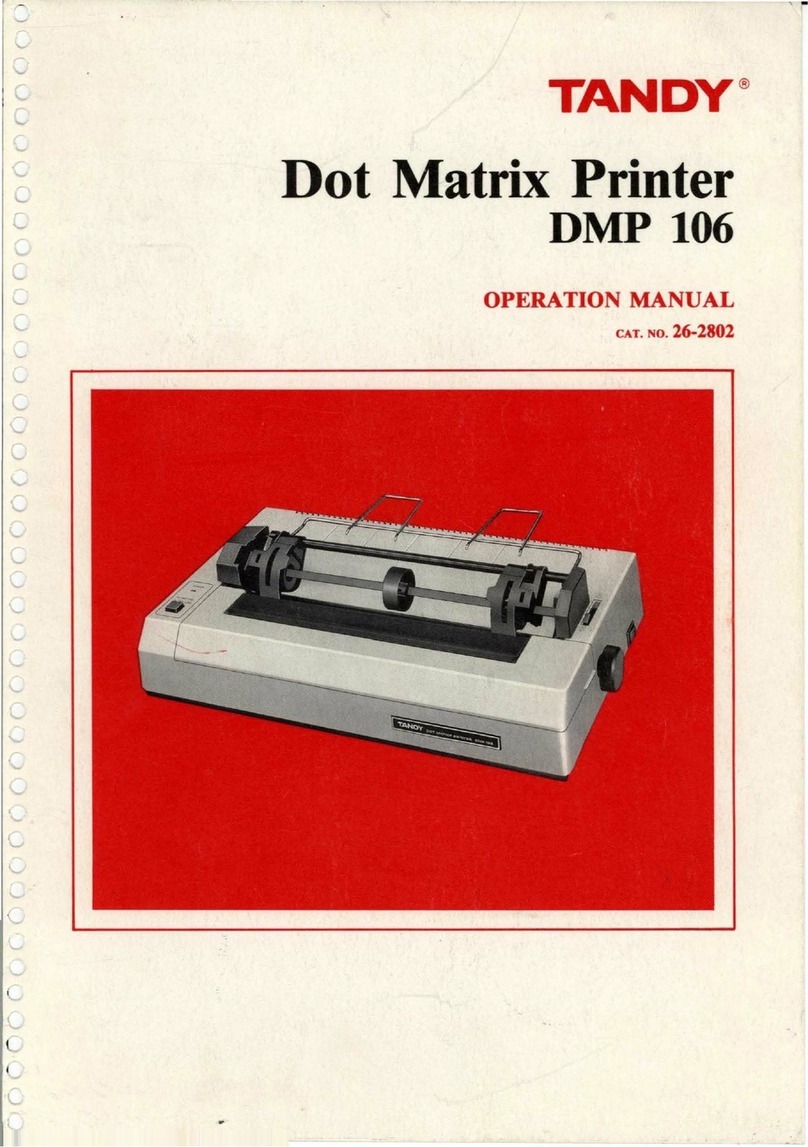
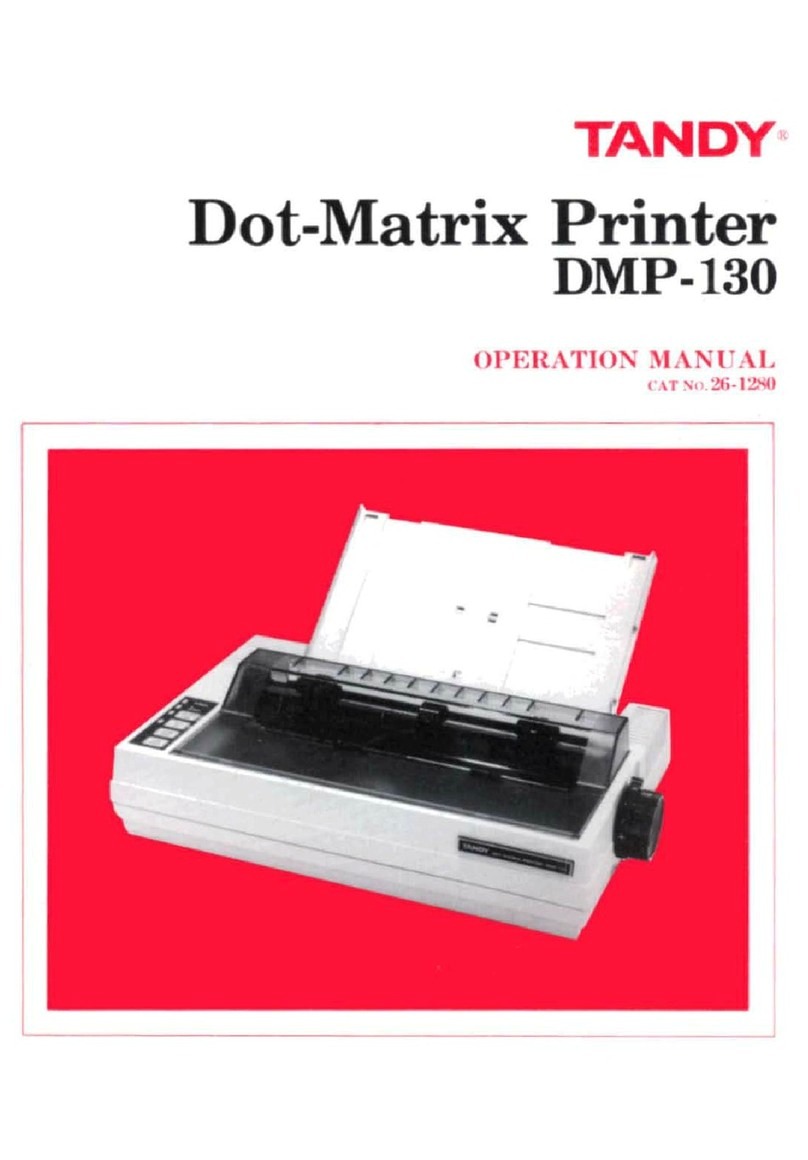
Dot Matrix Printer
DMP
132 Operation
Manual:
©1987
Tandy
Corporation
All
Rights
Reserved.
Reproduction
or
use, without express written per-
mission from Tandy Corporation and/or its licensor,
of any portion of this manual
is
prohibited. While
reasonable efforts have
been
taken in the prepara-
tion of this manual to assure its accuracy,
Tandy
Corporation assumes no liability resulting from any
errors
or
omissions in this manual,
or
from the use
of
the information contained herein.
IBM
is
aregistered
trademark
of
International
Business Machines, Corp.
Tandy and Scrips
it
are registered trademarks of
Tandy Corporation.
10
9 8 7 6 5 4 3 2

Contents
Introduction
1
About
the
Printer
1
Printer
Components 3
1
Setting
Up
the
DMP
132
5
Choosing aLocation 5
Installing
the
Paper
Rack 6
Tractor
Feed Unit 7
Ribbon Cassette
10
Connecting
the
DMP
132
to
aPower Source
12
Paper
Loading
13
Print
Head Adjustment Lever
18
Performing
aSelf-Test
19
Connecting
the
DMP
132
to
the
Computer
20
Print
Function
(DIP)
Switches.......................
21
Power
Up
Sequence
24
Character
Pitch
Set Switches
24
Hex Dump
Function
26
Startup
Checklist
26
2
Printing
Applications
27
Control Codes
28
Sending Control Codes from BASIC
29
Data
Processing Mode
30
Word Processing Mode
30
Graphics Mode
31
Selecting a
Print
Mode
32

Contents
3
Print
Fonts
and
Character
Width
35
Selecting
Fonts
36
Standard
and Condensed
Fonts
36
Correspondence
Font
38
Proportional Spacing
Font
38
Graphics
Characters
39
Right
Justification
41
Wrap-Around
43
Elongated
Characters
43
Boldface
44
Mixing Bold
and
Elongated
44
Italics..........................................................
44
Superscript
and
Subscript
45
Microfont
45
4General Control Codes
47
Buzzer
47
Line Feed
47
Special Line Feed Codes
49
Carriage
Return
(CR)
49
Backspace
50
Setting Top-of-Form
and
Form
Length
51
Form
Feed
52
Entering
IBM Mode
52
Ignored
or
Undefined Codes
53
DMP
132
Buffer Operation
54

Contents
5Word and
Data
Processing Modes
57
Superscript
and
Subscript (By
LF
Code)
57
Repeat
Printing
57
Underline
Printing
58
Dot
Positioning
58
Left
and
Right
Margins
60
Skip
Perforation....................
61
Bidirectional
and
Unidirectional
Printing
61
6Graphics Mode
63
Printing
Graphics
Patterns
65
Line
Feed
67
Repeat
Function
68
Leaving Graphics Mode
68
Freehand
Drawing
68
7Selecting aCode Set
and
Character
Set
71
Code Set Selection
71
Character
Set Selection
71
International
Character
Set Selection
72
8IBM
Emulation
Mode
73
Description
73
Code Set Selection
73
Character
Set Selection
73
Carriage
Return
...........................................
74
Vertical
Formatting
Control
Codes.................
74
Horizontal
Formatting
Control Codes
77

Contents
Printing
Mode Control
79
Other
Control Codes
83
Appendices
A
Character
Sets
87
Tandy
Character
Set Table ......
.. .. ..
.
.. .. ..
.
.. ..
87
Dot-Column Width
of
Tandy
Characters
88
IBM
Character
Set 1
90
IBM
Character
Set
2
91
Dot-Column Width
of
IBM
Characters
92
International
Character
Table in Tandy Mode..
94
BControl Codes
95
Tandy Control Codes
95
IBM Control Codes
99
CProgramming Information
107
Programming
Examples
108
DCare and Maintenance
111
General
111
If
you
have
problems...................................
112
ESpecifications...........................................
113
F
Interfaces.
..............................................
..
115
GSchematic Diagrams................................
117
Index
121

Introduction
About the Printer
Congratulations on selecting the
DMP
132, ahigh-density,
dot-matrix
printer that performs avariety of different printing operations, such as:
•Proportionally spaced characters
•Monospaced characters (standard, condensed and compressed)
•Correspondence-quality characters
•Italic characters
•Super-/subscript
•Microfont
•Graphics
The
DMP
132
operates
in
three modes:
•
Data
processing mode for quick
output
of program listings
or
data
•
Word
processing mode for letter writing
or
creating text documenta-
tion
•Graphics mode for drawing pictures, figures,
or
graphs
For
word processing, the
DMP
132's correspondence
or
proportionally
spaced characters produce letter-quality results. When you need aquick
printout, standard characters probably suit your needs,
In
graphics
mode, you can use graphic data to draw nearly any type of graphic con-
figuration you desire.
With your ve·rsatile
DMP
132, you can determine not only character
style and printing mode, but you can also select the code set (control
code sequence) and character set.
Code sets:
•Tandy (original) code set
•Code set for IBM
80
CPS graphics printers
Character sets:
•Tandy character set
•IBM character set
1
Introduction
You can use two types
of
paper
with the DMP 132:
•
Tractor-
fed 4- inch
or
10- inch
computer
fanfold forms with guide
holes.
The
DMP 132 can also
print
one
original
and
up
to
two
non-
carbon
copies.
•Friction-fed, single-sheet
typewriter
paper.
Other
features
include:
•Full-
or
half-line feed
and
3/4
or
4/5 line feed.
•
Underline
capability.
•
Buzzer
function.
•
Automatic
paper
loading.
•
Character
pitch
set
function
2

Printer Components
CD
o
®
-<-->-----
®
Figure
1.
Front
Panel
Controls.
1
POWER
indicator. Illuminates when the
DMP
132
is
properly con-
nected and the
POWER
ONIOFF switch
is
set to
ON.
2
ALERT
indicator. Lights when the
DMP
132
is
out
of
paper. In
this case, the printer enters the off-line state
and
the buzzer sounds
for Isecond. Load more
paper
and press the
aNI
OFF
LINE
switch.
The
ALERT
indicator blinks when there
is
acarriage fault
or
some sort
of
electrical problem.
Note
to
MODEL
II
users: When a
BASIC
proram
stops execution
because
of
aprinter
error,
type
CaNT
JENTER to resume printing.
However, the entire contents
of
the print buffer prints starting with
the
current
print head position.
:3
ONIOFF
LINE
switch.
At
power- up, the
DMP
132
is
on line;
pressing this switch once causes the
printer
to go off line. To stop
printing at any time
or
to use
other
front panel switches, press this
switch to set the
printer
to
OFF
LINE.
3

Introduction
Press and hold this switch for one second while in on line mode to
enter the pitch-set mode.
Note: To print the remaining data
in
the buffer after you stopped print-
ing
by
pressing the
ON/OFF
LINE switch, cancel the printing process
using your computer software. Then, press the
ON/OFF
LINE switch
to set the DMP
132
to ON LINE.
(V
ON/OFF
LINE
indicator.
When this indicator
is
on, the DMP
132
is
on line and ready to print. The indicator flickers in the pitch- set
mode.
(~)
NLQlDP
switch. Press this switch to select either the Near Letter
Quality (NLQ)
or
standard print mode. When the NLQ mode
is
selected, the
NLQ
indicator lights. Press this switch again for standard
mode. This switch works only when the DMP
132
is
off line.
In
the pitch-set mode, pressing this switch sets the pitch.
6
NLQ
indicator.
Illuminates when the DMP
132
is
in
the NLQ
mode.
7
FORM
FEED
switch. Press this switch to advance the paper to the
next top-of-form position.
It
is
effective only when the DMP
132
is
off line.
In the pitch-set mode, pressing this switch moves the print head to
the left.
8
LINE
FEED
switch. Press this switch to advance the paper one
line. Press and hold for continuous paper feed. This switch works
only when the DMP
132
is
off line.
In the pitch-set mode, pressing this switch moves the print head to
the right.
4

Setting
Up
the DMP
132
1
This
chapter
shows you how to set up the
DMP
132
so you can begin
using it
as
soon as possible. Setting up the printer involves:
•Choosing alocation for the printer
•Installing the
paper
rack
•Installing/adjusting the tractor feed unit
•Installing
or
replacing aribbon
•Loading
paper
•Connecting the printer to apower source
•Connecting the printer to your
computer
•Powering up the printer
•Performing aself-test
Carefully unpack the
DMP
132, being sure to locate the ribbon and the
paper
rack. Keep the empty box and packing material in case you ever
need to transport the
DMP
132.
Choosing aLocation
When you choose the location for your printer, be sure to consider the
following:
•
The
work surface. Place the printer on asturdy surface.
•
The
length of the printer cable. This determines the distance from
the
computer
that you can place
the
printer.
•Space for paper.
Be
sure
to
leave enough room for smooth flow
of
tractor-feed paper.
•Noise generation.
Do
not place the printer
near
noise generators
such as refrigerators
or
industrial equipment.
Once you choose alocation for
the
printer, you are ready to begin set-
ting it up.
5

Setting
Up
the DMP
132
Installing the Paper Rack
The paper rack keeps both fanfold and single- sheet paper feeding
smoothly into the printer. Mount this rack on the DMP
132
before op-
eration. To do so:
1.
Open the printer cover.
2.
Holding the paper rack upright, insert the tips of the rack onto the
supporters on both sides of the DMP 132,
as
shown below.
Paper
Guide
Supporter
~,..~~_-
Folding Leg
Paper Rack
Printer Cover
Figure
2.
Installing
the
Paper
Rack.
3a. For single-sheet printing, pull up the folding leg and insert it into
the hole centered on top of the case.
3b. For printing on continuous fanfold paper, fold the leg and place
the paper rack in its horizontal position. Or, you can detach the
paper rack completely. However, note that proper paper flow
is
assured with the use of the paper rack.
6

Chapter 1
You
can adjust the
paper
rack's
paper
guides for
paper
of
various
widths. Pull
the
left
paper
guide upward to remove
it
from the rack.
Then
position it as you desire (within the range allowed). When using
narrow
paper,
position the
paper
so that the left edge
is
within the
range
of
the
paper
guide. This ensures
proper
operation
of
the
paper
empty switch
and
also reduces the possibility
of
paper
jam.
Aftcr
set-
ting asingle sheet, slide the right
paper
guidc to the left to match
thc
paper
width.
Tractor Feed Unit
You can use the
DMP
132 with
either
the
tractor
feed
or
friction feed
system.
The
difference
is
that
the tractor feed system
is
used with
paper
(fanfold) that has guide holes
on
both edges, while the
paper
used with
the friction feed system does not have these holes.
When
you use the friction feed system, be sure to remove the tractor.
When the
tractor
is
installed, the friction mechanism
is
released
and
the
DMP
132
might not feed the
paper
properly.
Installing the Tractor
1.
Be
sure the printer's
power
switch
is
off.
2.
Remove
the
paper
rack and
open
the
printer
cover.
3.
Turn
the
paper
loading knob forward to move the
paper
bail for-
ward.
7

Setting
Up
the DMP
132
Printer Cover Paper Rack
POWER Switch
Figure
3.
Right Side View.
4.
Place the front pins of the tractor unit into the holes on both sides
of the printer. Then push down on the rear of the tractor unit until
the tractor
is
securely locked into position.
Tractor
Figure
4.
Installing the Tractor.
8

Chapter 1
5. Turn the
paper
loading knob backward (away from you) to move
the paper bail toward the platen.
6. Close the printer cover. Replace the
paper
rack
if
desired.
Removing
the
Tractor
1.
Turn off the printer.
2.
Open
the printer cover. Remove the
paper
rack
if
necessary.
3.
Turn
the
paper
loading knob toward you to move the
paper
bail
toward the front.
4. Lift the tractor unit from the rear, then pull it upward.
5.
Turn
the paper loading knob away from you.
6.
Replace the paper rack and close the printer cover.
9

Setting
Up
the DMP
132
Ribbon Cassette
If
the ribbon
is
already installed, simply check to see
that
it
is
properly
threaded
between
the
paper
and print head.
If
the ribbon cassette
is
not installed,
or
if you need to replace it due to
excessive wear, faint printing, etc., follow this procedure:
1.
Set the power switch to
OFF.
Note: When you turn off the power, any information stored in the
printer's buffer
is
automatically lost.
2.
Remove the printer cover.
3.
To
replace the ribbon cassette. grasp the fin on the old ribbon cas-
sette
and
gently pull it upward.
4. Unwrap the new cassette. Before inserting the new cassette. tight-
en the ribbon
by
turning the ribbon feed knob in the direction of
the arrow.
Figure
5.
Removing
the
Ribbon
Cassette.
10

Chapter 1
Print Head
Figure
6.
Installing the Ribbon Cassette.
5. Gently slide the ribbon between the ribbon mask and the print
head. Press down on the left side
of
the cassette until you hear a
click. While rotating the ribbon feed knob
in
the direction of the
arrow, press down the right side
of
the cassette.
If
the ribbon feed knob does not match up with the ribbon drive
mechanism, the cassette
will
not fall into place.
Do
not force the
cassette into place. Instead, fit it into place gradually while turning
the ribbon feed knob.
6. Once the new cassette
is
installed, tighten the ribbon by turning
the ribbon feed knob in the indicated direction.
7.
Replace the printer cover.
Caution: Printing without paper or ribbon can damage the print
head
or
platen.
11

Setting
Up
the DMP
132
Connecting the DMP
132
to aPower Source
Before plugging the power cord into an
AC
power outlet, be sure that:
•The power switch
is
set to OFF.
•The printer
is
not yet connected to the computer.
Connect the
AC
power plug to a120-volt, 60Hz, grounded
AC
outlet
or
an approved power strip, such as the Radio Shack plug- in power
strip, Cat. No. 26-1396,
or
the power switching system, Cat. No.
26-
203.
1II11111LI\\
\
......./
I
Figure
7.
Connecting to aPower Source.
Set the power switch to
ONII
to turn on the power. Set the power
switch to
OFF/O
to turn off power. Note that turning the power off and
on during operation may cause loss of the current program.
12
Table of contents
Other Tandy Printer manuals

Tandy
Tandy TRP-100 User manual

Tandy
Tandy DMP-I05 User manual

Tandy
Tandy DMP 106 User manual

Tandy
Tandy DMP 135 User manual

Tandy
Tandy DWP-220 User manual

Tandy
Tandy DMP 106 User manual

Tandy
Tandy 26-2814 User manual

Tandy
Tandy DMP-105 Installation manual

Tandy
Tandy DMP-130 User manual

Tandy
Tandy DMP-130 User manual