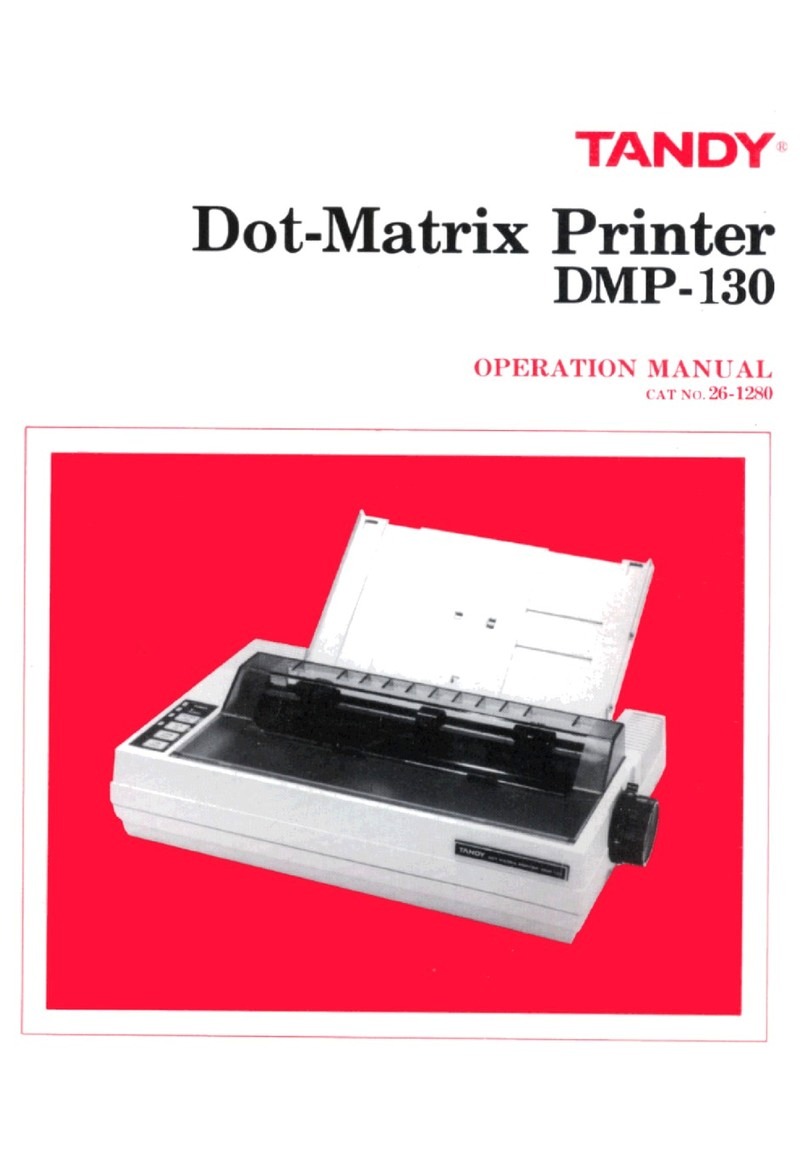
Tandy DMP-130 User manual

TANDY
Dot-Matrix
Printer
DMP-130
OPERATIO.
'
:\1
A1\'('
AI.
('\T'l
2tj-l~)


TERMS
AND
CONDITIONS
OF
SALE
AND
LICENSE
OF
TANDY
COMPUTER
EQUIPMENT
AND
SOFTWARE
PURCHASED
FROM
RADIO
SHACK
COMPANY·OWNED
COMPUTER
CENTERS
RETAIL
STORES
AND
RADIO
SHACK
FRANCHISEES
DR
DEALERS
AT
THEIR
AUTHORIZED
LOCATIONS
LIMITED
WARRANTY
CUSTOMER
OBLIGATIONS
A
CUSTOMER
assumes
fUll
responsibility
thaf
this
computer
hardware
purchased
(the
Equipment"),
and
any
copies
of
soffware
mcluded
with
the
Equipment
or
licensed
separately
(the
"Software
')
meets
the
speclficaHons.
capaclfy.
capabilities.
versatility.
and
other
requirements
of
CUSTOMER
CUSTOMER
assumeS
full
responsibility
for
the
condiHon
and
ettectiveness
of
the
operaHng
enwonment
in
which
the
Equipment
and
Software
are
fo
funcfion
and
for
ItS
installation
ft
LIMITED
WARRANTIES
AND
CONDITIONS
OF
SALE
A
For
a
period
of
ninety
(90)
calendar
days
from
the
date
of
the
Radio
Shack
sales
documenf
received
upon
purchase
of
the
Equipment
RADIO
SHACK
warrants
to
fhe
ollginal
CUSTOMER
that
the
Equlpmenf
and
the
medium
upon
which
the
Software
is
stored
IS
free
from
manufactUllng
detects
This
warranfy
is
only
applicable
to
purchases
of
Tandy
Equipment
by
the
original
customer
from
Radio
Shack
company·ownedcomputer
centers,
retail
stores,
and
Radio
Shack
franchisees
and
dealers
at
their
authorized
locaftons
The
warranty
IS
vOid
If
the
Equlpment"s
case
or
cabinet
has
been
opened.
or
if
the
Equipment
or
Software
has
been
subfected
to
Improper
or
abnormal
use
If
a
manufacturing
defect
is
discovered
during
the
stated
warranty
period.
the
defecHve
Equipment
must
be
returned
to
a
RadiO
Shack
Computer
Center.
a
Radio
Shack
retail
store,
a
parHcipatmg
Radio
Shack
franch',see
or
a
participating
Radio
Shack
dealer
for
repair,
along
with
a
copy
of
the
sales
document
or
lease
agreement
The
original
CUSTOMER
S
sole
and
exclUSive
remedy
m
the
event
of
a
defect
IS
limited
to
the
correcHon
of
the
defect
by
repair.
replacemenl
or
refund
of
the
purchase
pnce.
at
RADIO
SHACK
S
election
and
sole
expense
RADIO
SHACK
has
no
obligation
to
replace
or
repair
expendable
Items
RADIO
SHACK
makes
no
warranty
as
to
the
design.
capability.
capacity,
or
suitability
for
use
of
the
Software.
except
as
provided
In
this
paragraph
Software
is
licensed
on
an
'AS
IS"
baSIS,
Without
warranfy
The
original
CUSTOMER'S
exclusive
remedy.
m
the
event
of
a
Software
manufactunng
defecl.
IS
ItS
repair
or
replacement
Within
thirty
(30)
calendar
days
of
the
date
of
the
Radio
Shack
sales
document
received
upon
license
of
the
Software.
The
defective
Software
shall
be
returned
to
a
Radio
Shack
Computer
Center.
a
Radio
Shack
retail
store
a
participating
Radio
Shack
franchisee
or
Radio
Shack
dealer
along
with
the
sales
document
Except
as
provided
herein
no
employee
agenl
franchisee
dealer
or
other
person
is
authorized
to
give
any
warranties
of
any
nature
on
behalf
of
RADIO
SHACK
o
EXCEPT
AS
PROVIDED
HEREIN,
RADIO
SHACK
MAKES
NO
EXPRESS
WARRANTIES,
AND
ANY
IMPLIED
WARRANTY
OF
MERCHANTABILITY
DR
FITNESS
FOR
A
PARTICULAR
PURPOSE
fS
LIMITED
IN
ITS
DURATION
TO
THE
DURATIDN
OF
THE
WRITTEN
LIMITED
WARRANTIES
HT
FORTH
HEREIN
Some
states
do
not
ailow
limitations
on
how
long
an
implied
warranfy
lasts
so
the
above
limitation(s)
may
not
apply
to
CUSTOMER
lit,
LIMITATION
OF
LIABILITY
A
EXCEPT
AS
PROVIDED
HEREIN,
RADIO
SHACK
SHALL
HAVE
NO
LIABILITY
OR
RESPONSIBILITY
TO
CUSTOMER
OR
ANY
OTHER
PERSON
OR
ENTITY
WITH
RESPECT
TO
ANY
LIABILITY,
LOSS
OR
OAMAGE
CAUSEO
OR
ALLEGED
TO
BE
CAUSEO
OIRECTLY
OR
fNDlRECTLY
BY
"EQUfPMENT"
OR
"SOFTWARE"
SOLO,
LEASEO,
LICENSED
OR
FURNISHEO
BY
RAOIO
SHACK,
INCLUOING,
BUT
NOT
L1MITEO
TO,
ANY
INTERRUPTION
OF
SERVICE,
LOSS
OF
BUSINESS
OR
ANTICIPATORY
PROFITS
OR
CONSEQUENTIAL
OAMAGES
RESULTING
FROM
THE
USE
OR
OPERATION
OF
THE
"EQUIPMENT"
OR
"SOFTWARE,"
IN
NO
EVENT
SHALL
RAOIO
SHACK
BE
LIABLE
FOR
LOSS
OF
PROFITS,
DR
ANY
INOIRECT,
SPECIAL,
OR
CONSEQUENTIAL
OAMAGES
ARISING
OUT
OF
ANY
BREACH
OF
THfS
WARRANTY
OR
IN
ANY
MANNER
ARISING
OUT
OF
DR
CONNECTED
WITH
THE
SALE,
LEASE,
LICENSE,
USE
OR
ANTICIPATED
USE
OF
THE
"EQUIPMENT"
OR
"SOFTWARE,"
NOTWfTHSTANDING
THE
ABOVE
LIMITATIONS
ANO
WARRANTIES,
RADIO
SHACK'S
LIABILITY
HEREUNDER
FOR
DAMAGES
INCURRED
BY
CUSTOMER
OR
OTHERS
SHALL
NOT
EXCEED
THE
AMOUNT
PAID
BY
CUSTOMER
FOR
THE
PARTICULAR
"EQUIPMENT"
DR
"SOFTWARE"
INVOLVED
RADIO
SHACK
shall
not
be
liable
for
any
damages
caused
by
delay
in
delivering
or
furnishing
Equipment
and,or
Software
No
action
arising
out
of
any
claimed
breach
of
this
Warranty
or
transactions
under
this
Warranty
may
be
brought
more
than
two
(2)
years
after
the
cause
of
action
has
accrued
or
more
than
lour
(4)
years
after
the
date
of
the
RadiO
Shack
sales
document
for
the
Equipment
or
Soffware
whichever
first
occurs
Some
states
do
not
allow
the
limitation
or
exclusion
01
Incidentai
or
consequential
damages.
so
the
above
IlmitaHon(s)
or
exclusion(s)
may
not
apply
to
CUSTOMER
IV
SOFTWARE
LICENSE
RADIO
SHACK
grants
to
CUSTOMER
a
non·excluslve
paid·up
license
to
use
the
TANDY
Software
on
one
computer.
subject
to
the
following
provisions:
A
Except
as
otherwise
provided
in
thiS
Software
license
applicable
copyright
laws
shall
apply
to
the
Software
B
Title
to
the
medium
on
which
the
Software
IS
recorded
(cassette
and/or
diskette)
or
stored
(ROM)
IS
transferred
to
CUSTOMER
but
not
title
to
the
Software
CUSTOMER
may
use
Software
on
one
host
computer
and
access
that
Software
through
one
or
more
terminals
if
fhe
Software
permits
this
function
o
CUSTOMER
shall
not
use
make,
manufacture
or
reproduce
copies
of
Software
except
for
use
on
one
computer
and
as
IS
specil'ically
provided
m
th',s
Software
License
Customer
is
expressly
prohibited
from
disassembling
the
Software
CUSTOMER
is
permitted
to
make
additional
copies
of
the
Software
only
for
backup
or
archival
purposes
or
if
additional
copies
are
required
in
the
operafion
of
one
computer
with
the
Software,
but
only
to
the
extent
the
Software
allows
a
backup
copy
to
be
made
However
for
TRSDOS
Software
CUSTOMER
IS
permitted
to
make
a
limited
number
of
additional
copies
for
CUSTOMER'S
own
use
CUSTOMER
may
resell
or
dlstnbute
unmodified
copies
ot
the
Software
provided
CUSTOMER
has
purchased
one
copy
of
the
Software
for
each
one
sold
or
distnbuted
The
provIsions
of
thiS
Software
License
shall
also
be
applicable
to
third
parties
receiving
copies
of
the
Software
from
CUSTOMER
G
All
copyright
nofices
shall
be
retained
on
all
copies
of
the
Software
APPLICABfLlTY
OF
WARRANTY
A
The
terms
and
condifions
of
this
Warranty
are
applicable
as
between
RADIO
SHACK
and
CUSTOMER
to
either
a
sale
of
the
Equipment
and/or
Software
license
to
CUSTOMER
or
to
a
transaction
whereby
RadiO
Shack
sells
or
conveys
such
Equipment
to
a
third
party
for
lease
to
CUSTOMER
The
limitations
of
liability
and
Warranty
provisions
herem
shall
inure
to
the
benefit
of
RADIO
SHACK.
the
author.
owner
and
or
licensor
of
the
Software
and
any
manufacturer
of
the
EqUipment
sold
by
RadiO
Shack
Vf
STATE
LAW
RfGHTS
The
warranties
granfed
herein
give
the
original
CUSTOMER
specific
legal
rights
and
the
original
CUSTOMER
may
have
other
rights
which
vary
from
state
to
state
12/84

The
FCC
VVants
You to
Knovv
...
This
equipment
generates and uses radio
frequency
energy. If
not
installed and used
properly,
that
is, in strict accordance
with
the
manufacturer's
instruction,
it
may
cause
interference
to
radio and television reception
!t
has been
tYre
tested and
found
to
comply
with
the
limits
for
aClass B
computing
device in accordance
with
the specifications in
Subpart
J
of
Part 15
of
FCC
Rules,
which
are designed
to
provide
reasonable protection against such interference in aresidential
installation, However, there is no guarantee that interference
will
not
occur
in
aparticular
installation.
If
this
equipment
does cause interference to radio or television reception,
which
can
be
determined
by
turning
the
equipment
off
and
on, the user is encouraged
to
try
to
correct
the
interference by one
or
more
of
the
following
measures:
•Reorient the receiving antenna
•Relocate the
computer
with
respect
to
the receiver
•
Move
the
computer
away
from
the receiver
•Plug the
computer
into
a
different
outlet
so that
computer
and receiver are on
different
branch circuits
If necessary,
you
should
consult
the dealer
or
an experienced radio/television technician
for
additional
suggestions, You
may
find
the
following
booklet prepared
by
the Federal
Communications
Commission
helpful:
How
to
Identify
and Resolve Radio-TV Interfer-
ence Problems,
This
booklet
is
available
from
the US
Government
Printing
Office,
Washington,
DC
20402, Stock No. 004-000-00345-4,
Warning
This
equipment
has been certified
to
comply
with
the
limits
for
aClass B
computing
device,
pursuant
to
Subpart
J
of
Part 15
of
FCC
Rules, Only
peripherals
(computer
input!
output
devices, terminals, printers, etc.) certified
to
comply
with
the Class B
limits
may
be attached
to
this
computer,
Operation
with
non-certified
peripherals
is likely
to
result
in
interference
to radio and TV reception
IBM
IS aregistered
trademark
of
International
Business Machines, Corp.
Dot-Matrix Printer DMP-130 Operation Mannal
©1985 Tandy Corporation
All Rights Reserved.
Reproduction
or
use, without express
written
per-
mission from
Tandy
Corporation
and/or
its licensor,
of
any
portion
of
this
manual
is
prohibited.
While
reasonable efforts have
been
taken
in
the
prepara-
tion
of
this manual to assure its accuracy,
Tandy
Corporation
assumes no liability resulting from any
errors
or
omissions
in
this
manual,
or
from
the
use
of
the information
contained
herein,
10
9 8 7 6 5 4 3 2
Contents
Introduction 0
••
000
•••••••
0000.0.0.0000
••
0.0
••••
0
••
0.....
1
1Description
of
the
DMP-130 3
2Setting up
the
DMP-130 9
Paper
rack
00....................
10
Tractor
feed
unit
000
0........... 10
Power
source
00
••..•••.•.••.•0
•••
00
..••0...... 11
Paper
loading
~
o
••••
oooo
••••••
oo.o
••
o
•••
o
••
o.o.
11
Ribbon
cassette 17
Print
head
adjustment lever 18
Margin-set switches 19
Print
function
(DIP)
switches 19
Self-test
00
0...............................
21
Computer
connections 22
Power-up
sequence
..
00
00.....................
23
3Using
the
DMP-130 25
Control
codes
..
00.................................
26
Sending control codes from
BASiC........
26
Data
processing mode 27
Word
processing mode 27
Graphics Inode 00..................
28
Print
mode selection 28
4
Print
font styles
and
character
widths 31
Selecting character styles 31
Standard characters 32
Correspondence quality characters 33

Proportionally spaced characters 33
Graphics characters 34
Right justification 35
•
~<
l'l'rap-ar()UI'IO
.0
••
0.000
••
000
••••
0
••
00.0.0.0.........
..YU
Elongated
('haracters 37
Bold characters
00
•••••••••
00
•••
000
••••••••
00
37
Itali
cs
0 • 0
••
0
••
0
It
••••
0 • 0 • 0 0
••••
0 0
•••
0 • 0 • 0 0
••
0 • 0 0 • • • • • • • 38
Superscript
and
subscript 38
Microfont
00..................................
39
5
General
control codes 41
Line
feed
codes (LF) 41
Special line feed codes 42
Carriage
return
(CR) 42
Backspace
.0
•••••
0
••••
00
••
000.0.0.
0
••
00
•••
It
0
••
0.....
43
Setting top-of-form
and
form length
•......
45
Form
feed
(FF) ..
,.
0
•••••••••
0000
•••••••
00
45
Entering
IBM
mode
46
Ignored
or
undefined codes 46
DMP-130
buffer
operation
47
Hex
print mode
...
oOC!loeeoeoe
••••••
o
••
aooeooooo
••
e49
IBM character set
00..
49
6Word
and
data
processing
modes
51
Repeat
printing 0
00...................
51
Underline
printing
0........
51
Print
head
positioning 52
Left
and
right margins
0........
55
Skip perforation 0
0....................
56
Bidirectional
and
unidirectional
printing..
56
International
characters
57

7Graphics
Inode
59
Printing graphics
patterns
61
Line
feed
G........................
63
Repeat
fllnctioll 63
Leaving graphics
mode
64
Freehalld
(Irawillg 64
8
IBM
elTIulation
mode
67
Carriage retllrll
67
Vertical formatting control codes 68
Horizontal formatting control
codes
70
Printing
mode
control
71
Other
control codes 76
Appendices
ACharacter sets
81
Tandy
character
set table
81
Dot-column width
of
Tandy
dlaracters
82
IBM
character
set 1
DO.
84
IBM
cllar~lcter
set 2
85
Dot-{~ohlmn
width
of
IBM
duuacters
86
BControl
codes
89
Tandy
control
{~odes
89
IBM control codes 93
C
Character
category
priority
table
101
DProgranllTIing
infonnation
107
Programming
examples
lOS
E
Care
and
ITIaintenance
111
Gelleral
.0
••
0
••
0
••
0.0
••
000
••
0
••••••••••
00.0.0000
••
0.0
111

117
113
112
.0
ctO
0 0
•••
0.0000000000000000000.
If
you
have
problems
Specifications
G
Interlaces
Schematic Diagrams
F

Introduction
Congratulations
for selecting this
Tandy
computer
product!
The
DMP-130
is
ahigh-density, dot-matrix
printer
which can
perform
avariety
of
differ·
ent
printing
operations.
For instance, it can print:
•
Proportionally
spaced characters
•
Monospaced
characters
(standard,
condensed
and
compressed)
•
Correspondence
quality characters
•Italic cursive
characters
•Super-/subscript
•Microfont
•
Graphics
standard
and
high-resolution
The
DMP-l.30
operates
in
.3
modes:
•
Data
Processing
Mode
for the fastest
output
of
program
listings
or
data
•
Word
Processing
Mode
for letter writing
or
the
creation
of
any text
documentation
•
Graphics
Mode
for drawing pictures, figure
or
graphs
For
word
processing, you'll find the DMP-130's
proportionally
spaced
characters
(created
on avariable
11
x
18
dot
matrix) can produce
letter-
quality results.
If,
however, you
need
a
printout
that
is
produced
faster,
monospaced
characters
(created
on a 9 x 9 dot matrix)
are
just
the
thing for you!
In
Graphics
mode,
you can use graphic
data
to
draw
just
about
any
type
of
graphic configuration you desire.
You can use 2types
of
paper
with the DMP-130:
•
Standard
4"
(IOcm) to
10"
(25cm) wide
computer
fanfold forms with
guide holes (CaL Nos.
26-1243,26-1427,26-1403,
and
26-1456)
•
Standard,
single-sheet
typewriter
paper
for
use as in an
ordinary
typewriter
Other
software-controlled features include:
•Full-
or
half-line feed and
.3/4
or
4/5 line feed.
eSoftware-controlled form feed (from your
computer).
•
Underline
capability.
•
Buzzer
function.
•
Automatic
paper
loading.
•Margin-set function.
•
Automatic
paper
feed
at
paper
end.
When
the DMP-130 detects
the
paper
end,
it automatically advances the
paper
.3
more
inches (7.5cm)
for
easier
paper
removal.


Description
of
the
DMP-130 1
Carefully
unpack
the
DMP-130,
being
sure
to
locate
the
ribbon
and
the
paper
rack.
Keep
the
empty
box
and
packing
material
just
in case you
ever
need
to
transport
the
Printer.
It's
important
to
become
familiar with
the
DMP-130
before
you
set it
up
and
begin using it.
Figure 1. Front Panel View
Front Panel
CD
POWER
indicator.
This
indicator
will
illuminate
when
the
DMP-130
is
properly
connected
and
the
POWER
ON/OFF
switch
is
set
to
ON.
3

Description
of
the
DMP-130
Q)
ALERT
indicator. This lamp will light when the
Printer
is
out
of
paper
In this case.
the
Printer
enters
the
OFF-LINE
state
and
the
buzzer sounds for Isecond. Load
more
paper
and press the
ON/OFF
LINE
switch. It flickers when
there
is
acarriage fault
or
some
sort
of
electrical problem.
Model
II
users,'
When
a
BASIC
program
stops execution because
of
a
Printer
error,
type
CONT
and press
IENTER\
to resume printing.
However,
the entire contents
of
the print buffer will be printed starting with
the
current
print head position.
Note:
To
print
the
remaining
data
in
the
buffer when
the
ON/OFF
LINE
switch
is
pressed to stop the printing, first, cancel the printing process
using your
computer
software, then press the
ON/OFF
LINE
switch
to
set
the DMP-130 to
ON
LINE.
@
ON/OFF
LINE
switch.
At
power-up, the
Printer
is
ON
LINE;
press-
ing this switch 1time causes
the
Printer
to go
OFF
LINE,
To
stop
printing at any time
or
to use
other
front panel switches, press this
switch to set the
Printer
to
OFF
LINE.
Press and hold this switch for
more
than 1second while
in
ON
LINE
mode
to
enter
the margin-set
mode,
The
print
head
does not move
when
the
Printer
goes
ON
LINE
after
this switch
is
pressed.
@)
ON/OFF
LINE
indicator. When this indicator
is
ON,
the DMP-130
is
ON
LINE
and ready to print.
This
indicator will flicker
in
the
margin-
set mode.
®
NLQ/DP
switch. Press this switch to select the print
mode
-Near-
Letter
Quality
or
standard.
When
the
NLQ
mode
is
selected, the
NLQ
indicator turns
ON,
Press again for
standard
mode, This switch will
work only when the
Printer
is
OFF
LINE.
In
the
margin-set
mode,
pressing
this switch will
set
the
margin
position.
@
NLQ
indicator. This indicator will illuminate when the
Printer
is
in
the
NLQ
mode.
(j)
FORM
FEED
switch. When this switch
is
pressed,
the
paper
advances
to
the
logical top of the next form. It
is
effective only when the
Printer
is
OFF
LINE.
4

Chapter 1
In
the
margin-set
mode,
pressing this switch moves
the
print
head
to
the
left.
®LINE
FEED
switch.
When
this switch
is
pressed,
the
paper
advances
Iline.
When
it is held
down,
continuous
paper
feed
is
performed.
This
switch will
work
only
when
the
Printer
is
OFF
LINE.
In
the
margin-set
mode,
pressing this switch moves
the
print
head
to
the
right.
Figure 2. Rear Panel View
Rear Panel
CD
POWER
ON/OFF
switch. Press
ON/I
to
turn
the
power
ON.
Press
the
left side
of
the
switch
to
turn
power
OFF.
Note
that
turning
the
power
OFF
and
ON
during
operation
may cause loss
of
the
current
program.
@
POWER
cord. Plug
the
power
cord into awall
outlet
or
approved
power
strip.
®Print function (DIP) switches.
The
setting
of
these
switches will
deter-
mine exactly how
your
Printer
will print.
@)
Parallel interface connector. If
your
Computer
has
parallel
interface
capabilities,
connect
the
cable here. See Setting
up
the DMP·130 for
the
right cable for your
computer.

[)elcrip/ioll
oj/he
[)/v!
P-IW
®Serial interface connector. If
you
have a
Color
Computer,
connect
the
cable
to
the
serial
interface
connector
indicated
See
Setting
up
the
DMP·130
for
the
right
cable
for
your
Color
Computer.
Figure 3. Inside View
CD
Ribbon cassette. Be
sure
to
replace
the
ribbon
when
printing
is
faint
Q) Print head adjustment lever.
When
printing
is
faint,
move
the
lever
away
from
you
to
move
the
print
head
toward
the
paper.
When
smudging
occurs
during
printing,
move
the
print
head
I
or
2
notches
away
from
the
paper.
@Paper bail.
For
single-sheet
printing,
keep
the
bail
down
on
the
paper.
When
you
use
fanfold
paper,
push
the
lever
on
the
right
toward
the
platen.
@Paper feed knob.
Turn
this
knob
to
manually
advance
the
paper
®Automatic paper loading knob.
Turn
toward
you
to
automatically
load
the
paper.
Turn
backward
to
reset
the
paper
bail
@Platen.
(]) Tractor feed
unit.
See
Setting
up
the
DMP·130
for
details
on
using
the
tractor
feed.
6

Chapler J
®Paper rack. Lift this
rack
and
insert
the
folding
leg
into
the
hole
located
on
the
top
of
the
case
for
single-sheet
paper.
Lay
the
rack
flat
for
fanfold
paper.
(2)
Paper guide.
Set
according
to
the
width
of
the
paper
used.
@>
Printer cover.
7


Setting up the DMP-130 2
This section will show you how to set up the DMP-130
so
you can begin
using it as quickly as possible, This includes:
•Installing the
paper
rack
•Installing/adjusting the
tractor
feed unit
•Loading
paper
•Replacing aribbon
•
Connecting
the DMP-130 to a
computer
and
more!
The
following Start-Op Checklist
is
a
summary
of
how
to
set
up
your
Printer
and
should be followed every time you
start
up
the
Printer
not
just the first time.
EJ
Find agood
spot
for
your
Printer. Be sure to
consider:
•
Printer
should be placed
on
asturdy work surface.
•
Length
of
the
printer
cable, which will
determine
how
far from the
computer
you can place the Printer.
•
Paper
takes
up space, Be sure to leave
enough
room
for
smooth
paper
flow.
•
Do
not place the
Printer
near
noise
generators
such as refrigerators
and
industrial
equipmenL
G
Be
sure the
POWER
switch (on the right side
of
the
Printer)
is
OFF,
GJ
Open
the Printer cover.
[2]
Install continuous-form fanfold
or
single-sheet
paper.
[2]
Check
the ribbon cassette,
If
it has
not
been
installed, see
"Ribbon
Installation/ReplacemenL"
[2]
Set the
print
function
(DIP)
switches (on the
rear
of
the Printer),
GJ
Connect
the
AC
power
plug to a120-volt,
60
Hz
grounded
AC
outlet
(220/240Y, 50
Hz,
where
the unit
is
so
marked).
GJ
Connect
the
interface cable from the
computer
to
the
Printer interface
connector.
[2]
Turn
the
power
ON
and check
that
the
POWER
indicator
(on the
front
panel)
is
illuminated,
GJ
Check
to see
that
the
Printer
is
ready by
running
the
self-tesL
To
do
this, turn the
POWER
switch
OFF,
Press
and
hold
the
LINE
FEED
switch
or
NLQ
switch while turning the
power
back
ON.
If
you press
9

Setting
lip the
f)
M
P-/30
the
LINE
FEED
switch,
the
self-test
is
performed
in
standard
mode:
if
you
press
NLO,
the
self-test
runs
in
NLO
mode,
Printing
will
con-
linue
ulllii
you
press
the
Oi-i/OFF
LiNE
switch
Paper
rack
Open
the
Printer
cover
Holding
the
paper
rack
upright.
insert
the
tips
of
the
rack
onto
the
supporters
on
both
sides
of
the
Printer,
as
shown,
For
single-sheet
printing,
inst;rt
the
folding leg
into
the
hole
centered
on
top
of
the
case
For
the
continuous
fan-fold
paper,
fold
the
leg
and
lay
the
rack
down
You
can
adjust
the
paper
guide
on
the
paper
rack
Pull
the
left
guide
upward
to
remove
it from
the
rack,
Then
position
it as
you
desire
(within
the
range
allowed)
and
insert
it fully.
When
using
narrower
paper,
move
the
right
guide
so
that
the
left
edge
of
the
paper
is
within
the
range
of
the
paper
guide
This
ensures
proper
operation
of
the
paper
empty
switch
and
also
reduees
the
possibility
of
a
paper
jam.
l'ractor feed unit
This
Printer
can
be
used
with
either
the
tractor
feed
system
or
friction
feed
system
The
difference
is
that
the
tractor
feed
system
is
used
with
paper
which
has
guide
holes
on
both
edges,
while
the
paper
used
with
the
friction feed
system
does
not
have
these
holes,
When
you
use
the
friction
feed
system,
he
sure
to
remove
the
tractor
When
tractor
is
installed,
the
friction
mechanism
is
release,d
and
the
Printer
may
not
feed
the
paper
properly,
Installing the tractor
l.
Be
sure
the
Printer
power
is
OFI~
2.
Remove
the
paper
rack
and
open
the
Printer
covel'.
3.
Turn
the
paper
loading
knob
forward
tOll1ove
the
paper
bail
forward
4.
Place
the
front
pins
of
the
tractOl
feed
unit
into
the
holes
on
both
sides,
Then
push
down
on
the
rear
of
the
tractor
unit
until
the
tractor
is
securely
locked
into
position
5.
Turn
the
paper
loading
knob
hack
ward
(away
from
you)
to
move
the
paper
bail
toward
the
platen
!O

Chapter 2
6. Close the
Printer
cover
and
replace the
paper
rack,
Removing the tractor
1.
Turn
the
Printer
OFF,
2.
Open
the
Printer
cover
and
remove
the
paper
rack,
3.
Turn
the
paper
loading
knob
toward
you.
4. Lift
the
tractor
feed unit from the
rear,
then
pull it
upward
5.
Turn
the
paper
loading
knob
away from you.
6.
Replace
the
paper
rack
and
close the
Printer
cover.
Power source
Before
plugging
the
power
cord
into
an
AC
power
outlet,
check
the
following:
D
Printer
power
ON/OFF
switch
is
set
to
OFF,
D
Printer
is
not
connected
to the
Computer
yet.
Connect
the
AC
power
plug to a
nO-volt,
50
Hz
grounded
AC
outlet
Paper loading
Warning!
When
loading
paper
(single-sheet
or
fanfold),
be
sure
the
paper
correctly
enters
the
paper
insertion
opening.
It
is
very
important
that
the
paper
enters
the
DMP-130
straight.
The
paper
must
be
directly
behind
the
Printer
or
paper
skewing
or
jamming
may
occur.
Proper
positioning
of
the
paper
guides (which
attach
to
the
paper
rack)
is
also
important
to
help
prevent
paper
jamming.
If
fanfold
paper
is
correctly
loaded,
it
should
enter
between
the
body
of
the
Printer
and
the
paper
rack,
Once
the
paper
is
loaded
and
powcr
is
ON,
check the
ALERT
indicator. Press
the
ON/OFF
LINE
switch if the
lamp
is
illuminated.
When
the
lamp
remains
lit,
the
paper
is
probably
loaded
incorrectly,
You
may begin printing
if
the
lamp
does
not
illuminate
after the
paper
is
loaded.
II

Setting
up
the
DMP-130
Single-sheet paper
1. Be sure the Printer
povvcr
1s0FF.
Opcn the Printer cover.
Printer
cover
Figure 4
2. Lift the
paper
rack
and insert the folding leg into the hole
centered
on
the
top
case,
Figure 5
12
Other manuals for DMP-130
1
Table of contents
Other Tandy Printer manuals

Tandy
Tandy TRP-100 User manual

Tandy
Tandy DMP 106 User manual

Tandy
Tandy DMP 135 User manual

Tandy
Tandy DMP-105 Installation manual

Tandy
Tandy DMP-130 User manual

Tandy
Tandy 26-2814 User manual

Tandy
Tandy DMP 106 User manual

Tandy
Tandy DMP-I05 User manual

Tandy
Tandy DMP 132 User manual

Tandy
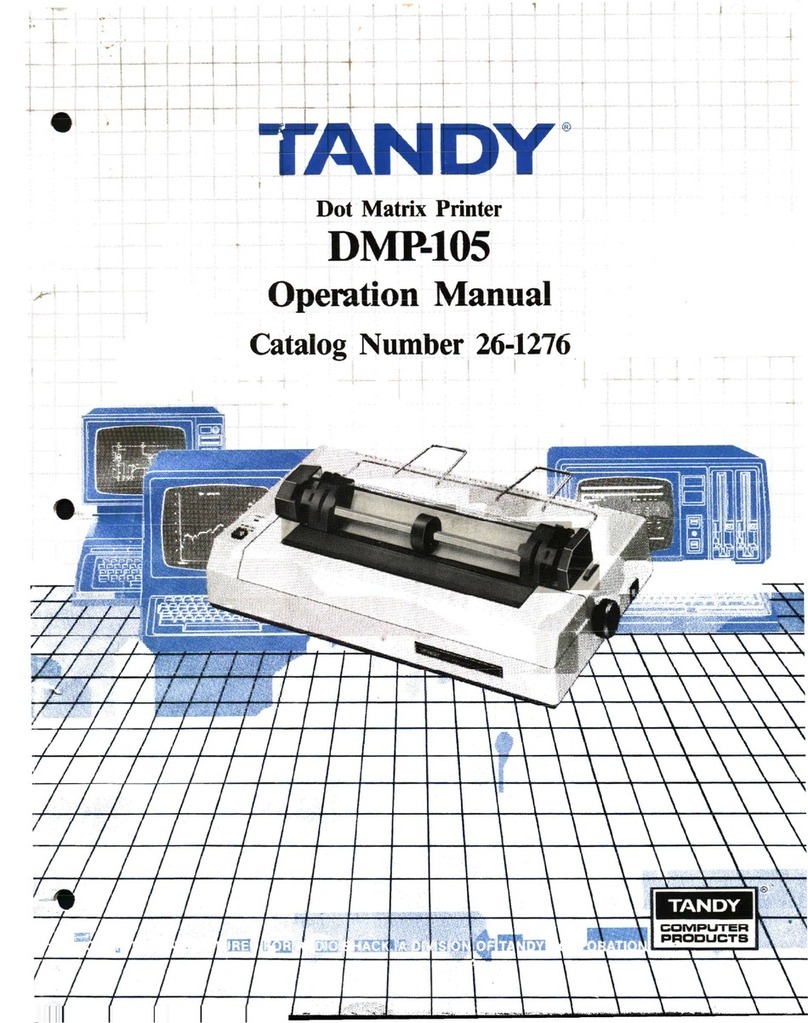
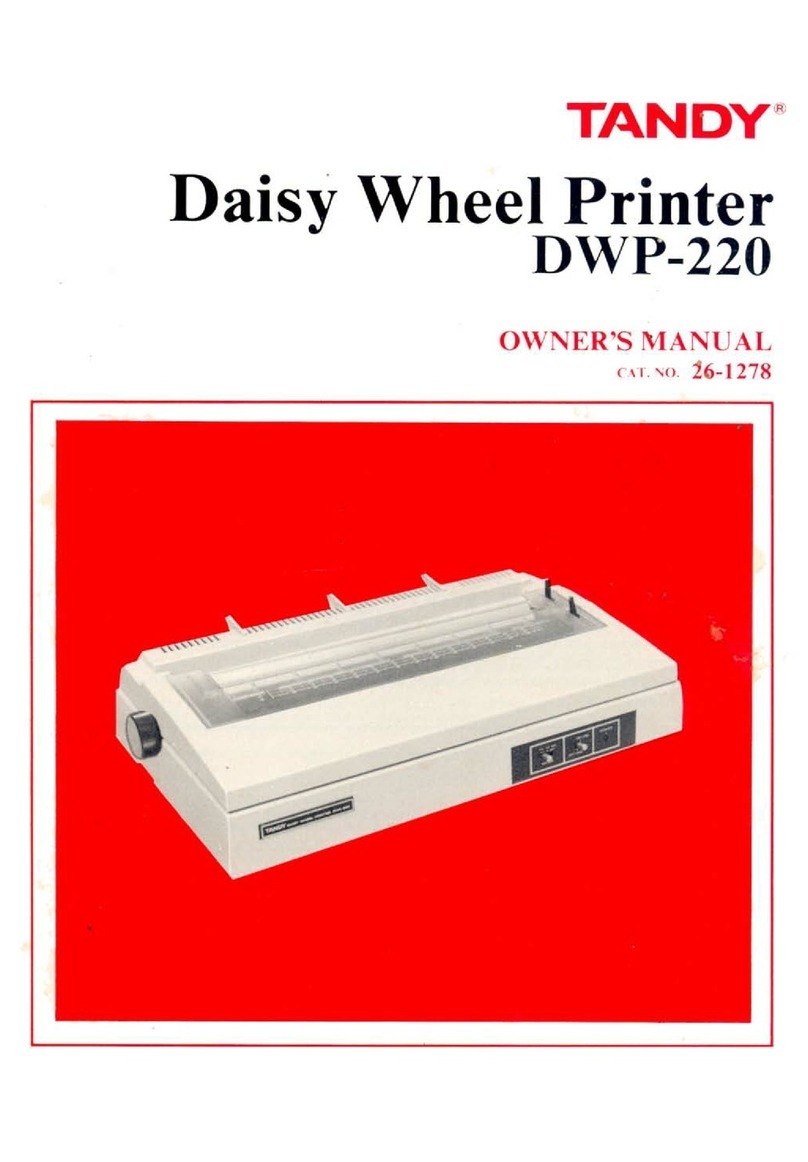
Tandy DWP-220 User manual