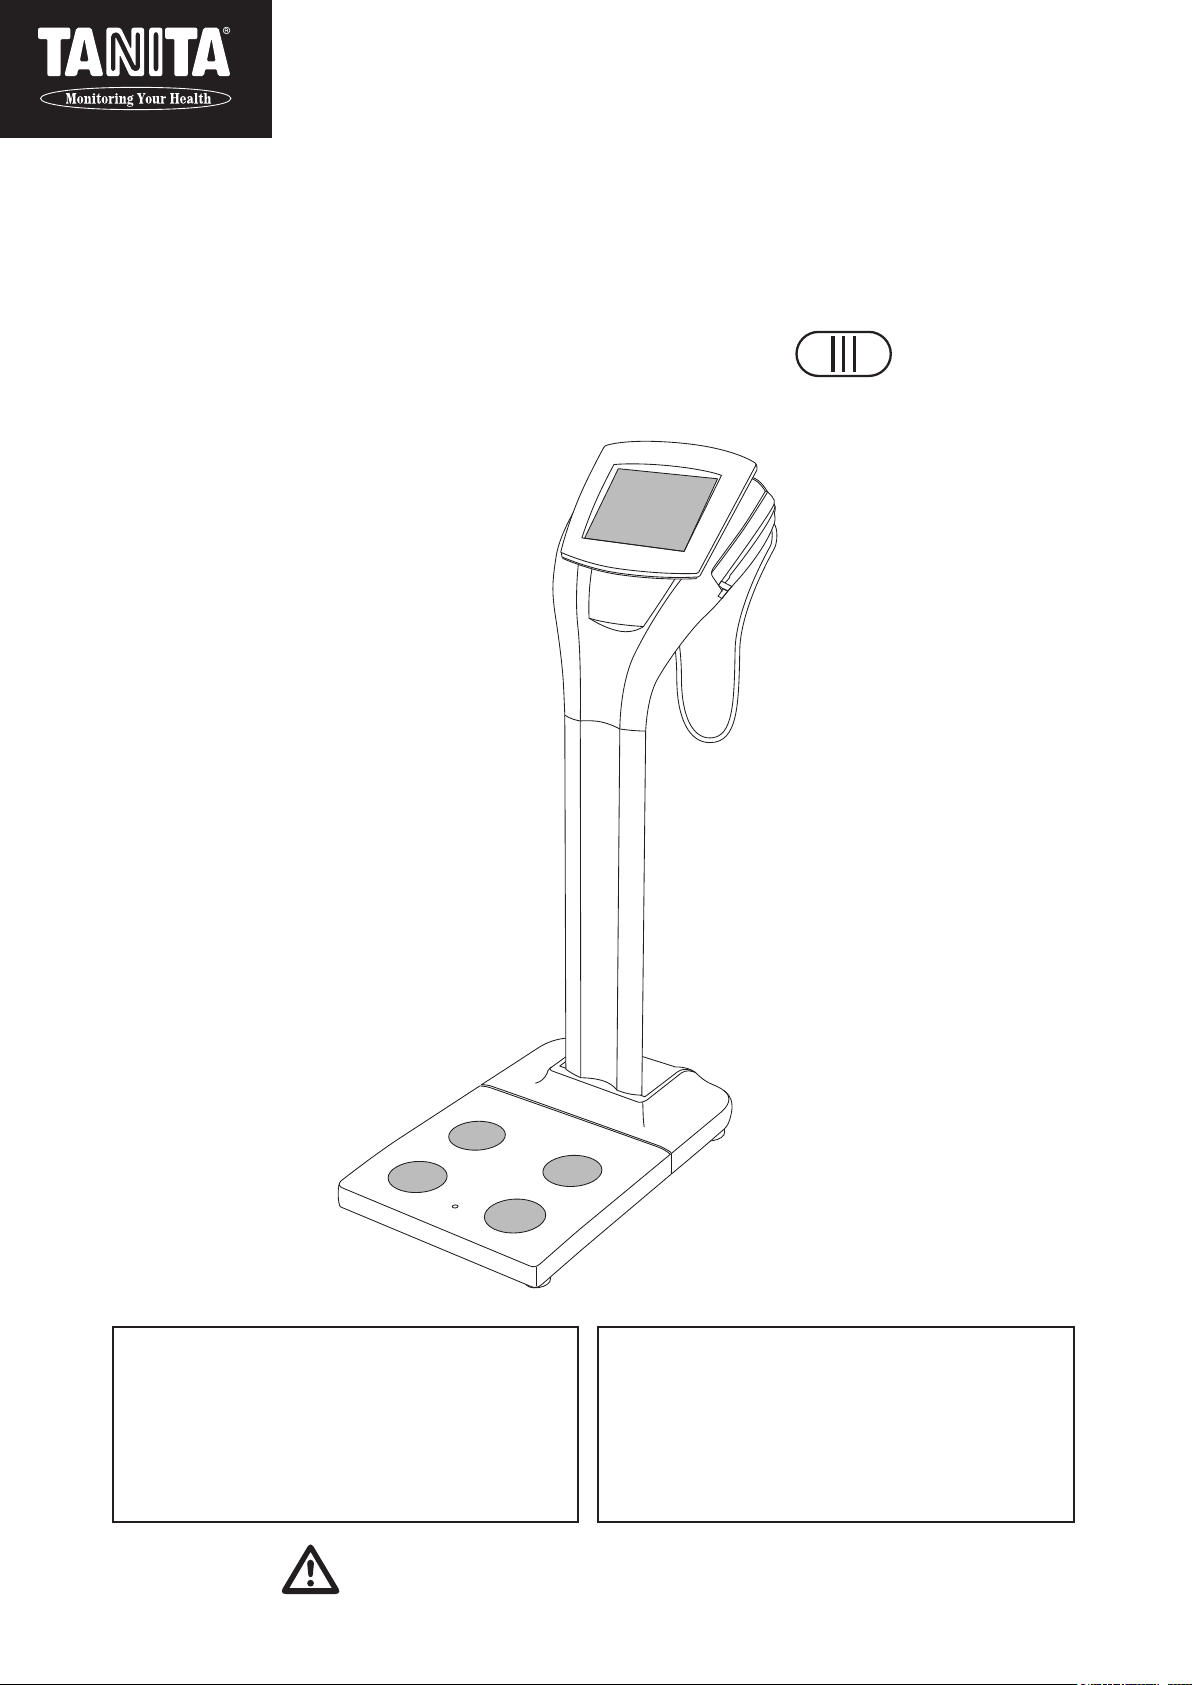
Before Use
5
en
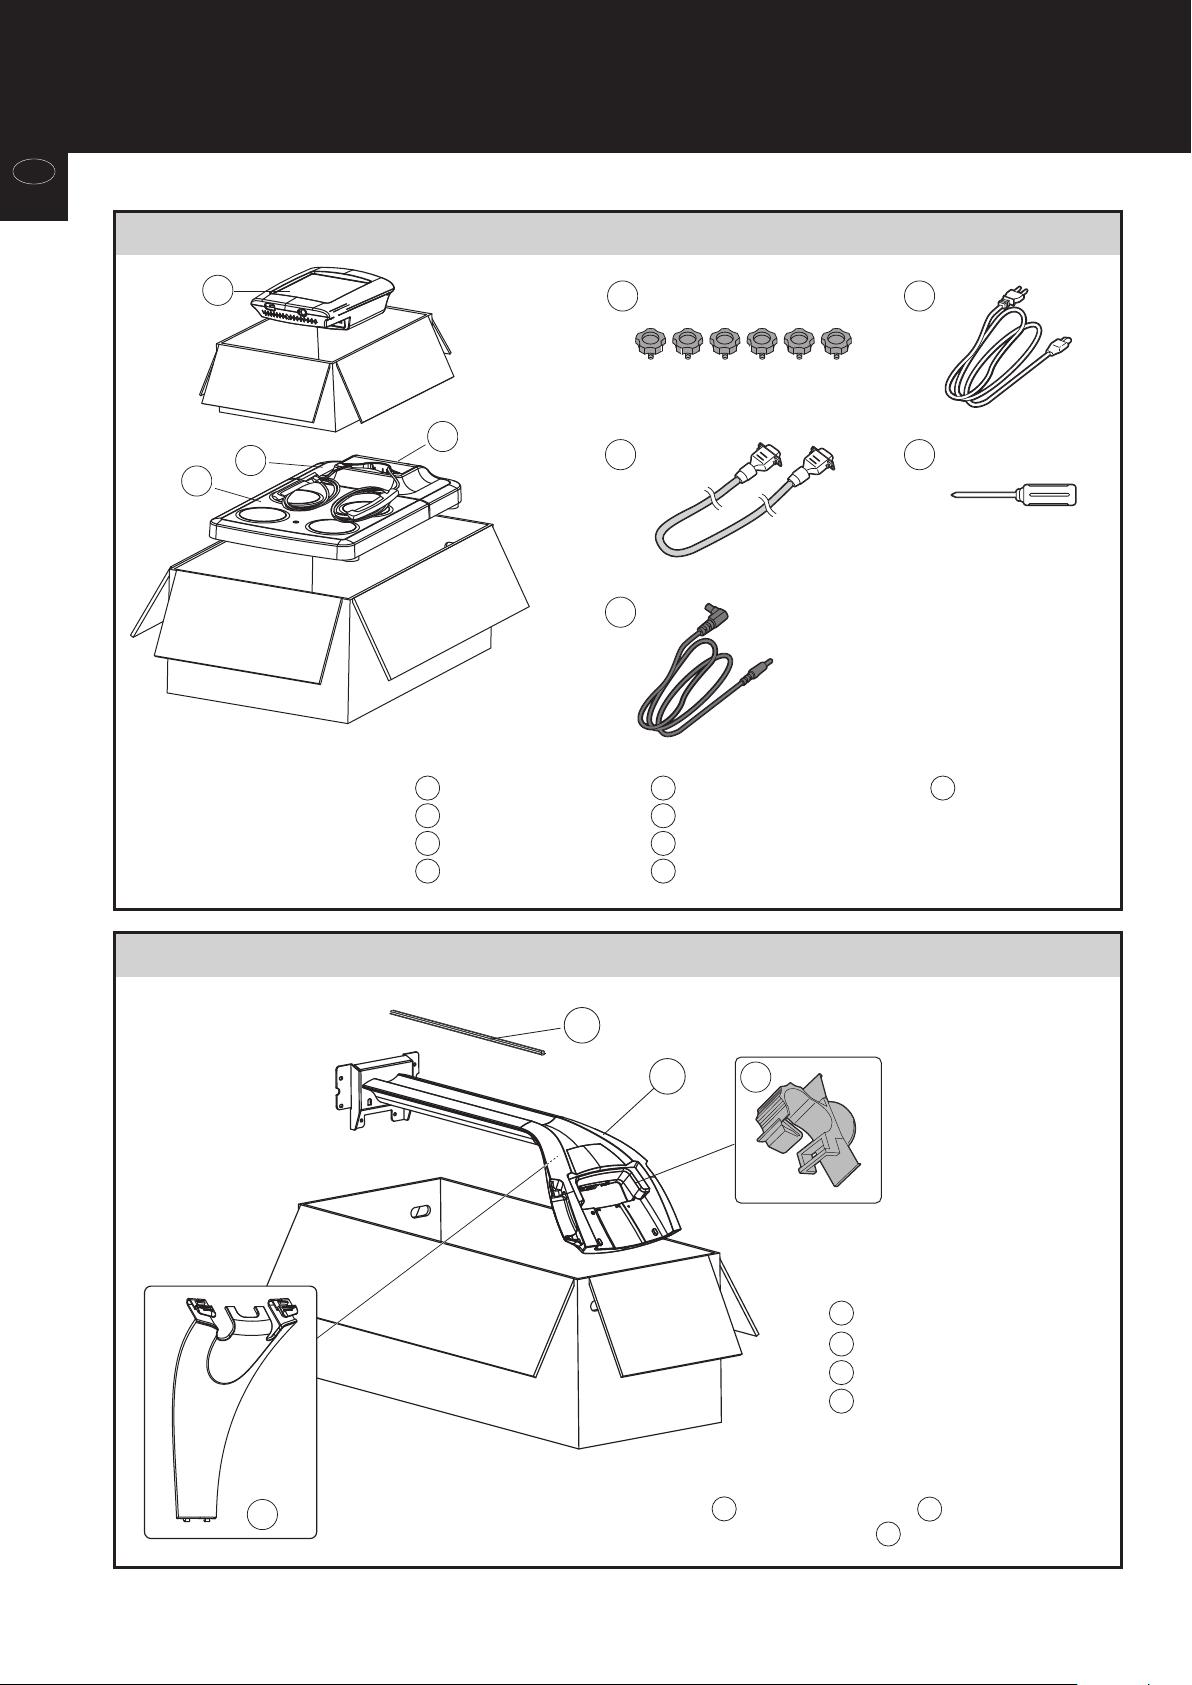
Required
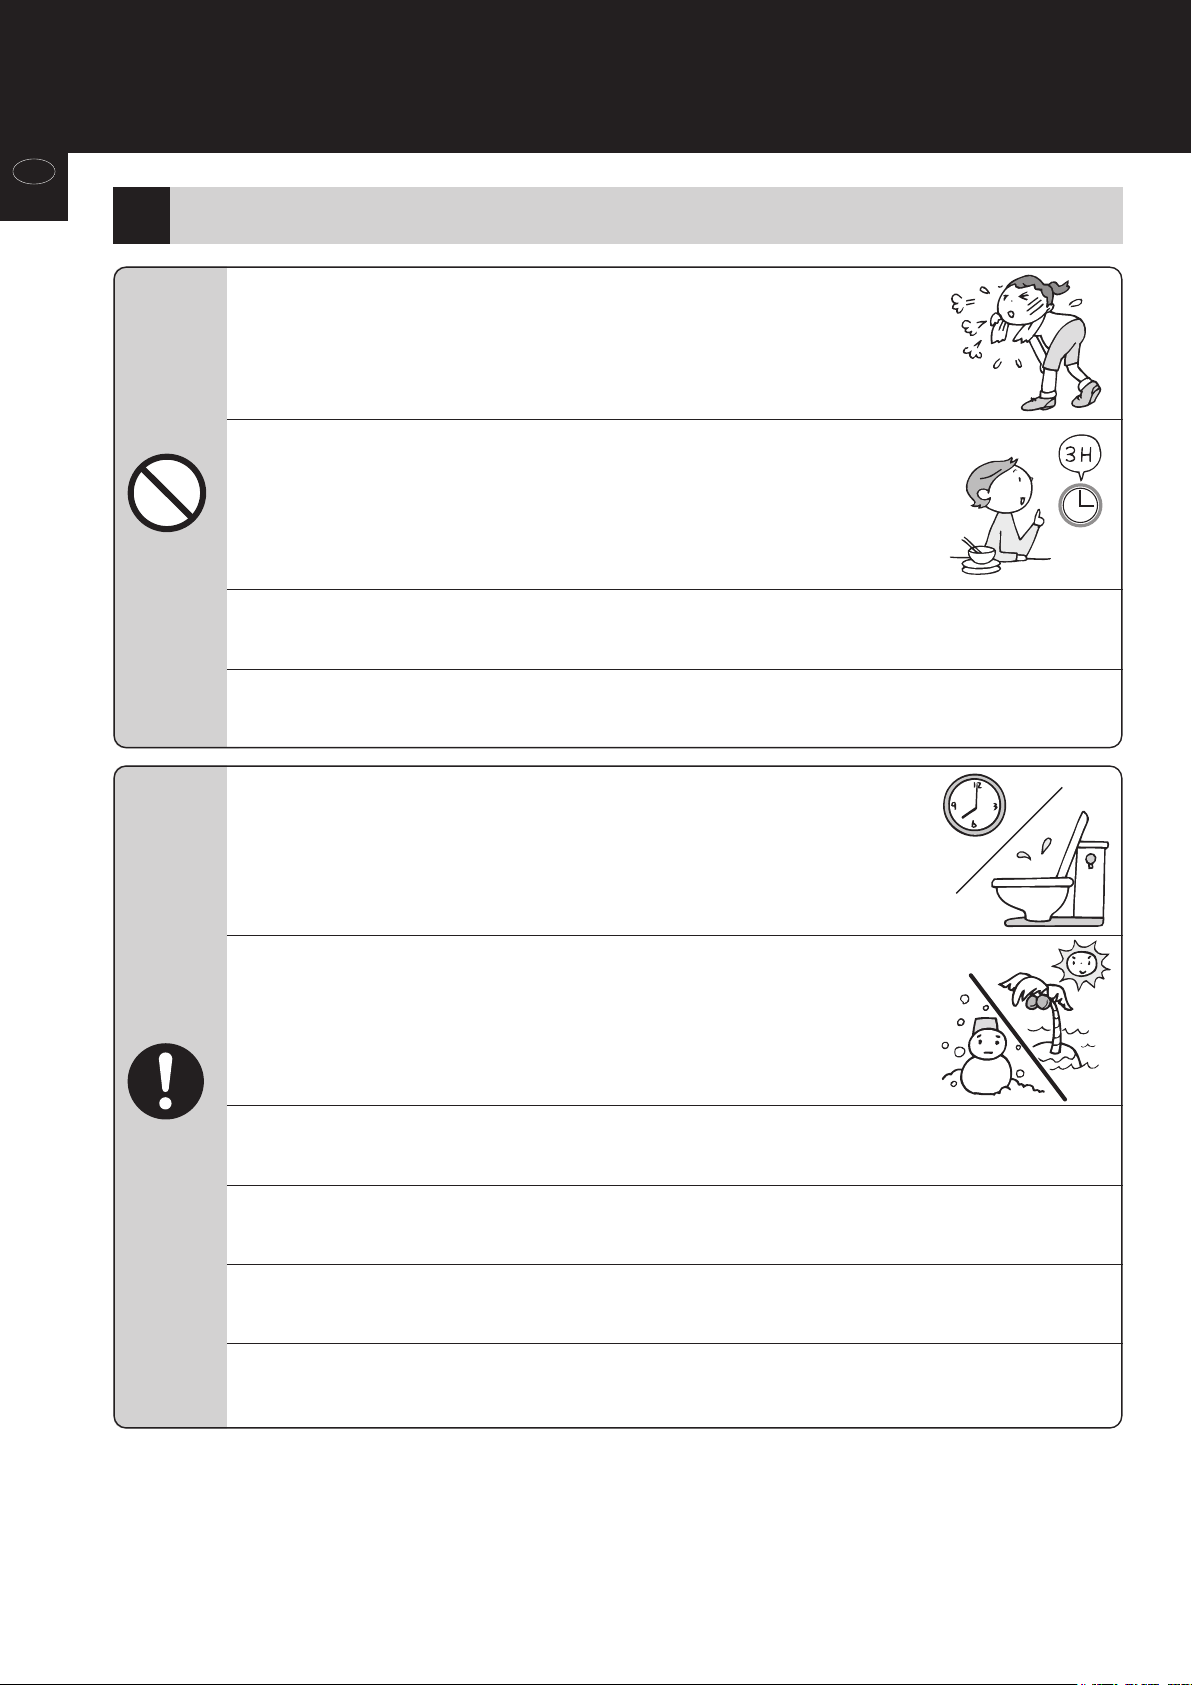
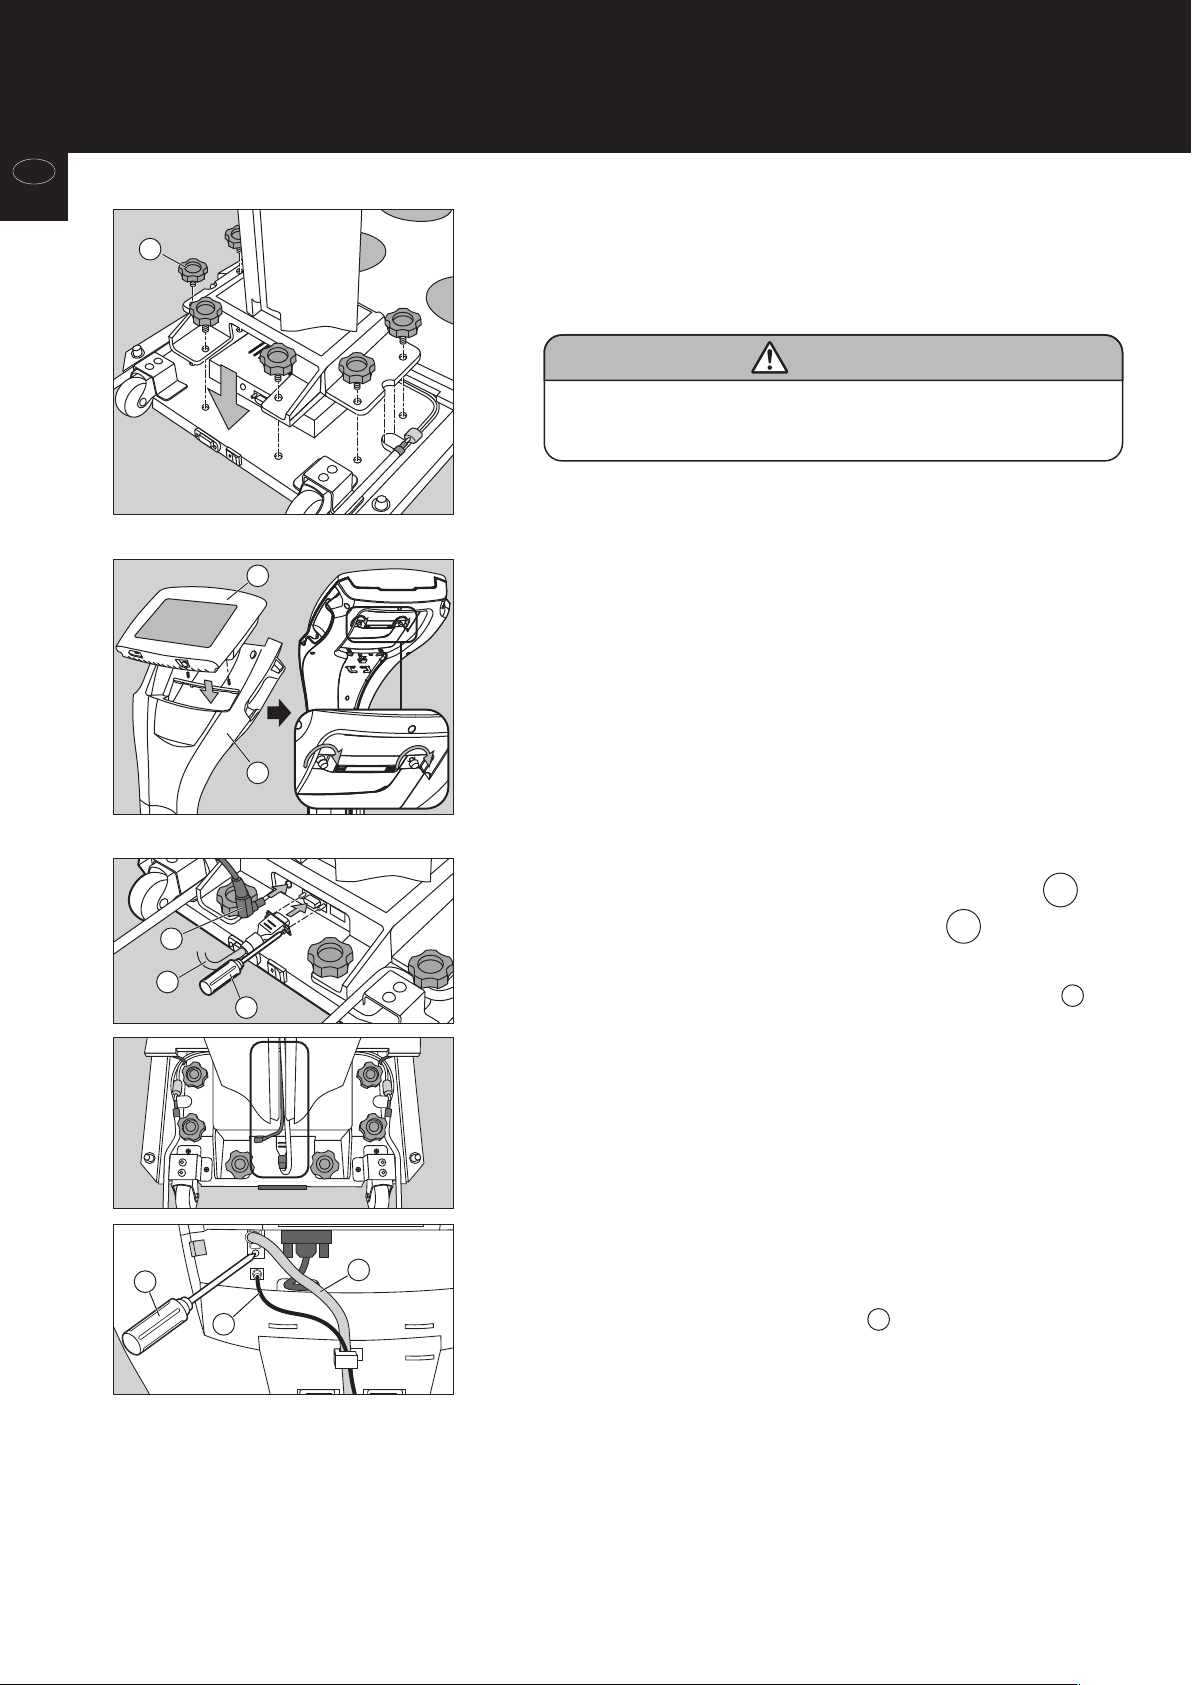
Caution
Prohibited
Do not allow the equipment to get wet.
Do not jump on the equipment.
Do not insert fingers into any of the gaps or holes.
Avoid using on subjects with allergies to metals.
Allergic reactions may be caused by the stainless steel used in the electrodes of this device.
Do not lean on the equipment.
Do not use this equipment near other products that emit electromagnetic waves.
Do not apply force to the display.
The screen may break and cause injury.
Do not place items sensitive to magnetic forces near the equipment.
The magnet of the impedance meter may corrupt data on devices such as USB memory sticks if
these are placed near the equipment.
Continually monitor both the subject and the equipment for anomalies.
If an anomaly in the subject or equipment is discovered, take appropriate action, such as
stopping the equipment, while ensuring the safety of the subject.
Interpretation of analysis results (e.g. evaluation of measurements and formulation of
exercise programs based on results) must be performed by a professional.
Weight loss measures and exercise based on self-analysis could be harmful to your health.
Always follow the advice of a qualified professional.
This equipment is designated a Class B IT device (mainly for systems intended to be used
in indoor environments) and is CE (EMC) certified, but it may affect devices that are sensi-
tive to electromagnetic waves.
If connecting a computer or peripheral devices to this equipment, please use a device complying
with IEC60601-1 (EN60601-1). Power must be supplied from a medical isolation transformer for
IEC60950 (EN60950) devices. Keep a distance of 1.5m between units during operation. Failure to
do so may cause electric shock to subjects or malfunction.
Assist persons with disabilities.
Clean the scale platform with appropriate disinfectant after each use.
Use the included AC cord.
Do not lean against the equipment.
Unplug the AC cord from the equipment when moving it.
Tighten the adjustable feet when moving the equipment.
Stand clear of the subject during measurement to ensure accuracy.
Another person should assist persons with disabilities who may not be able to take a
measurement alone.