Avoid using near equipment that emits electromagnetic waves.
May interfere with some equipment, such as lighting (inverter fluorescent lights),
medical devices (microwave therapy equipment) and communications equipment
(mobile phones), and malfunction. Confirm prior to use.
7
Prior to Use
6
Prior to Use
For Accurate Measurements
How to Measure Correctly and Points to Remember
The AB-140 is a precision crafted device. Please adhere to the following to ensure continued good
working order.
Maintaining Precision
[Care]
•Never use hot water or substances such as benzene or solvents.
To clean, use a cloth moistened with water or a household detergent. Then wipe
over with a soft, dry cloth.
Use the device under the same conditions and in the same
position as much as possible to track changes.
Readings are greatly affected by the level of hydration and position
of the body. Please use at the same time each day, under the same
conditions and in the same body position.
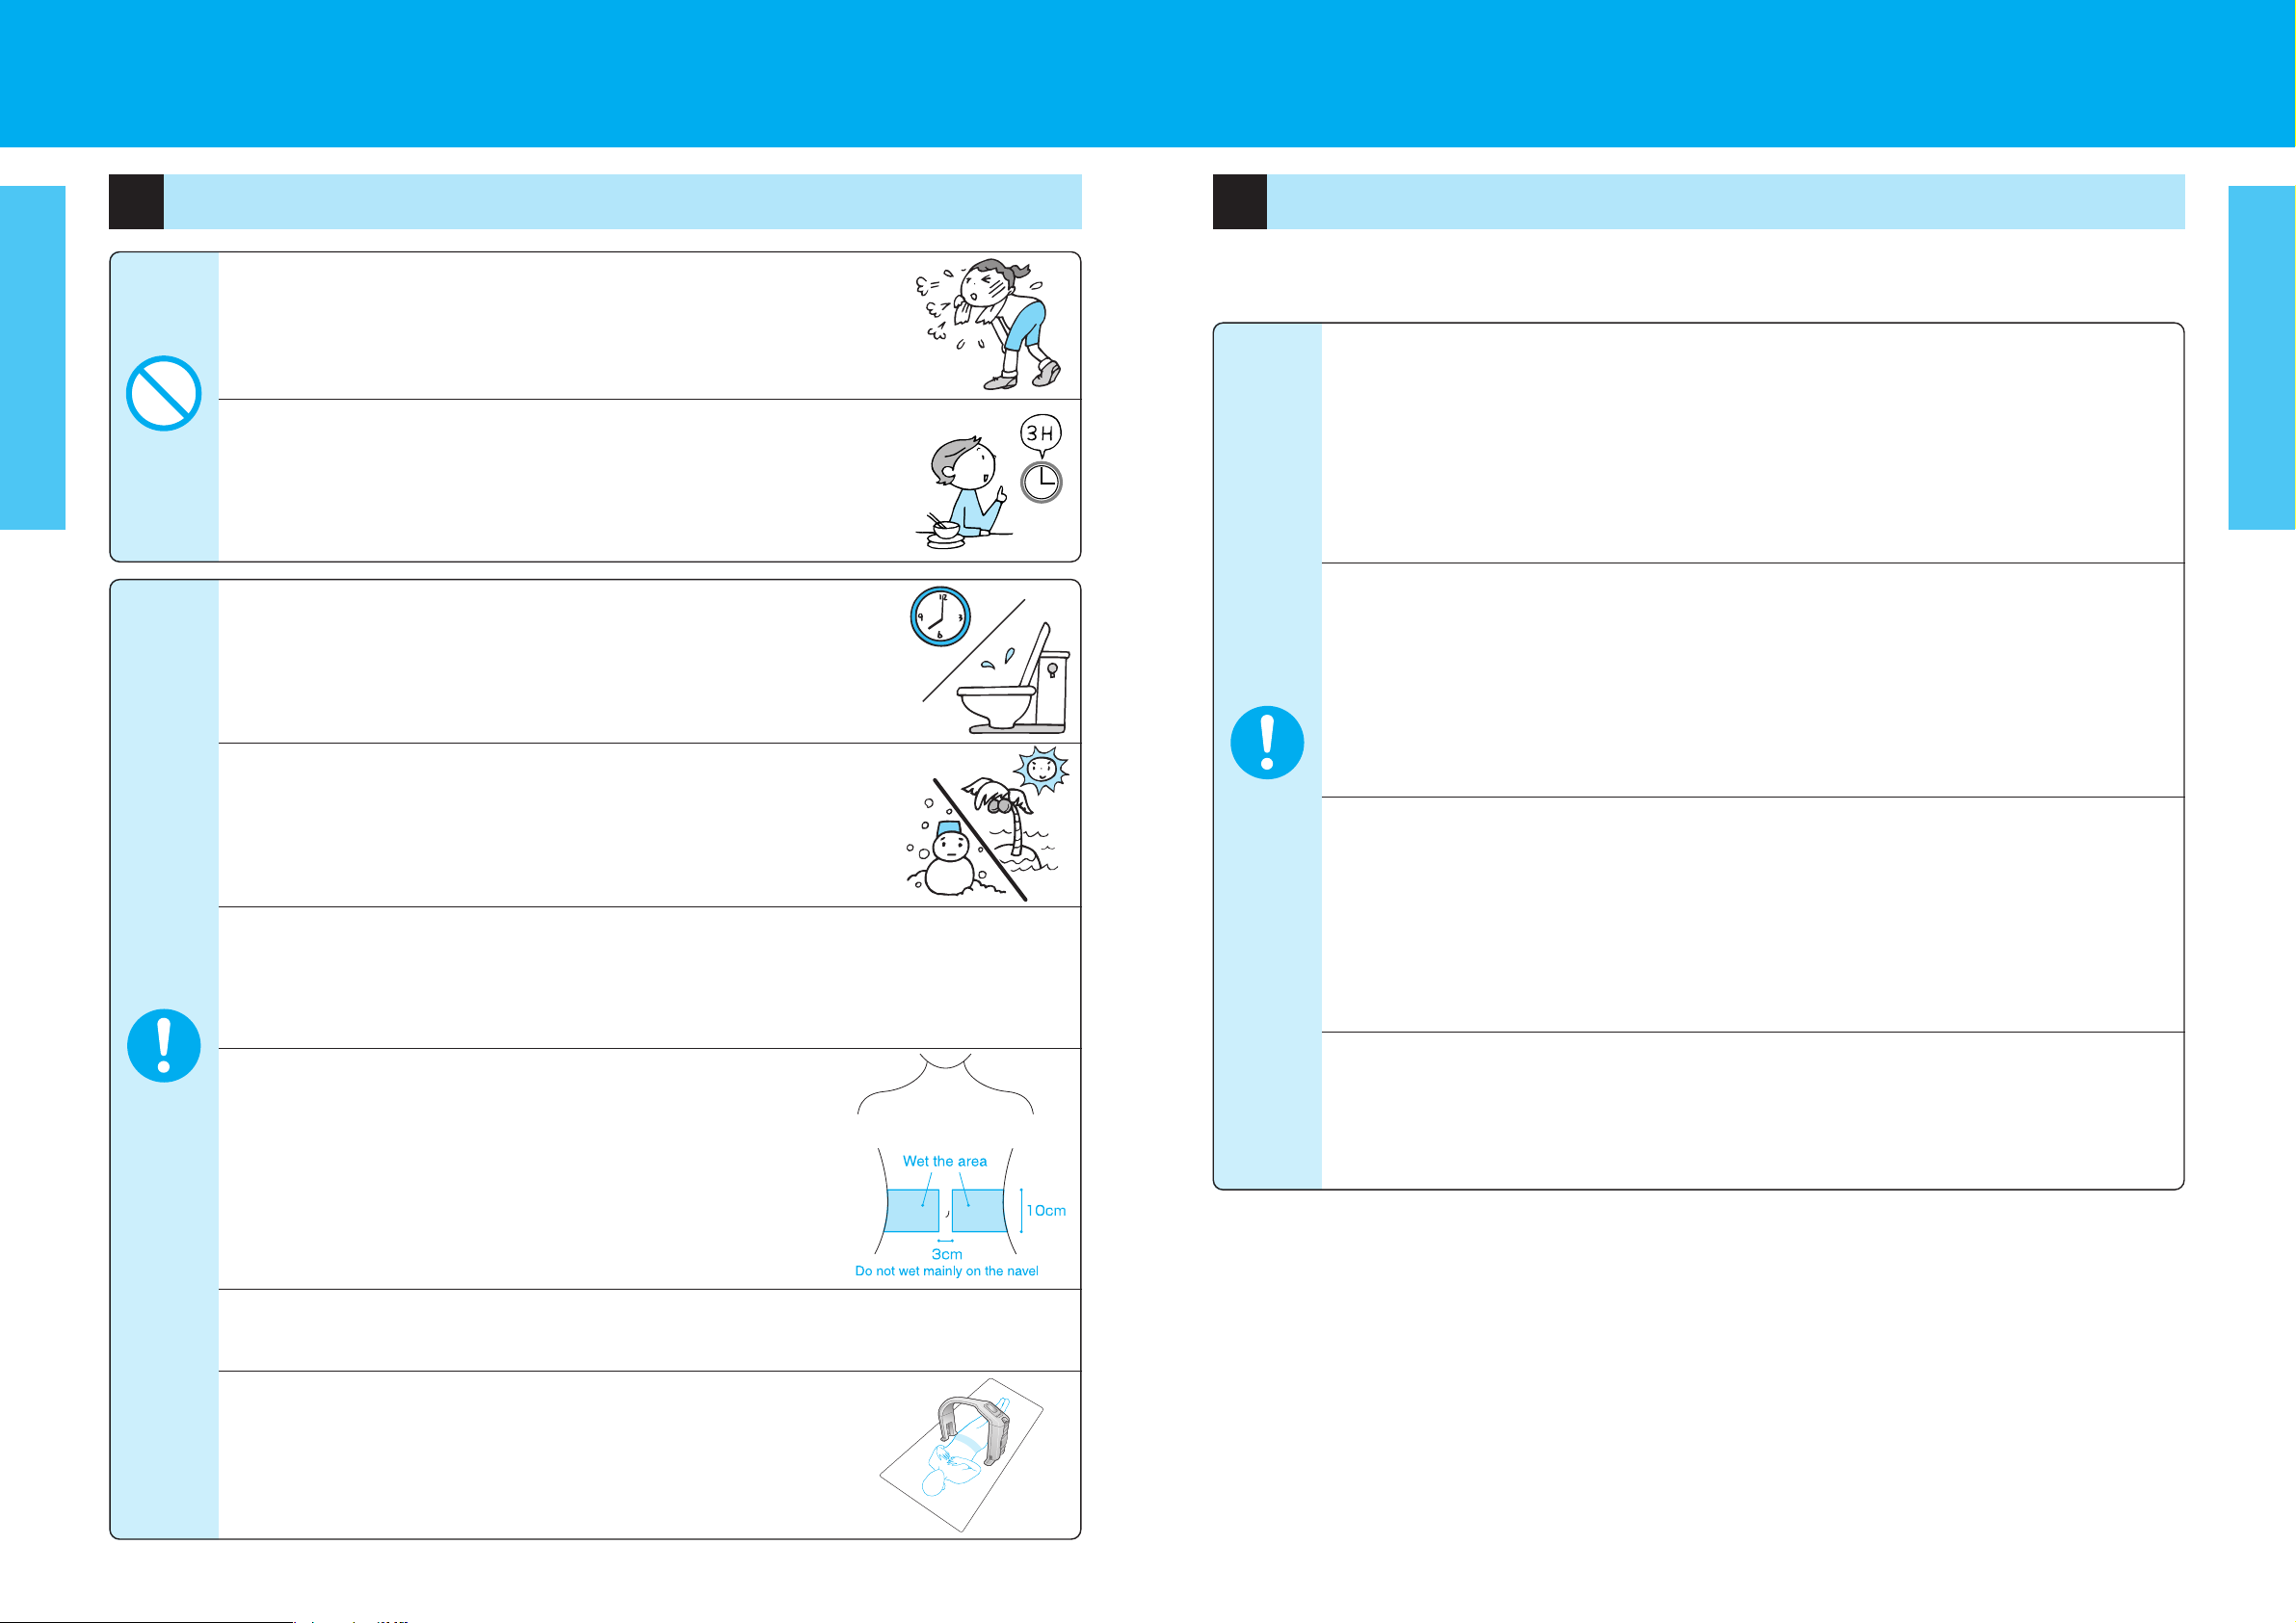
Avoid measuring after hard exercise.
May result in measurement errors. Please take measurements
after sufficient rest.
Avoid measuring after over-eating or over-drinking, and when
severely dehydrated.
May result in measurement errors. For greater accuracy, avoid
using directly after waking up. Use at the same time on each
occasion, at least three hours after eating.
Avoid measuring in locations of greatly differing temperature.
May result in measurement errors. When the equipment has been
moved to a location ±20ºC, allow to stand for at least 2 hours
before using.
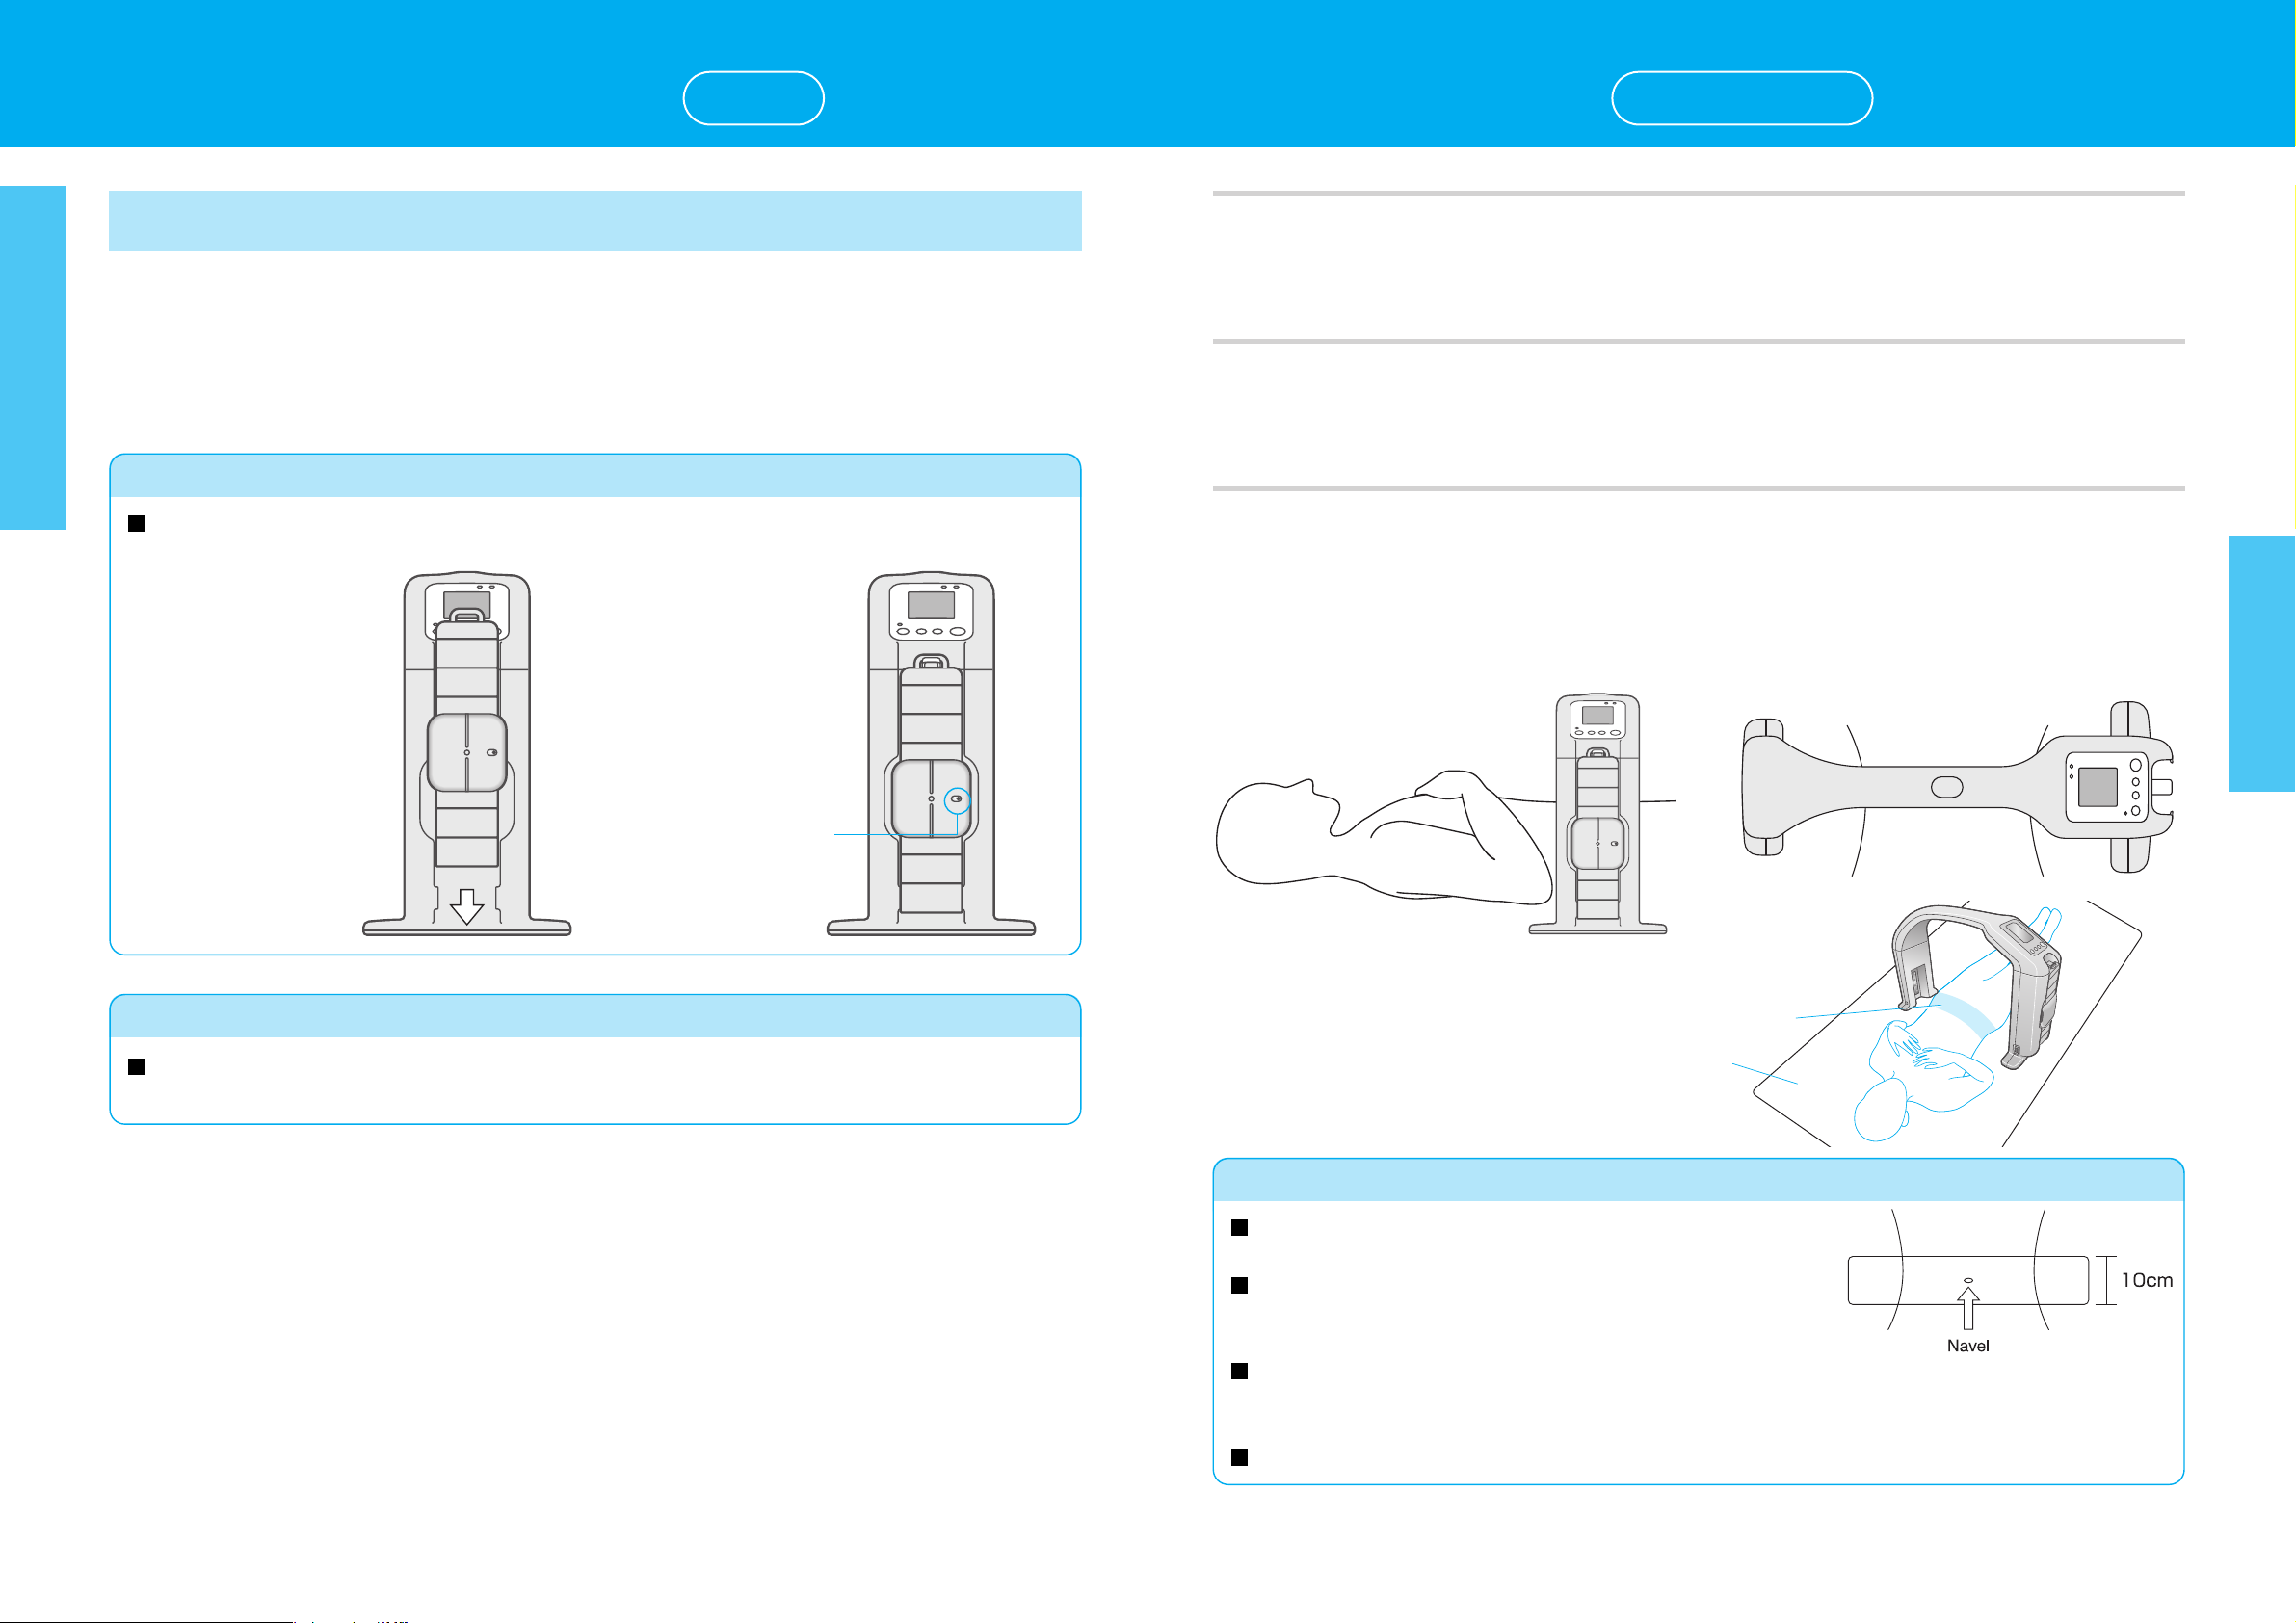
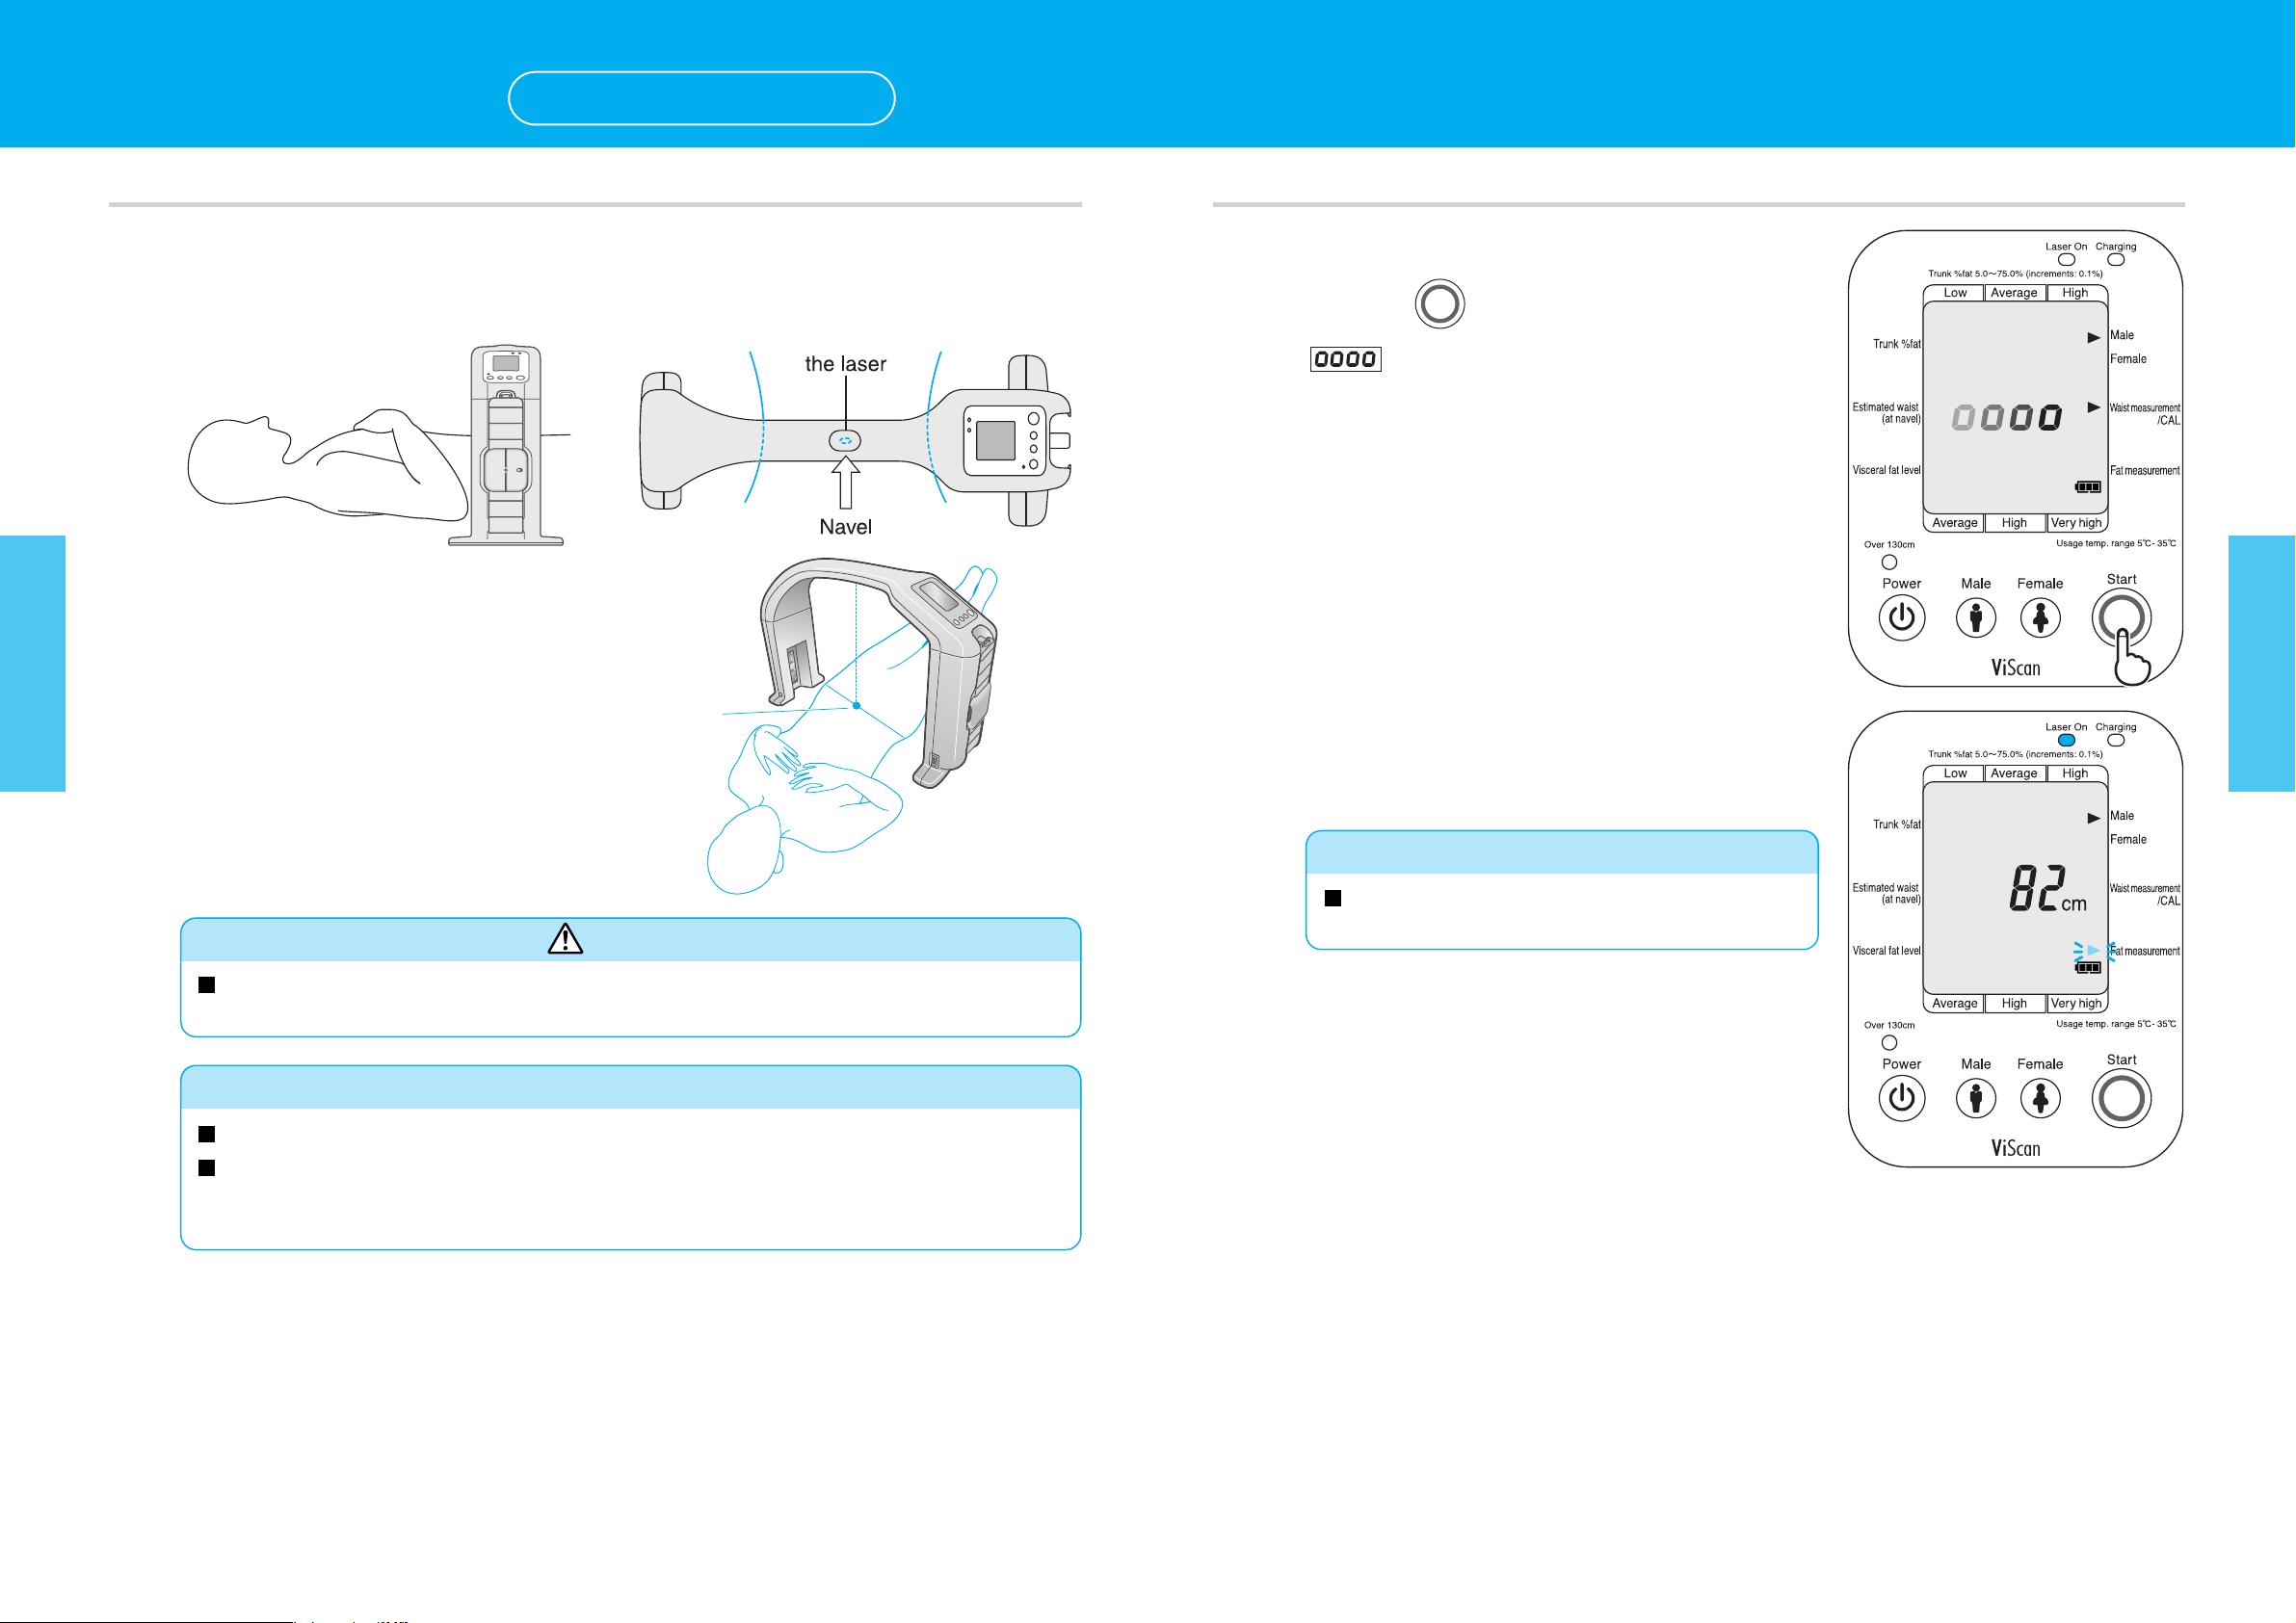
Wet the area of the abdomen to which the electrodes are
to be attached and ensure correct positioning.
To wet, lightly wipe the area with moistened cotton wool or a
damp cloth. Due to the influence of the state of the skin and
body hair, etc., abnormally high readings and measurement
errors may occur if the device is used without wetting the
area.
Use in a stable location.
Errors in measurements may occur when the device is used in an unstable location.
Use an examination table, thin mat or other suitably firm
surface when measuring.
The use of soft surfaces or thick mats may result in
measurement errors due to the abdominal area sinking into
the surface with resulting changes in form.
Prohibited
Always…
[Setting Up]
•Do not place in direct sunlight, near heaters or the air stream from air-conditioners.
•Do not place in locations of extreme temperature fluctuations.
•Do not place in highly humid or damp places.
•Do not expose to strong vibrations.
•Do not place in locations where chemicals are stored or gas may be present.
[Handling]
•Neverwashdownwithwater.
•Do not expose to strong shocks or vibrations.
•Do not remove the AC cord from sockets by pulling on the cord.
•When the device is not to be used for extended periods, turn the power off and
remove the AC cord from the socket.
[Storage]
•Do not store where the device will be exposed to strong vibrations.
•Do not store in humid or dusty locations.
•Do not store in locations where the temperature is outside stated parameters.
•When the device has not been used for extended periods, please ensure the device
is operating normally and safely prior to recommencing use.
Always…