Tascam HS-8 How to use

TASCAM HS-8 1
HS-8 Release Notes
D01135020B
Contents
Updates................................................................................................1
New functions ...................................................................................1
V1.20 additions...........................................................................1
V1.11 additions...........................................................................1
Maintenance items ..........................................................................1
V1.20 changes.............................................................................1
V1.11 changes.............................................................................3
Checking the firmware version ...................................................3
Firmware update procedures.......................................................3
Updates
Always use the most recent rmware for this unit.
Please visit the TASCAM website (http://tascam.com/) to
check for the latest rmware.
New functions
V1.20 additions
A tape emulation mode has been added for use with
•
an editor/synchronizer that supports the SONY P2
protocol using the RS-422 connector.
Japanese folder and le names can now be displayed.
•
Japanese input, however, is not supported by this unit.
Chase can now be turned ON and OFF via RS-232C.
•
The SONY P2 protocol REC command is now supported.
•
The
•
OK
/
CANCEL
buttons in pop-up windows can now
be operated using the Enter/Esc keys on an external
keyboard.
NOTE
For details about these features, please see the "HS-8
Firmware Update V1.20" document, which is also available
from the TASCAM website.
V1.11 additions
Keyboards with USB interfaces can now be connected
•
to the unit.
Synchronized playback when the input timecode and
•
the project timecode dier is now possible.
Maintenance items
V1.20 changes
When using an external keyboard, some characters (
•\ /
: ; , • ? “ < > | ) that are not allowed to be used with FAT
le system format disks could be input for le names.
This has been xed.
On the
•
MARK LIST INFO
screen, if
MANUAL MARK
was selected and
DELETE
executed, all the
MANUAL
MARK
would not be deleted and one would remain.
This has been xed.
On the
•
SYNC T/C
screen, even if the frequency was
correct, 44.1kHz was not properly shown. This has been
xed.
When navigating the
•
CREATE PROJECT
screen,
sometimes the
CREATE PROJECT
button would be
unavailable, and the project could not be created. This
has been xed.
When the
•
TC Chase
on the
SYNC
page of the
SYNC
T/C
screen was
ON
, if the external timecode was
momentarily lost and then recovered after a jump, a
playback synchronization error of 200–400 μs would
occur. This has been xed.
When the
•
TC Rechase
setting on the
SYNC
page of
the
SYNC T/C
screen was
OFF
, the SONY P2 protocol
time code was not updated during TC Chase. This has
been xed.
Immediately after stopping recording, the time code
•
time for the start of the recording was output as the
SONY P2 protocol time code. This has been xed.
The precision of the start time stamped in les has
•
been increased when recording with
TC GEN MODE
on the
SETUP
page of the
SYNC T/C
screen set to
REGEN
or
JAM SYNC
.
iXML chunks were not always written with the correct
•
size. This has been xed.
Negative value could be mistakenly written in iXML
•
time stamps. This has been xed.
CF cards of 2 GB or less are now formatted as FAT16.
•
Some mark point information could not be read. This
•
has been xed.
If the le size of a recording exceeded 2 GB and there
•
was less than one minute of remaining space on the CF
card, a
Record Error
would occur and the part over
2 GB would be recorded with incorrect audio data. This
has been xed.
If a link was turned ON when only the even numbered
•
channel had solo or input monitoring enabled, the link
might not be correctly activated. This has been xed.
When loading a folder or take from another project,
•
the setting le for the current project before being
changed was not updated. This has been xed.
Sometimes pop-up messages would not disappear.
•
This has been xed.

2 TASCAM HS-8
HS-8 Release Notes
If an error occurred during the formatting of a CF card,
•
an error warning pop-up message would not appear.
This has been xed.
With a CF card installed and the
•
Reading Media
pop-
up message showing, removing the card would cause
the HS-8 to be unable to mount additional CF cards.
This has been xed.
When starting with Master Clock set to
•
CH1-2DIN
-
CH7-8DIN
or
VIDEO
, clock would initially be
mistakenly detected as unlocked, and, even if the
Master Clock locked, external clock synchronization
would not occur until the conrmation pop-up
disappeared. This has been xed.
When adjusting parameters, even when a
•
Cannot
Change Now
pop-up message was shown, some
parameters could still be changed. This has been xed.
The following pop-up messages have been changed.
•
Old message New message Details Remarks
CFn not recommended format
for Recording/Playing.
When media loaded:
CFn formatting not optimal
for Recording/Search.
When recording starts:
CFn formatting not optimal
for Recording.
The media was not
formatted by this unit,
so proper recording
and search cannot be
guaranteed.
Format it for use with
this unit.
n = 1 or 2
This appears when
the card is formatted
with a cluster size
that is smaller than
the standard of this
unit.
CFn not recommended for
Recording/Playing.
(not UltraDMA)
When media loaded:
CFn not recommended type
for Recording/Search.
(not UltraDMA)
This card does not
meet the specications
required by the system,
so using it for proper
recording/search is not
guaranteed.
n = 1 or 2

TASCAM HS-8 3
HS-8 Release Notes
V1.11 changes
After skipping takes or searching when the jog
•
operation mode was enabled, jog playback would
not resume on rare occasions. This problem has been
corrected.
During the reading of a CF card, after pressing any
•
key repeatedly, the reading of the CF card would not
complete on rare occasions. This problem has been
corrected.
While copying a folder, the
•
SLOT
indicator for the CF
card that is being written to now blinks, as it should.
Following the cancellation of copying a folder, attempts
•
to erase a folder, for example, would not complete
properly. This problem has been corrected.
Changing the CF card slot, project or folder now causes
•
synchronized playback with external timecode to be
disabled.
When both auto cue and auto ready functions were
•
on, resuming playback of a take that had been paused
in the middle would result in playback starting from
the beginning of the take. This problem has been
corrected.
When shuttle operations stops automatically, the dial
•
position now resets as it should.
Pressing the
•PLAY key during Auto Cue searching
resulted in the key continuing to blink. This problem
has been corrected.
When using projects made with an HS-P82 or an HS-8
•
that ran on an older system version, the setting values
stored in the unit would be mistakenly used as is. This
problem has been corrected.
After starting the unit with serial connection mode
•
set to “RS-422”, even if the serial connection mode
was changed to “RS-232C” the signal setting was not
changed. This problem has been corrected.
When playing back after recording or skipping a take,
•
a problem occurred in which a time that diered from
the playback time was momentarily output from the
TIME CODE OUT connector. This problem has been
corrected.
The precision of synchronized playback has been
•
increased.
Due to problems with le management, the unit would
•
become hung-up on rare occasions. This problem has
been corrected.
A playback error occurred during continuous playback
•
when a short take followed a long take. This problem
has been corrected.
If you searched forward to the end of a take, a noise
•
would be output when the end was reached. This
problem has been corrected.
When the time counter display was set to “T/C”, if you
•
searched to the beginning of a take, the time counter
display would momentarily show an incorrect time.
This problem has been corrected.
After completing the copying of a folder other than the
•
current folder, an error message would be displayed on
rare occasions. This problem has been corrected.
During playback with the auto ready function on,
•
repeating forward search multiple times caused a
playback error message to be shown. This problem has
been corrected.
Checking the firmware version
Before conducting a rmware update, check the rmware
version currently installed in your HS-8.
1 Turn the unit power ON.
2 Press the MENU key on the front panel to open the
MENU
screen.
3 Press the
VERSION
INFO
button.
Check the
SYSTEM
VERSION
here. If this firmware
version is the same as or newer than the version
that you intend to use for updating, there is no
need to update the unit.
Firmware update procedures
1 Download the latest version of the firmware from
the TASCAM website (http://tascam.com/).
2 Copy the downloaded firmware from the computer
to the root folder of the CF card.
3 After copying is completed, follow the correct
procedures to dismount the CF card from the
computer.
4 Insert the CF card into CF card SLOT 1 on the front
panel of the unit.
CAUTION
For this procedure, always insert the CF card into CF card
SLOT 1. You cannot update using CF card SLOT 2. In order to
avoid transferring the le to CF card SLOT 2, do not put a CF
card into SLOT 2.
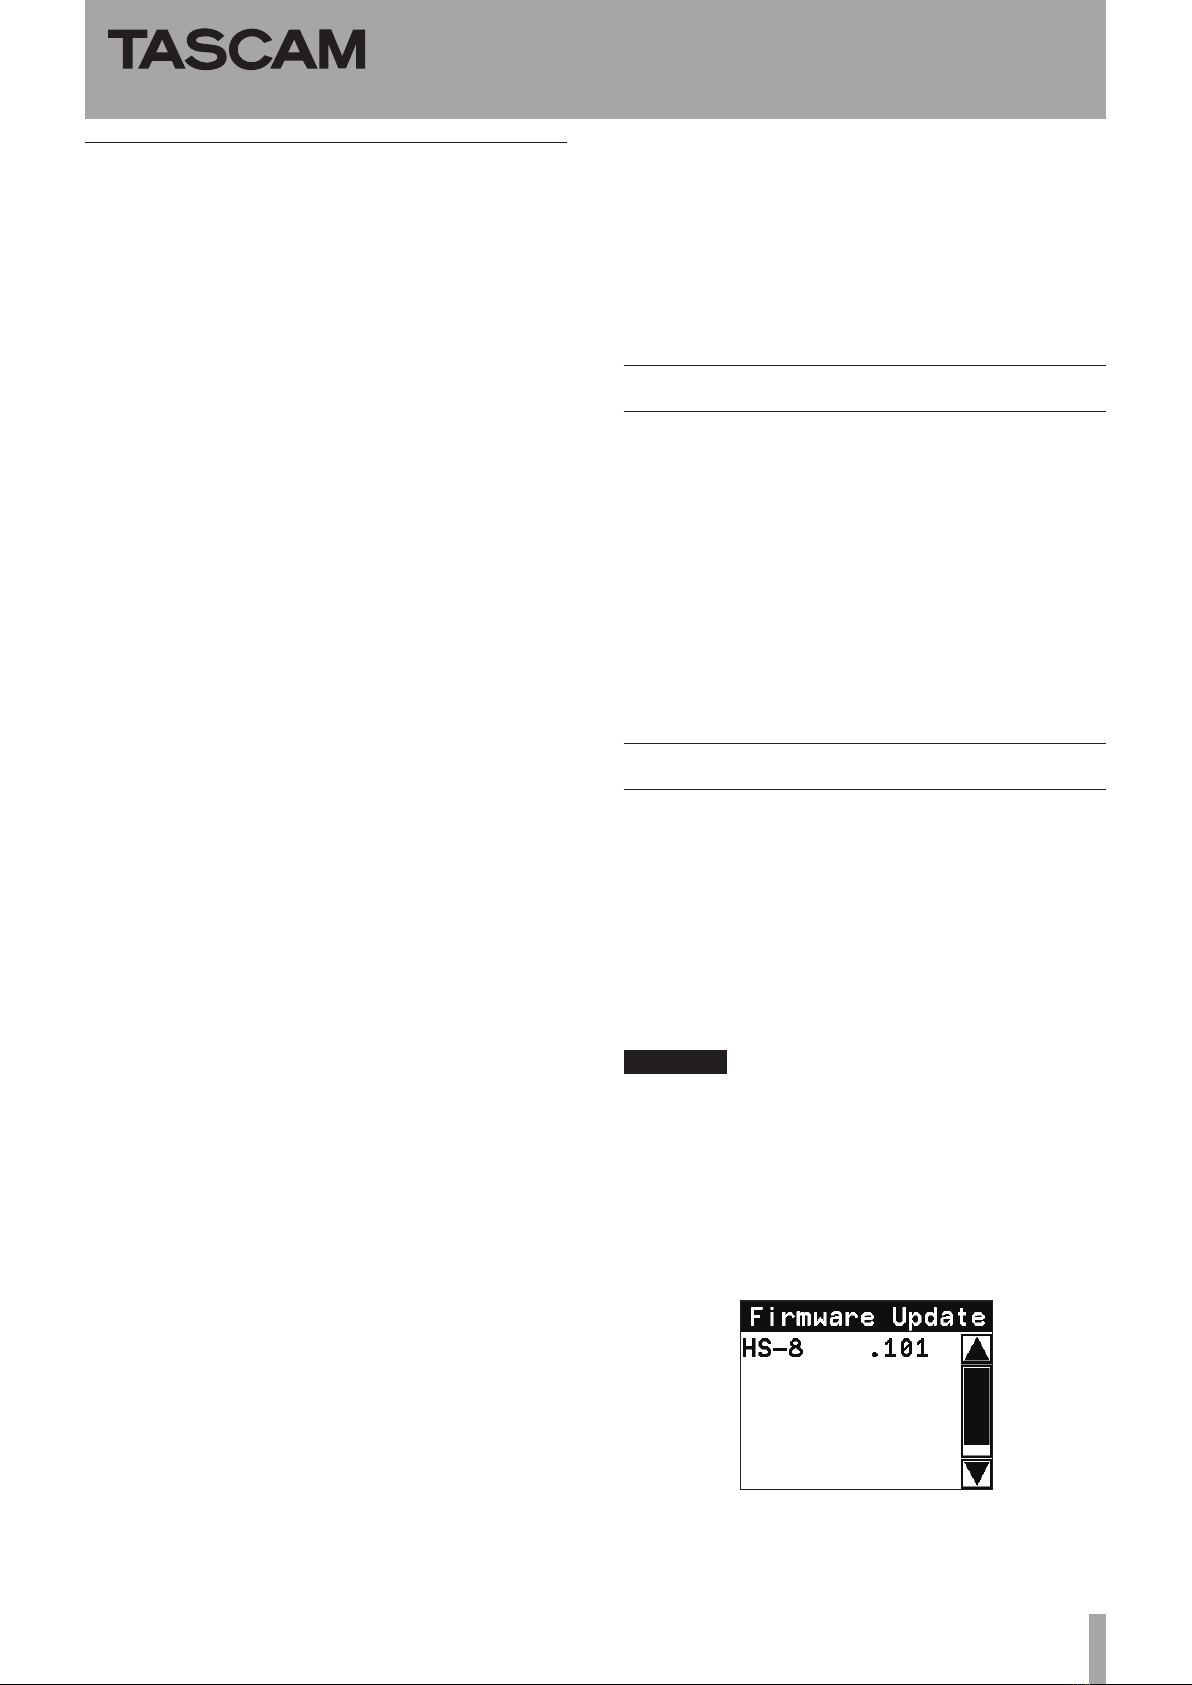
5 While pressing and holding the PAUSE and REC
keys at the same time, turn the unit power on.
The unit restarts in update mode, and the updater
file is shown on the screen.

4 TASCAM HS-8
HS-8 Release Notes
CAUTION
If the above screen does not appear, turn the power o
once, and then turn the power on again while pressing and
holding the PAUSE and REC keys. Keep pressing the PAUSE
and REC keys rmly until the above screen appears
NOTE
The screen shown above lists rmware update les
•
contained in the root folder of the CF card inserted in the
unit’s CF card SLOT 1. The rmware copied in step 2 should
appear. “No Update File” appears instead if there is no
update le.
A maximum of ve lines of rmware les are shown. If the
•
number of les exceeds this maximum, use the scrollbar
with the up and down arrow buttons that appears on the
right side of the screen or the DATA dial to scroll through
the list.
6 Touch the name of the firmware file that you want
to use to update. The following screen appears.
The left side shows the number of the current
version, and the right side shows the number of
the update version.
NOTE
The screen above is just an example. The actual display
•
will be dierent.
7 Touch the
YES
button to start the update.
CAUTION
Do not turn the power o while updating.
8 After updating completes,
Complete
and
PLEASE
POWER OFF
appear at the bottom of the screen.
Turn the power off once and then restart the unit.
9 See “Confirming the firmware version” above and
confirm that the
SYSTEM VERSION
(firmware
version) is the newest one. This completes
updating the unit.
Other manuals for HS-8
4
Other Tascam Recording Equipment manuals

Tascam
Tascam US-428 Service manual

Tascam
Tascam MX-2424 User manual

Tascam
Tascam MMR-8 User manual

Tascam
Tascam Portastudio 2488 User manual

Tascam
Tascam CD-RW900SL Guide

Tascam
Tascam HS-2 User manual

Tascam
Tascam US-428 Manual

Tascam
Tascam DR-05 User manual

Tascam
Tascam CD-RW900 User manual

Tascam
Tascam DR-10L Pro User manual

Tascam
Tascam CC-222mkIII User manual

Tascam
Tascam CC-222MKII User manual

Tascam
Tascam MX-2424 Instruction Manual

Tascam
Tascam Portastudio 2488 User manual

Tascam
Tascam CC-222 Guide

Tascam
Tascam Frontier HD-P2 User manual

Tascam
Tascam CC-222SL Guide

Tascam
Tascam HS-2000 User manual

Tascam
Tascam DP-24SD User manual

Tascam
Tascam DA-P1 User manual