Section 1
1-1
Model L850, L852, L858 Series
To the Installer
1
To the Installer
The following information has been included in the
manual as safety and regulatory guidelines. For complete
installation instructions, please see the Installation
Checklist.
Installer Safety
IMPORTANT! In all areas of the world,
machines should be installed in accordance with existing
local codes. Please contact your local authorities if you
have any questions.
Care should be taken to ensure that all basic safety
practices are followed during the installation and
servicing activities related to the installation and service
of Taylor®machines.
• Only Taylor service personnel should perform
installation, maintenance, and repairs on Taylor
machines.
• Authorized service personnel should consult
OSHA Standard 29CFRI910.147 or the
applicable code of the local area for the industry
standards on lockout/tagout procedures before
beginning any installation or repairs.
• Authorized service personnel must ensure that
the proper personal protective equipment (PPE)
is available and worn when required during
installation and service.
• Authorized service personnel must remove all
metal jewelry, rings, and watches before
working on electrical equipment.
DANGER! The main power supply(s) to the
machine must be disconnected prior to performing any
installation, maintenance, or repairs. Failure to follow this
instruction may result in personal injury or death from
electrical shock or hazardous moving parts, as well as
poor performance or damage to the machine.
Note: All repairs must be performed by an authorized
Taylor service technician.
WARNING! This machine has many sharp
edges that can cause severe injuries.
Site Preparation
Review the area where the machine will be installed
before uncrating the machine. Make sure all possible
hazards to the user or equipment have been addressed.
Complete the store survey form.
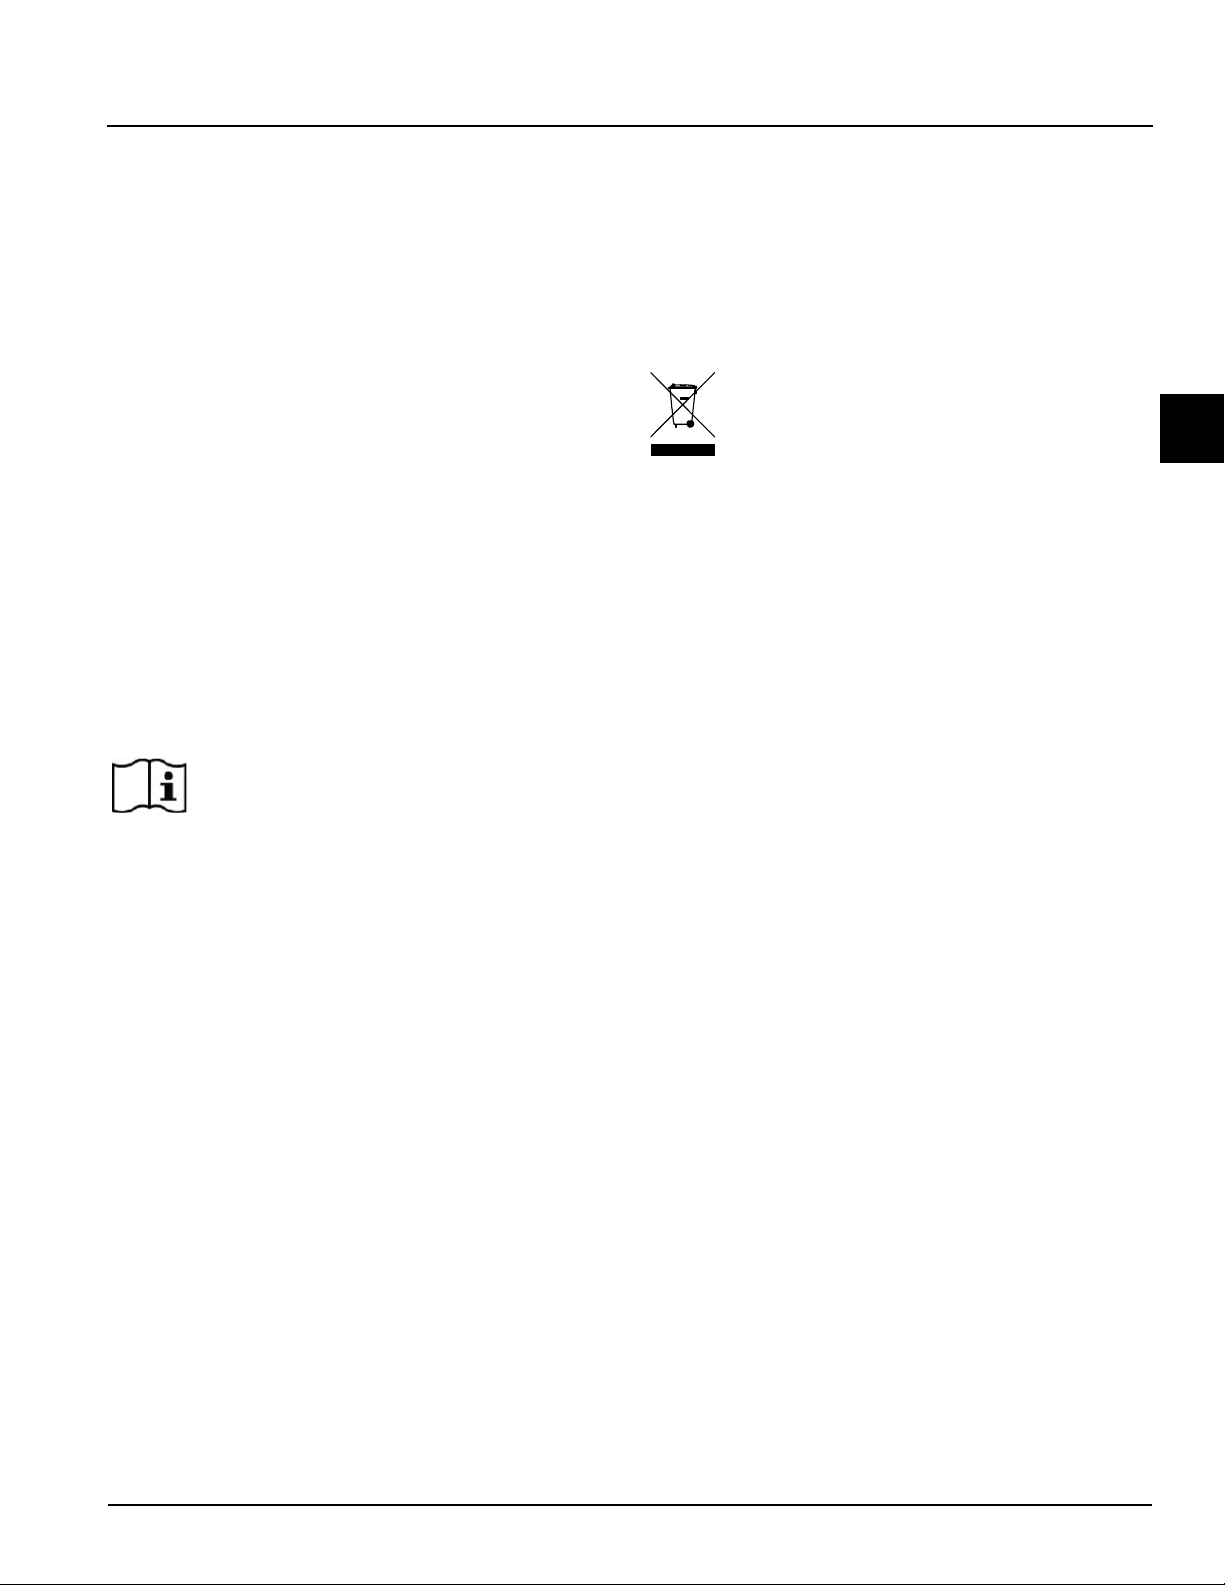
Electrical Connections
The grill is supplied with one or more power cords. Check
the data plate on the grill for voltage, cycle, phase and
electrical specifications. Refer to the wiring diagram
provided inside the protective control panel door at the
front of the grill for proper power connections. The power
connection(s) are located behind the access line cover
on the front of the grill.
In the United States, this equipment is intended to be
installed in accordance with the National Electrical Code
(NEC), ANSI/NFPA 70-1987. The purpose of the NEC
code is the practical safeguarding of persons and
property from hazards arising from the use of electricity.
This code contains provisions considered necessary for
safety. Compliance therewith, and proper maintenance,
will result in an installation essentially free from hazard!
In all other areas of the world, equipment should be
installed in accordance with the existing local codes.
Please contact your local authorities.
The proper wire size and branch circuit overcurrent
Device shall be selected according to the data label
information and in accordance with CEC Part I 2006,
Section 14-100(e)(i).
WARNING! This machine must be properly
grounded. Failure to do so can result in severe personal
injury from electrical shock.
FOLLOW YOUR LOCAL ELECTRICAL CODES.