Weekly Cleaning (continued)
©McDonald’s Corporation · Planned Maintenance Manual · January 2011 Page 3 of 7
Taylor Company Blended Ice Machine Model C029 Weekly BE
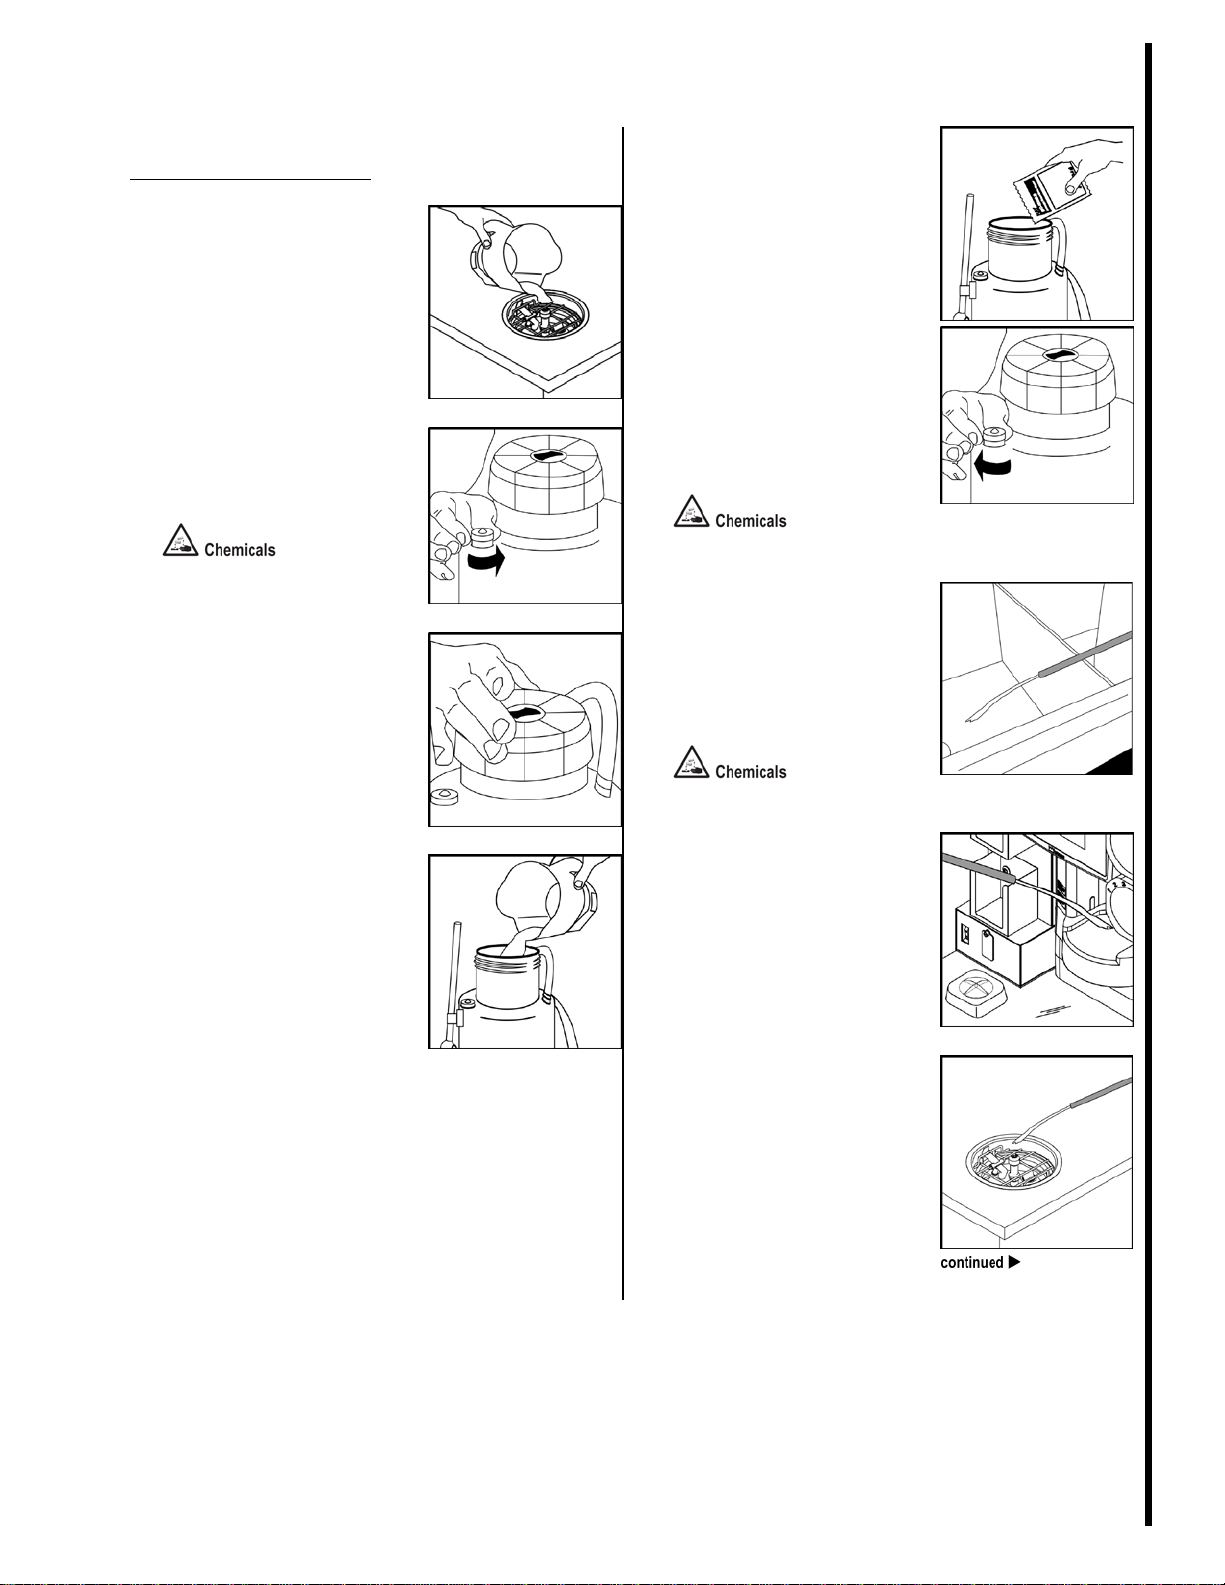
assembly.
Pour a cup of KAY-5
Sanitizer solution into the ice
shaver assembly, while
brushing with the large, white
ice hopper brush.
Sanitize ice shaver assembly.
Using the squeeze bottle of
sanitizing solution, flush
inside, outside, and under the
ice shaver assembly,
thoroughly covering all
surfaces.
Flush sanitizing solution
under the lip of the plastic
cover. Make sure solution is
applied in a complete 360°
circle.
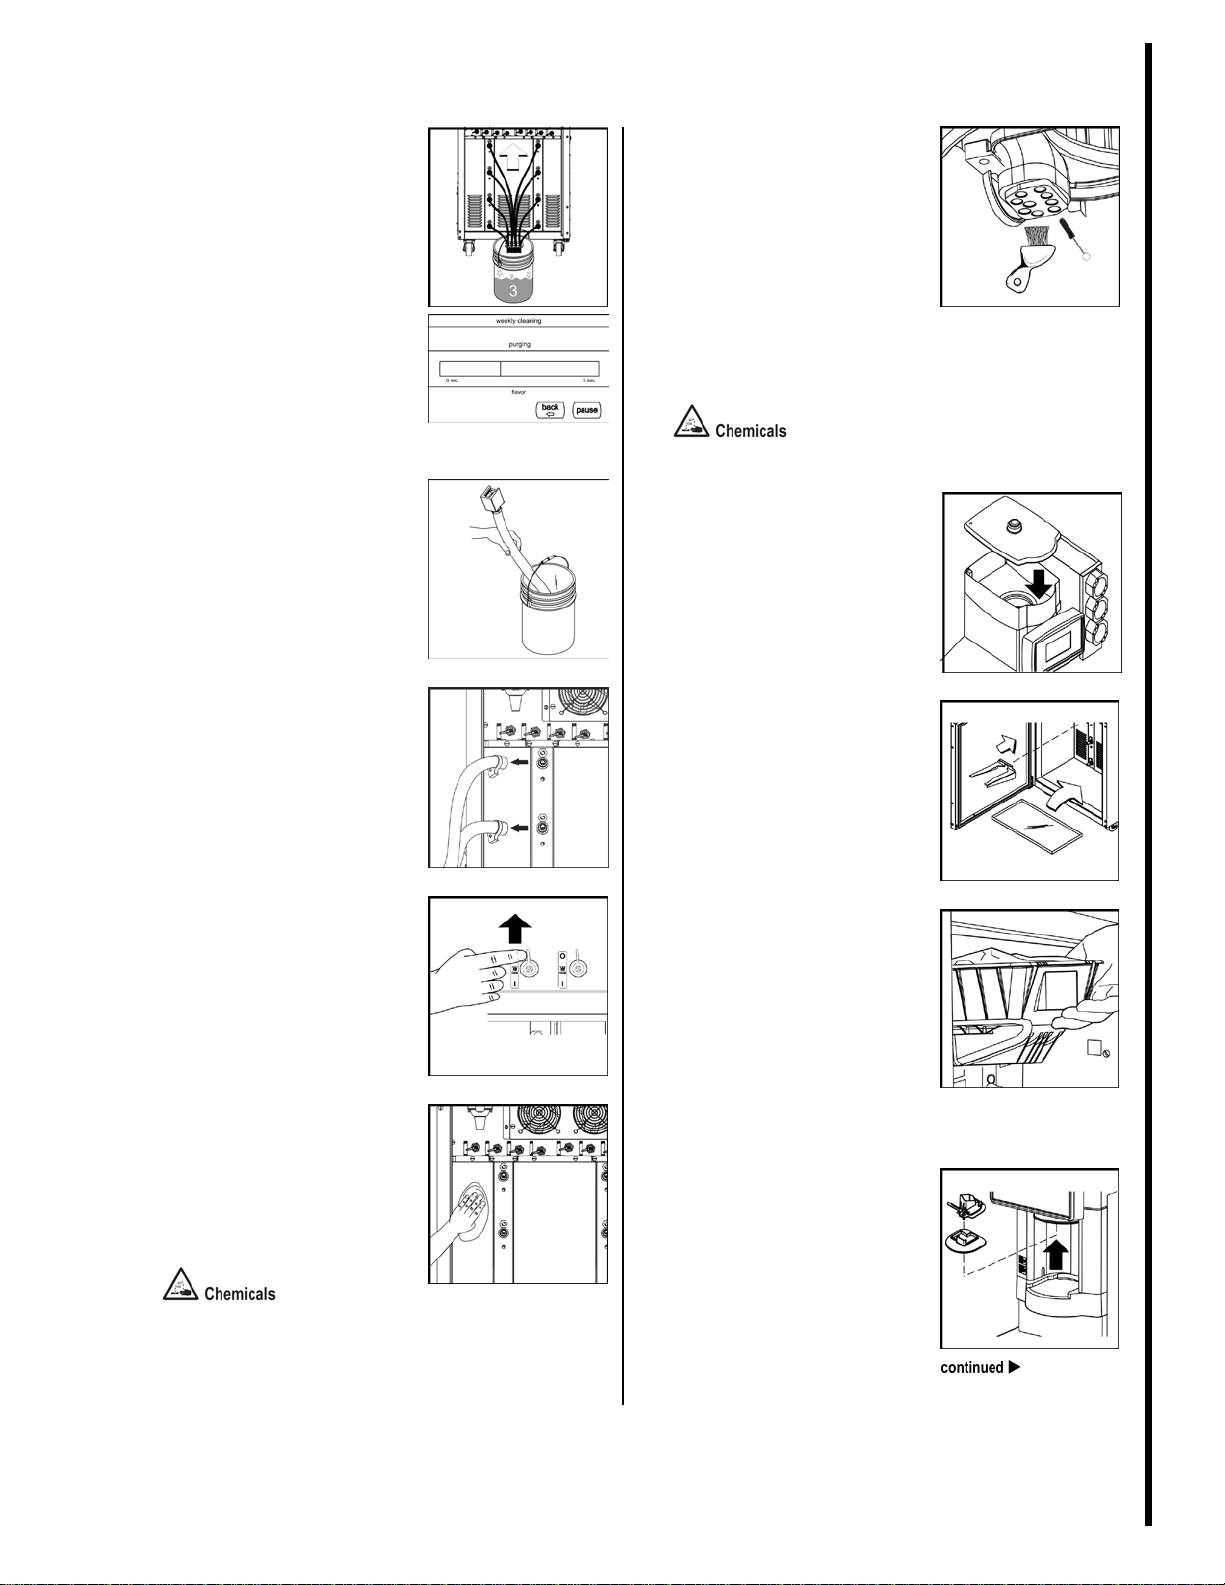
Place buckets in front of
machine.
Place the three buckets on the
floor in front of the machine.
The bucket containing the
SolidSense APSC cleaning
solution will be used first.
Install cleaning tubes onto all
inlet fittings.
Place the other end of the
cleaning tubes into the bucket
of SolidSense APSC
solution.
assembly and install cleaning
hose.
Slide the cleaning hose
adaptor onto the dispensing
head. Wedge the other end of
the hose into the rinse station
Turn the CO2 valves to the
“down/on” position to open
all the pumps.
Start the cleaning cycle.
Press the NEXT key. One at a
time, the cleaning solution
will pump through each
product line.
A bar graph screen will
illustrate the cleaning
progress for each product
Place free end of cleaning
tubes into bucket of rinse
water.
Press the NEXT key to start
rinse cycle.
Place free end of cleaning
tubes into bucket of KAY-5
Sanitizing solution.
Press the NEXT key to start
the sanitizing cycle.
KAY-5 Sanitizer solution
After the solution stops
pumping through the systems,
it will soak for 60 seconds.