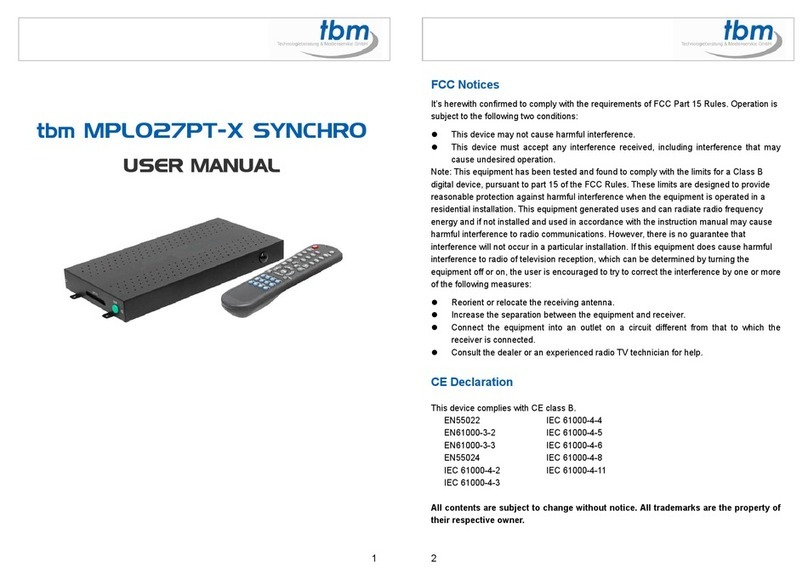
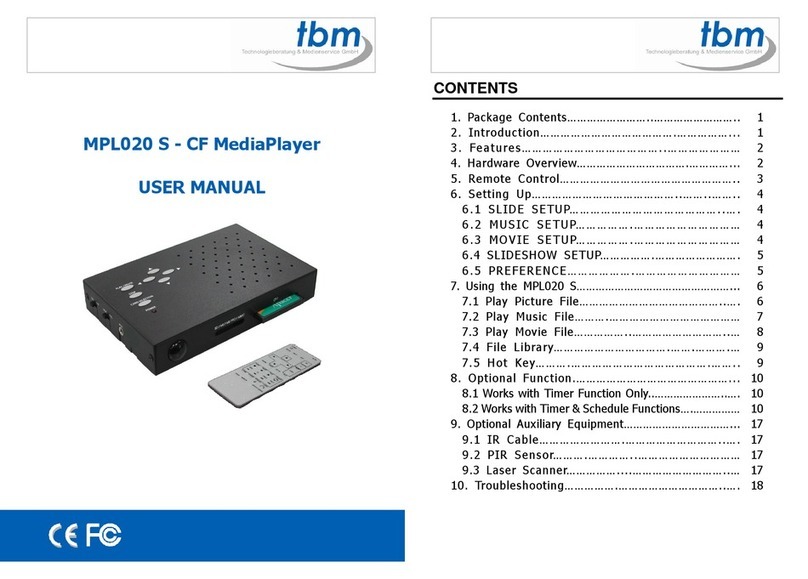
TBM MPL020 User manual

MPL020 - CF MediaPlayer
USER MANUAL
1. Package Contents……………………..……………………..
1
2. Introduction………………………………….……………...
1
3. Fe atures………………… ……… ………..…………………
2
4. Hardware Overview…………………………….…………...
2
5. Remote Contro ……………………………………………..
3
6. Setting Up……………………………………..……..……..
4
6 .1 SLID E SETUP…………… ……………… …… …..….
4
6 .2 MU S IC SE TU P…… … …… .… … …… …… …… … …
4
6 .3 MO VI E SE TU P……… …… .… …… … …… …… ……
4
6.4 SLIDESHOW SETUP…………….…………………….
5
6 .5 PRE FEREN CE…… ………… .……… … ………… ……
5
7. Using the MPL020………………………………………...
6
7.1 P ay Picture Fi e……………………………………..….
6
7.2 P ay Music Fi e……….…………………………………
7
7.3 P ay Movie Fi e……………..………………………..…
8
7.4 Fi e Library…………………………….…….……….…
9
7.5 Hot Key……….………………………………….……..
9
8. Troub eshooting…………….…………………………..….
10
CONTENTS

1
1. MPL020 7. Power Adapter (DC 5V, 2A)
2. User Manua 8. Schedu e Software (optiona )
3. Remote Contro 9. IR Cab e (optiona )
4. S-Video Cab e 10. PIR Sensor & Cab e (optiona )
5. Audio Cab e 11. Laser Scanner & Cab e (optiona )
6. USB Cab e
The MPL020 is a pa m-size digita p ayer that p ays picture, music and video without a
computer. It uses media fi es from CF, SD, MMC, MS (Pro) memory card. By connecting
Video, S-Video, VGA and Audio, you can p ay media fi es on any disp ay device.
By connecting the USB 2.0/1.1 bus interface, you can down oad/ up oad media fi es
between PC and the memory card. With the portab e MPL020-S, you can p ay the shows
on TV or any big screen for advertising, presentations, training, and other media
app ications.
2. INTRODUCTION
1. PACKAGE CONTENT
2
Supports mu tip e fi e formats:Music, Picture and Movie.
Supports CF, SD, MMC and MS (Pro) memory card.
Supports Video, S-Video, VGA (640x480) and Audio output.
Supports USB 2.0/ 1.1 interface.
Supports Laser Scanner and PIR Sensor connectors (optiona ).
Supports NTSC and PAL format.
Inc udes a fu -function infrared remote contro .
Mu ti-Language OSD:Eng ish, French, German, Ita ian, Portuguese, Spanish,
Nether ands, Japanese and Chinese.
Supports SLIDE SHOW Function: With 14 kinds of transition effects.
Supports SLIDE TIME (INTERVAL) Mode:Interva time with 1, 3, 5, 10, 30, 60
seconds.
Supports MUSIC SLIDE Show:Music and pictures p ay at the same time.
Supports ZOOM IN (ON) 4x & PAN, ROTATE, MIRROR, PREVIEW and REPEAT.
4. HARDWARE OVERVIEW
3
. FEATURES

3
1
2
3
4
5
6
7
8
9
10
11
12
13
14
15
16
17
18
19
20
21
22
23
24
25
26
Power on/ off
Mute sound
Open the setup menu
Memory card se ection
Show information of the fi e se ected
Timer Setup (on y for timer function)
Vo ume up/ down
Move the cursor
Confirm the se ection/ entry
Go to the previous/ next page or image
Disp ay a photo fi es
Disp ay a music fi es
Disp ay a movie fi es
Go to fi e ibrary (a fi es)
Pause/ resume p ayback
Stop p ayback
P ay the se ected fi e
Se ect the repeat mode
Rewind/ forward movies
View the previous/ next fi e
P ay the previous/ next fi e if in p ayback
Set the s ideshow interva to 1, 3, 5, 10,
30, 60 seconds
Set the transition effect
Rotate photo 90 degrees c ockwise on
the screen
P ay music and pictures at the same time
Zoom in the image up to 4x
magnification
Mirror the image horizonta y
Se ect the output mode
5. REMOTE CONTROL
4
Press the “SETUP” button on the remote contro to
open the “SETUP MENU – MAIN PAGE” shown in the
fo owing figure. There are five groups of sub-menu
in the setup menu.
Use the “▲、▼、
▲
、
▼
” buttons to se ect an item
or to adjust va ues, and use the “ENTER” button to
go into the function or to confirm the command.
6.1 SLIDE SETUP
T UMBNAIL DIGEST:
::
:Thumbnai s oad faster and
a ow you to browse photos easi y.
6.2 MUSIC SETUP
REPEAT MODE
• ONE:
::
:Repeat the se ected song.
• ALL:
::
:Repeat a the songs on the memory card.
• OFF:
::
:Turn off the repeat function.
6.3 MOVIE SETUP
REPEAT MODE
• ONE:
::
:Repeat the se ected movie.
• OFF:
::
:Turn off the repeat function.
• ALL:
::
:P ays a the movies on the memory card.
6. SETTING UP

5
6.4 SLIDESHOW SETUP
SLIDES OW MODE:
::
:Set the s ideshow to start automatica y.
FOLDER REPEAT:
::
:Set a fi es (picture, music or
movie) in the fo der to show on y once or
continuous y ( oop).
INTERVAL TIME:
::
:Set the time each photo is
shown to 1, 3, 5, 10, 30 or 60 seconds.
TRANSITION (EFFECT):
::
:Set the transition effect
and auto s ide with sequentia or random p ayback.
TIME MESSAGE (only for timer function):
::
:Set the time message is shown on the
screen.
AUTO START:
::
:Enab e/ disab e auto p aying media fi es on the memory card when the
device is turned on.
6.5 PREFERENCE
OSD LANG: Se ect the OSD anguage (ENGLISH, FRENCH, GERMAN, ITALIAN,
JAPANESE, PORTUGUESE, SPANISH and NEDERLANDS).
OSD MESSAGE: Turn the OSD message function on/ off.
RESET: Reset a settings to the origina (factory)
settings.
FIRMWARE : New F/W can upgraded from the
memory card.
• EDITION : Show the F/W versions.
• UPDATE : Used to update the F/W.
6
Copy fi es (music, picture and movie) to the memory card first.
7.1 PLAY PICTURE FILE
Step 1: Press the “SLIDE” button on the remote contro from any menu.
Step 2: The preview mode wi show a the picture fi es on the memory card.
Use the “▲、▼、
▲
、
▼
” buttons to se ect the picture fi e, and press the “ENTER”
button to p ay the picture fi e.
Step 3: If the “SLIDESHOW MODE” is disab ed, press the “NEXT” button to p ay the next
picture fi e, the “PREV” button to p ay the previous fi e.
7. USING THE
MPL020

7
7.2 PLAY MUSIC FILE
Step 1: Press the “MUSIC” button on the remote contro from any menu.
Step 2: The “MUSIC LIBRARY” wi show a the music fi es on the memory card.
Use the “▲、▼” buttons to se ect the music fi e, and press the “ENTER”
button to p ay the music fi e.
Step 3: Press the “NEXT” button to p ay the next music fi e, the “PREV” button to p ay the
previous fi e.
8
7.3 PLAY MOVIE FILE
Step 1: Press the “MOVIE” button on the remote contro from any menu.
Step 2: The preview mode wi show a the video fi es on the memory card.
Use the “▲、▼、
▲
、
▼
” buttons to se ect the movie fi e, and press the “ENTER”
button to p ay the movie fi e.
Step 3:
::
:Press the “NEXT” button to p ay the next movie fi e, the “PREV” button to p ay the
previous fi e.

9
7.4 FILE LIBRARY
Step 1:
::
:Press the “FILE” button on the remote contro from any menu.
Step 2:
::
:You can see a the fi es (inc uding picture, music and movie) on the eft pane of the
“FILE LIBRARY”. Press the “▲、▼” buttons to se ect a fi e, and the information of the fi e wi
be shown on the right pane .
7.5 HOT KEY
You can use the “S-TIME”, “S-MODE” or “S-MUSIC” hot key on the remote contro without
se ecting from the “Setup Menu”. (These functions are on y used for p aying picture fi es.)
S-TIME:
::
:Interva time with 1, 3, 5,10, 30, 60 seconds.
S-MODE:
::
:With sequentia , random auto s ide shows etc 14 kind of se ections
S-MUSIC:
::
:P ay the picture and music fi es at the same time.
10
Situation Check Point
No Picture
1. Check if the power supp y is connected.
2. Make sure the MPL020S is turned on.
No response from
the remote
control
1. Make sure there is a c ear view between the remote
contro and the device.
2. Change the remote contro ’s batteries.
Memory card
1. Push cards gent y and secure y.
2. If the card does not insert easi y, check the direction.
3. Confirm format of the card.
MPL020 supports CF, SD, MMC and MS (Pro) memory card.
No sound
1. Check if the mute function is on.
2. Check if the vo ume is turned up.
. TROUBLESHOOTING
Table of contents
Other TBM Media Player manuals

