www.tdt.com
To return to the Main Configuration screen:
• Swipe three fingers across the screen in any
direction.
Waveform Preview. Incoming signals can be previewed
on the front display. To preview the data:
• Touch the Preview icon on the desired
logical amplifier.
• The screen view can be adjusted using
touchscreen options.
1/4 1/4
1/4
3/4
center
view
dierent
channels
change
me scale
change y-scale view
more/
fewer
channels
To test the impedance of your hardware set-up:
• Touch the icon on the desired logical
amplifier to display the Impedance Checking
screen. Swipe vertically on the interface to scroll.
Settings include:
Target. Impedance values above the target will be red,
values <75% below the target will be green and all other
values will be yellow.
Frequency. Choose the probing frequency.
Probing. Select the pins to measure. Available options
depend on the logical amp referencing mode.
Ref, GND, and AltRef values displayed on top row.
Differential: Inp[+] the positive input channels
Inp[-] the differential channels
Local: Input all input channels
Ref the reference impedance to ground
AltRef the alternative reference
Shared: Input all input channels
Ref the reference channel
Gnd the ground impedance
None: Input the input channels
Sort. Display channels with the largest variation from
the target impedance at the top of the screen.
Auto. Cycle through probing options each second.
Next. Advance to the next probing option set.
AmpType{ Amp#)
Amp#: Amp Type y-scale time-scale
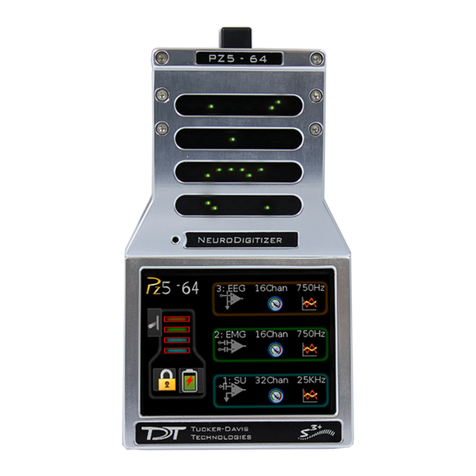
Power Status LEDs. The row of small LEDs to the
right of the battery power button report power type
and level.
The leftmost LED indicates whether the device is:
Running on mains power green
Running on battery power red
The four LEDs on the right end of the row indicate the
power level of the battery.
Power Level # of LED’s Lit
Fully charged 4
Not fully charged 3-2
Critically low, charge immediately 1
Note: The Power Switch on the back of the PZ5M must be in the ON position for the battery to charge.
