manuals.online logo
Brands
  1. Home
  2. •
  3. Brands
  4. •
  5. TECHLIGHTING
  6. •
  7. Outdoor Light
  8. •
  9. TECHLIGHTING Vex Outdoor Wall User manual

TECHLIGHTING Vex Outdoor Wall User manual

1.0
Installation Instructions for
Vex Outdoor Wall
700 X_-OWVE LED
1
920OWVEX
OUTDOOR
1A
Slide the cover off of the fixture.
COVER
FIXTURE
CAUTION RISK OF FIRE-
This product must be installed in accordance with
the applicable installation code by a person familiar
with the construction and operation of the product
and the hazards involved.
Use minimum 90°c supply conductors.
GP I :ENERAL RODUCT NFORMATION
These fixtures are intended to be installed
utilizing compliant junction boxes.NEC
This product may be dimmed with a low-voltage electronic
dimmer or a 0-10V dimmer depending on the wiring
configuration.
Suitable for wet locations.
1B
3
2Unscrew and remove the knurled nuts.
Remove the mounting plate from the back of the
fixture.
MOUNTING
PLATE
KNURLED NUT
2
1
Install the Fixture
6
7
Connect the white fixture wire to the neutral power line
wire with a wire nut.
Connect the black fixture wire to the hot power line
wire with a wire nut.
Connect the fixture to a suitable ground in accordance
local electrical codes.
7
6
1C
ELECTRICAL BOX
Align the two mounting studs horizontally and mount
the mounting plate to the electrical box with the two
#8-32 screws provided.
4
THREADED STUD
#8-32 SCREW
#8-32 SCREW
THREADED STUD
1D
5
5
Neatly tuck all wires and wire nut connections into the
electrical box, mount the fixture onto the threaded
studs, and secure it in place by screwing the knurled
nuts onto the studs.
1E
8
KNURLED NUT
THREADED STUD
2
1F
9For wet locations, caulk around the base with
waterproof construction sealant.
3
1G
COVER
10 Install the cover by sliding it back onto the fixture
making sure the lips of the cover are behind the driver
housing.
Secure the cover in place by tightening the set screws
with the provided Allen wrench.
11
10
DRIVER
HOUSING
SET SCREW
ALLEN
WRENCH
11
11
NOTE: Make sure the sealant is dry before
reinstalling the cover.
LIP
The angle markers can be adjusted independently. Open
and close the angle markers on the top and bottom of
the fixture to the desired beam angle.
Tighten the set screws on the sides of the angle markers
with the provided Allen wrench to lock them in place.
Adjust the Fixture
2A
1
ANGLE MARKERS
2
ALLEN
WRENCH
& SET SCREW
1 1
2
4
SAVE THESE INSTRUCTIONS!
7400 Linder Ave, Skokie, 60077IL
847.410.4400
www.techlighting.com
© 2017 Tech Lighting, L.L.C. All rights reserved. The "Tech Lighting" graphic is
a registered trademark of Tech Lighting, L.L.C. Tech Lighting reserves the right
to change specifications for product improvements without notification.
A Generation Brands Company

Other TECHLIGHTING Outdoor Light manuals
TECHLIGHTING Voto Pathway User manual

TECHLIGHTING

TECHLIGHTING Voto Pathway User manual
TECHLIGHTING 700OWAST Series User manual

TECHLIGHTING

TECHLIGHTING 700OWAST Series User manual

TECHLIGHTING Ikon 700OSIKN92730 User manual
TECHLIGHTING

TECHLIGHTING Ikon 700OSIKN92730 User manual

TECHLIGHTING Revel Pathway User manual
TECHLIGHTING

TECHLIGHTING Revel Pathway User manual

TECHLIGHTING TURBO Service manual

TECHLIGHTING

TECHLIGHTING TURBO Service manual
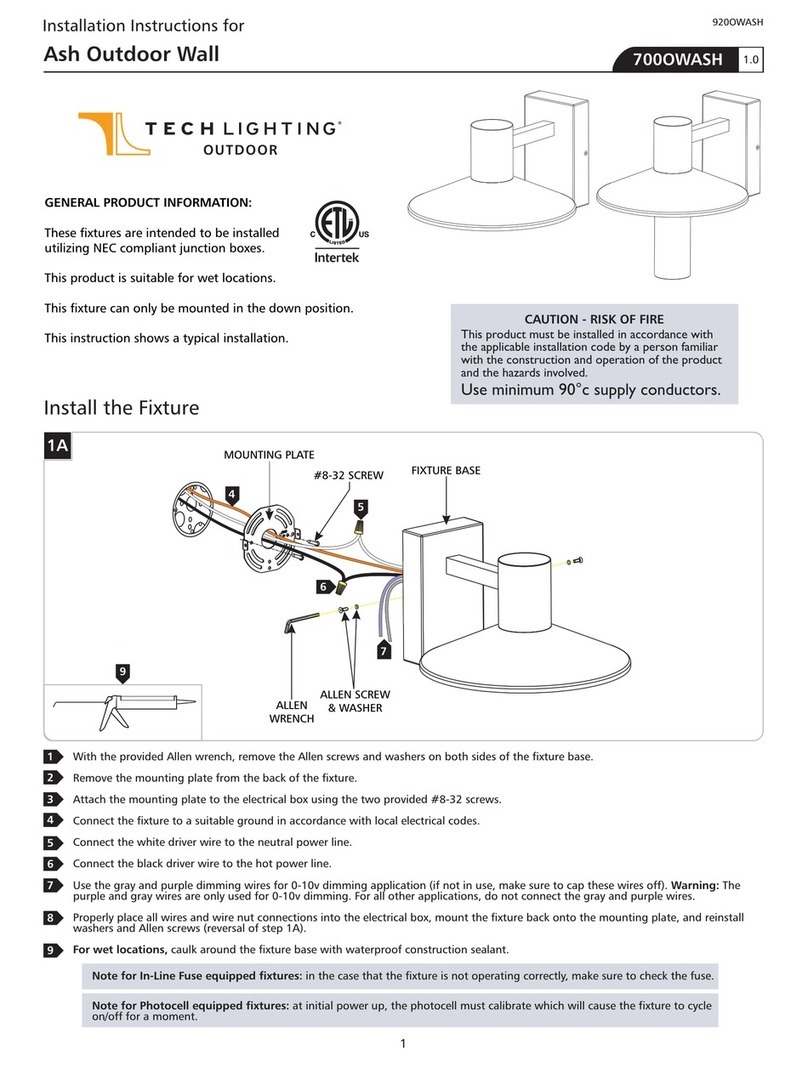
TECHLIGHTING 700OWASH User manual

TECHLIGHTING

TECHLIGHTING 700OWASH User manual
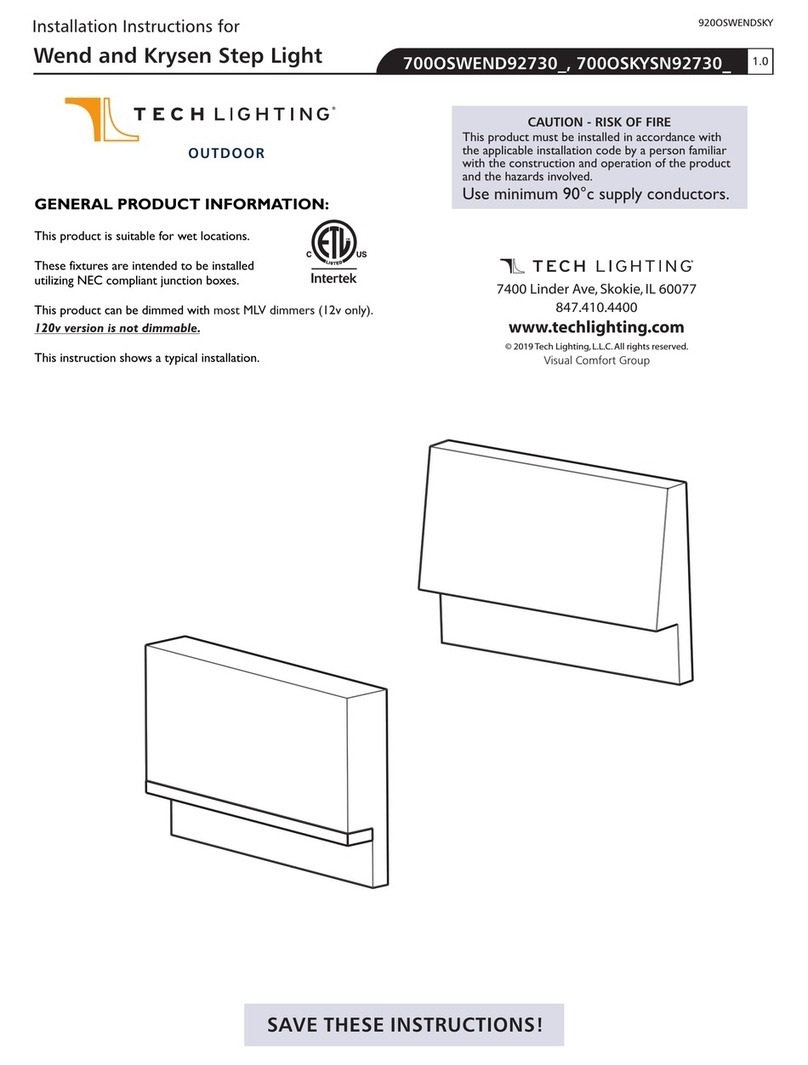
TECHLIGHTING Wend 700OSWEND92730 Series User manual
TECHLIGHTING

TECHLIGHTING Wend 700OSWEND92730 Series User manual

TECHLIGHTING 700OCTUR User manual

TECHLIGHTING

TECHLIGHTING 700OCTUR User manual

Popular Outdoor Light manuals by other brands
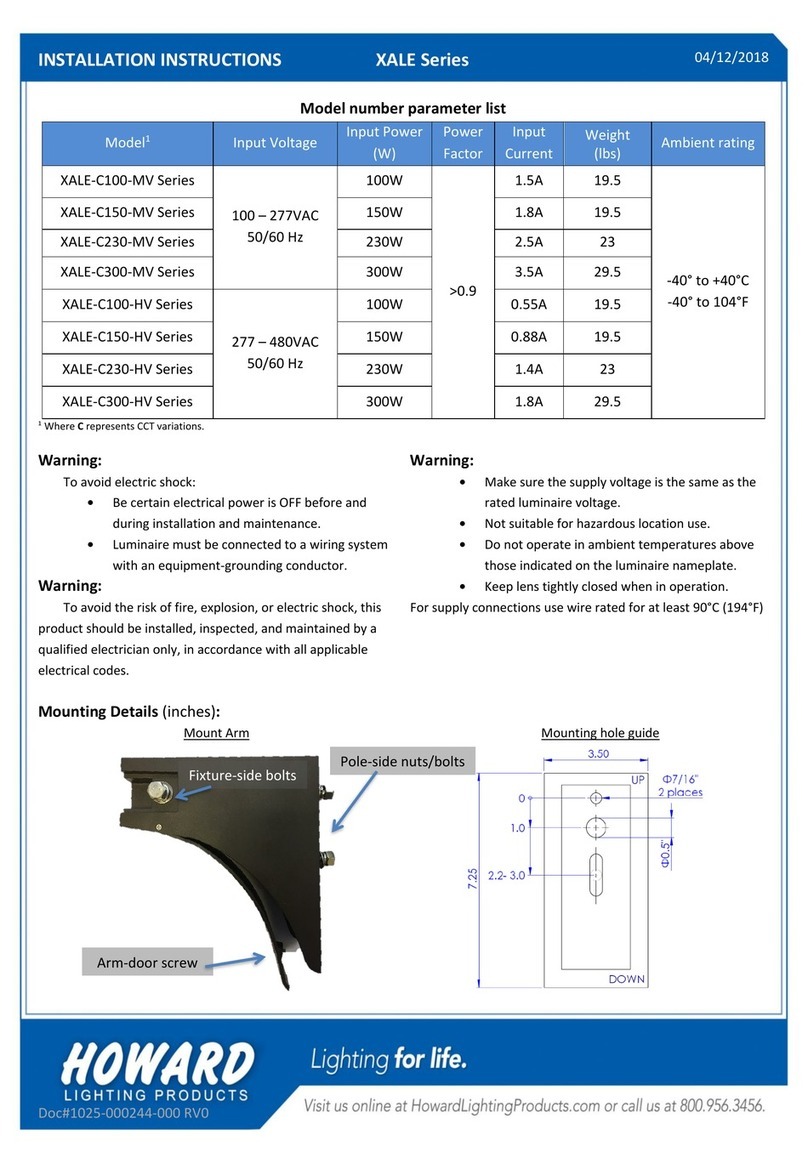
Howard XALE-C300-HV Series Installation instructions manual
Howard

Howard XALE-C300-HV Series Installation instructions manual

LIGMAN BIU-90054 installation manual

LIGMAN

LIGMAN BIU-90054 installation manual
BGS technic 85345 instruction manual

BGS technic

BGS technic 85345 instruction manual

OttLite K94CP3 quick start guide

OttLite

OttLite K94CP3 quick start guide

marset LaFlaca Assembly instructions

marset

marset LaFlaca Assembly instructions
Gainsborough Pk2 Bronze Flame H240 Instructions for use

Gainsborough

Gainsborough Pk2 Bronze Flame H240 Instructions for use

BEGA 22 228 Installation and technical information

BEGA

BEGA 22 228 Installation and technical information

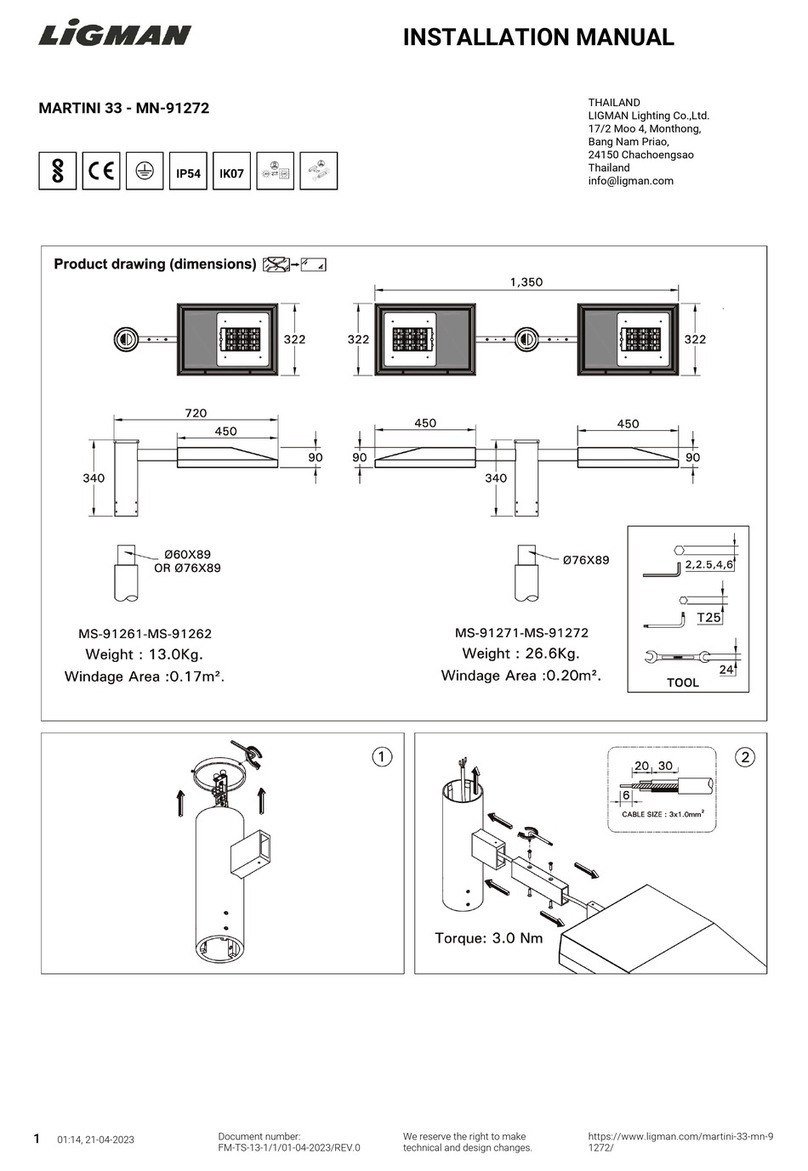
LIGMAN MN-91272 installation manual

LIGMAN

LIGMAN MN-91272 installation manual

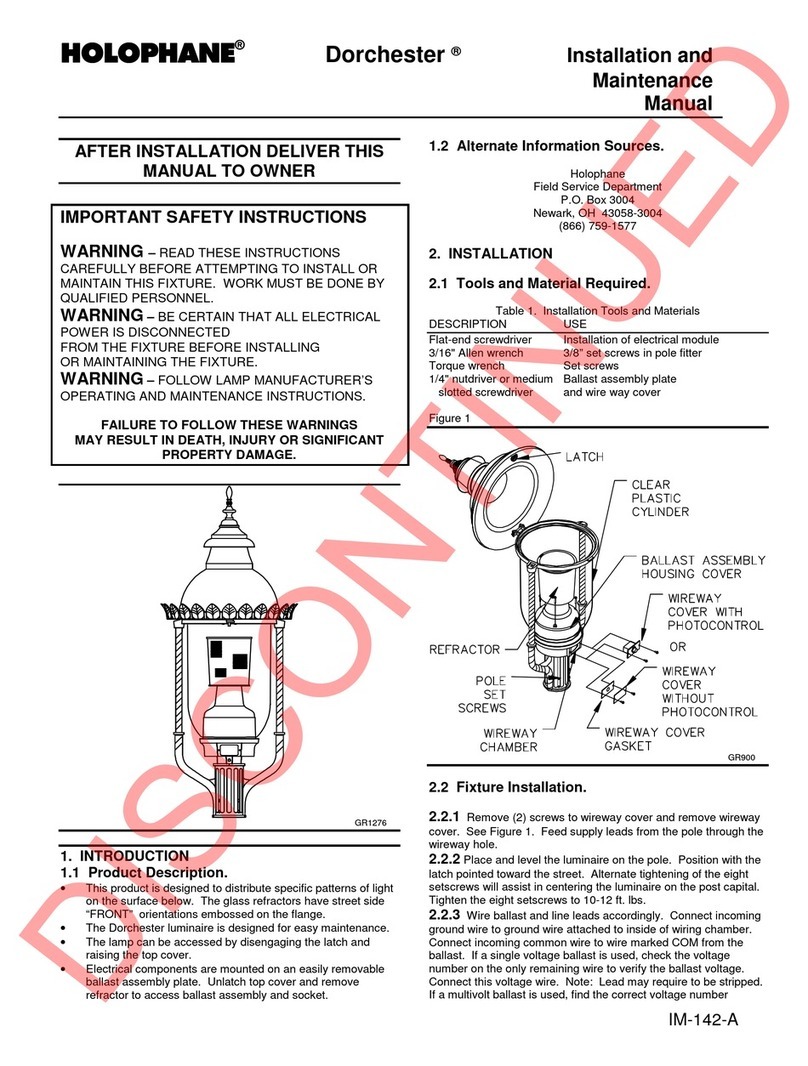
HOLOPHANE Dorchester Installation and maintenance instructions

HOLOPHANE

HOLOPHANE Dorchester Installation and maintenance instructions

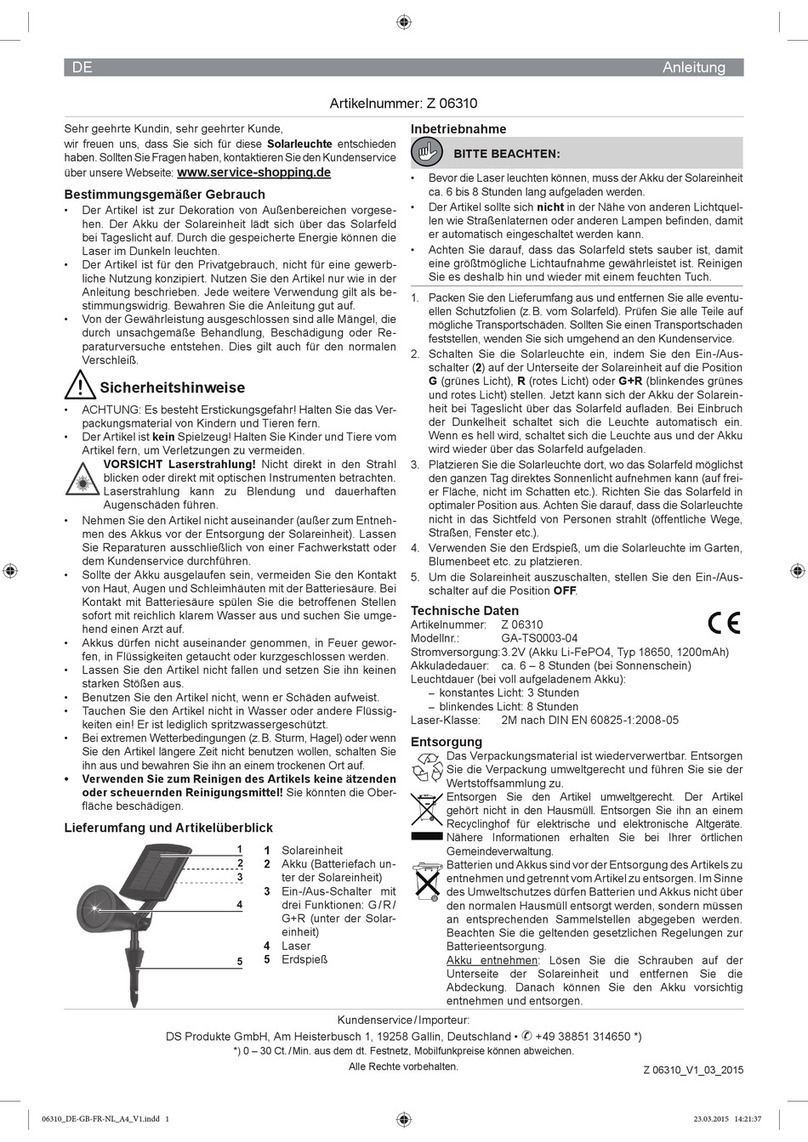
DS Produkte GA-TS0003-04 instructions

DS Produkte

DS Produkte GA-TS0003-04 instructions

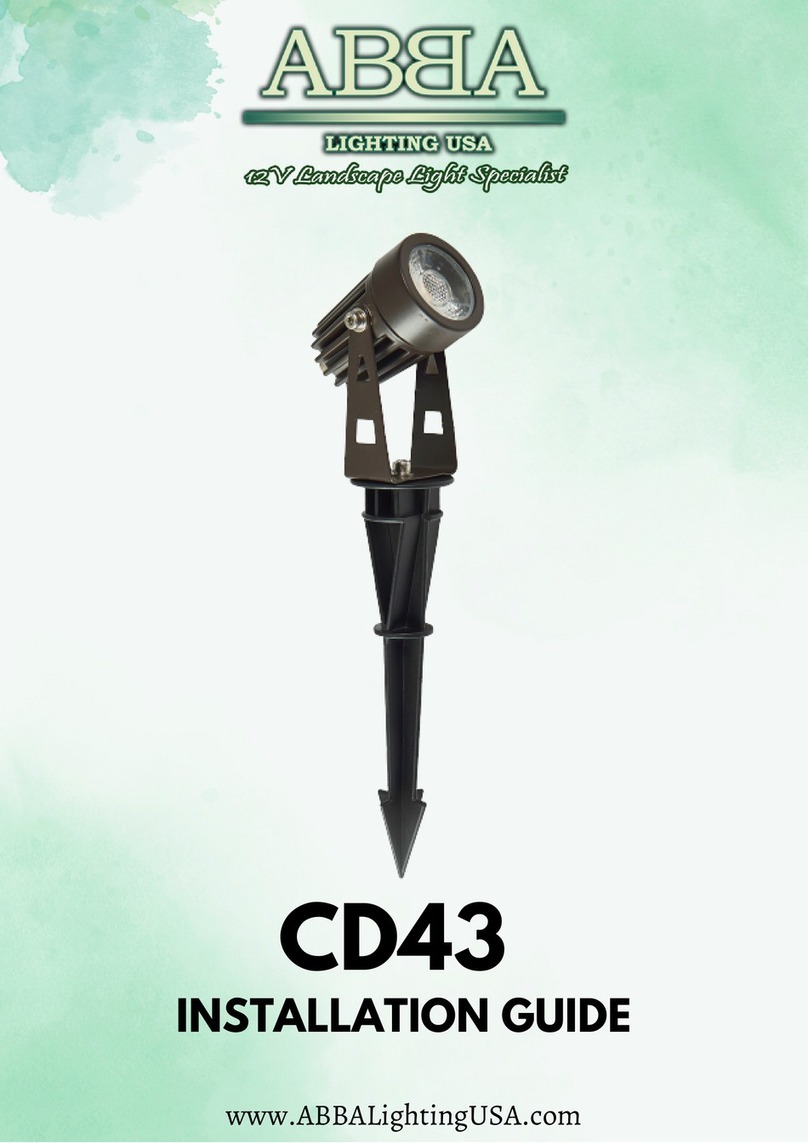
ABBA CD43 installation guide

ABBA

ABBA CD43 installation guide

IKEA ISNALEN manual

IKEA

IKEA ISNALEN manual

LIGMAN GA-31913 installation manual

LIGMAN

LIGMAN GA-31913 installation manual

Thorn THOR BOLLARD Series installation instructions

Thorn

Thorn THOR BOLLARD Series installation instructions

ETI 54466101 Use and care guide

ETI

ETI 54466101 Use and care guide

Link LOON CHILL LITE manual

Link

Link LOON CHILL LITE manual

LIGMAN SAT-90012 installation manual

LIGMAN

LIGMAN SAT-90012 installation manual

JONATHAN Y JYL4032A quick start guide

JONATHAN Y

JONATHAN Y JYL4032A quick start guide

manuals.online logo
manuals.online logoBrands
  • About & Mission
  • Contact us
  • Privacy Policy
  • Terms and Conditions

Copyright 2025 Manuals.Online. All Rights Reserved.