manuals.online logo
Brands
  1. Home
  2. •
  3. Brands
  4. •
  5. TECHLIGHTING
  6. •
  7. Outdoor Light
  8. •
  9. TECHLIGHTING 700OCTUR User manual

TECHLIGHTING 700OCTUR User manual

1.0
Installation Instructions for
Turbo Column
1
920OCTURBO
GP I :ENERAL RODUCT NFORMATION
This product is suitable for wet locations.
Refer to the product specsheet for dimming information.
ALLEN
WRENCH
1BASE PLATE
SET SCREW
1A
Loosen the four set screws on(Do Not Remove)
column base with the provided Allen wrench and
remove the base plate.
1
CAUTION RISK OF FIRE-
This product must be installed in accordance with
the applicable installation code by a person familiar
with the construction and operation of the product
and the hazards involved.
Use minimum 90°c supply conductors.
OUTDOOR
Install the Column
2
3
Bring the power wires to the fixture location in
accordance with local electrical codes.
Mount the base plate to an even and smooth surface
using the provided template on page 3.
NOTE: anchor/lag bolts, nuts, and washers not
provided.
1B
2
33
1C
Align the tab on the column top to the slot in the
column base, insert the fixture wires into the column
base, and assemble them together.
Secure them together by installing the Allen bolts and
washers with the provided Allen wrench.
4
COLUMN TOP TAB
COLUMN BOTTOM SLOT
ALLEN BOLT
& WASHERS
ALLEN WRENCH
5
4
1D
ALLEN
WRENCH
SET SCREW
6Carefully install the column assembly onto the base
plate and secure it in place by tightening all 4 set
screws.
1.5
700OCTUR_
5
2
4
5
Connect the red and black wires from the column top
respectively to the red and black wires in the column
base by inserting them into an open port in wire
connectors. Close the levers to lock the wires in place.
Connect the fixture to a suitable ground in accordance
with local electrical codes.
Connect the neutral power line wire to terminal block
connected to the white wires.
Connect the hot power line wire to terminal block
connected to the black wires.
Use the gray and purple dimming wires for 0-10v
dimming application (if not in use, make sure to cap
these wires off).
Reinstall the access panel (reversal of section 2A).
6
7
Warning: The purple and gray wires are only used for 0-
10v dimming. For all other applications, do not connect
the gray and purple wires.
8
2A
Loosen the access panel set screw on(Do Not Remove)
column base with the provided Allen wrench.
Pull away the top of the access panel and lift it
completely out the column base.
Power the fixture using the following steps or wiring
diagrams according to the options included with the
fixture.
1
2
Wire the Column
5
67
8
4
4
2B
9
For Standard options, go to step 2B.
For Photocell/Surge options, go to step 2C.
For In-line Fuse/Surge options, go to step 2D.
For Photocell/In-line Fuse/Surge options, go to step 2D.
3
9Use the gray and purple dimming wires for 0-10v dimming application (if not in use, make sure to cap these wires off).
Reinstall the access panel (reversal of section 2A).
10
2C
3
11 Use the gray and purple dimming wires for 0-10v dimming application (if not in use, make sure to cap these wires off).
Reinstall the access panel (reversal of section 2A).
12
2D
Note for In-Line Fuse equipped fixtures: in the case that the fixture is not operating correctly, make sure to check the fuse.
12 Use the gray and purple dimming wires for 0-10v dimming application (if not in use, make sure to cap these wires off).
Reinstall the access panel (reversal of section 2A).
13
2E
Note for In-Line Fuse equipped fixtures: in the case that the fixture is not operating correctly, make sure to check the fuse.
Note for Photocell equipped fixtures: at initial power up, the photocell must calibrate which will cause the fixture to cycle
on/off for a moment.
Note for Photocell equipped fixtures: at initial power up, the photocell must calibrate which will cause the fixture to cycle
on/off for a moment.
7400 Linder Ave, Skokie, IL 60077
847.410.4400
www.techlighting.com
© 2018 Tech Lighting, L.L.C. All rights reserved. The "Tech Lighting" graphic is
a registered trademark of Tech Lighting, L.L.C. Tech Lighting reserves the right
to change specifications for product improvements without notification.
A Generation Brands Company
SAVE THESE INSTRUCTIONS!
4
TURBO COLUMN MOUNTING PLATE TEMPLATE
WARNING: If printing this template, ensure printer settings are set to actual size.

Other TECHLIGHTING Outdoor Light manuals
TECHLIGHTING Wend 700OSWEND92730 Series User manual
TECHLIGHTING

TECHLIGHTING Wend 700OSWEND92730 Series User manual

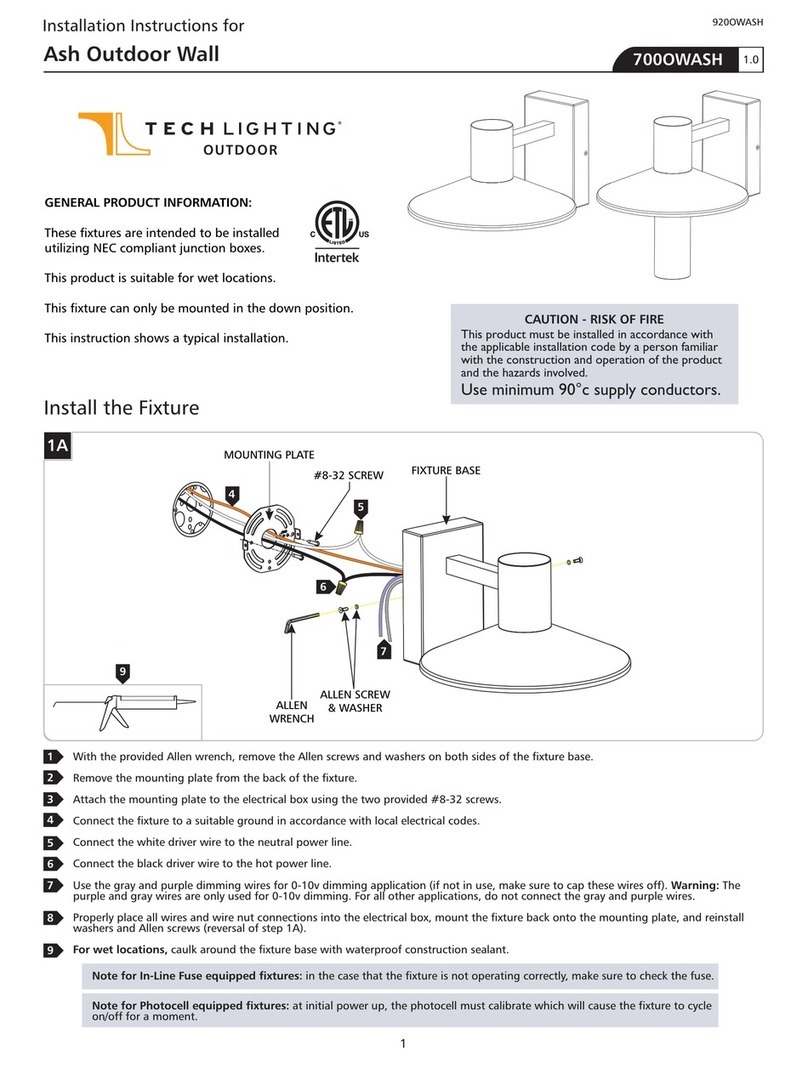
TECHLIGHTING 700OWAST Series User manual
TECHLIGHTING

TECHLIGHTING 700OWAST Series User manual

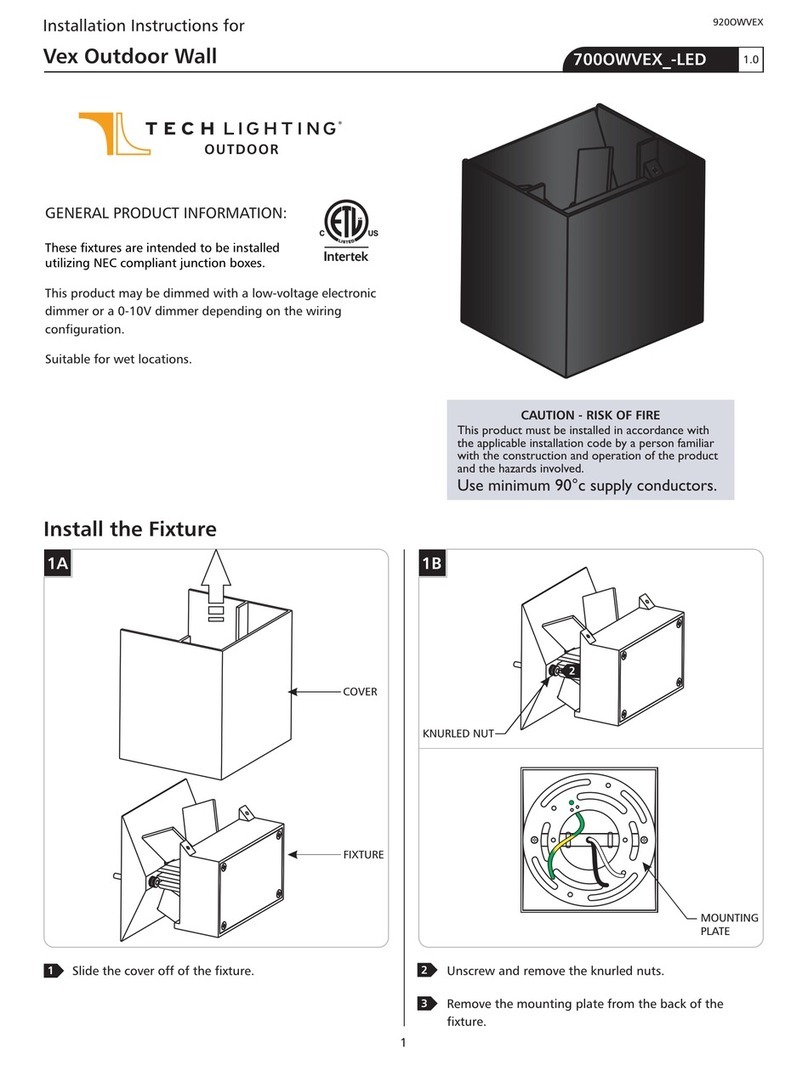
TECHLIGHTING 700OWASH User manual

TECHLIGHTING

TECHLIGHTING 700OWASH User manual
TECHLIGHTING Vex Outdoor Wall User manual

TECHLIGHTING

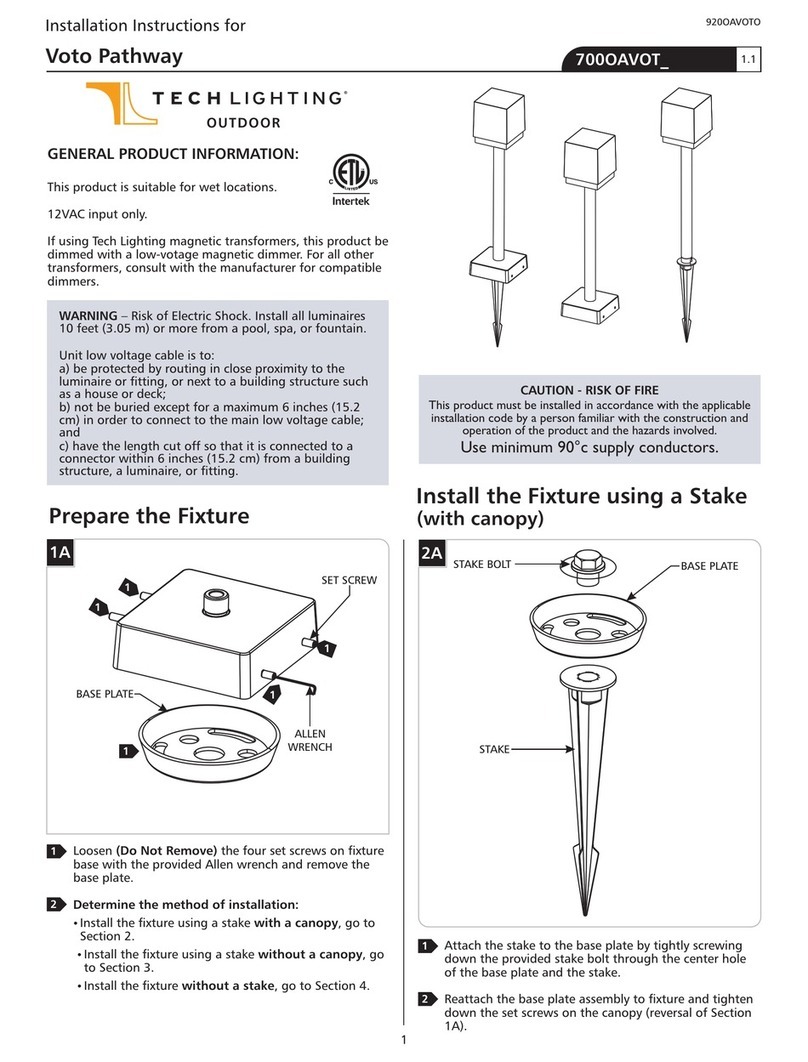
TECHLIGHTING Vex Outdoor Wall User manual

TECHLIGHTING Ikon 700OSIKN92730 User manual
TECHLIGHTING

TECHLIGHTING Ikon 700OSIKN92730 User manual

TECHLIGHTING Voto Pathway User manual

TECHLIGHTING

TECHLIGHTING Voto Pathway User manual
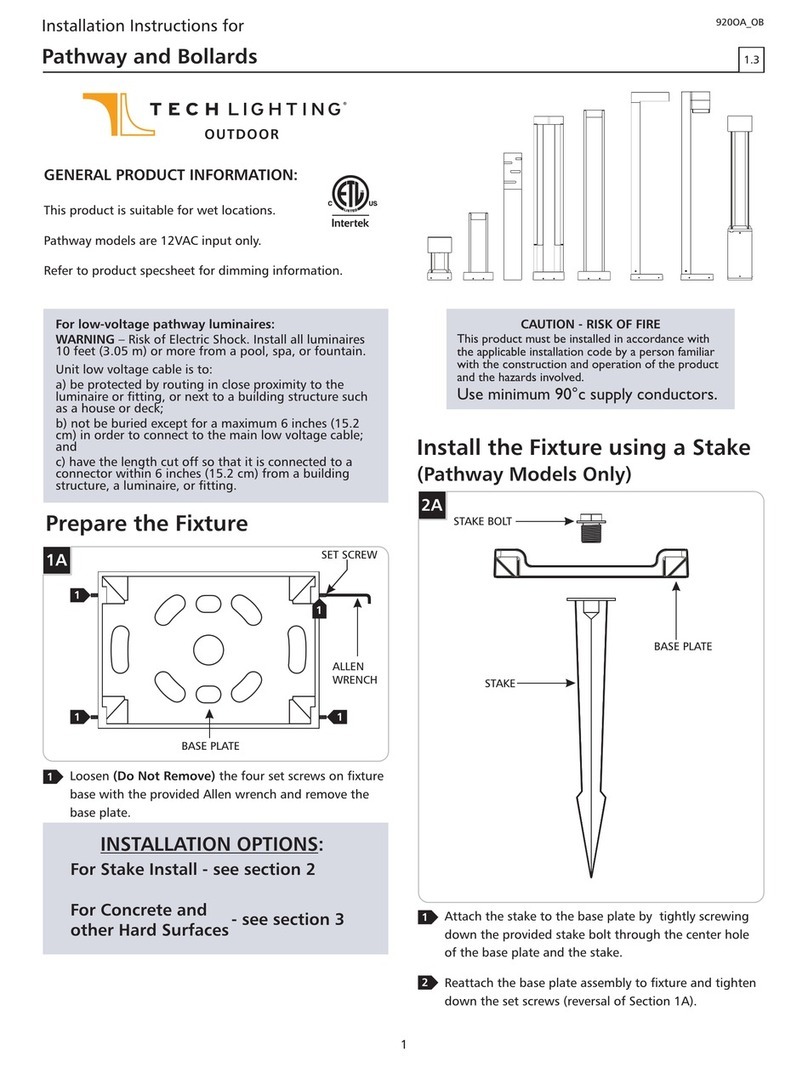
TECHLIGHTING Revel Pathway User manual
TECHLIGHTING

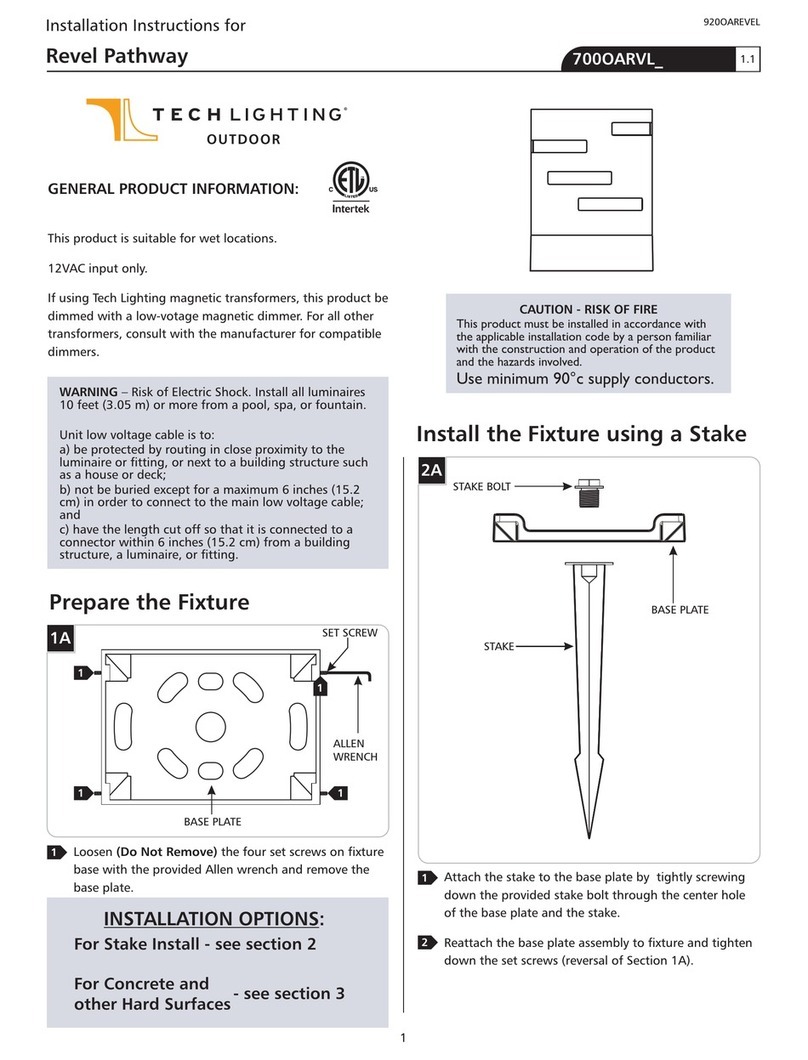
TECHLIGHTING Revel Pathway User manual

TECHLIGHTING TURBO Service manual

TECHLIGHTING

TECHLIGHTING TURBO Service manual

Popular Outdoor Light manuals by other brands
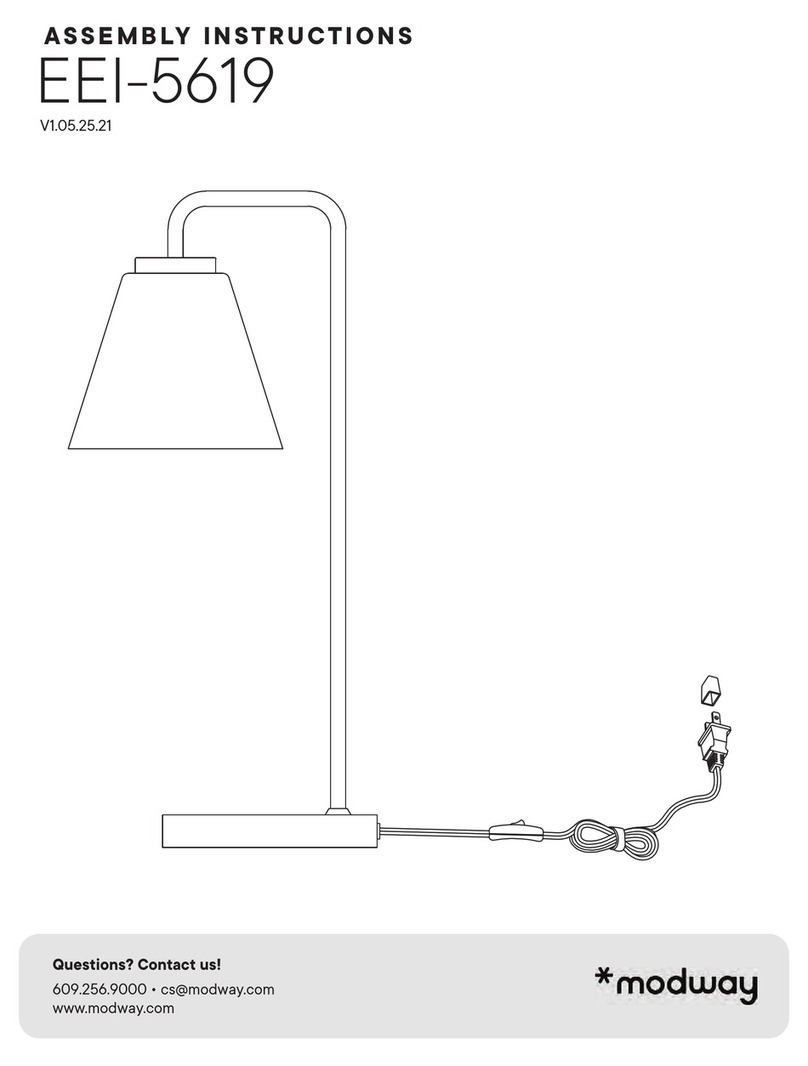
modway Element EEI-5619 Assembly instructions
modway

modway Element EEI-5619 Assembly instructions

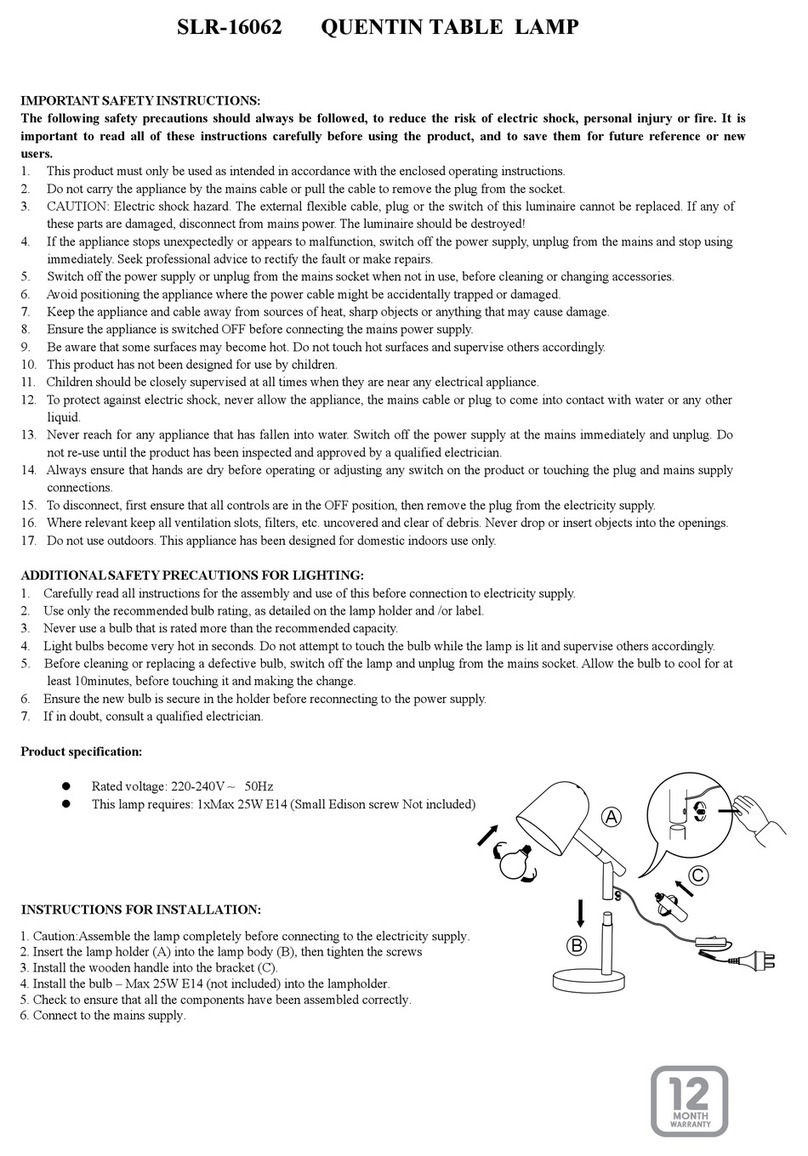
KMART SLR-16062 quick start guide

KMART

KMART SLR-16062 quick start guide

WE-EF MRY224 Installation and maintenance instructions

WE-EF

WE-EF MRY224 Installation and maintenance instructions

bover FORA APLIQUE Assembly instructions

bover

bover FORA APLIQUE Assembly instructions

Urban Electric BALFOUR Assembly and mounting instructions

Urban Electric

Urban Electric BALFOUR Assembly and mounting instructions

Faro Barcelona BOLETUS instructions

Faro Barcelona

Faro Barcelona BOLETUS instructions

Home Decorators Collection 516-735 instruction manual
Home Decorators Collection

Home Decorators Collection 516-735 instruction manual

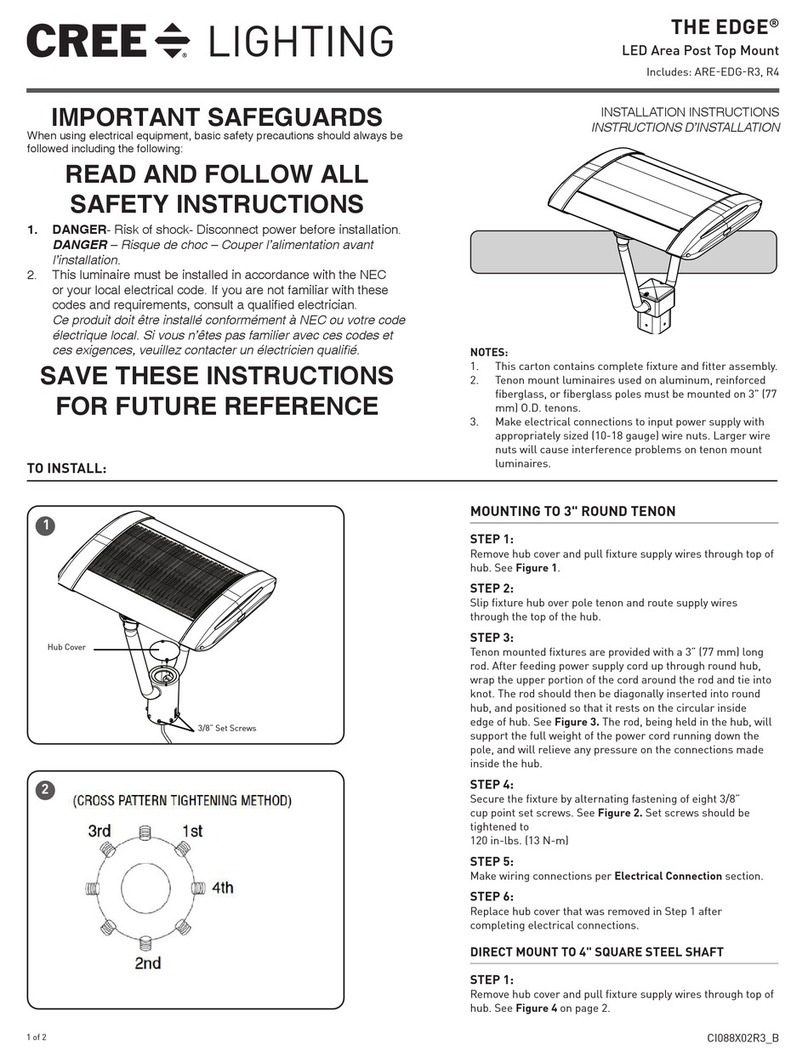
CREE LIGHTING EDGE ARE-EDG-R3 installation instructions
CREE LIGHTING

CREE LIGHTING EDGE ARE-EDG-R3 installation instructions

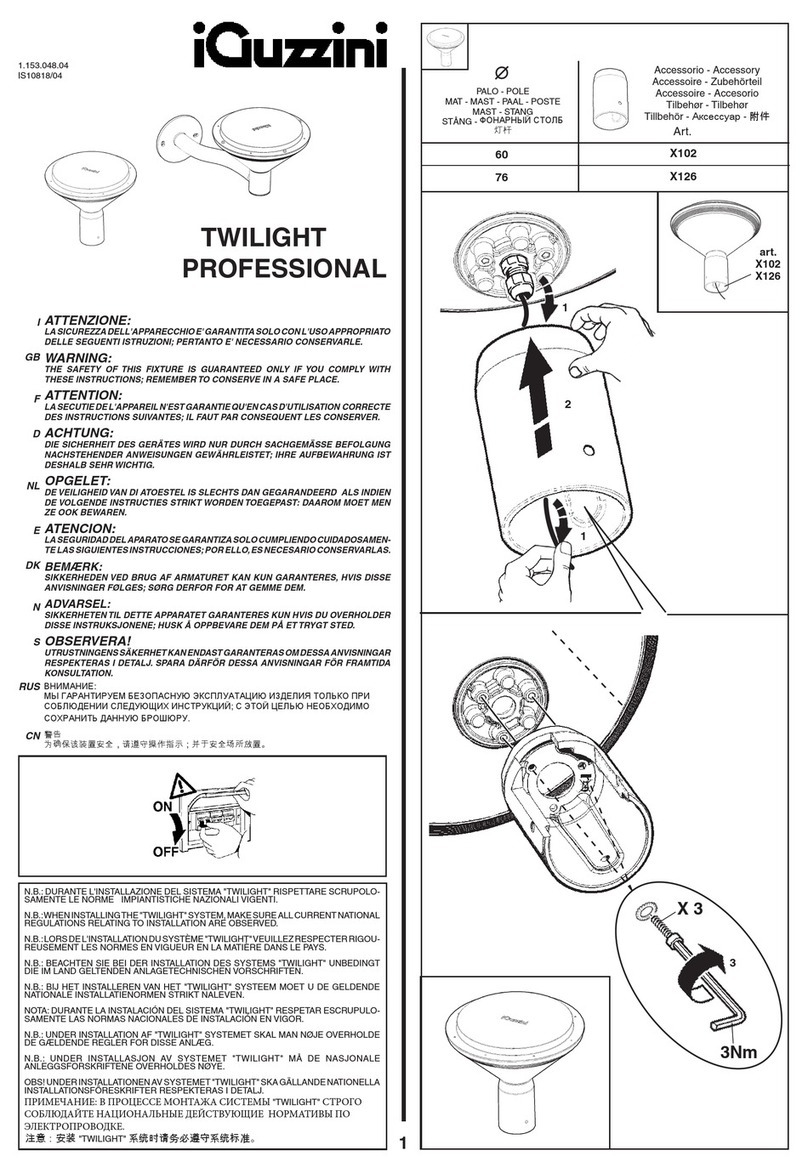
iGuzzini TWILIGHT PROFESSIONAL manual

iGuzzini

iGuzzini TWILIGHT PROFESSIONAL manual
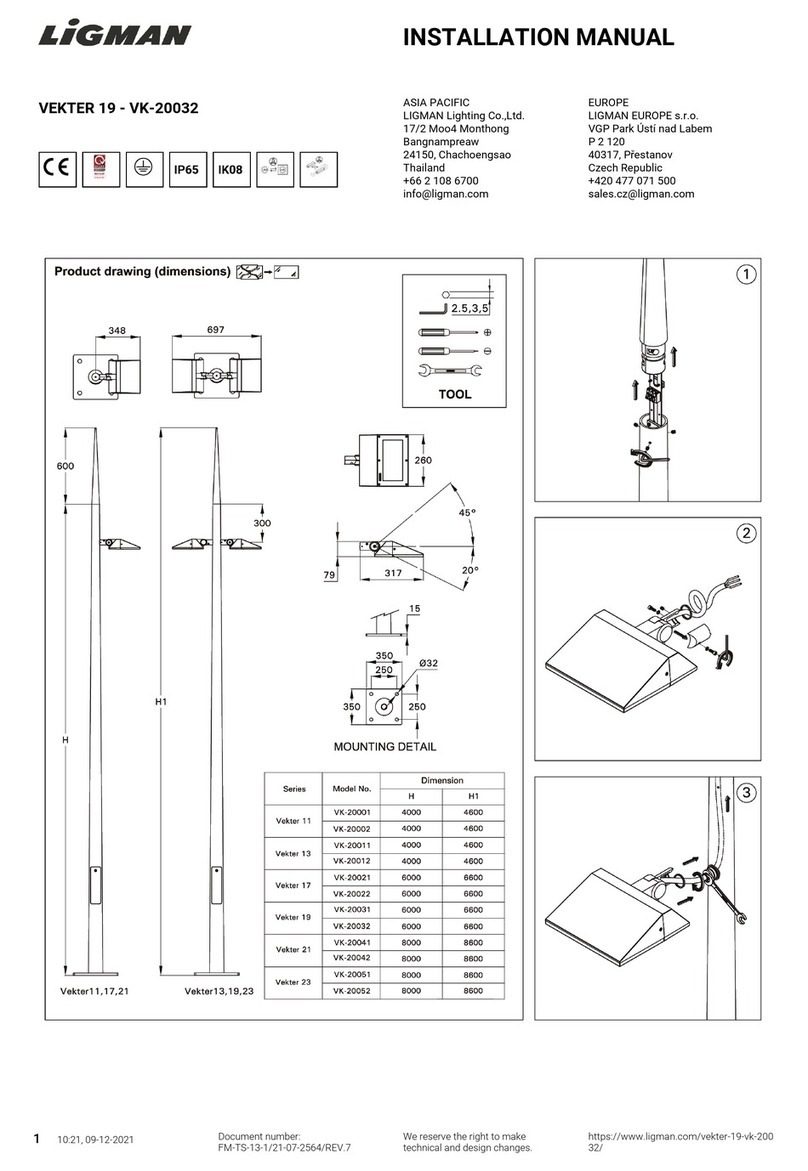
LIGMAN VEKTER 19 installation manual

LIGMAN

LIGMAN VEKTER 19 installation manual
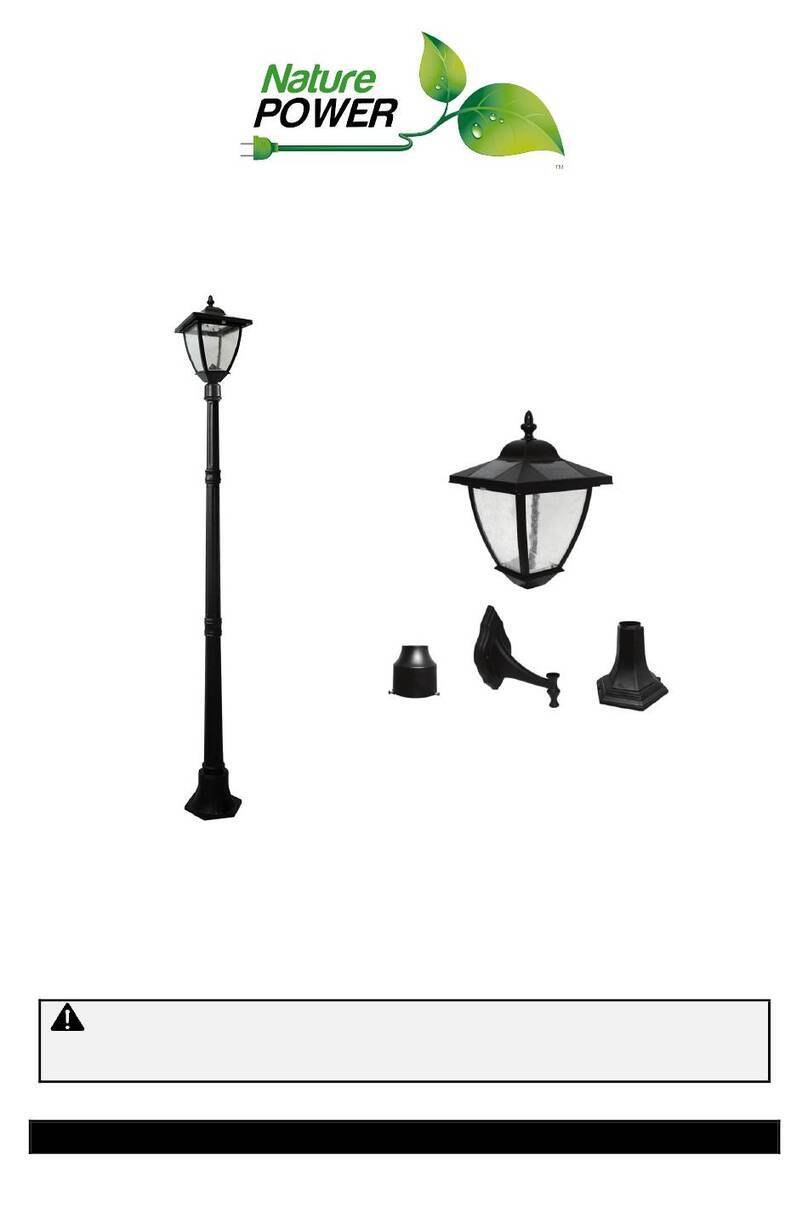
Nature Power BAYPORT 23106 user manual

Nature Power

Nature Power BAYPORT 23106 user manual

Carrier CRNEMAFX001A00 installation instructions

Carrier

Carrier CRNEMAFX001A00 installation instructions

LIGMAN SA-31553 installation manual

LIGMAN

LIGMAN SA-31553 installation manual

LED Lighting GA-12S manual

LED Lighting

LED Lighting GA-12S manual

Vista 5290 installation instructions

Vista

Vista 5290 installation instructions

Daintree GE current EAL Series installation guide

Daintree

Daintree GE current EAL Series installation guide

VIBIA Swing Assembly instructions

VIBIA

VIBIA Swing Assembly instructions

American Gas Lamp 1700 manual

American Gas Lamp

American Gas Lamp 1700 manual

manuals.online logo
manuals.online logoBrands
  • About & Mission
  • Contact us
  • Privacy Policy
  • Terms and Conditions

Copyright 2025 Manuals.Online. All Rights Reserved.