manuals.online logo
Brands
  1. Home
  2. •
  3. Brands
  4. •
  5. TECHLIGHTING
  6. •
  7. Outdoor Light
  8. •
  9. TECHLIGHTING TURBO Service manual

TECHLIGHTING TURBO Service manual

1.3
Installation Instructions for
Pathway and Bollards
920OA_OB
GP I :ENERAL RODUCT NFORMATION
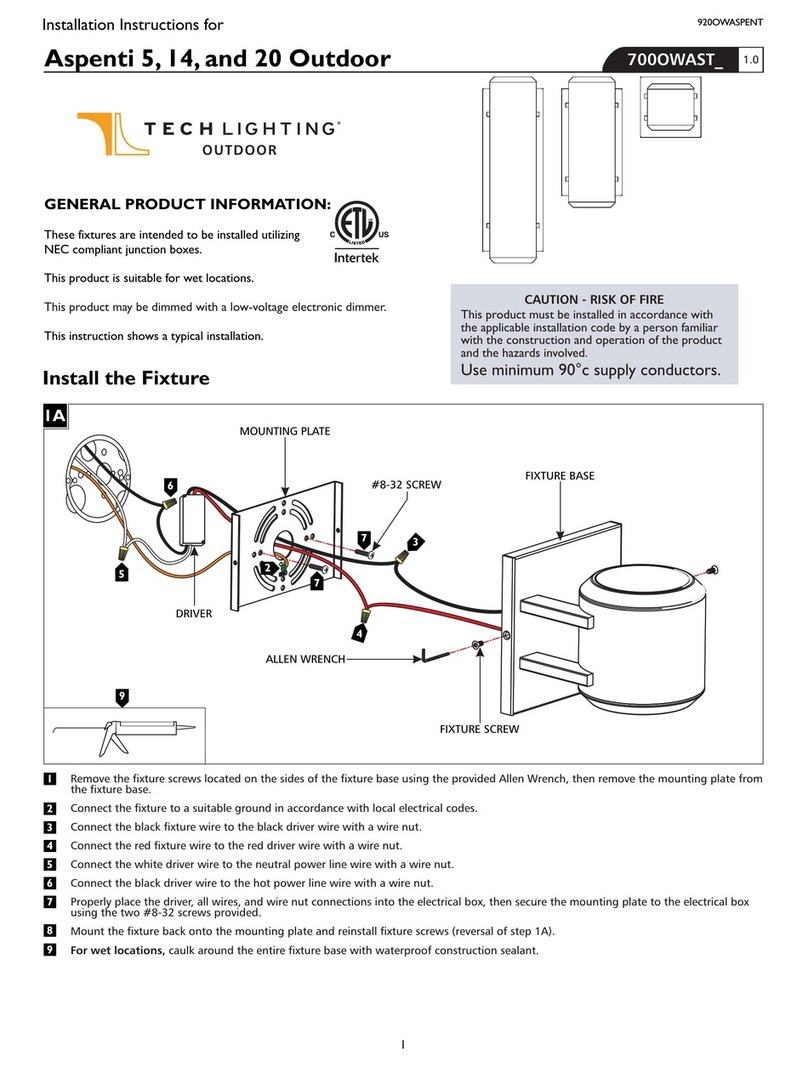
This product is suitable for wet locations.
Pathway models are 12VAC input only.
Refer to product specsheet for dimming information.
CAUTION RISK OF FIRE-
This product must be installed in accordance with
the applicable installation code by a person familiar
with the construction and operation of the product
and the hazards involved.
Use minimum 90°c supply conductors.
OUTDOOR
2A
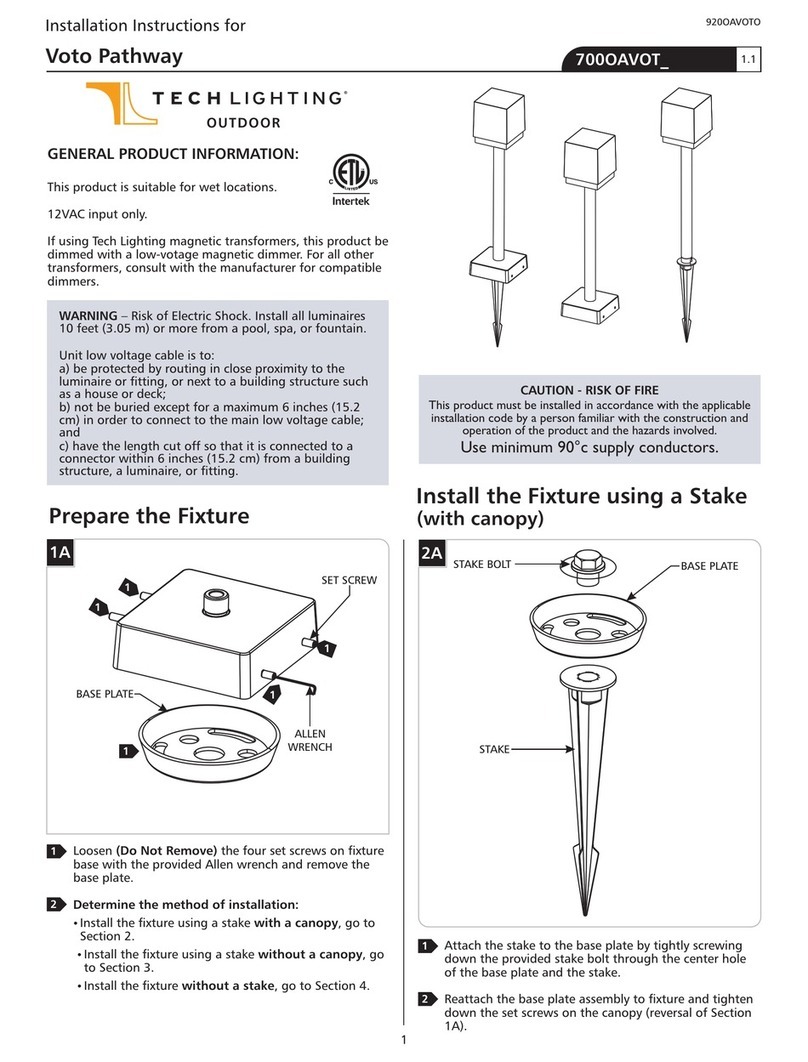
Attach the stake to the base plate by tightly screwing
down the provided stake bolt through the center hole
of the base plate and the stake.
Reattach the base plate assembly to fixture and tighten
down the set screws (reversal of Section 1A).
1
STAKE
STAKE BOLT
BASE PLATE
2
Install the Fixture using a Stake
(Pathway Models Only)
1A
Loosen the four set screws on fixture(Do Not Remove)
base with the provided Allen wrench and remove the
base plate.
1
Prepare the Fixture
ALLEN
WRENCH
1
1
1 1
For Stake Install - see section 2
For Concrete and
other Hard Surfaces
INSTALLATION OPTIONS:
- see section 3
BASE PLATE
SET SCREW
For low-voltage pathway luminaires:
WARNING – Risk of Electric Shock. Install all luminaires
10 feet (3.05 m) or more from a pool, spa, or fountain.
Unit low voltage cable is to:
a) be protected by routing in close proximity to the
luminaire or fitting, or next to a building structure such
as a house or deck;
b) not be buried except for a maximum 6 inches (15.2
cm) in order to connect to the main low voltage cable;
and
c) have the length cut off so that it is connected to a
connector within 6 inches (15.2 cm) from a building
structure, a luminaire, or fitting.
1
2
2B
3
4
Bring the power wires to the fixture location in
accordance with local electrical codes.
Line-voltage only: connect the fixture to a suitable
ground in accordance with local electrical codes.
Line-voltage: Connect the white fixture wire to the
neutral power line wire with the provided outdoor
waterproof wire nut.
Low-voltage: Connect the white fixture wire to one of
the low-voltage power line wire with the provided
outdoor waterproof wire nut.
Line-voltage: Connect the black fixture wire to the hot
power line wire with the provided outdoor waterproof
wire nut.
Low voltage: Connect the black fixture wire to the
remaining low-voltage power line wire with the
provided outdoor waterproof wire nut.
5A
6A
3
45
6
2C
7Stake the fixture to the desired location and properly
bury the wire and wire nut connections.
Note for In-Line Fuse equipped fixtures: in the
case that the fixture is not operating correctly,
make sure to check the fuse.
Note for Photocell equipped fixtures: at initial
power up, the photocell must calibrate which will
cause the fixture to cycle on/off for a moment.
5B
6B
3
Install the Fixture to Concrete
(or other hard surfaces)
3B
4
5
3
3
4
Bring the power wires to the fixture location in
accordance with local electrical codes.
Line-voltage only: connect the fixture to a suitable
ground in accordance with local electrical codes.
Connect the white fixture wire:
Connect the black fixture wire:
Line-voltage only: use the gray and purple dimming
wires for 0-10v dimming application (if not in use, make
sure to cap these wires off).
5
6
Warning: the mounting plate placement is off-center in
relation to the center of the fixture on some models. Make
sure to place the fixture in the desired location and
determine the correct mounting plate placement before
installing the mounting plate.
Warning: The purple and gray wires are only
used for 0-10v dimming. For all other
applications, do not connect the gray and purple
wires.
Note for In-Line Fuse equipped fixtures: in the
case that the fixture is not operating correctly,
make sure to check the fuse.
Note for Photocell equipped fixtures: at initial
power up, the photocell must calibrate which will
cause the fixture to cycle on/off for a moment.
7
Line-voltage: Connect the white fixture wire to the
neutral power line wire with the provided outdoor
waterproof wire nut.
Low-voltage: Connect the white fixture wire to one
of the low-voltage power line wire with the provided
outdoor waterproof wire nut.
b
a
Line-voltage: Connect the black fixture wire to the
hot power line wire with the provided outdoor
waterproof wire nut.
Low voltage: Connect the black fixture wire to the
remaining low-voltage power line wire with the
provided outdoor waterproof wire nut.
b
a
1
2
Bring the power wires to the fixture location in
accordance with local electrical codes.
Mount the base plate to an even and smooth surface
using the appropriate template, which can be found on
the following pages. Ensure that length of the lag bolts
or anchor bolts do not exceed .58” from the mounting
surface in order to leave enough clearance for the
fixture to fit properly over the base plate.
NOTE: anchor/lag bolts, nuts, and washers not
provided.
3A
.58”
1
2
FIXTURE
BASE PLATE
BASE PLATE
4
5
RECTANGULAR MOUNTING PLATE TEMPLATE
WARNING: If printing this template, ensure printer settings are set to actual size.
6
7
3.839
6.000
2.756
.472
TURBO PATHWAY AND BOLLARD MOUNTING PLATE TEMPLATE
WARNING: If printing this template, ensure printer settings are set to actual size.
7400 Linder Ave, Skokie, IL 60077
847.410.4400
www.techlighting.com
© 2018 Tech Lighting, L.L.C. All rights reserved. The "Tech Lighting" graphic is
a registered trademark of Tech Lighting, L.L.C. Tech Lighting reserves the right
to change specifications for product improvements without notification.
A Generation Brands Company
SAVE THESE INSTRUCTIONS!
8

Other TECHLIGHTING Outdoor Light manuals

TECHLIGHTING 700OWASH User manual

TECHLIGHTING

TECHLIGHTING 700OWASH User manual

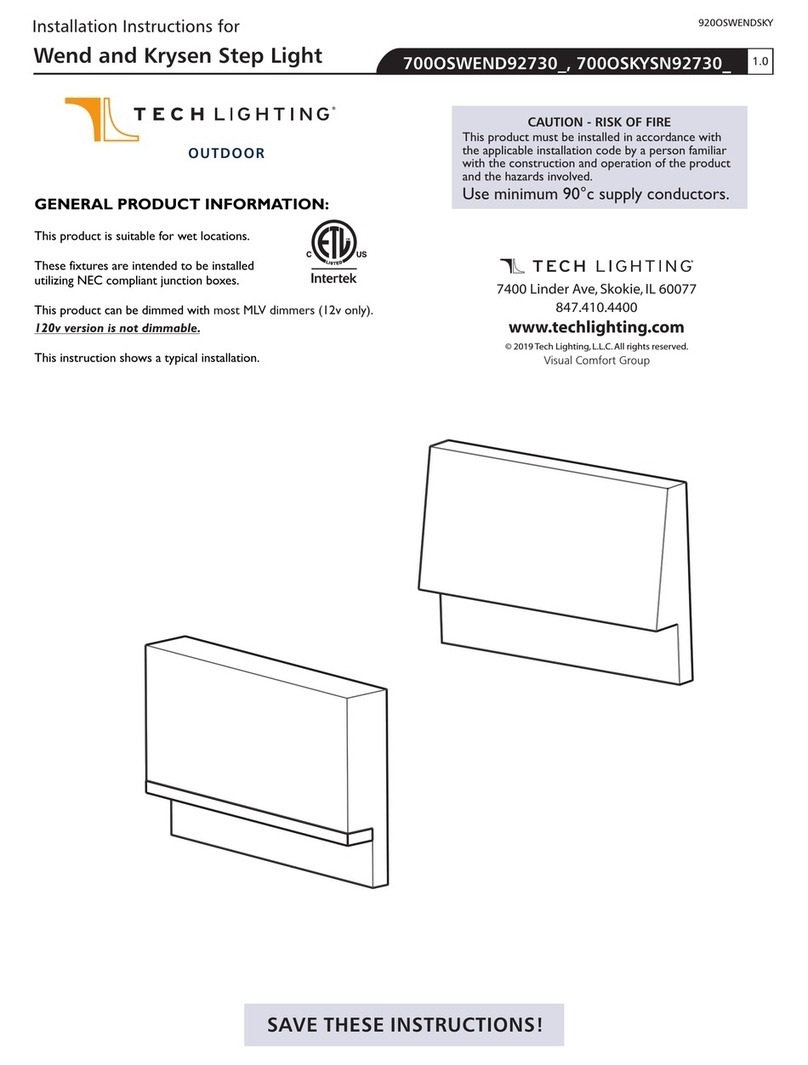
TECHLIGHTING Wend 700OSWEND92730 Series User manual

TECHLIGHTING

TECHLIGHTING Wend 700OSWEND92730 Series User manual

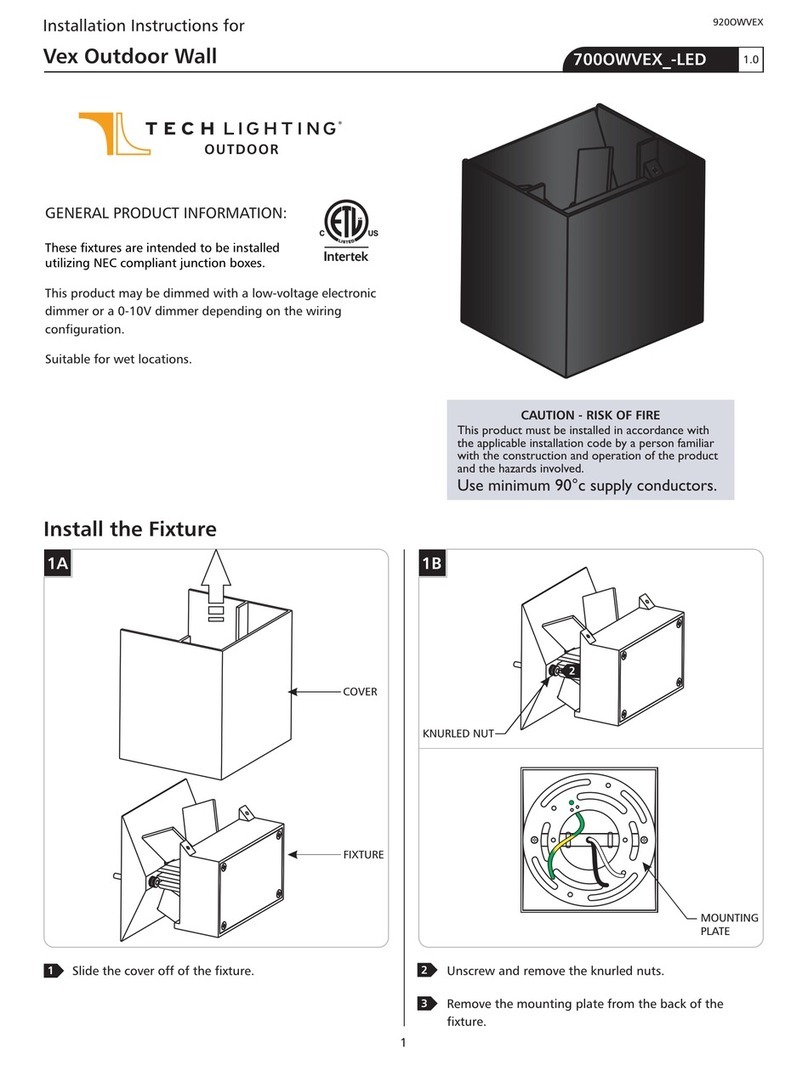
TECHLIGHTING Vex Outdoor Wall User manual

TECHLIGHTING

TECHLIGHTING Vex Outdoor Wall User manual

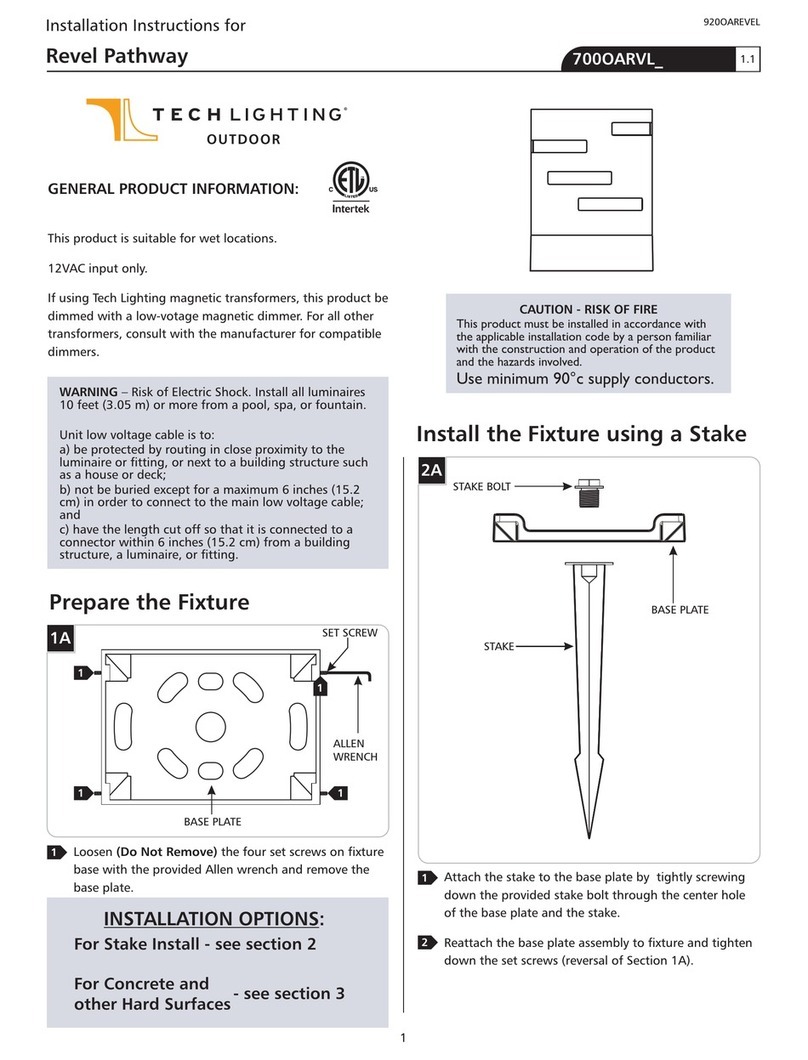
TECHLIGHTING Revel Pathway User manual

TECHLIGHTING

TECHLIGHTING Revel Pathway User manual

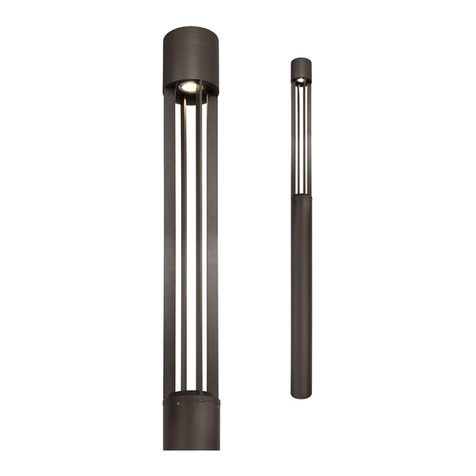
TECHLIGHTING 700OCTUR User manual

TECHLIGHTING

TECHLIGHTING 700OCTUR User manual

TECHLIGHTING Ikon 700OSIKN92730 User manual
TECHLIGHTING

TECHLIGHTING Ikon 700OSIKN92730 User manual

TECHLIGHTING Voto Pathway User manual

TECHLIGHTING

TECHLIGHTING Voto Pathway User manual

TECHLIGHTING 700OWAST Series User manual
TECHLIGHTING

TECHLIGHTING 700OWAST Series User manual

Popular Outdoor Light manuals by other brands
Moree lounge up outdoor 08-01-01 instruction manual

Moree

Moree lounge up outdoor 08-01-01 instruction manual

FLOS IPNOS Instruction for correct Installation and Use

FLOS

FLOS IPNOS Instruction for correct Installation and Use

Paradise Datacom GL22612 instructions

Paradise Datacom

Paradise Datacom GL22612 instructions

Inspire TELIN Assembly, Use, Maintenance Manual

Inspire

Inspire TELIN Assembly, Use, Maintenance Manual

Safavieh LIT4281A quick start guide

Safavieh

Safavieh LIT4281A quick start guide

Madison Park MPS154-0087 Assembly instructions

Madison Park

Madison Park MPS154-0087 Assembly instructions

BEGA 84 300 Installation and technical information

BEGA

BEGA 84 300 Installation and technical information

Inter-lux Tadpole Installation and maintenance instructions

Inter-lux

Inter-lux Tadpole Installation and maintenance instructions

Kanlux DROMI LED manual

Kanlux

Kanlux DROMI LED manual

LIGMAN HA-60295-S installation manual

LIGMAN

LIGMAN HA-60295-S installation manual

LIGMAN VANCOUVER 8 installation manual

LIGMAN

LIGMAN VANCOUVER 8 installation manual

Vista 4243 installation instructions

Vista

Vista 4243 installation instructions

LIGMAN AUGUSTA 1 installation manual

LIGMAN

LIGMAN AUGUSTA 1 installation manual

Utilitech FSI UT-312-2000BRZ quick start guide

Utilitech

Utilitech FSI UT-312-2000BRZ quick start guide

JONATHAN Y JYL2008A quick start guide

JONATHAN Y

JONATHAN Y JYL2008A quick start guide

Dale Tiffany PG10361 Assembly instructions

Dale Tiffany

Dale Tiffany PG10361 Assembly instructions

Philips 163529316 user manual

Philips

Philips 163529316 user manual

LIGMAN FOR-10061 installation manual

LIGMAN

LIGMAN FOR-10061 installation manual

manuals.online logo
manuals.online logoBrands
  • About & Mission
  • Contact us
  • Privacy Policy
  • Terms and Conditions

Copyright 2025 Manuals.Online. All Rights Reserved.