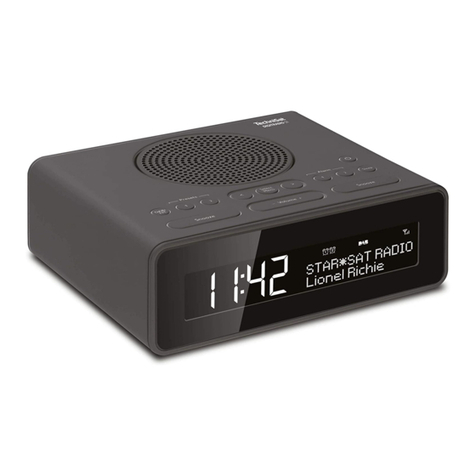
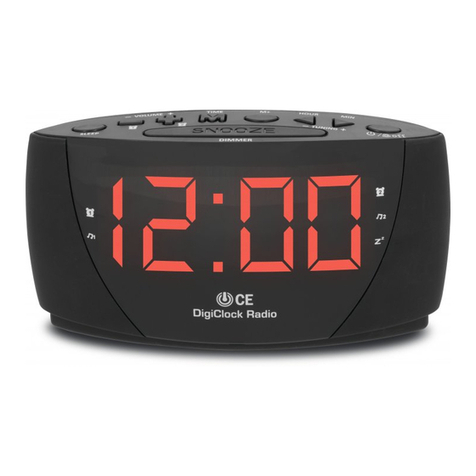
TechniSat DigiClock Radio User manual

User m nu l
DIGICLOCK RADIO
R dioclock with LED displ y

Dispos l of the ppli nce nd st nd rds
• Old ppli nces re not worthless rubbish. By recycling v lu ble r w m teri ls c n
be recovered. Check with your municip l or loc l government options for environ-
ment lly - friendly dispos l of the device.
• This ppli nce is m rked ccording to the Directive 2002/96/EC on W ste Electri-
c l nd Electronic Equipment ( WEEE).
• This product m y not, t the end of his life be disposed vi the norm l household
w ste, but should be t ken to collection point for recycling of electric l nd elec-
tronic equipment.
• The symbol on the product, user m nu l or p ck ging indic tes the recycling of
the product. The m teri ls re recycl ble ccording to their l beling. With the
reuse, recycling or other forms of utilizing old devices, you re m king n import nt
contribution to protecting our environment.
Your unit c rries the CE m rk nd complies with ll relev nt EU st nd rds.
Subject to ch nge for mendments nd printing errors Version 05/2018
TechniS t nd DigiClock R dio re registered tr dem rks of TechniS t Digit l GmbH
S fety dvice
For your own protection, you should re d the s fety prec utions c refully before
using your new R dioclock.
The m nuf cturer ccepts no li bility for d m ge c used by in ppropri te h n-
dling, or by non-compli nce with the s fety prec utions.
• Only oper te the r dioclock in temper te clim te.
• To ensure dequ te ventil tion, pl ce the receiver on fl t, horizont l surf ce nd
do not pl ce ny objects on top of it. There re ventil tion slots here to llow he t
to be dissip ted from the interior of the unit.
• Do not pl ce ny burning objects, such s lit c ndles, on top of the r dioclock.
• Do not expose the r dioclock to w ter droplets or w ter spr y, nd do not pl ce
ny objects filled with liquid, such s v ses, on top of it. If w ter gets into the unit,
immedi tely disconnect the m ins plug nd inform the service dep rtment.
• Do not oper te ny sources of he t ne r the unit, which m y lso he t it up.

• Do not obstruct the ventil tion slots
• Do not open the unit under ny circumst nces! You risk receiving n electric
shock. Any necess ry rep irs to the unit should only be c rried out by qu lified ser-
vice personnel.
• Never unplug your unit by pulling on the power cord. Alw ys gr sp the plug
firmly nd pull str ight out from the outlet.
• The norm l function of the unit m y be disturbed by strong Electro - M gnetic
Interference. If so, simply reset the unit to resume norm l oper tion by following
the instruction m nu l. In c se the function could not resume, ple se use the unit
in other loc tion.
• In the interests of s fety nd to void unnecess ry energy consumption, never
le ve the unit switched on while un מּended for long periods of time, e.g. over-
night, while on holid y or while out of the house. Switch it off nd disconnect the
m ins plug from the m ins socket.
• Do not מּempt to use unit in temper tures outside the r nge of 0°C~40°C
• Do not pl ce ny he vy lo ds onto the unit, nd do not step on it, the lo d m y
f ll nd c use serious injury to the unit.
In the following circumst nces, you should disconnect the device from the m ins
power nd consult n expert:
• The power c ble or m ins plug is d m ged
• The device h s been exposed to moisture or liquid h s got into it
• There re signific nt m lfunctions
• There is severe extern l d m ge.
Risk of str ngul tion!
P ck ges nd p rts thereof should be kept out of the re ch of children. Risk of
str ngul tion from films nd other p ck ging m teri ls.
Seמּing up the device
- Pl ce the device on st ble, s fe nd horizont l surf ce. Ensure good ventil tion.
- Do not pl ce the unit on soﬞ surf ces such s c rpets, ceilings or close to curt ins
nd w ll h ngers s you c n cover the ventil tion holes. This c n interrupt the ne-
cess ry ir circul tion. This c n le d to fire in the unit.
- Do not cover the unit with curt ins, bl nkets or newsp pers.
- Do not pl ce the unit ne r he t sources such s r di tors. Avoid direct Sunshine
nd pl ces with exception lly high levels of pollin tion.

- Do not choose loc tion in rooms with high humidity, e.g. in the kitchen or
s un , s condens tion m y d m ge the device. The unit is designed for use in dry
nd moder te environments nd must not be exposed to dripping or spl shing
w ter.
- The unit m y only be oper ted in horizont l position.
- Do not pl ce ny he vy objects on the unit.
- When moving the product from cold to w rm, moisture m y ccumul te inside
the product. In this c se, w it bout n hour before oper ting the unit.
- Route the power cord so th t no one c n trip over it.
- The outlet should be s close to the ppli nce s possible.
- To connect to the m ins, plug the m ins plug completely into the socket.
- Use suit ble, e sily ccessible m ins plug nd void using multiple sockets!
- Do not touch the power cord or plug with wet h nds, d nger of electric shock!
- In the event of m lfunction or smoke nd odour from the housing, immedi tely
unplug the m ins plug from the socket!
- Disconnect the power plug before storm bre ks out.
- If the ppli nce will not be used for long period of time, e.g. before the st rt of
long journey, unplug it from the m ins socket.
- Too high volume c n d m ge your he ring.
R dio
1. Press the “ON/OFF” buמּon to turn the clock r dio on or off.
2. Adjust the “TUNNING” buמּons to select the desired st tion.
3. Press the “VOL +” or “VOL -“ buמּon to djust the volume.
4. Press the “PRE/M+” buמּon to store your desired st tion. The displ y will show
the “P01” me ns your st tion will be s ved on the first pre-set. If it displ ys “P02”
this me ns the st tion is s ved in the second pre-set.
5. To store the tuned st tion, press nd hold the „PRE/M+” buמּon until the displ y
shows fl shing “P01”. Under this condition short press to confirm st tion to store in
this memory loc tion. “P01” will stop to fl sh to feedb ck st tion is stored. Tuned
nother st tion nd long press „PRE/M+” buמּon until the displ y shows „P02” fl s-
hing then short press to confirm. Repe t this procedure until 10 memories re sto-
red.
Ple se note you c n only rec ll the preset st tion until you s ve ll 10 st tions.
Seמּing the Al rm
1. You must switch off the r dio before you set the l rm time.
2. Press nd hold the “ALARM 1” or “ALARM 2” buמּon until the Hour displ y begins
to blink. The Al rm 1 / 2 buמּons re m rked with l rm sign.
3. Now you c n select to w ke up by r dio or buzzer. The LED with bell logo st nds
for w ke up to buzzer. The LED with music note logo st nds for w ke up to r dio.
Press “ALARM 1” buמּon to select different w ke up modes.
4. You c n set the l rm time, ﬞer you select the w ke up mode. Press the
“HOUR” to djust the hour nd press “MIN” buמּon to djust the Minute.
5. Press the “ALARM 1” buמּon now to fix the l rm time.

6. Use the s me method to set Al rm 2.
C nceling the D ily Al rm
Press the “ALARM OFF” (power off buמּon) buמּon to stop the l rm. The l rm will
oper te 24 hours l ter s per l rm time set.
C ncelling the Al rm
Press the “ALARM 1” or “ALARM 2” buמּons, until the buzzer nd the l rm clock
symbol will not be illumin ted. The l rm seמּing is c ncelled now.
Seמּing the Clock
1. You must switch off the r dio before you set the clock time.
2. Press nd hold the “TIME” buמּon until the displ y begins to blink, nd then re-
le se the buמּon.
3. Press the Hour nd Minute buמּon to djust the hour nd minute.
4. Press the “TIME SET” buמּon to s ve time.
Power from the b מּery is used only for memory b ckup device
Seמּing the Sleep Time
1. You must switch off the r dio before you set the sleep time.
2. Press the Sleep buמּon repe tedly to set the sleep time ( 90, 80, 70, 60, 50, 40,
30, 20, 10 min or OFF ).
Snooze nd Al rm Reset
To use the snooze, press the SNOOZE b r when the l rm is sounding. The l rm
will stop tempor rily, but will resume sounding ﬞer 9 minutes.
Ch nging the brightness of the LED displ y
The device h s the bility to ch nge the displ y brightness. There re two modes:
bright nd d rker. In order to ch nge the brightness, ple se press the snooze but-
ton. If you press SNOOZE buמּon g in, displ y brightness returns to its previous
st te.
Specific tion
Frequency R nge: FM 87,5 –108 MHz
Power Source: AC 230V ~ 50 Hz/60Hz, 3W
DC 3V (For b ck-up)
Power Output: 400 mW
Service:
In c se of f ilure, ple se cont ct with your loc l distributor of TechniS t
products.

Gebruiks nwijzing
DIGICLOCK
R dio- l rmklok met LED-displ y

Opmerkingen over recycling
De verp kking v n deze r dio l rmklok is volledig gem kt v n recycleb re m te-
ri len. Gelieve ze te sorteren en in de juiste recycl geb kken te doen. Deze ontv n-
ger m g n gebruik niet met het norm le huisvuil worden weggegooid. Het moet
worden fgevoerd n r een speci l inz melpunt voor gebruikte elektrische en
elektronische pp r tuur. U vindt inform tie over de dichtstbijzijnde fv lverwijde-
ringspunten bij uw pl tselijke gemeentek ntoor. Vergeet ook niet om gebruikte
b מּerijen uit de fst ndsbediening niet s men met het huisvuil weg te gooien.
Breng ze n r een speci l inz melpunt voor gev rlijk fv l voor verwijdering.
DigiClock R dio is CE-gem rkeerd en voldoet n de EU-normen. TechniS t beho-
udt zich het recht voor om wijzigingen en drukfouten n te brengen. St te
10/2020 TechniS t en DigiClock R dio CE zijn geregistreerde h ndelsmerken v n
TechniS t Digit l GmbH.
Veiligheidsinstructies
Lees lle veiligheidsinstructies zorgvuldig door en bew r ze voor toekomstig geb-
ruik. Volg ltijd lle w rschuwingen en instructies in deze h ndleiding en op de
chterk nt v n het toestel.
Wees voorzichtig met het gebruik v n de AC- d pter!
- Het pp r t m g lleen worden ngesloten op de netvoeding 100-240 V~,
50/60 Hz.
- Probeer het pp r t nooit onder een ndere sp nning te gebruiken.
- Het netsnoer m g p s worden ngesloten ls de inst ll tie op de juiste wijze is
voltooid.
- Als het netsnoer v n het toestel besch digd is of ls het toestel op een ndere
m nier besch digd is, m g u het toestel niet gebruiken.
- Trek niet n de k bel ls u de stekker uit het stopcont ct h lt.
- Om het risico v n br nd en elektrische schokken te vermijden, m g u het

pp r t niet n regen of vocht blootstellen.
- Gebruik het pp r t niet in de buurt v n b den, zwemb den of w ter.
- Pl ts geen vloeib re verp kkingen zo ls bloemenv zen op het pp r t. Ze kun-
nen v llen, en ontsn ppende vloeistof k n ernstige sch de of risico op een elektris-
che schok veroorz ken.
- Open de k st niet. Anders best t er een risico op een elektrische schok.
- Probeer nooit zelf een besch digd pp r t te rep reren. Neem ltijd cont ct op
met een v n onze kl ntenservicecentr .
- Open het pp r t in geen gev l - lleen een speci list k n dit doen.
- Vreemde voorwerpen zo ls n lden, munten, enz. mogen niet in de eenheid v l-
len.
- R k de nsluitcont cten n de chterk nt v n het pp r t niet n met me-
t len voorwerpen of vingers. Dit k n leiden tot kortsluiting.
- Pl ts geen open vuurbronnen zo ls br ndende k rsen op het pp r t.
- L t kinderen dit pp r t nooit zonder toezicht gebruiken.
- L t onderhoudswerkz mheden ltijd uitvoeren door gekw lificeerd personeel.
Anders breng je jezelf en nderen in gev r.
- Het pp r t blijﬞ ook n uitsch keling op het stroomnet ngesloten. Als het
pp r t gedurende l ngere tijd niet wordt gebruikt, h l d n de stekker v n de
AC- d pter uit het stopcont ct.
- Luister niet n r de r dio op hoog volume. Dit k n leiden tot blijvende gehoors-
ch de.
Instellen v n het pp r t
- Pl ts het pp r t op een st biele, veilige en horizont le ondergrond. Zorg voor
goede ventil tie.
- Pl ts het pp r t niet op een z chte ondergrond zo ls t pijt, pl fond of in de
buurt v n gordijnen of muurh ngers, ngezien de ventil tieopeningen kunnen
worden fgedekt. Dit k n de noodz kelijke luchtcircul tie onderbreken. Dit k n lei-
den tot een br nd in het toestel.
- Dek het pp r t niet f met gordijnen, dekens of kr nten.
- Pl ts het pp r t niet in de buurt v n w rmtebronnen zo ls r di toren. Ver-
mijd direct zonlicht en gebieden met extreem veel stof.

- Kies geen loc tie in ruimtes met een hoge luchtvochtigheid, zo ls keukens of s u-
n 's, omd t condens tie het pp r t k n besch digen. Het pp r t is ontwor-
pen voor gebruik in een droge en gem tigde omgeving en m g niet worden
blootgesteld n druppelend of sp מּend w ter.
- Het pp r t m g lleen in een horizont le positie worden gebruikt.
- Pl ts geen zw re voorwerpen op het pp r t.
- Bij het verpl tsen v n het product v n koud n r w rm k n vocht zich ophopen
in het product. W cht in dit gev l ongeveer een uur voord t u het pp r t in
gebruik neemt.
- Leid het netsnoer zo d t niem nd erover k n struikelen.
- Het stopcont ct moet zich zo dicht mogelijk bij het pp r t bevinden.
- Voor de nsluiting op het stroomnet steekt u de stekker volledig in het stopcon-
t ct.
- Gebruik een geschikte, goed bereikb re netstekker en vermijd het gebruik v n
stekkerdozen!
- R k het netsnoer of de stekker niet n met n מּe h nden, gev r voor elektris-
che schokken!
- In gev l v n een storing of rook en st nk v n de behuizing moet de stekker on-
middellijk uit het stopcont ct worden getrokken!
- Trek de stekker uit het stopcont ct voord t er een storm uitbreekt.
- Als het pp r t gedurende een l nge periode niet wordt gebruikt, bijv. voor het
begin v n een l nge reis, h lt u de stekker uit het stopcont ct.
- Een te hoog volume k n uw gehoor besch digen.
Verstikkingsgev r!
De verp kking en de onderdelen erv n mogen niet door kinderen worden chter-
gel ten. Risico op verstikking door folies en ndere verp kkingsm teri len.
R dio
1. Druk op de "ON/OFF" knop om het pp r t in of uit te sch kelen.
2. stel de ontv ngstfrequentie in met de knoppen "TU+" en "TU-".
3. Wijzig het volume met de toetsen "VOL +" en "VOL -".
4. druk op de "M+" knop om de gevonden r diozender op te sl n. Op het displ y
verschijnt "P01", w t betekent d t de r dio is opgesl gen in positie nr. 1 . Als er
"P02" op het displ y verschijnt, betekent dit d t de r dio in positie nr. 2 is opgesl -
gen.
Om de ingestelde r diozender op te sl n, drukt u op de toets "PRESET/M+" tot
"P01" knippert. Als u de toets "PRESET/M+" nogm ls kort indrukt, stopt de zender
met knipperen w nneer deze is opgesl gen. Druk op de toets "PRESET/M+" tot
"P02" n r de f vorietenlijst v n de volgende zender knippert. Als u nogm ls op
dezelfde knop drukt, wordt de zender in positie 2 opgesl gen.
Herh l de bovenst nde st ppen om m xim l 10 st tions op te sl n.

Het instellen v n het l rm
1. Om het l rm in te stellen, zet u de wekker uit.
2. Druk n het uitsch kelen v n het pp r t op de toets "ALARM 1" of "ALARM 2".
totd t de tijdinstelling op het displ y knippert.
3. u kunt kiezen of u het pp r t tijdens een l rm wel of niet in de modus wilt
gebruiken: R dio of Buzzer-modus. LED met zoemersymbool is een optie met zoe-
mer.LED met muzieksymbool is een optie met r dio.Druk op de "ALARM1" knop om
de gewenste modus te selecteren.
Als u de l rmmodus l hebt geselecteerd, kunt u nu de l rmtijd instellen.
Druk op "Uur" om in te stellen en op "Minuut" om de minuten in te stellen.
5. Druk op "ALARM 1" om de l rmtijd op te sl n.
6. Volg de bovenst nde instructies om het l rm in te stellen.
De klok instellen
1. Zet de r dio uit om de klok in te stellen.
2. Druk op de toets "TIME SET" en houd deze ingedrukt tot het displ y knippert.
3. Druk op de knoppen "Hour" en "Minute" om de juiste tijd in te stellen.
4. N d t de tijd correct is ingesteld, drukt u nogm ls op de toets "TIME SET" om
de wijzigingen op te sl n.
LET OP: B מּerijvoeding wordt lleen gebruikt om het geheugen v n het pp r t
te ondersteunen in gev l v n stroomuitv l (bijv. uurlijks geheugen)!
Instellen v n de uitsch keltimer
1. Sch kel de r dio uit om de uitsch keltimer in te stellen.
2. Door op de "Sleep" knop te drukken heeﬞ u de mogelijkheid om de tijd te wijzi-
gen w rn het pp r t utom tisch uitsch kelt ( 90, 80, 70, 60, 50, 40, 30, 20,
10 min of OFF (timer uit) ).
Sl p en timer reset
Om de snooze te ctiveren, drukt u op de "SNOOZE" knop terwijl het l rm fg t.
Het l rm z l tijdelijk worden gestopt en z l over 9 minuten worden herv t.
Specific tie
Het frequentiebereik: FM 87,5 -108 MHz
Stroombron: AC 230V ~ 50 Hz/60Hz, 3W
DC 3V (voor geheugen b ck-up)
Uitg ngsvermogen: 400 mW
Service:
In c se of f ilure, ple se cont ct with your loc l distributor of TechniS t
products.

Instructions d'utilis tion
DIGICLOCK
Réveil r dio vec ffich ge LED

Comment ires sur le recycl ge
L'emb ll ge de ce r dio-réveil est entièrement ré lisé en m téri ux recycl bles.
Veuillez les trier et les meמּre d ns des poubelles de recycl ge ppropriées. Ce ré-
cepteur ne doit p s être jeté vec les déchets mén gers norm ux près utilis tion.
Il doit être éliminé d ns un point de collecte spéci l pour les équipements électri-
ques et électroniques us gés. Vous trouverez des inform tions sur les points d'éli-
min tion des déchets les plus proches d ns le bure u municip l de votre loc lité.
N'oubliez p s non plus de ne p s jeter les piles us gées de l télécomm nde vec
les ordures mén gères. Veuillez les mener à un point de collecte spéci l pour les
déchets d ngereux.
Le r dio-réveil DigiClock porte le m rqu ge CE et est conforme ux normes de l'UE.
TechniS t se réserve le droit d' pporter des modific tions et des erreurs d'impres-
sion. St tut 10/2020 TechniS t et DigiClock R dio CE est une m rque déposée de
TechniS t Digit l GmbH.
Instructions de sécurité
Lisez מּentivement toutes les consignes de sécurité et conservez-les pour vous y
référer ultérieurement. Respectez toujours les vertissements et les instructions fi-
gur nt d ns ce m nuel et u dos de l' pp reil.
F ites מּention lorsque vous utilisez l' d pt teur secteur !
- L' pp reil ne peut être r ccordé qu' u secteur 100-240 V~, 50/60 Hz.
- N'ess yez j m is d'utiliser l' pp reil pour fonctionner sous une utre tension.
- Le cordon d' liment tion ne doit p s être br nché t nt que l'inst ll tion n'est p s
terminée correctement.
- Si le cordon d' liment tion de l' pp reil est endomm gé ou si l' pp reil est en-
domm gé d'une utre m nière, ne f ites p s fonctionner l' pp reil.
- Ne tirez p s sur le câble lorsque vous débr nchez l' pp reil de l prise.
- Pour éviter tout risque d'incendie et de choc électrique, n'exposez p s l' pp reil

à l pluie ou à l'humidité.
- N'utilisez p s l' pp reil à proximité de b ins, de piscines ou d'e u.
- Ne pl cez p s de récipients de liquide tels que des v ses à fleurs sur l' pp reil. Ils
peuvent tomber, et le liquide qui s'éch ppe peut c user de gr ves domm ges ou
un risque de choc électrique.
- N'ouvrez p s l' rmoire. Sinon, il y un risque de choc électrique.
- N'ess yez j m is de rép rer vous-même un pp reil endomm gé. Cont ctez tou-
jours l'un de nos centres de service clientèle.
- N'ouvrez en ucun c s l'unité - seul un spéci liste peut le f ire.
- Les corps étr ngers tels que les iguilles, les pièces de monn ie, etc. ne doivent
p s tomber d ns l'unité.
- Ne touchez p s les cont cts des bornes à l' rrière de l' pp reil vec des objets
mét lliques ou les doigts. Cel peut entr îner des courts-circuits.
- Ne pl cez p s sur l' pp reil des sources de feu ouvertes comme des bougies l-
lumées.
- Ne l issez j m is les enf nts utiliser cet pp reil s ns surveill nce.
- F ites toujours effectuer les tr v ux d'entretien p r du personnel qu lifié. Sinon,
vous vous meמּez en d nger et vous meמּez les utres en d nger.
- L' pp reil reste br nché sur le secteur même près voir été éteint. Si l' pp reil
n'est p s utilisé pend nt une période prolongée, débr nchez l' d pt teur secteur
de l prise de cour nt.
- N'écoutez p s l r dio à h ut volume. Cel peut entr îner des lésions uditives
perm nentes.
Mise en pl ce de l' pp reil
- Pl cez l' pp reil sur une surf ce st ble, sûre et horizont le. Veillez à une bonne
ventil tion.
- Ne pl cez p s l' pp reil sur des surf ces molles telles que les t pis, les pl fonds,
ou près des ride ux ou des suspensions mur les, c r les ouvertures de ventil tion
peuvent être couvertes. Cel peut interrompre l circul tion d' ir nécess ire. Cel
peut conduire à un incendie d ns l'unité.
- Ne couvrez p s l'unité vec des ride ux, des couvertures ou des journ ux.
- Ne pl cez p s l' pp reil à proximité de sources de ch leur telles que des r di -
teurs. Évitez les r yons directs du soleil et les zones à forte concentr tion de
poussière.

- Ne choisissez p s un empl cement d ns des pièces à forte humidité, comme les
cuisines ou les s un s, c r l condens tion pourr it endomm ger l' pp reil. L' p-
p reil est conçu pour être utilisé d ns des environnements secs et modérés et ne
doit p s être exposé à des gouמּes ou des écl boussures d'e u.
- L' pp reil ne peut être utilisé qu'en position horizont le.
- Ne pl cez p s d'objets lourds sur l' pp reil.
- Lorsque le produit p sse du froid u ch ud, de l'humidité peut s' ccumuler à l'in-
térieur du produit. D ns ce c s, מּendez environ une heure v nt de f ire fonction-
ner l' pp reil.
- Acheminez le cordon d' liment tion de m nière à ce que personne ne puisse tré-
bucher dessus.
- L prise de cour nt doit être ussi proche que possible de l' pp reil.
- Pour vous br ncher sur le secteur, br nchez l fiche secteur complètement d ns
l prise de cour nt.
- Utilisez une prise de cour nt d ptée et f cilement ccessible et évitez d'utiliser
plusieurs prises !
- Ne p s toucher le cordon d' liment tion ou l prise vec les m ins mouillées, ris-
que de choc électrique !
- En c s de dysfonctionnement ou de fumée et d'odeur proven nt du boîtier, dé-
br nchez immédi tement l fiche secteur de l prise de cour nt !
- Débr nchez l prise de cour nt v nt qu'un or ge n'écl te.
- Si l' pp reil ne doit p s être utilisé pend nt une période prolongée, p r exemple
v nt de commencer un long voy ge, débr nchez-le de l prise de cour nt.
- Un volume sonore trop élevé peut endomm ger votre udition.
D nger d'étouffement !
L'emb ll ge et ses p rties ne doivent p s être l issés p r les enf nts. Risque de
suffoc tion p r les films et utres m téri ux d'emb ll ge.
R dio
1. Appuyez sur le bouton "ON/OFF" pour llumer ou éteindre l' pp reil.
2. régler l fréquence de réception à l' ide des boutons "TU+" et "TU-".
3. modifier le volume en utilis nt les boutons "VOL +" et "VOL -".
4. ppuyez sur le bouton "M+" pour enregistrer l st tion de r dio trouvée. P01" p-
p r îtr sur l'écr n, ce qui signifie que l r dio été stockée d ns l position N° 1 .
Si "P02" est ffiché, cel signifie que l r dio été enregistrée en position n°2.
Appuyez sur l touche "PRESET/M+" jusqu'à ce que "P01" clignote. En ppuy nt à
nouve u brièvement sur le bouton "PRESET/M+", l r dio se met en pl ce No.1
"P01" s' rrête de clignoter lorsque l st tion est mémorisée. Afin de pour définir l
liste de f voris de l proch ine st tion, ppuyez sur le bouton "PRESET/M+". jusqu'à
ce que le mess ge clignot nt "P02" pp r isse, ppuyez à nouve u sur le même
bouton permet de s uveg rder l st tion en position 2.
Veuillez répéter les ét pes ci-dessus pour s uveg rder jusqu'à 10 st tions.

Donner l' lerte
1. Pour meמּre l' l rme en m rche, il f ut éteindre le réveil.
2. Après voir éteint l' pp reil, ppuyez sur l touche "ALARM 1" ou "ALARM 2"
jusqu'à ce que le régl ge de l'heure clignote à l'écr n.
3. vous pouvez choisir de f ire fonctionner l' pp reil pend nt l' l rme : Mode r dio
ou buzzer. L LED vec le symbole du buzzer est une option vec un buzzer. L
LED vec le symbole de l musique est une option vec l r dio. Appuyez sur le
bouton "ALARM 1" pour sélectionner le mode souh ité.
4. Si vous vez déjà sélectionné le mode d' l rme, vous pouvez m inten nt régler
l'heure de l' l rme. Appuyez sur "Hour" pour régler et sur "Minute" pour régler les
minutes.
5. ppuyez sur "ALARM 1" pour enregistrer l'heure de l' l rme.
6. suivez les instructions ci-dessus pour régler l' l rme 2.
Régler l'horloge
1. Éteignez l r dio pour régler l'horloge.
2. ppuyez sur l touche "TIME SET" et m intenez-l enfoncée jusqu'à ce que l'éc-
r n clignote.
3. Appuyez sur les boutons "Heure" et "Minute" pour régler l'heure correcte.
4. Une fois l'heure correctement réglée, ppuyez à nouve u sur le bouton "TIME
SET" pour enregistrer les modific tions
ATTENTION : L' liment tion p r b מּerie n'est utilisée que pour soutenir l mémoire
de l' pp reil en c s de p nne de cour nt (p r exemple, l mémoire hor ire) !
Régl ge de l minuterie d' rrêt
1. éteignez l r dio pour régler le minuteur d' rrêt.
2. En ppuy nt sur le bouton "Sleep", vous vez l possibilité de modifier l'heure
près l quelle l' pp reil s'éteint utom tiquement (90, 80, 70, 60, 50, 40, 30, 20,
10 min ou OFF (timer off)).
Mise en veille et réiniti lis tion de l minuterie
Pour ctiver l répétition de réveil, ppuyez sur le bouton "SNOOZE" pend nt que
l' l rme sonne. L' l rme ser tempor irement rrêtée et reprendr d ns 9 minutes.
Spécific tion
L g mme de fréquences : FM 87,5 -108 MHz
Source d'énergie : AC 230V ~ 50 Hz/60Hz, 3W
DC 3V (pour l s uveg rde de l mémoire)
Puiss nce de sortie : 400 mW
Service
En c s de p nne, veuillez cont cter votre distributeur loc l de produits TechniS t.
Other manuals for DigiClock Radio
1
Table of contents
Languages:
Other TechniSat Clock Radio manuals

TechniSat
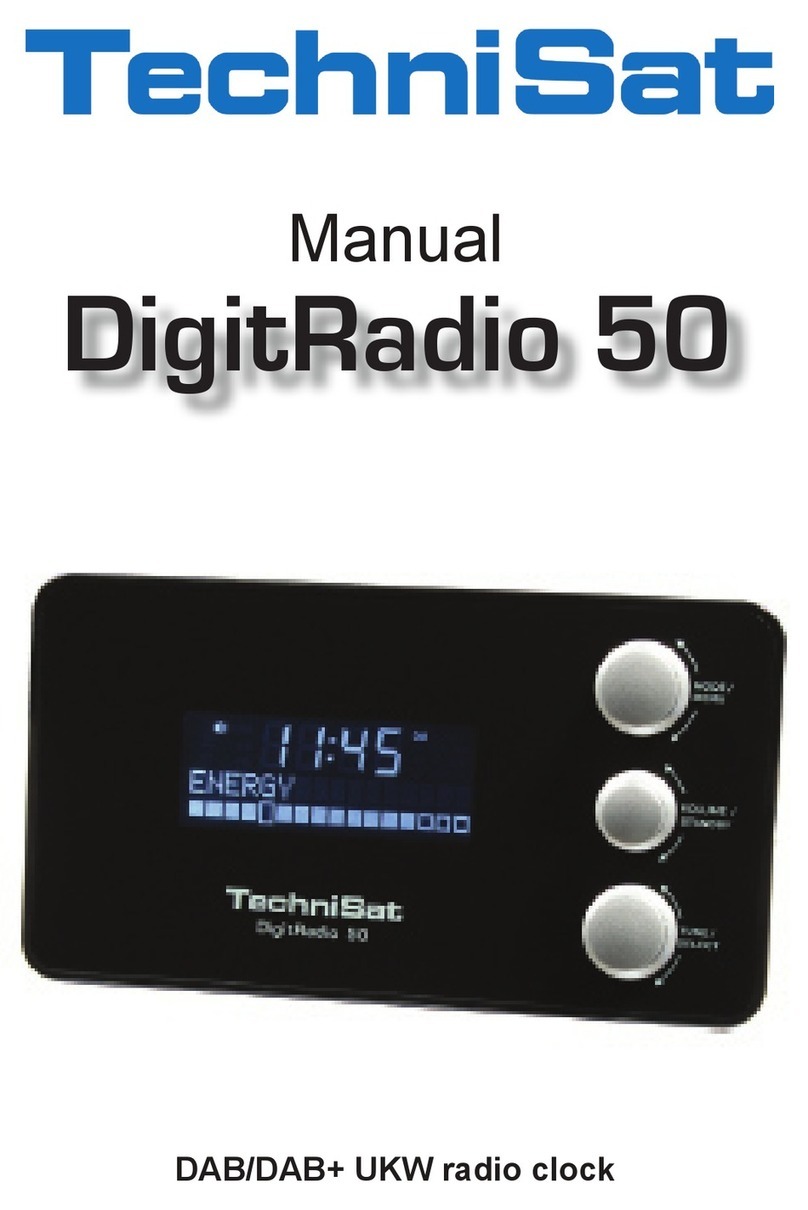
TechniSat DigitRadio 50 User manual

TechniSat
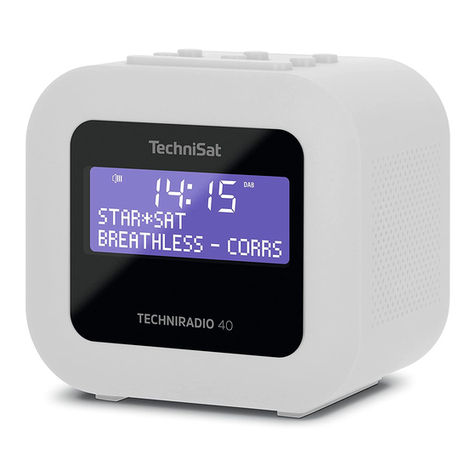
TechniSat TECHNIRADIO 40 User manual

TechniSat
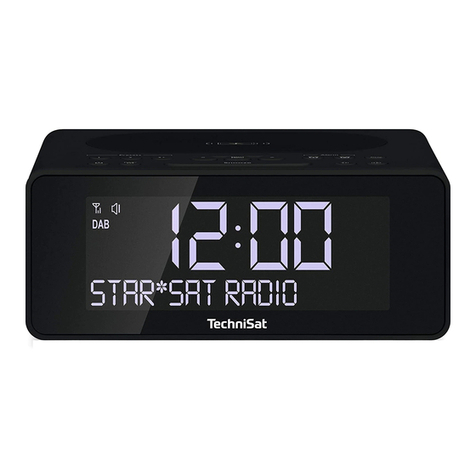
TechniSat DIGITRADIO 52 User manual

TechniSat
TechniSat DIGITRADIO 51 User manual

TechniSat
TechniSat DIGITRADIO 51 User manual

TechniSat
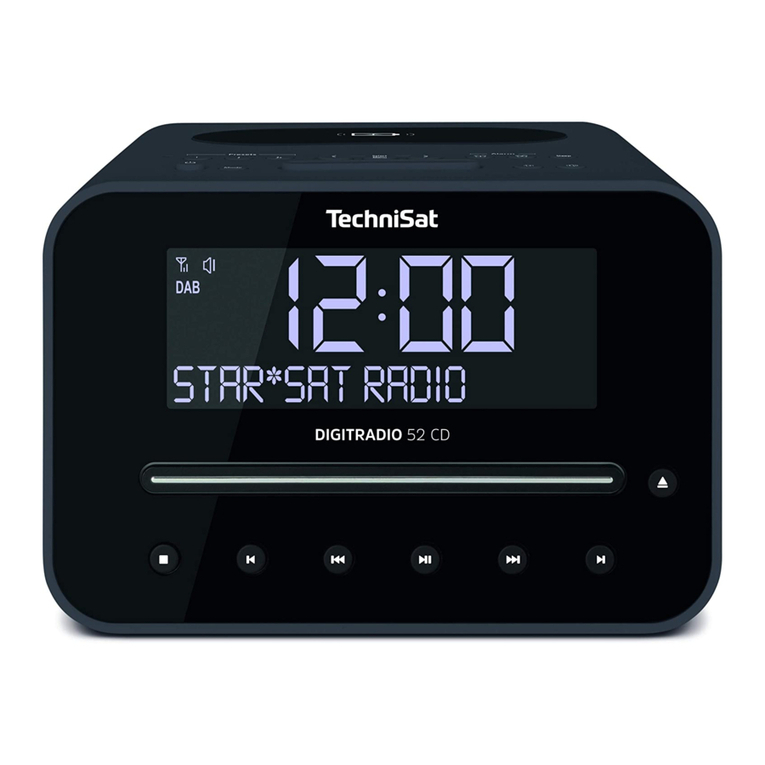
TechniSat DIGITRADIO 52 CD User manual

TechniSat
TechniSat DigiClock Radio User manual

TechniSat
TechniSat CE DIGICLOCK 2 User manual