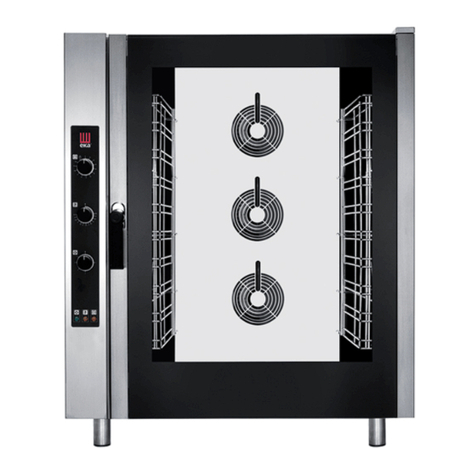
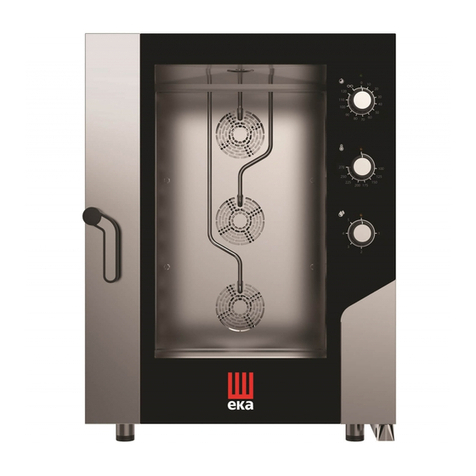
Electr c Ovens rev. 4______________________________EKF 411 UD – EKF 416 UD – EKF 464 UD – EKF 411 UD/001
EKF 464 UD/001-HT – EKF 464 UD/002-HT
____________________________________________________________________________________________ page 5
4.
4. 4.
4. Instruct ons for the nstaller
Instruct ons for the nstallerInstruct ons for the nstaller
Instruct ons for the nstaller
The follow ng nstruct ons are a med at the qual f ed nstaller, to ensure that he carr es out the
nstallat on, adjustment and ma ntenance operat ons as correctly as poss ble and accord ng to
current legal regulat ons. Any operat on must be performed w th electr cal power cut to the
appl ance. Before us ng the appl ance, carefully remove the spec al adhes ve f lm protect ng the
parts n sta nless steel. Do not leave any glue res dues on the surfaces. If necessary, remove them
at once, w th an appropr ate solvent.
F tt ng the feet
F tt ng the feetF tt ng the feet
F tt ng the feet - The feet are ns de the appl ance and must be secured on the four threaded
holes on the base. If necessary, the he ght of the feet can be adjusted by screw ng or unscrew ng.
Pos t on ng
Pos t on ngPos t on ng
Pos t on ng - Pos t on the appl ance perfectly hor zontally on a table or s m lar support (the table
or support must be at least 85 cm above the floor). Pos t on t at a d stance of not less than 10
cm from the s de and rear walls, to enable natural vent lat ng a r to c rculate freely around t. The
appl ance s vent lated through spec f c open ngs on the metal walls of the outer hous ng , and
ensures eff c ency and long-l fe. For th s reason t s str ctly forb dden to obstruct these vent lat on
open ngs, even part ally or for short per ods. Fa lure to observe th s spec f c proh b t on releases
Fa lure to observe th s spec f c proh b t on releases Fa lure to observe th s spec f c proh b t on releases
Fa lure to observe th s spec f c proh b t on releases
the manufac
the manufacthe manufac
the manufacturer of the appl ance from all respons b l ty and mmed ately vo ds any guarantee
turer of the appl ance from all respons b l ty and mmed ately vo ds any guarantee turer of the appl ance from all respons b l ty and mmed ately vo ds any guarantee
turer of the appl ance from all respons b l ty and mmed ately vo ds any guarantee
r ghts for the sa d appl ance,
r ghts for the sa d appl ance, r ghts for the sa d appl ance,
r ghts for the sa d appl ance, because ts construct ve conform ty has been voluntar ly
comprom sed. Furthermore, the appl ance s not su table for embedd ng and for grouped
pos t on ng w th other dent cal appl ances.
Electr cal connect on
Electr cal connect onElectr cal connect on
Electr cal connect on - The appl ance must be connected to the electr cal ma ns accord ng to
current legal regulat ons. Before mak ng the connect on, make sure of the follow ng:
-the voltage and frequency values of the power supply system match the values on the
"techn cal data" plate aff xed on the appl ance;
-the l m t ng valve and the system are able to support the appl ance's load (see the
"techn cal data" plate);
-the power supply system has an adequate earth
the power supply system has an adequate earththe power supply system has an adequate earth
the power supply system has an adequate earth
connect on accord ng to current legal
connect on accord ng to current legal connect on accord ng to current legal
connect on accord ng to current legal
regulat ons;
regulat ons;regulat ons;
regulat ons;
-a omn polar sw tch w th m n mum between-contacts aperture of 3 mm, s zed to the load
and conform ng to current legal regulat ons, s f tted between the appl ance and the ma ns
n the d rect connect on to the ma ns;
-the omn polar sw tch used for connect on s easy to reach when the appl ance s nstalled;
-the yellow/green earth w re s not nterrupted by the sw tch;
the yellow/green earth w re s not nterrupted by the sw tch;the yellow/green earth w re s not nterrupted by the sw tch;
the yellow/green earth w re s not nterrupted by the sw tch;
-the power supply, when the appl ance s operat ng, must not dev ate from the rated
voltage value by ±10%;
-make sure that after nsert ng the power supply cord nto the term nal block t does not
come nto contact w th any of the cook ng range's hot parts.
-f the supply cable s damaged then t must be replaced by the manufacturer or by your
f the supply cable s damaged then t must be replaced by the manufacturer or by your f the supply cable s damaged then t must be replaced by the manufacturer or by your
f the supply cable s damaged then t must be replaced by the manufacturer or by your
techn
techntechn
techn cal support or by a qual f ed person to avo d any r sk.
cal support or by a qual f ed person to avo d any r sk.cal support or by a qual f ed person to avo d any r sk.
cal support or by a qual f ed person to avo d any r sk.
Connect on to the water ma ns
Connect on to the water ma nsConnect on to the water ma ns
Connect on to the water ma ns - The appl ance must be fed w th softened dr nk ng water, w th
hardness from 0.5°F to 5°F ( t s obl gatory to use a softener to reduce the format on of l me
ns de the cook ng chamber) and pressure n the range from 100 to 200 kPa (1.0 - 2.0 bar).
Connect on to the water ma ns should be made through the threaded 3/4" soleno d-valve on the
rear (on the bottom) of the appl ance, f tt ng n between a mechan cal f lter and an on/off tap
(before you connect the f lter, allow a certa n quant ty of water to flow out n order to dra n any
waste from the p pe).


