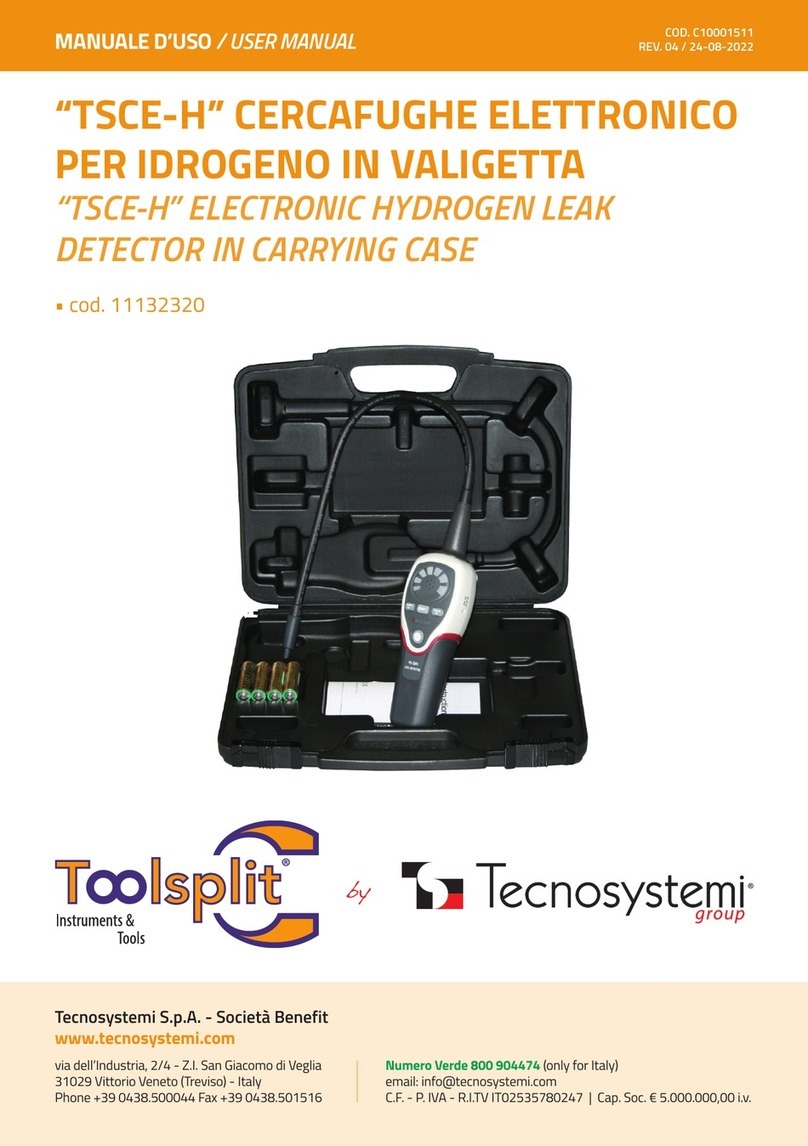
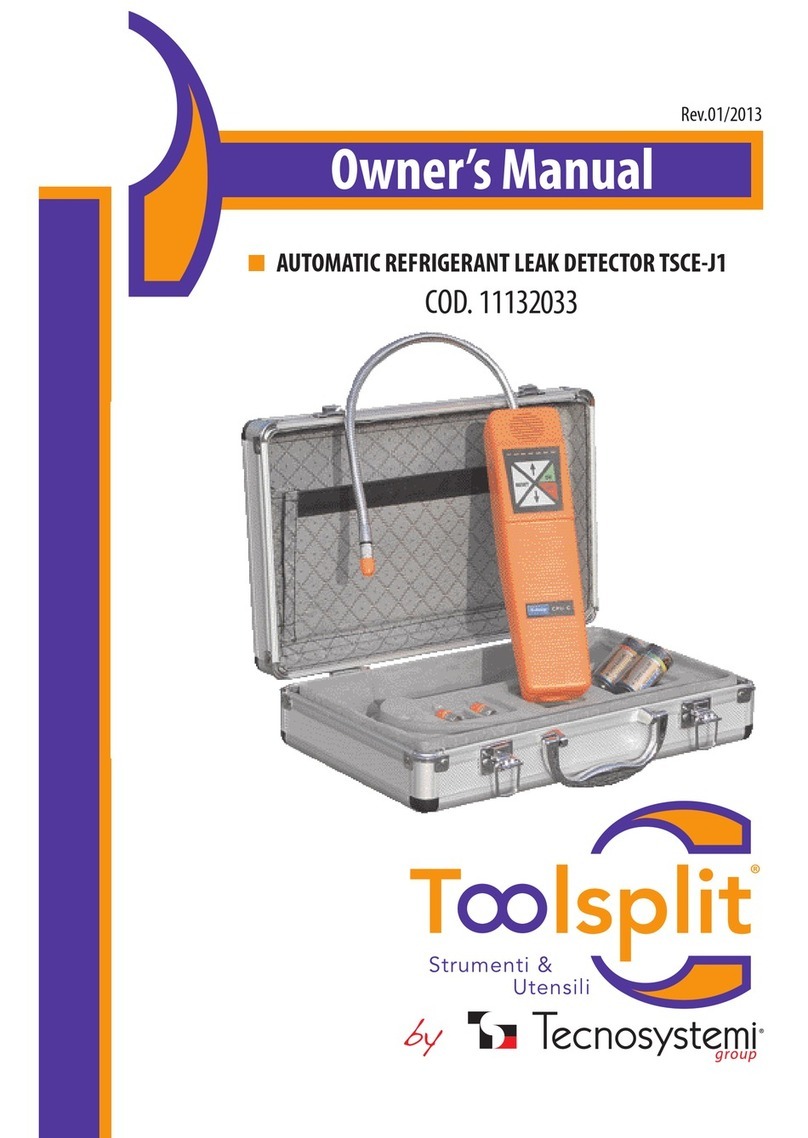
Tecnosystemi Toolsplit 11132315 User manual

MANUALE D’USO / USER MANUAL
REV. 00 / 13-06-2019
MINI KIT CERCAFUGHE AZOTO/IDROGENO
VERIFICA PRESSURIZZAZIONE E TENUTA IMPIANTI
MINI ELECTRONIC HYDROGEN-LEAK DETECTORS KIT
FOR VERIFYING SYSTEMS’ PRESSURE SEAL
11132315
Tecnosystemi S.p.A.
via dell’Industria, 2/4 - Z.I. San Giacomo di Veglia
31029 Vittorio Veneto (Treviso) - Italy
Phone +39 0438.500044 - Fax +39 0438.501516
Numero Verde 800 904474 (only for Italy)
email: [email protected]
C.F. - P. IVA - R.I.TV IT02535780247 Cap. Soc. € 5.000.000,00 i.v. www.tecnosystemi.com
Accessories for
Air Conditioning
Ventilation
Solutions
Air Curtains and
Accessories
Accessories
For Heating
Instruments &
Tools
Multi - Zone
Air Control System
COD. 0000000

2
Accessories for
Air Conditioning
Ventilation
Solutions
Air Curtains and
Accessories
Accessories
For Heating
Instruments &
Tools
Multi - Zone
Air Control System
DESCRIZIONE / DESCRIPTION
Grazie a questa attrezzatura per la pressurizzazione dei sistemi di aria condizionata e
refrigerazione, è possibile individuare qualunque perdita all’interno del sistema. Il cercafughe
elettronico incluso nel kit rileva soltanto l’idrogeno e non è quindi innescato da altri gas. Poiché
le molecole di idrogeno sono molto piccole, questa è la soluzione ideale per individuare anche le
piccole perdite di gas.
Thanks to this equipment for pressurization of Automotive and HVAC air conditioning system it is
possible to detect the leaks in the system. The electronic leak detector detects only the hydrogen:
as the hydrogen molecules are very small, this is the ideal solution to nd also the smallest leaks.
Il kit include:
• Valigetta in poli propilene
• Regolatore di pressione per bombole da 5 litri
• Manometro con tubo e rubinetto.
• Tubo giallo da 1500 mm.
• Bombola Azoto 95% / Idrogeno 5% 1 litro
• Adattatore per bombola da 1 litro
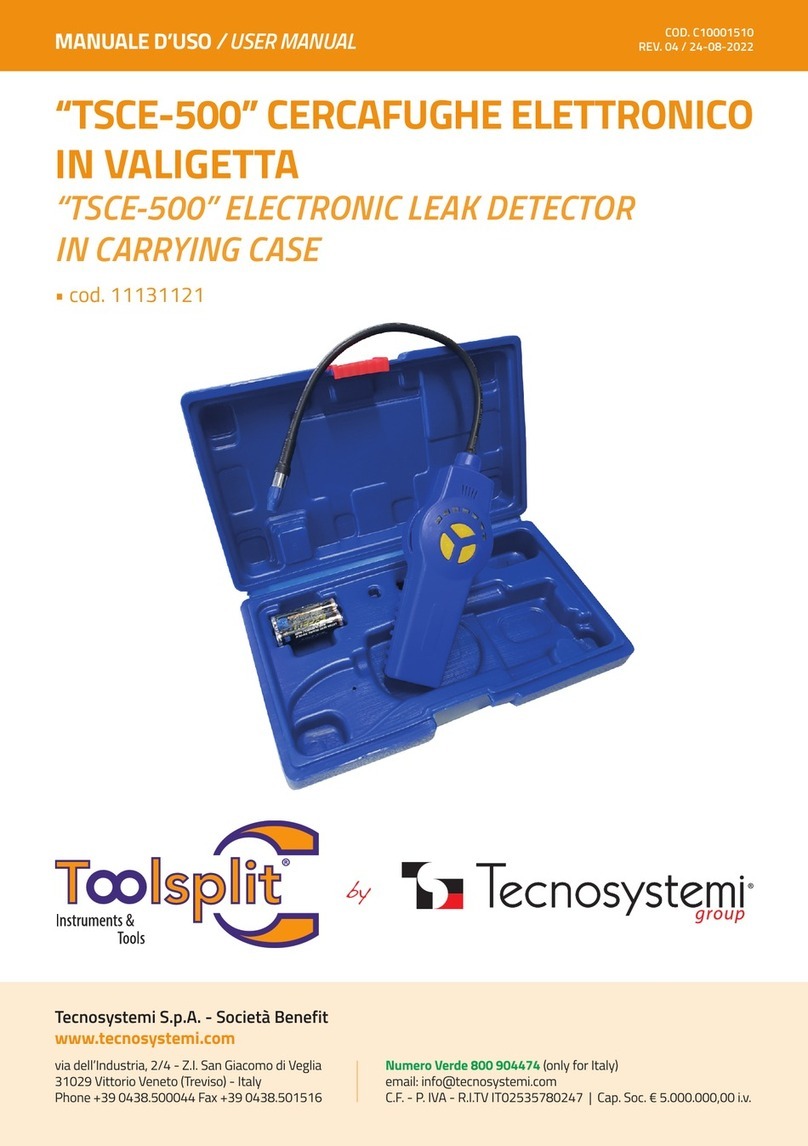
• Cercafughe elettronico per Idrogeno
The kit includes:
• Polypropylene case
• Pressure regulator for 5 liter cylinders
• Pressure gauge with hose and tap
• 1500 mm yellow tube.
• 95% Nitrogen bottle / 5% hydrogen 1 liter
• Adapter for 1 liter tank
• Electronic leak detector for hydrogen
1. Assicurarsi che il riduttore di pressione sia chiuso (manopola totalmente girata in senso
antiorario)
2. Avvitare la bombola al riduttore di pressione (utilizzando l’apposito adattatore se si utilizza la
bombola da 1 litro o 2.2)
3. Avvitare il tubo all’altro ingresso del riduttore di pressione
4. Avvitare il tubo con manometro al tubo giallo dal lato del rubinetto
5. Dopo aver effettuato il recupero del gas dell’aria condizionata con una stazione di ricarica
collegarsi all’attacco di alta pressione del circuito di aria condizionata
6. Aprire lentamente la manopola del regolatore e aumentare la pressione nell’impianto no a
quando la lancetta sul manometro non raggiunge l’area relativa al gas contenuto nell’impianto
7. Chiudere il rubinetto a monte del manometro e portare manualmente l’altra lancetta allo stesso
livello della prima
8. Attendere 15-20 minuti per vericare la tenuta dell’impianto, secondo le ipotesi seguenti:
- CASO 1: se le lancette rimangono sovrapposte l’impianto non presenta perdite
- CASO 2: se la lancetta della pressione è scesa, nell’impianto è presente una perdita. Ispezionare
con il cercafughe elettronico il circuito dell’aria condizionata per rilevare l’esatto punto della perdita
9. Al termine dell’operazione svitare il tubo con manometro dall’attacco rapido e aprirne
lentamente il rubinetto per scaricare l’azoto/idrogeno dall’impianto.
ISTRUZIONI / INSTRUCTIONS
1. Make sure that the pressure regulator is closed (handle completely counterclockwise turned)
2. Tighten the cylinder to the pressure regulator (using the proper adapter for 1 liter bottle or 2.2)
3. Tighten the hose to the other side of the regulator
4. Tighten the manifold gauge to the yellow hose (at the tap side)
5. After have recovered the gas with a recovery unit, connect to the high side port of the air
conditioning system
6. Slowly open the handle of the pressure regulator and put the system under pressure till the
needle on the manifold gauge arrives at the area corresponding to the gas inside the system

3
Accessories for
Air Conditioning
Ventilation
Solutions
Air Curtains and
Accessories
Accessories
For Heating
Instruments &
Tools
Multi - Zone
Air Control System
7. Close the tap upstream of the manifold gauge and manually put the other needle at the same
level of the rst one
8. Wait 15/20 minutes to verify, according to the following cases:
- CASE 1: if the needles remain superimposed, there isn’t any leak
- CASE 2: if the needle of the pressure is gone down, it means that there is a leak inside the
system. Using the electronic leak detector, check the air conditioning system to nd the exact
point of the leak
9. At the end of the operation, unscrew the hose of the manifold gauge from the coupler and
slowly open its tap to discharge the Nitrogen/Hydrogen inside the system
AVVERTENZE / WARNINGS
• Usare solo in ambienti ben ventilati.
• La punta della sonda del rilevatore deve sempre essere mantenuta al riparo da impurità e
sporco. Qualora questa parte sia particolarmente sporca, sarà necessario pulirla con un panno
o con aria compressa. Non utilizzare detersivi o solventi.
• Qualora il cercafughe individui una presunta perdita, si dovrà procedere ad almeno una verica
sofando aria compressa nella zona della presunta perdita e ripetendo il controllo della parte
interessata. In caso di grosse perdite, si suggerisce di riempire la zona interessata con aria
compressa per individuare l’esatta ubicazione della perdita.
• Il sensore ha un limitato periodo di operatività. In normali condizioni, il sensore può lavorare
più di un anno. Esporre il sensore ad una alta densità di gas diminuirà ciclicamente la sua
vita operativa. È importante assicurarsi che la supercie del sensore non presenti goccioline
d’acqua, vapori, oli, grasso sporco o altre forme di contaminazione. Inoltre, per assicurarsi la
buona operatività dell’unità, il sensore deve essere sostituito periodicamente.
• Use only in well ventilated areas.
• The sensor housing tip must always be protected by impurities and dirtiness. If this part is
particularly dirty, it should be wiped of with a towel or compressed air. Don’t use detergents or
solvents.
• When the leak detector nds an apparent leak, this shall be veried at least once by blowing
compressed air into the area of the suspected leak and repeating the check. In cases of large
leaks, blow out the area with compressed air to locate the exact position of the leak.
• The sensor has a limited operative period. Under normal operation, the sensor should work
for more than one year. Expose the sensor to high gas density will shorten its life cycle. It is
important to ensure that the sensor surface is free from water drops, vapor, oil, grease, dust
and any other form of contaminant. To ensure the best working conditions, the sensor must be
replaced periodically.
Leggere attentamente le istruzioni prima dell’utilizzo e conservarle per qualunque utilizzo futuro. Si
declina ogni responsabilità per infortuni provocati da un uso improprio dell’attrezzatura o da modiche
effettuate alla stessa. Prima dell’utilizzo, vericare che l’attacco di entrata del riduttore non abbia la
lettatura danneggiata, non sia sporco, impolverato o presenti tracce di grasso. Proteggere dai raggi
solari. Non esporre a temperature superiori ai 50 °C. Tenere lontano da materiali inammabili. Tenere
lontano dalla portata dei bambini. Conservare in luogo fresco e asciutto. Non perforare o bruciare la
bombola nemmeno dopo l’uso. Non disperdere nell’ambiente. Solo per uso professionale.
Read carefully the instruction before to use and keep them for future uses. The manufacturer shall not
be held liable for accidents and/or injuries to persons or damage to property due to an improper use
of the equipment or to a modication on it. Keep out of the reach of children. Professional use only.
Protect from direct sunlight. Do not expose to temperature exceeding 50°C/120°F. Keep away from
ammable materials. Store in a cool, dry place. Do not puncture, pierce or incinerate, even after use.
Discard in a safe place.
4
Accessories for
Air Conditioning
Ventilation
Solutions
Air Curtains and
Accessories
Accessories
For Heating
Instruments &
Tools
Multi - Zone
Air Control System
Tecnosystemi S.p.A.
via dell’Industria, 2/4 - Z.I. San Giacomo di Veglia
31029 Vittorio Veneto (Treviso) - Italia
Tel +39 0438.500044 - Fax +39 0438.501516
Numero Verde 800 904474 (only for Italy)
email: [email protected]
C.F. - P. IVA - R.I.TV IT02535780247 Cap. Soc. € 5.000.000,00 i.v.
www.tecnosystemi.com
GARANZIA / WARRANTY
La garanzia ha durata di 2 anni a decorrere dalla data di consegna.
L’azienda fornitrice garantisce la qualità dei materiali impiegati e la corretta realizzazione dei componenti. La
garanzia copre difetti di materiale e di fabbricazione e si intende relativa alla fornitura dei pezzi in sostituzione
di qualsiasi componente che presenti difetti, senza che possa venir reclamata alcuna indennità, interesse o
richiesta di danni.
La garanzia non copre la sostituzione dei componenti che risultano danneggiati per:
• trasporto non idoneo;
• installazione non conforme a quanto specicato in questo manuale di installazione uso e manutenzione;
• la non osservanza delle speciche tecniche di prodotto;
• quant’altro non riconducibile a vizi originari del materiale o di produzione a condizione che il reclamo del
cliente sia coperto dalla garanzia e noticato nei termini e modalità richiesta dal fornitore, lo stesso si
impegnerà, a sua discrezione, a sostituire o riparare ciascun prodotto o le parti di questo che presentino
vizi o difetti.
The warranty lasts 2 years from the date of delivery.
The supplier company guarantees the quality of the materials used and the correct construction of the
components. The warranty covers defects in materials and manufacturing defects and refers to the supply of
spare parts of any components featuring defects, without any compensation, interest or claim for damages.
The warranty does not cover the replacement of components damaged due to:
• incorrect transportation;
• installation not compliant with that specied in this installation, use and maintenance manual;
• non-observance of product technical specications;
• Anything else that is not linked to original faults of the material or production provided that the
customer complaint is covered by the guarantee and a claim is made within the time limit and
in the way requested by the supplier, the same supplier will commit, at their own discretion,
to replace or repair any product or part of product showing signs of faults or defects.
SMALTIMENTO / DISPOSAL
Alla ne della sua vita utile il prodotto non deve essere smaltito insieme ai riuti urbani. Può essere
consegnato presso gli appositi centri di raccolta differenziata predisposti dalle amministrazioni
comunali, oppure presso i rivenditori che forniscono questo servizio. Per rimarcare l’obbligo di
smaltire separatamente gli elettrodomestici, sul prodotto è riportato il marchio del contenitore di
spazzatura mobile barrato.
At the end of its useful life, the product must not be disposed of with household waste. It can be
deposited at a dedicated recycling centre run by local councils, or at retailers who provide such a
service. To highlight the requirement to dispose of household electrical items separately, there is a
crossed-out waste paper basket symbol on the product.
Table of contents
Other Tecnosystemi Security Sensor manuals

Tecnosystemi
Tecnosystemi TSCE-J1 User manual

Tecnosystemi
Tecnosystemi Toolsplit TSCE-100 User manual

Tecnosystemi
Tecnosystemi Toolsplit TSCE-900 User manual

Tecnosystemi
Tecnosystemi Toolsplit TSCE-H User manual

Tecnosystemi
Tecnosystemi Toolsplit TSCE-300 User manual

Tecnosystemi
Tecnosystemi Toolsplit TSCE-500 User manual
Popular Security Sensor manuals by other brands

Simplex
Simplex 2098-9201 Cleaning instructions

V-TAC
V-TAC VT-80301 instruction manual

Electronics Line
Electronics Line EL-4800 installation instructions

MICRO-EPSILON
MICRO-EPSILON capaNCDT 6228 operating instructions

Vertiv
Vertiv GEIST RTAFHD3 Quick installation manual

Takex
Takex PB-30SU instruction manual