Tecnosystemi Toolsplit TSCE-300 User manual

MANUALE D’USO / USER MANUAL
Tecnosystemi S.p.A. - Società Benefit
www.tecnosystemi.com
via dell’Industria, 2/4 - Z.I. San Giacomo di Veglia
31029 Vittorio Veneto (Treviso) - Italy
Phone +39 0438.500044 Fax +39 0438.501516
Numero Verde 800 904474 (only for Italy)
email: [email protected]
C.F. - P. IVA - R.I.TV IT02535780247 | Cap. Soc. € 5.000.000,00 i.v.
REV. 03 / 25-08-2022
COD. C10001513
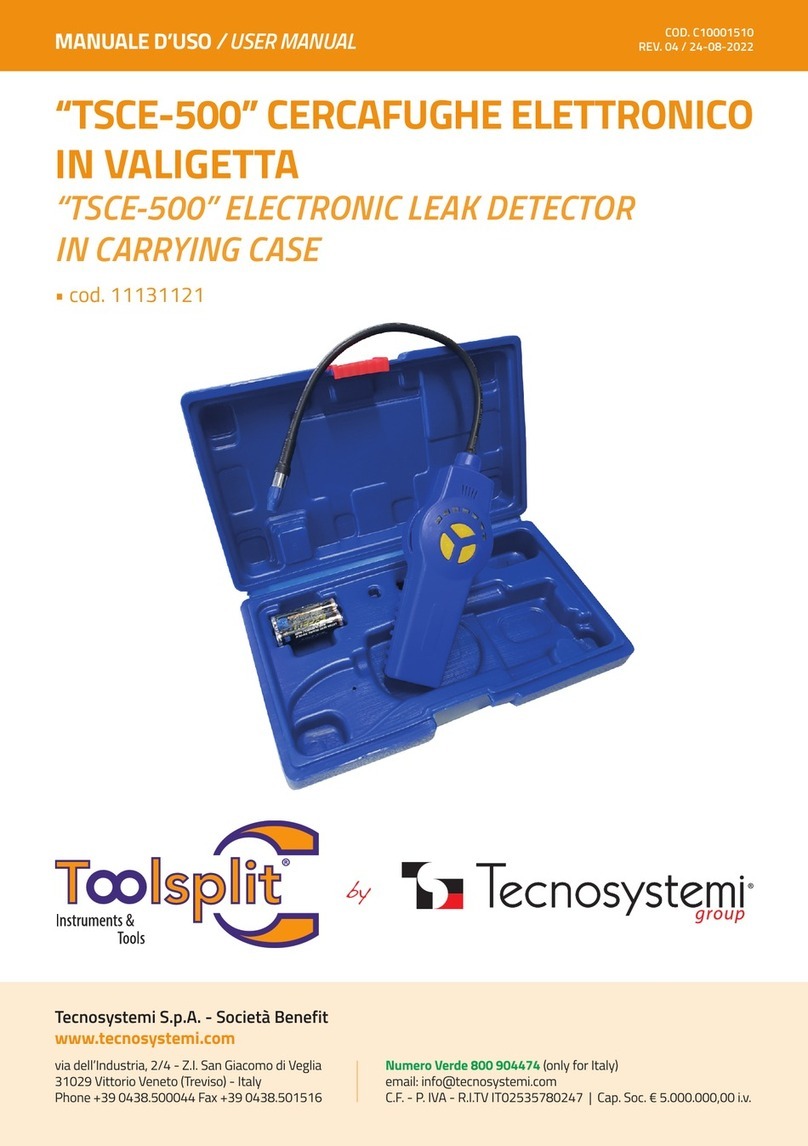
“TSCE-300” CERCAFUGHE ELETTRONICO
IN VALIGETTA
“TSCE-300” ELECTRONIC LEAK DETECTOR
IN CARRYING CASE
• cod. 11132033

2
• Tensione di alimentazione: 3 Vdccon due batterie alcaline
• Allarme a 6 livelli con colore singolo
• Autonomia di funzionamento: 30 ora circa
• Durata elemento sensibile: 20 ore circa
• Temperatura di funzionamento: da 0°C a 52°C
• Tempo di risposta: immediato
• Tempo di reset: 2 secondi
• Sensibilità finale: meno di 3 gr/anno per tutti i refrigeranti alogenati
• Peso in gr: 560
• Dimensioni in mm: 229x65x65
• Valigetta per il trasporto
CARATTERISTICHE TECNICHE
/ TECHNICAL FEATURES
• Power supply voltage: 3V DC with two alkaline batteries
• 7-level alarm
• Operating autonomy: approximately 30 hours
• Sensitive element duration: approximately 20 hours
• Operating temperature: from 0 ° C to 52 ° C
• Response time: immediate
• Reset time: 2 seconds
• Final sensitivity: less than 3 g / year for all halogenated refrigerants
• Weight in gr: 560
• Dimensions in mm: 229x65x65
• Transport case
1. Punta sensibile
2. Protezione per punta
3. On/Off
4. Tasto di Reset
5. Aumento di senbilità
6. Diminuzione di senbilità
7. Led di indicazione perdite
8. Sonda flessibile
STRUTTURA DELLO STRUMENTO
/ STRUCTURE OF THE INSTRUMENT
1
2
8
3
5
6
4
7
1. Punta sensibile
2. Tip protection
3. On/Off
4. Reset button
5. Increase sensitivity
6. Decrease sensitivity
7. Leak indication LED
8. Flexible probe

3
Aprire il compartimento delle batterie situato nella parte bassa dello strumento. Installare le batterie, (polo
positivo verso l’esterno)
INSTALLAZIONE BATTERIE
/ BATTERY INSTALLATION
Open the battery compartment at the bottom of the instrument. Install the batteries; the positive pole goes outwards.
INDICAZIONE DI ENERGIA/TEST PER BAT.
/ ENERGY INDICATION / BATTERY TEST
Lo strumento è provvisto di due indicatori per lo stato di energia delle batterie; un indicatore di energia
costante ed un test di funzionamento batterie. L’indicatore di energia permette di vedere il livello di energia
della batteria costantemente.
L’indicatore led resta acceso ogni qualvolta lo strumento è acceso. Può apparire in 3 colori diversi (fig. 3).
The instrument is equipped with two indicators for the energy status of the batteries; a constant energy indicator and a
battery operation test. The energy indicator allows you to see the battery energy level constantly.
The LED indicator stays on whenever the instrument is turned on. It can appear in 3 different colors (fig. 3).
VERDE: il voltaggio è normale, sufficiente per un uso corretto.
ARANCIO: il voltaggio si avvicina al punto più basso per poter operare, rimpiazzare le batterie il prima possibile.
ROSSO: il voltaggio è inferiore a quello accettato per una normale operatività.
Il test di operatività delle batterie si attiva premendo il tasto battery test. Una volta premuto il led
corrispondente al voltaggio mostrerà un indicatore a 3 colori rispecchiante il voltaggio delle batterie. Il numero
di led accesi indica il livello di voltaggio.
Il display del voltaggio restrà fintanto che resterà premuto il bottone per il test.
Rilasciando il bottone, lo strumento tornerà alla normale operatività. Questa funzione può essere attivata in
ogni momento senza attivare nessun tipo di allarme.

4
GREEN: the voltage is normal, sufficient for correct use.
ORANGE: the voltage is approaching the lowest point to be able to operate, replace the batteries as soon as possible.
RED: the voltage is lower than that accepted for normal operation.
The battery operation test is activated by pressing the battery test button. Once pressed, the led corresponding to the voltage
will show a 3-color indicator reflecting the voltage of the batteries. The number of LEDs lit indicates the voltage level.
The voltage display will remain as long as the test button is pressed.
Releasing the button, the instrument will return to normal operation. This function can be activated at any time without
activating any type of alarm.
CIRCUITO AUTOMATICO: quando lo si accende, lo strumento automaticamente si mette in condizione di
ignorare il livello di refrigerante presente nella punta. Solo un livello, o concentrazione, superiore di quella
nella punta farà scattare l’allarme.
Attenzione: stare attenti che questo causerà lo spegnimento dello strumento, non verrà rilevata la perdita.
FUNZIONE DI RIPRISTINO: premendo reset durante l’operazione si svilupperà una situazione simile. Quando
il bottone è premuto si instaura un programma che ignorerà automaticamente il livello di refrigerante
presente nella punta. L’unità può essere spostata all’aria e ripristinata alla massima sensibilità. Riprestinare
l’unità senza refrigerante presente (aria fresca) fa si che ogni livello sopra lo zero sia scoperto. Ogniqualvolta
l’unità viene riprestinata il led tornerà rosso per 2 secondi. Questo permette di avere una conferma visiva
dell’avvenuto ripristino.
CIRCUITO AUTOMATICO / FUNZIONE RIPRISTINO
/ AUTOMATIC CIRCUIT/ RESET FUNCTION
AUTOMATIC CIRCUIT: when it is turned on, the instrument automatically puts itself in a position to ignore the level of
refrigerant present in the tip. Only a level, or concentration, higher than that in the tip will trigger the alarm.
Warning: be aware that this will cause the instrument to shut down, the leak will not be detected.
RESET FUNCTION: pressing reset during the operation will result in a similar situation. When the button is pressed, a program
is set up which will automatically ignore the level of coolant present in the tip. The unit can be moved in the air and restored
to maximum sensitivity. Restarting the unit without refrigerant present (fresh air) ensures that any level above zero is
uncovered. Whenever the unit is restarted, the LED will turn red for 2 seconds. This allows you to have a visual confirmation
of the restoration.
Lo strumento possiede 6 livelli di allarme. Questo permette un’indicazione chiara delle dimensioni e
dell’intensità delle perdite. L’aumento di livello di allarme indica che ci sta avvicinando alla fonte (alta
concentrazione). Ogni livello viene indicato con l’aumento dei led di colore rosso. (fig.4)
Il display mostrerà il colore rosso da sinistra a destra.
INDICATORE DI ALLARME
/ ALARM INDICATOR

5
The instrument has 6 alarm levels. This allows a clear indication of the size and intensity of the losses. The increase in the
alarm level indicates that it is approaching the source (high concentration). Each level is indicated by the increase of the red
LEDs. (fig. 4)
The display will show red color from left to right.
FIG. 5
• Accendere lo stumento premendo ON/OFF. Lo schermo si illumminerà indicando il led di sinistra verde e gli
altri rossi per 4 secondi.
• Verificare il livello delle batterie.
• Cominciare la ricerca della perdita (fig.5). Quando il refrigerante viene trovato, il tono dell’audio cambierà
con una sirena, inoltre il display si accenderà progressivamente come spiegato.
• Se l’allarme suona prima che la fuga sia trovata, premere reset per ripristinare lo strumento.
ISTRUZIONI PER L’USO
/ INSTRUCTIONS FOR USE
• Turn the instrument on by pressing ON / OFF. The screen will light up indicating the left green LED and the other red ones
for 4 seconds.
• Check the battery level.
• Start the search for the leak (fig. 5). When the refrigerant is found, the audio tone will change with a siren, and the display
will turn on progressively as explained.
• If the alarm sounds before the leak is found, press reset to reset the instrument.

6
SMALTIMENTO
DISPOSAL
GARANZIA
WARRANTY
Alla fine della sua vita utile il prodotto non deve essere smaltito insieme ai rifiuti urbani. Può essere
consegnato presso gli appositi centri di raccolta differenziata predisposti dalle amministrazioni
comunali, oppure presso i rivenditori che forniscono questo servizio. Per rimarcare l’obbligo di smaltire
separatamente gli elettrodomestici, sul prodotto è riportato il marchio del contenitore di spazzatura
mobile barrato.
At the end of its useful life, the product must not be disposed of with household waste. It can be deposited at
a dedicated recycling centre run by local councils, or at retailers who provide such a service. To highlight the
requirement to dispose of household electrical items separately, there is a crossed-out waste paper basket
symbol on the product.
La garanzia ha durata di 1 (uno) anno a decorrere dalla data di consegna indicata sul d.d.t (bolla). E’ prevista altresì
l’estensione d’ufficio, a titolo gratuito, per il secondo anno (due anni complessivi di garanzia) con decorrenza sempre
dalla data indicata nel d.d.t di consegna (bolla).
L’azienda fornitrice garantisce la qualità dei materiali impiegati e la corretta realizzazione dei componenti. La garanzia
copre difetti di materiale e di fabbricazione e si intende relativa alla fornitura dei pezzi in sostituzione di qualsiasi
componente che presenti difetti, senza che possa venir reclamata alcuna indennità, interesse o richiesta di danni.
La garanzia non copre la sostituzione dei componenti che risultano danneggiati per:
• trasporto non idoneo;
• installazione non conforme a quanto specificato in questo manuale di installazione uso e manutenzione;
• la non osservanza delle specifiche tecniche di prodotto;
• quant’altro non riconducibile a vizi originari del materiale o di produzione a condizione che il reclamo del cliente
sia coperto dalla garanzia e notificato nei termini e modalità richiesta dal fornitore, lo stesso si impegnerà, a sua
discrezione, a sostituire o riparare ciascun prodotto o le parti di questo che presentino vizi o difetti.
The warranty is valid for 2 (two) years from the delivery date indicated on the delivery note / waybill.
The supplier company guarantees the quality of the materials used and the correct construction of the components. The
warranty covers defects in materials and manufacturing defects and refers to the supply of spare parts of any components
featuring defects, without any compensation, interest or claim for damages.
The warranty does not cover the replacement of components damaged due to:
incorrect transportation;
installation not compliant with that specified in this installation, use and maintenance manual;
non-observance of product technical specifications;
Anything else that is not linked to original faults of the material or production provided that the
customer complaint is covered by the guarantee and a claim is made within the time limit and
in the way requested by the supplier, the same supplier will commit, at their own discretion,
to replace or repair any product or part of product showing signs of faults or defects.


7
NOTE
NOTES

·
W
E
A
R
E
A
B
E
N
E
F
I
T
C
O
M
P
A
N
Y
·
W
E
A
R
E
A
B
E
N
E
F
I
T
C
O
M
P
A
N
Y
·
W
E
A
R
E
A
B
E
N
E
F
I
T
C
O
M
P
A
N
Y
Tecnosystemi S.p.A. Società Benefit
www.tecnosystemi.com
via dell’Industria, 2/4 - Z.I. San Giacomo di Veglia
31029 Vittorio Veneto (Treviso) - Italia
Tel +39 0438.500044 - Fax +39 0438.501516
email: [email protected]
C.F. - P. IVA - R.I.TV IT02535780247
Cap. Soc. € 5.000.000,00 i.v.
800 904474
ONLY FOR ITALY
WATCH OUR
INSTITUTIONAL VIDEO
II
SS
OO
9
9
0
0
0
0
1
1
S
S
Y
Y
S
S
T
T
E
E
MM
CC
EE
RR
TT
II
FF
II
C
C
A
A
T
T
I
I
O
O
N
N
This manual suits for next models
1
Table of contents
Other Tecnosystemi Security Sensor manuals

Tecnosystemi
Tecnosystemi Toolsplit TSCE-100 User manual

Tecnosystemi
Tecnosystemi Toolsplit TSCE-H User manual

Tecnosystemi
Tecnosystemi Toolsplit TSCE-900 User manual

Tecnosystemi
Tecnosystemi TSCE-J1 User manual

Tecnosystemi
Tecnosystemi Toolsplit 11132315 User manual

Tecnosystemi
Tecnosystemi Toolsplit TSCE-500 User manual
Popular Security Sensor manuals by other brands

Nortech Detection Pty Ltd
Nortech Detection Pty Ltd PD130 Short form User Manual

Vimar
Vimar NEVE UP 09467 manual

BW Technologies
BW Technologies GasAlertClip Extreme 2 Year instruction sheet

LEGRAND
LEGRAND Wattstopper PW-311-U installation instructions

netvox
netvox RA08D Series user manual

Hytronik
Hytronik HIM54 manual