manuals.online logo
Brands
  1. Home
  2. •
  3. Brands
  4. •
  5. Crow
  6. •
  7. Security Sensor
  8. •
  9. Crow SWAN QUAD User manual

Crow SWAN QUAD User manual

INSTALLATION INSTRUCTIONS
SWAN QUAD
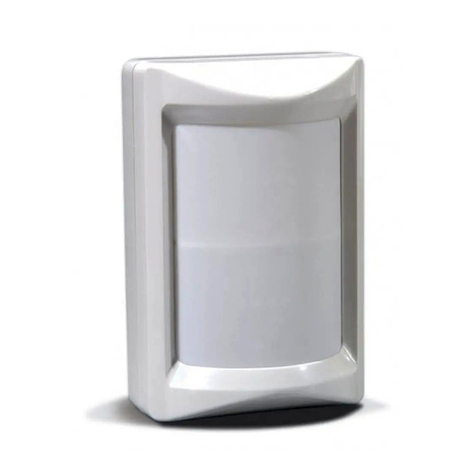
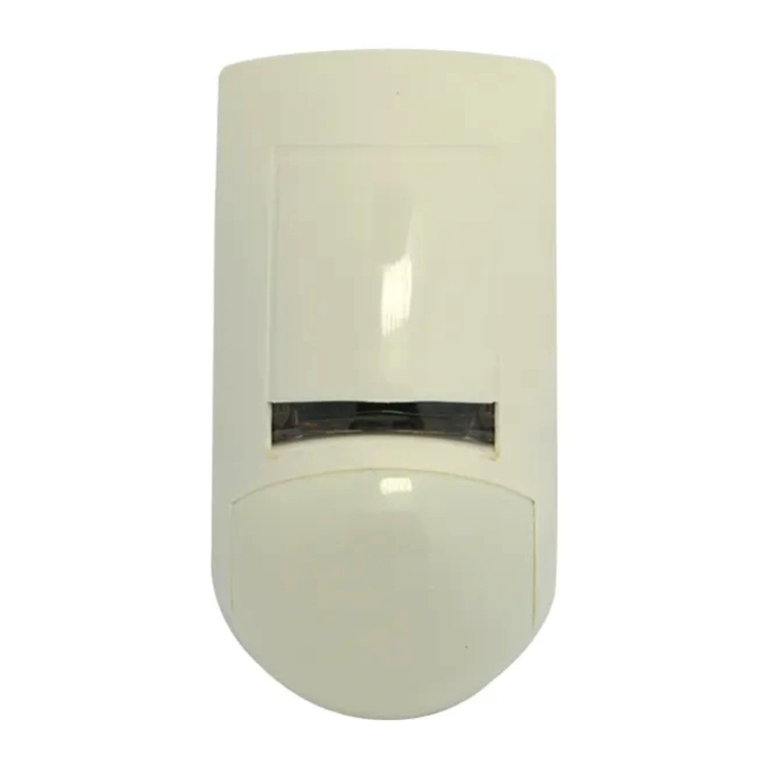
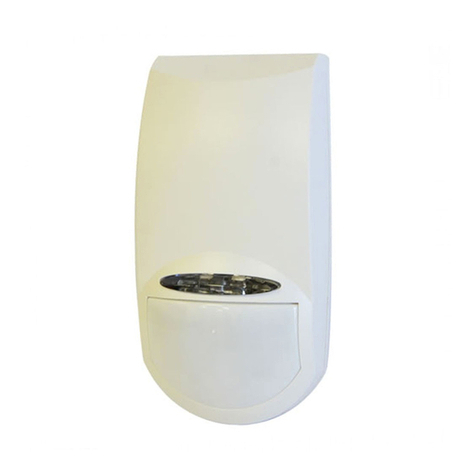
PIR MOTION DETECTOR With PET IMMUNITY up to 25 kg
PRODUCT FEATURES
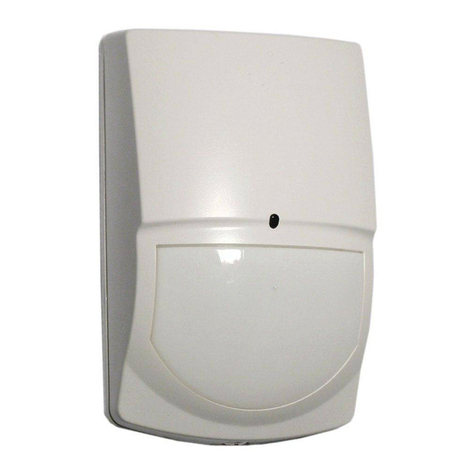
The SWAN QUAD detector uses a special
designed optical Lens with unique Quad (Four
element) PIR Sensor and new ASIC based
electronics optimized to eliminate false alarms,
caused by small animals and Pets.
The SWAN QUAD provides unprecedented levels
of immunity against visible light.
The Detector offers an exceptional level of
detection capability and stability for every security
installation.
The SWAN QUAD is supplied with a Wide Angle
lens.
• Quad Linear Imaging Technology for sharp
analysis of body dimensions and differentiation
from background and animals.
• ASIC based electronics.
• Immunity to animals up to 25kg.
• 18m Detection Range with Wide Angle Lens.
• Temperature compensation.
• Compact Design for Residential Installation.
• Variable pulse width adjustment.
• Sensitivity adjustment.
• Environmental immunity.
• Height installation calibration free
(1.8m – 2.4m).
• LED Remote function.
SELECT MOUNTING LOCATION
Choose a location most likely to intercept an intruder.
(Our recommendation is a corner installation). See
detection pattern fig.3. The quad-element high quality
sensor detects motion crossing the beam; it is slightly
less sensitive detecting motion toward the detector.
The SWAN quad performs best when provided with a
constant and stable environment and background.
AVOID THE FOLLOWING LOCATIONS
• Facing direct sunlight.
• Facing areas that may change temperature
rapidly.
• Areas where there are air ducts or substantial
airflows.
WIRE SIZE REQUIREMENTS
Use #22 AWG (0.5 mm) or wires with a larger
diameter. Use the following table to determine the
required wire gauge (diameter) depending on the
length of wire between the detector and the control
panel.
Wire Length m 200 300 400 800
Wire Diameter mm .5 .75 1.0 1.5
Wire Length ft. 800 1200 2000 3400
Wire Gauge # 22 20 18 16
DETECTOR INSTALLATION
The detector can either be wall or corner mounted.
If ceiling or special wall mounting is required, use the
optional bracket base. Refer to bracket description.
(See fig. 6).
1.To remove the front cover, unscrew the holding screw
and gently raise the front cover.
Fig.1
2. To remove the PC board, carefully unscrew the
holding screw located on the PC board.
3. Break out the desired holes for proper installation.
Fig.2
4.The circular and rectangular indentations at the
bottom base are the knockout holes for wire entry.
You may also use mounting holes that are not in use
for running the wiring into the detector. (For Bracket
option - lead wire through the bracket)
5.Mount the detector base to the wall, corner or ceiling.
(For bracket installation option see fig. 6).
6.Reinstall the PC board by fully tightening the holding
screw. Connect wire to terminal block.
7.Replace the cover by inserting it back in the
appropriate closing pins and screw in the holding
screw.
DETECTOR CONNECTION
1 2 3 4 5 6 7 8
Terminal 1 - Marked “ - ” (GND)
Connect to the negative Voltage Supply or ground of
the control panel.
Terminal 2 - Marked “ + ” (+12V)
Connect to a positive Voltage Supply of 8.2 -16Vdc
source (usually from the alarm control unit)
Terminals 3 & 6 - Marked “ EOL ” – End of line option.
Terminals 4 & 5 - Marked “ TAMPER ”
If a Tamper function is required connect these
terminals to a 24-hour normally closed protective zone
in the control unit. If the front cover of the detector is
opened, an immediate alarm signal will be sent to the
control unit.
Terminals 7 & 8 - Marked “RELAY ”
These are the output relay contacts of the detector.
Connect to a normally closed zone in the control panel.
TESTING THE DETECTOR
Wait one minute after applying 12 Vdc power for warm
up
time. Conduct testing with the protected area cleared
of all people.
Walk test
1. Remove front cover.
2. Set LED to ON position.
3. Reassemble the front cover.
4. Start walking slowly across the detection zone.
5. Observe that the LED lights whenever motion is
detected.
6. Allow 5 sec. between each test for the detector to
stabilize.
7. After the walk test is completed, you can set the
LED to OFF position.
NOTE:
Walk tests should be conducted, at least once a year,
to confirm proper operation and coverage of the
detector.
Fig.3
Fig.4
P/N 7101570 REV. A Y.S - A.Y. - 1 -
Holding screw
A
. Wire access holes
B. Use for flat wall
mounting
C. Corner mounting -
use all 4 holes.
Sharp left or right
angle mounting -
use 2 holes (top
and bottom)
D. For bracket
mounting
C
A
D
A A
B
B
B
B
C
C
C
INSTALLATION INSTRUCTIONS
SWAN QUAD
PIR MOTION DETECTOR With PET IMMUNITY up to 25 kg
SETTING UP THE DETECTOR
PET IMMUNITYJUMPER SETTING
This jumper is used for setting the PET Immune
function - up to 15kg or 25kg, depending on the pet
size.
PULSE WIDTH JUMPER SETTING
This jumper is used for setting the PULSE count
function in order to provide PIR sensitivity control
according to the environment.
LED ENABLE JUMPER SETTING
This jumper is used for setting - LED Enable / Disable.
Note: The LED Switch does not affect the operation of
the relay.
When an intrusion is detected, the LED will activate
and the alarm relay will switch into alarm condition for
2 sec.
PIR SENSITIVITY ADJUSTMENT
Use the Potentiometer marked “SENS” to adjust the
detection sensitivity between 15% and 100%, according
to walk test in the protected area.
(Factory set to 57%)
Rotate the potentiometer clockwise to increase range,
counter-clockwise to decrease range.
BLOCK CONNECTOR
TAMPER
PULSE WIDTH JUMPER
LED
PYROSENSOR
SENSITIVITY
ADJUSTMENT LED
JUMPE
R
PET IMMUNITY
JUMPER
Fig.5
BRACKET INSTALLATION OPTION
Ceiling bracket base Wall bracket base
Fig. 6
TECHNICAL SPECIFICATION
MODEL SWAN QUAD
Detection Method Quad (Four element) PIR
Power Input 8.2 to 16 VDC
Current Draw Standby: 8mA (±5%)
Active: 10mA (±5%)
Temperature
Compensation YES
Pulse Width Adjustable
Alarm Period 2 sec (±0.5sec)
Alarm Output N.C 28VDC 0.1 A with
27Ohm series protection
resistor
Tamper Switch N.C 28VDC 0.1A with
10 Ohm series protection
resistor - open when cover
is removed
Warm Up Period 60sec (±5sec)
LED Indicator LED is ON during alarm
Operating Temperature -20
°
C to +60
°
C
RFI Protection 30V/m 10 - 1000MHz
EMI Protection 50,000V of electrical
interference from lightning
or power through
Dimensions 92mm x 59mm x 37mm
Weight 40gr
Immune to pet
weighting up to 15 kg
Immune to pet
weighting up to 25 kg
Very stable environment
Jumper #1 = ON
Without PET
Moderate nuisance situation
Jumper #2 = ON
PET up to 15 kg
Relatively high chance of false
alarms
Jumper #3 = ON
PET up to 25 kg
ON -
LED ENABLE. The LED will
activate when the detector is in
alarm condition.
OFF -
LED DISABLE, The LED is
disabled.
N345

Other Crow Security Sensor manuals

Crow GENIUS Setup guide

Crow

Crow GENIUS Setup guide

Crow SWAN 1000 User manual

Crow

Crow SWAN 1000 User manual

Crow BS-1 Manual

Crow

Crow BS-1 Manual

Crow SH-PIR-8F User manual

Crow

Crow SH-PIR-8F User manual

Crow TLC-360 User manual

Crow

Crow TLC-360 User manual

Crow SRDT-15 User manual

Crow

Crow SRDT-15 User manual

Crow SH-MAG-SHOCK-8F User manual

Crow

Crow SH-MAG-SHOCK-8F User manual

Crow MRX-220N User manual

Crow

Crow MRX-220N User manual

Crow SH-SIRINT-9F User manual

Crow

Crow SH-SIRINT-9F User manual

Crow NEO QUAD User manual

Crow

Crow NEO QUAD User manual

Crow EDS-2000 Manual

Crow

Crow EDS-2000 Manual

Crow TL-360 User manual

Crow

Crow TL-360 User manual

Crow SRDT-15 User manual

Crow

Crow SRDT-15 User manual

Crow EDS-2000 Manual

Crow

Crow EDS-2000 Manual

Crow SH-SIRINT-8F User manual

Crow

Crow SH-SIRINT-8F User manual

Crow FW2-SMK User manual

Crow

Crow FW2-SMK User manual

Crow SH-SIRINT-8F User manual

Crow

Crow SH-SIRINT-8F User manual

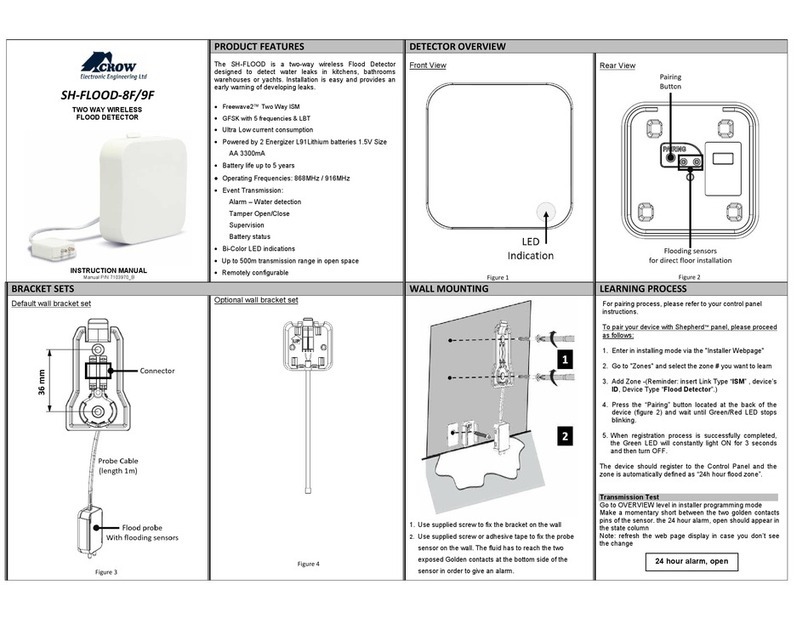
Crow FW2 FLOOD 8F User manual

Crow

Crow FW2 FLOOD 8F User manual

Crow SWAN QUAD User manual

Crow

Crow SWAN QUAD User manual

Crow FREEWAVE FW-P100 User manual

Crow

Crow FREEWAVE FW-P100 User manual

Crow EDS-2000AM User manual

Crow

Crow EDS-2000AM User manual

Crow SH-CRT-8F User manual

Crow

Crow SH-CRT-8F User manual

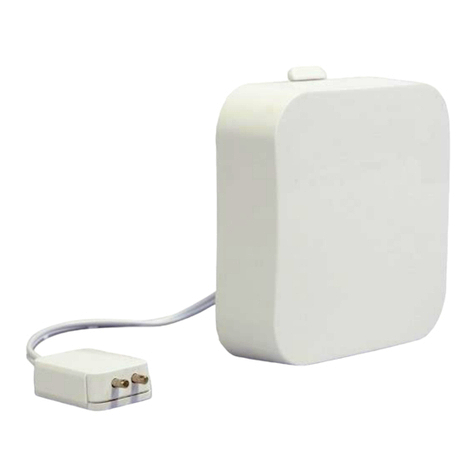
Crow SH-FLOOD-9F User manual

Crow

Crow SH-FLOOD-9F User manual

Crow SH-FLOOD-8F User manual

Crow

Crow SH-FLOOD-8F User manual

Popular Security Sensor manuals by other brands

YATO YT-73131 quick guide

YATO

YATO YT-73131 quick guide

Azatrax D2T-3W installation guide

Azatrax

Azatrax D2T-3W installation guide

Renkforce 2108038 operating instructions

Renkforce

Renkforce 2108038 operating instructions

unii UN-W2P12 installation instructions

unii

unii UN-W2P12 installation instructions

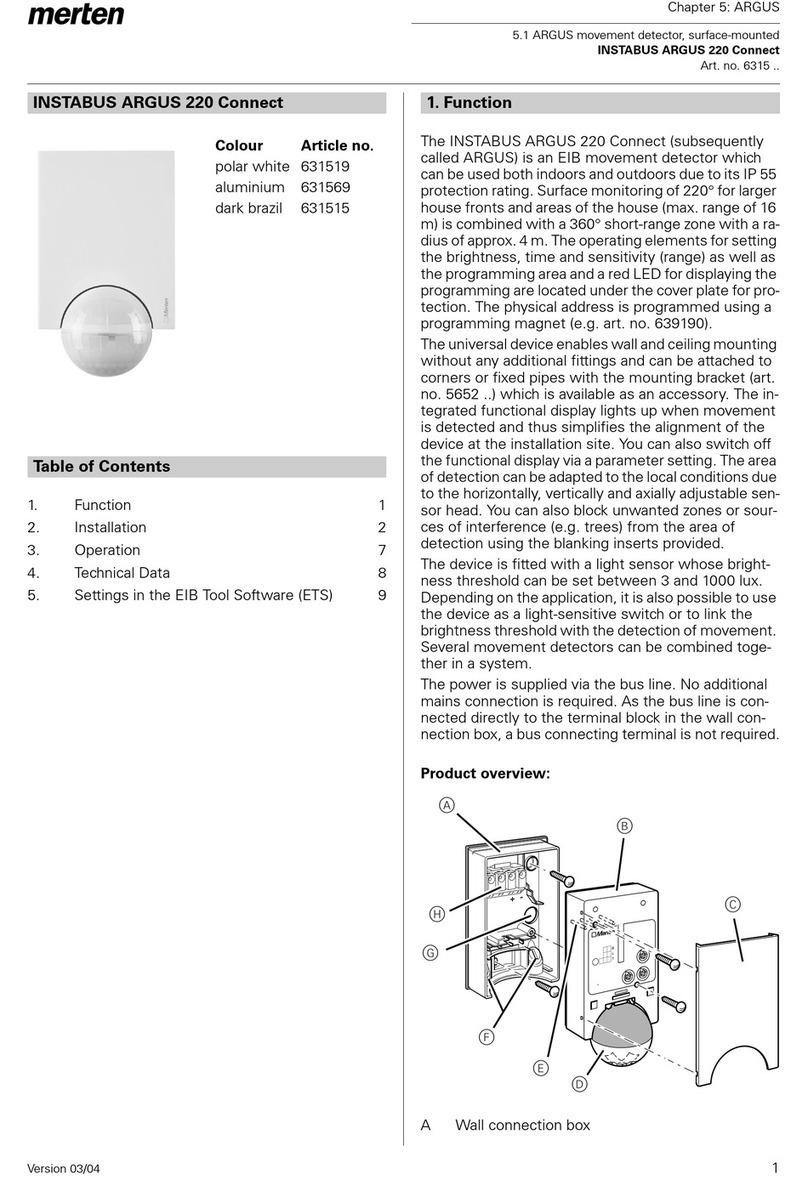
merten INSTABUS ARGUS 220 Connect manual

merten

merten INSTABUS ARGUS 220 Connect manual

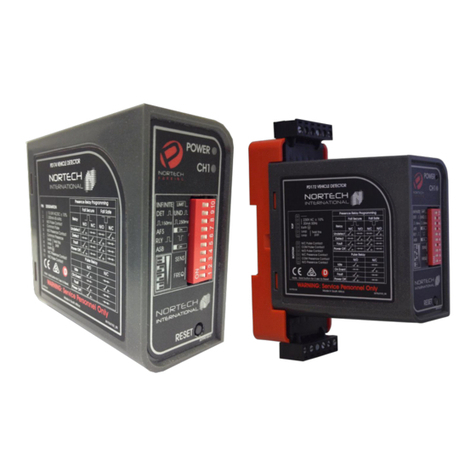
Nortech PD17 Series user manual

Nortech

Nortech PD17 Series user manual

Fisher Research Labs XLT-100 operating manual

Fisher Research Labs

Fisher Research Labs XLT-100 operating manual

Elcometer 500 operating instructions

Elcometer

Elcometer 500 operating instructions

Gossen MetraWatt METRAFUSE FD PRO operating instructions

Gossen MetraWatt

Gossen MetraWatt METRAFUSE FD PRO operating instructions

Feig Electronic VEK MNE2-R230-E operating instructions

Feig Electronic

Feig Electronic VEK MNE2-R230-E operating instructions

Baolong TMSS6D4 Operation manual

Baolong

Baolong TMSS6D4 Operation manual

Polimaster PM1704 Operation manual

Polimaster

Polimaster PM1704 Operation manual

hyfire TAURUS TAU-MC-01 quick start guide

hyfire

hyfire TAURUS TAU-MC-01 quick start guide

Edwards GasCheck G3 Magshield Addendum

Edwards

Edwards GasCheck G3 Magshield Addendum

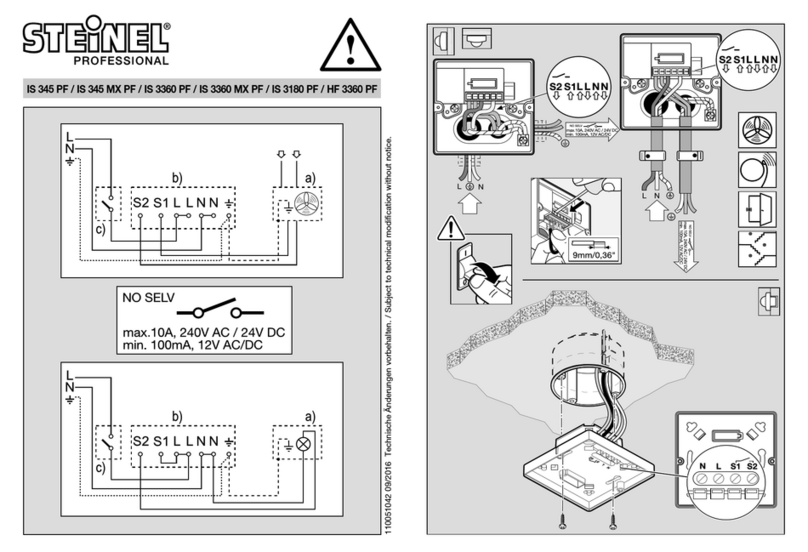
STEINEL PROFESSIONAL IS 345 MX PF manual

STEINEL PROFESSIONAL

STEINEL PROFESSIONAL IS 345 MX PF manual

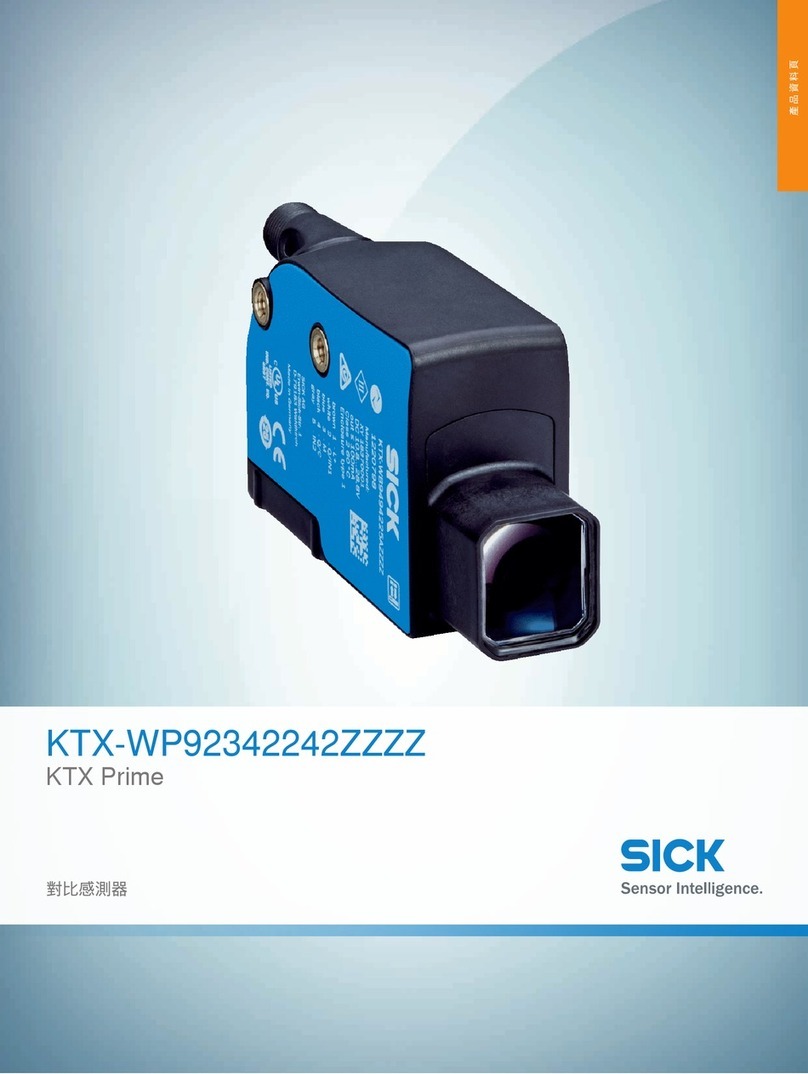
SICK Prime KTX-WP92342242ZZZZ manual

SICK

SICK Prime KTX-WP92342242ZZZZ manual

LG 17HQ701G-BP.AEU owner's manual

LG

LG 17HQ701G-BP.AEU owner's manual

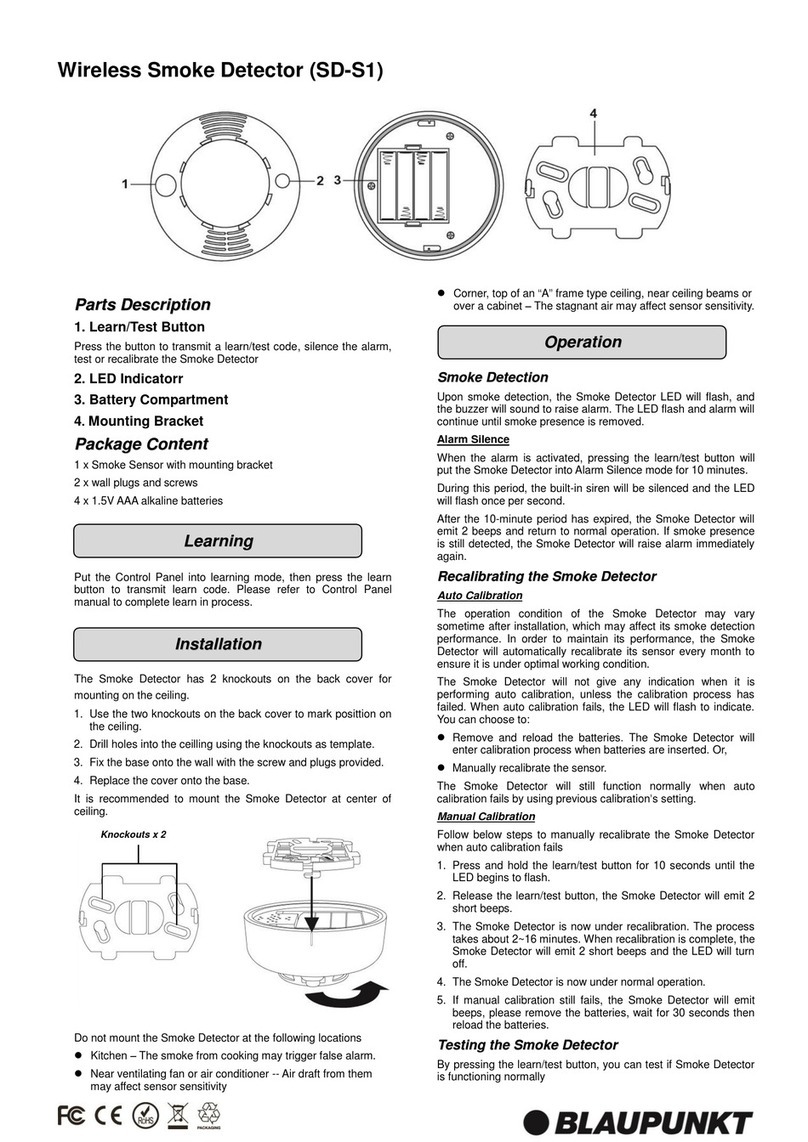
Blaupunkt SD-S1 manual

Blaupunkt

Blaupunkt SD-S1 manual

manuals.online logo
manuals.online logoBrands
  • About & Mission
  • Contact us
  • Privacy Policy
  • Terms and Conditions

Copyright 2025 Manuals.Online. All Rights Reserved.