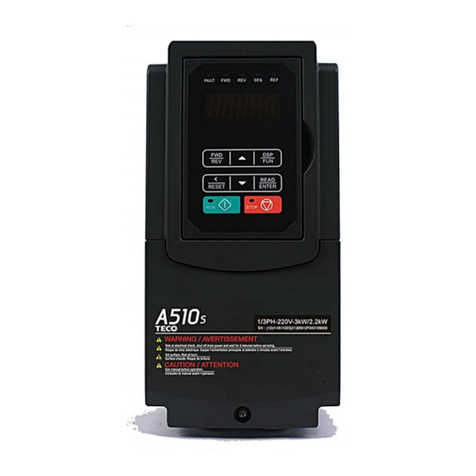
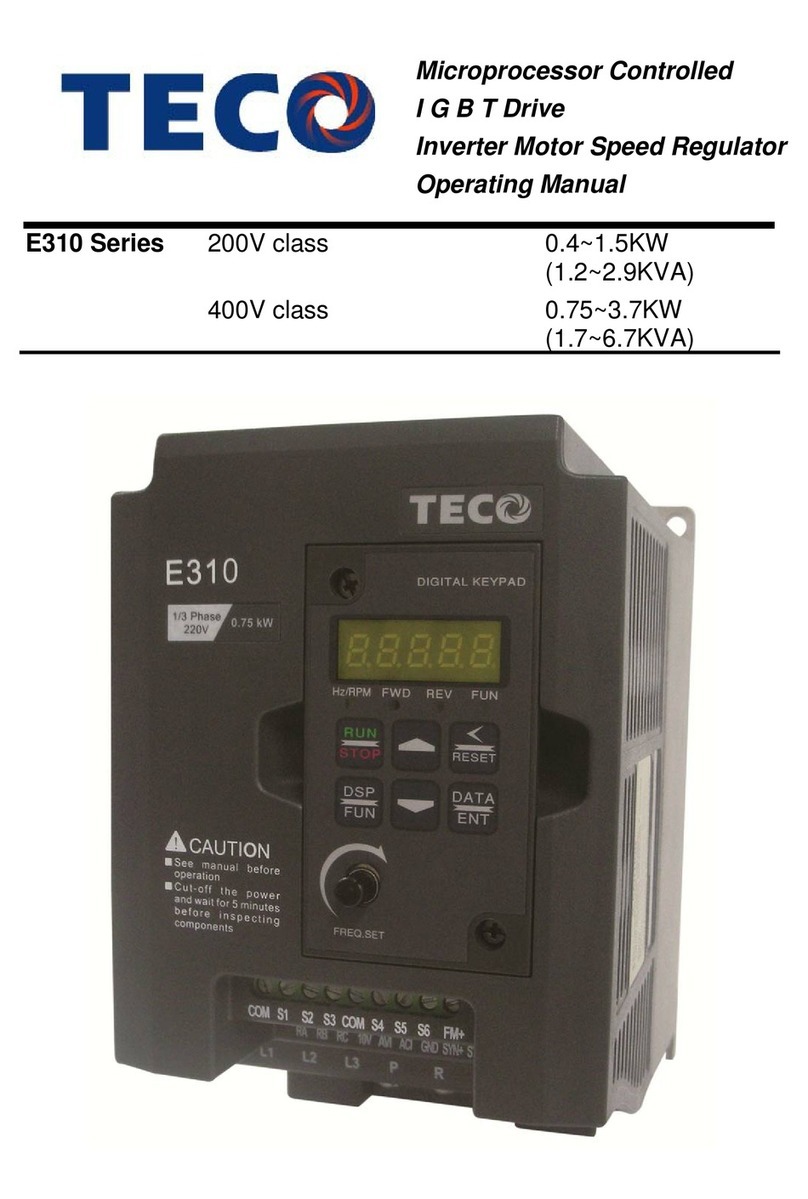
TECO e510 series User manual


I
E510 Table of Contents
Chapter 0 Preface 0-1
0.1 Preface 0-1
Chapter 1 Safety Precautions 1-1
1.1 Before Power UP 1-1
1.2 During Power UP 1-2
1.3 Before Operation 1-2
1.4 During Operation 1-2
1.5 Inverter Disposal 1-3
Chapter 2 Part Number Definition 2-1
2.1 Model Part Number 2-1
2.2 Standard Product Specification 2-2
Chapter 3 Environment & Installation 3-1
3.1 Environment 3-1
3.2 Installation 3-2
3.2.1 Installation method 3-2
3.2.2 Installation space 3-15
3.2.3 De-rating curve 3-17
3.3 Wiring guidelines 3-17
3.3.1 Power Cables 3-17
3.3.2 Control Cable selection and Wiring 3-18
3.3.3 Wiring and EMC guidelines 3-19
3.3.4 Failure liability 3-20
3.3.5 Considerations for peripheral equipment 3-21
3.3.6 Ground connection 3-22
3.3.7 Inverter exterior 3-23
3.4 Specifications 3-29
3.4.1 Product Specifications 3-29
3.4.2 General Specifications 3-31
3.5 Standard wiring 3-33
3.5.1 Single phase 3-33
3.5.2 Single/ Three phase 3-34
3.5.3 Three phase 3-35
3.6 Terminal Description 3-36
3.6.1 Description of main circuit terminals 3-36
3.6.2 Control circuit terminal description 3-38
3.7 Outline Dimensions 3-40
3.8 EMC filter disconnection 3-49
Chapter 4 Software Index 4-1
4.1 Keypad Description 4-1
4.1.1 Operator Panel Function 4-1
4.1.2 Digital display Description 4-2
4.1.3 Digital display setup 4-4
4.1.4 Keypad Operation Example 4-5

II
4.1.5 Operation Control 4-7
4.2 Programmable Parameter Groups 4-8
4.3 Parameter Function Description 4-27
4.4 Specification Description on Built-in PLC Function 4-77
4.4.1 Basic Instruction 4-77
4.4.2 Function of Basic Instruction 4-78
4.4.3 Application Instructions 4-79
Chapter 5 Troubleshooting and Maintenance 5-1
5.1 Error Display and Corrective Action 5-1
5.1.1 Manual Reset and Auto-Reset 5-1
5.1.2 Keypad Operation Error Instruction 5-3
5.1.3 Special conditions 5-4
5.2 General troubleshooting 5-5
5.3 Troubleshooting of Inverter 5-6
5.3.1 Quick troubleshooting of Inverter 5-6
5.3.2 Troubleshooting for OC, OL error displays 5-8
5.3.3 Troubleshooting for OV, LV error 5-9
5.3.4 Motor not running 5-10
5.3.5 Motor Overheating 5-11
5.3.6 Motor runs unevenly 5-12
5.4 Routine and periodic inspection 5-12
5.5 Maintenance 5-14
Chapter 6 Peripheral Components 6-1
6.1 Reactor Specifications 6-1
6.2 Electromagnetic Contactor and No fuse circuit breaker 6-1
6.3 Fuse Specification 6-2
6.4 Brake Resistance 6-2
Appendix 1 Instructions for UL App1-1
Appendix 2 E510 Parameters Setting List App2-1
Appendix 3 E510 MODBUS Communication protocol App3-1
Appendix 4 E510 PLC Communication protocol App4-1

0-1
Chapter 0 Preface
0.1 Preface
To extend the performance of the product and ensure personnel safety, please read
this manual thoroughly before using the inverter. Should there be any problem in using the
product that cannot be solved with the information provided in the manual, contact Our’s
technical or sales representative who will be willing to help you.
※Precautions
The inverter is an electrical product. For your safety, there are symbols such as
“Danger”, “Caution” in this manual as a reminder to pay attention to safety instructions on
handling, installing, operating, and checking the inverter. Be sure to follow the instructions
for highest safety.
Danger Indicates a potential hazard that could cause death or serious
personal injury if misused.
Caution Indicates that the inverter or the mechanical system might be
damaged if misused.
Danger
¾Risk of electric shock. The DC link capacitors remain charged for five
minutes after power has been removed. It is not permissible to open the
equipment until 5 minutes after the power has been removed.
¾Do not make any connections when the inverter is powered on. Do not check
parts and signals on circuit boards during the inverter operation.
¾Do not disassemble the inverter or modify any internal wires, circuits, or
parts.
¾Ensure that the Inveter Ground terminal is connected correctly.
Caution
¾Do not perform a voltage test on parts inside the inverter. High voltage can
destroy the semiconductor components.
¾Do not connect T1(L), T2, and T3(N) terminals of the inverter to any AC input
power supply.
¾CMOS ICs on the inverter’s main board are susceptible to static electricity. Do
not touch the main circuit board.

1-1
Chapter 1 Safety Precautions
1.1 Before Power Up
Danger
¾Make sure the main circuit connections are correct Single phase L1(L),L3(N),
Three phase L1(L),L2,L3(N) are power-input terminals and must not be
mistaken for T1,T2 and T3. Otherwise, inverter damage can result.
Caution
¾The line voltage applied must comply with the inverter’s specified input
voltage.(See the nameplate)
¾To avoid the front cover from disengaging, or other damge do not carry the
inverter by its covers. Support the drive by the heat sink when transporting.
Improper handling can damage the inverter or injure personnel and should be
avoided.
¾To avoid the risk of fire, do not install the inverter on a flammable object.Install on
nonflammable objects such as metal.
¾This product provides the 24V for internal use only, do not use as the power
supply sources for other external components, such as sensors, electronic
components ... etc., otherwise it will cause adverse situation.
¾When disconnecting the remote keypad, turn the power off first to avoid any
damage to the keypad or the inverter.
Caution
¾This product is sold subject to EN 61800-3 and EN 61800-5-1.
In a domestic environment this product may cause radio interference in which
case the user may be required to apply corrective measures.
Caution
¾Work on the device/system by unqualified personnel or failure to comply with
warnings can result in severe personal injury or serious damage to material. Only
suitably qualified personnel trained in the setup, installation, commissioning and
operation of the product should carry out work on the device/system.
¾Only permanently-wired input power connections are allowed.

1-2
1.2 During Power Up
Danger
¾When the momentary power loss is longer than 2 seconds, the inverter will not
have sufficient stored power for its control circuit. Therefore, when the power is
re-applied, the run operation of the inverter will be based on the setup of
following parameters:
•Run parameters. 00-02 or 00-03.
•Direct run on power up. Parameter. 07-04 and the status of external run
switch,
Note-: the start operation will be regardless of the settings for parameters
07-00/07-01/07-02.
Danger. Direct run on power up.
If direct run on power up is enabled and inverter is set to external run
with the run FWD/REV switch closed then the inverter will restart.
Danger
Prior to use, ensure that all risks and safety implications are considered.
¾When the momentary power loss ride through is selected and the power loss is
short, the inverter will have sufficient stored power for its control circuits to
function, therefore,when the power is resumed the inverter will automatically
restart depending on the setup of parameters 07-00 & &- 7-01.
1.3 Before Operation
Caution
¾Make sure the inverter model and rating are the same as that set in parameter
13-00.
Note :On power up the supply voltage set in parameter 01-01 will flash on the
display for 2 seconds.
1.4 During Operation
Danger
¾Do not connect or disconnect the motor during operation. Otherwise, It may
cause the inverter to trip or damage the unit.

1-3
Caution
¾Do not touch heat radiating components such as heat sinks and brake
resistors.
¾The inverter can drive the motor from low speed to high speed. Verify the
allowable speed ranges of the motor and the associated machinery.
¾Risk of electric shock. The DC link capacitors remain charged for five minutes
after power has been removed. It is not permissible to open the equipment until 5
minutes after the power has been removed.
Caution
¾The Inverter should be used in environments with temperature range from
(14-104°F) or (-10 to 50°C) and relative humidity of 95%.
Danger
¾Make sure that the power is switched off before disassembling or checking
any components.
1.5 Inverter Disposal
Caution
Please dispose of this unit with care as an industrial waste and according to your
required local regulations.
¾The capacitors of inverter main circuit and printed circuit board are considered as
hazardous waste and must not be burnt.
¾The plastic enclosure and parts of the inverter such as the cover board will
release harmful gases if burnt.
Danger
¾To avoid electric shock, do not take the front cover off while power is on.
¾The motor will restart automatically after stop when auto-restart function is
enabled. In this case, care must be taken while working around the drive and
associated equipment .
¾The operation of the stop switch is different than that of the emergency stop
switch. The stop switch has to be activated to be effective. Emergency stop has
to be de-activated to become effective.

2-1
Chapter 2 Part Number Definition
2.1 Model Part Number

2-2
2.2 Standard Product Specification
Filter
Power Supply Model Supply
voltage (Vac) Frequency
(Hz) (HP) (KW) Built-in None
E510-2P5-H1F 0.5 0.4 ◎
E510-201-H1F 1 0.75 ◎
E510-202-H1F 2 1.5 ◎
Single phase
E510-203-H1F
1 ph,
200~240V
(+10%-15%) 3 2.2 ◎
E510-2P5-H 0.5 0.4 ◎
E510-201-H 1 0.75 ◎
E510-202-H 2 1.5 ◎
Single/Three
phase E510-203-H
1 & 3 ph,
200~240V
(+10%-15%) 3 2.2 ◎
E510-202-H3 5 3.7 ◎
E510-205-H3
E510-208-H3 7.5 5.5 ◎
E510-210-H3 10 7.5 ◎
E510-215-H3 15 10 ◎
E510-220-H3
3ph,
200~240V
(+10%-15%)
20 15 ◎
E510-401-H3F 1 0.75 ◎
E510-401-H3 1 0.75 ◎
E510-402-H3F 2 1.5 ◎
E510-402-H3 2 1.5 ◎
E510-403-H3F 3 2.2 ◎
E510-403-H3 3 2.2 ◎
E510-405-H3F 5 3.7 ◎
E510-405-H3 5 3.7 ◎
E510-408-H3F 7.5 5.5 ◎
E510-408-H3 7.5 5.5 ◎
E510-410-H3F 10 7.5 ◎
E510-410-H3 10 7.5 ◎
E510-415-H3F 15 10 ◎
E510-415-H3 15 10 ◎
E510-420-H3F 20 15 ◎
E510-420-H3 20 15 ◎
E510-425-H3F 25 18.5 ◎
Three phase
E510-425-H3
3ph,
380~480V
(+10%-15%)
50/60Hz
25 18.5 ◎

3-1
Chapter 3 Environment & Installation
3.1 Environment
Installation environment has a direct effect on the correct operation and the life expectancy of the
inverter, Install the inverter in an environment complying with the following conditions:
Protection
Protection class IP20
Suitable Environment
Operating
temperature
-10~40°C (-10~50°C with fan)
Note: –10 ~ 50℃inside distributor (without dustproof cover/ paster),
–10 ~ 40℃outside distributor (with dustproof cover/ paster).
If several inverters are installed in the same control panel, ensure adequate spacing
and provide the necessary cooling and ventilation for successful operation.
Storage
temperature -20~60°C
Relative
Humidity
Max 95% (without condensation)
Notice prevention of inverter freezing up.(Compliance with IEC 60068-2-78).
Shock 1G. (9.8m/s²) for 20Hz and below.
0.6G (5.88m/s²) from 20Hz to 50Hz (Compliance with IEC 60068-2-6)
Installation site
Install in an environment that will not have an adverse effect on the operation of the unit
and ensure that there is no exposure to areas such as that listed below:-
¾Direct sunlight, Rain or moisture.
¾Oil mist and salt
¾Dust, lint fibbers, small metal filings and Corrosive liquid and gas.
¾Electromagnetic interference from sources such as welding equipment.
¾Radioactive and flammable materials.
¾Excessive vibration from machines such as stamping, punching machines.
add a vibration-proof pads if necessary.
Tightening torque for terminals
TM1 TM2
Cable Size Tightening torque Cable Size Tightening torque
Model
AWG mm² kgf.cm Ibf.in Nm AWG mm² kgf.cm Ibf.in Nm
Frame1 20~12 0.52~3.33 10.20 0.006 1.0
Frame2 18~8 0.81~8.37 18.35 0.010 1.8
Frame3 14~6 2.08~13.30
Frame4 4~3 21.15~26.67 24.47 0.014 2.4
26~14 0.13~2.08 8.16 0.005 0.8
Electrical ratings of terminals
Model Horsepower Power Specification Voltage (Volt) Current(A)
0.5/1 200V~240V
Frame1 1/2 380V~480V 600 20
2/3/5 200V~240V
Frame2 3/5 380V~480V 600 45
8/10/15/20 200V~240V 600 65
Frame 3/4 8/10/15/20/25 380V~480V 600 100

3-2
The maximum rms symmetrical short circuit ratings are as follows.
Device Rating
voltage HP
Short circuit
Rating(A)
Maximum
Voltage (Volt)
220V 0.5~20 5000 240
440V 1~25 5000 480
3.2 Installation
3.2.1 Installation method
(a)Single/Three phase: 200V 0.5~1HP; Single phase: 200V 0.5~1HP; Three phase: 200V 2HP; 400V 1~2HP;
Frame1 Frame1(NEMA1)
(b)Single/Three phase: 200V 2~3HP; Single phase: 200V 2~3HP; Three phase: 200V 5HP; 400V 3~5HP;
Frame2
Frame2(NEMA1)
Screw M4 Screw M4
Screw M4 Screw M4
Screw M4 Screw M4

3-3
(c)Three phase: 200V 8~10HP; 400V 8~15HP;
Frame3
Frame3(NEMA1)
Screw M4 Screw M4
Screw M4 Screw M4

3-4
Screw M4 Screw M4

3-5
(d)Three phase: 200V 15~20HP; 400V 20~25HP;
Frame4
Frame4(NEMA1)
Screw M5 Screw M5
Screw M5 Screw M5

3-6
(e) Three phase:400V 20~25HP; (With Fliter Models)
Frame4
Disassembly and assembly steps, As follows:
(a)Single/Three phase: 200V 0.5~1HP; Single phase: 200V 0.5~1HP; Three phase: 200V 2HP; 400V 1~2HP;
Frame1
Step1:Loosen the screw Step2:Remove the terminal cover
Screw M5 Screw M5

3-7
Frame 1(NEMA1)
Step3:Wire&Re-install the cover Step4:Tighten the screws
Step1: Loosen the screw Step2:Remove the terminal cover

3-8
(b)Single/Three phase: 200V 2~3HP; Single phase: 200V 2~3HP; Three phase: 200V 5HP; 400V 3~5HP;
Frame 2
Step3:Wire&Re-install the cover Step4:Tighten the screws
Step1: Loosen the screws Step2:Remove the terminal cover

3-9
Frame 2(NEMA1)
Step3: Wirie&Re-install the cover Step4:Tighten the screws
Step1: Loosen the screws Step2: Remove the terminal cover

3-10
(c)Three phase: 200V 8~10HP; 400V 8~15HP;
Frame 3
Step1: Loosen the screws Step2: Remove the terminal cover
Step3: Wire&Re-install the cover Step4:Tighten the screws

3-11
Step3: Wirie&Re-install the cover Step4: Tighten the screws
Frame 3(NEMA1)
Step1: Loosen the screws Step2: Remove the terminal cover
Other manuals for e510 series
3
This manual suits for next models
32
Table of contents
Other TECO Controllers manuals
Popular Controllers manuals by other brands

Swagelok
Swagelok RHPS Series user manual

Johnson Controls
Johnson Controls METASYS ASC Networking and Troubleshooting Guide

Micron
Micron SCORPION Z9PC User instructions

Motortech
Motortech VariSCR operating manual

Vescent
Vescent SLICE-QTC quick start guide

Microchip Technology
Microchip Technology MCP1643 user guide