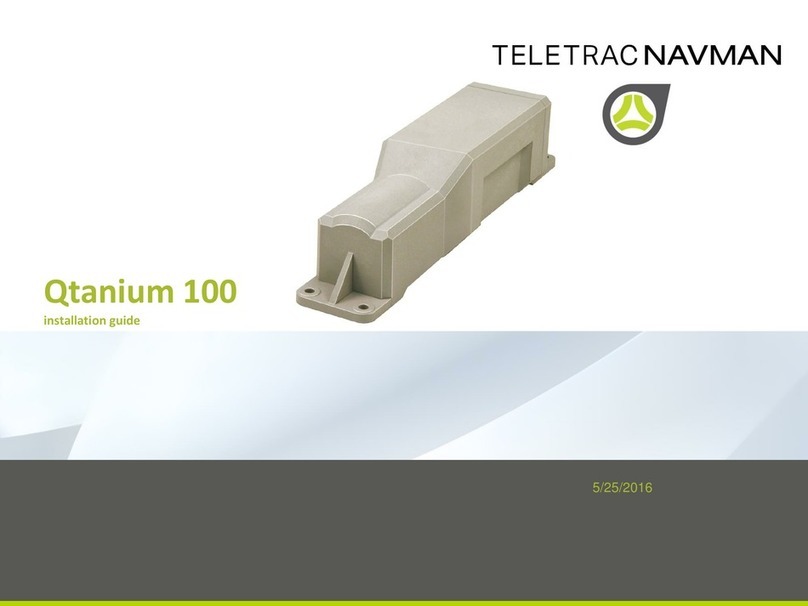
TELETRAC NAVMAN Qtanium 100 User manual

Qtanium 100
INSTALLATION MANUAL

Qtanium 100 | Installation Manual
ii
Contents
1OVERVIEW ................................................................................................................. 4
2HARDWARE ............................................................................................................... 5
3MOUNTING LOCATIONS............................................................................................. 6
4INSTALLATION............................................................................................................ 7
5BATTERY REPLACEMENT ............................................................................................ 8
6SPECIFICATIONS ....................................................................................................... 10

Qtanium 100 | Installation Manual
iii
Disclaimer
It is the Owner’s sole responsibility to install and use the Qtanium 100 (the Product) in a manner that will
not cause accidents, personal injury or property damage. For the purpose of this notice, “Owner”, “you”
and “your” means the party (including any person authorized by that party to use and / or install the
Product) that has either: (a) purchased the Product; or (b) leased the Product from Teletrac Navman or its
related companies. The Owner of this Product is solely responsible for observing safe driving practices.
The choice, location and installation of all components of the Product is critical. If installation is not
correct, the Product may not perform at its designed potential or specifications. Ensure that any mounting
holes that need to be cut in the vehicle will not weaken the vehicle structure or compromise the safety of
the vehicle or its occupants. If in doubt, consult the vehicle manufacturer, or your Teletrac Navman
dealer.
TO THE MAXIMUM EXTENT PERMITTED BY LAW, ALL REPRESENTATIONS AND WARRANTIES (EXCEPT ANY
WHICH MAY NOT LAWFULLY BE EXCLUDED) ARE, EXPRESSLY EXCLUDED, INCLUDING WITHOUT PREJUDICE
TO THE, GENERALITY OF THE FOREGOING, THE IMPLIED WARRANTIES OR MERCHANTABILITY AND
FITNESS FOR A PARTICULAR PURPOSE. TO THE MAXIMUM EXTENT PERMITTED BY LAW TELETRAC
NAVMAN DISCLAIMS ALL LIABILITY ARISING OUT OF OR IN CONNECTION WITH THE PRODUCT (INCLUDING
ANY USE OF THIS PRODUCT IN A WAY THAT MAY CAUSE ACCIDENTS, DAMAGE OR VIOLATE THE LAW).
As Teletrac Navman is continuously improving this Product, Teletrac Navman may make changes to the
Product at any time which may not be reflected in this document. Please contact your nearest Teletrac
Navman office if you require any further assistance.
TELETRAC NAVMAN DISCLAIMS ALL LIABILITY FOR ANY USE OF THIS PRODUCT IN A WAY THAT MAY CAUSE
ACCIDENTS, DAMAGE OR VIOLATE THE LAW.
EMC Compliance
This device complies with Part 15 of the FCC Rules. Operation is subject to the following two conditions:
(1) This device may not cause harmful interference, and (2) this device must accept any interference
received, including interference that may cause undesired operation.
Copyright
© 2016 Teletrac Navman Holdings L. P. Teletrac Navman is a registered trademark of Teletrac Navman
Holdings L. P. All rights reserved. All other trademarks and registrations are the property of their
respective owners.

Qtanium 100 | Installation Manual
4
1 Overview
The Teletrac Navman Qtanium 100 is self-contained, battery-powered, asset tracker. It
contains an internal
GPS receiver and an internal cellular antenna that eliminate the need for external antennas.
The Qtanium 100 collects accurate operational and location information about the asset
(such as a trailer)
and transmits this data to the DIRECTOR software.
The Qtanium 100 can be installed on an asset using screws, bolts, or magnets. The choice of
mounting location and the mounting method depends upon the type of asset. If the
Qtanium100 is likely to be moved between different assets over time, magnets are the best
option.
Note This installation manual is written for professional vehicle technicians.

Qtanium 100 | Installation Manual
5
2 Hardware
The box contains:
1 Qtanium 100 (with the internal battery in place)
8 flat washers
4 self-tapping mounting screws (Hex washer head)
4 nuts (with Nylock insert)
4 bolts
An optional Magnetic Mounting Kit is available, which contains:
1 lanyard 45 cm (18”)
1 lanyard quick link
1 lanyard tab (stainless steel plate with three holes)
4 magnets (each with a pre-inserted screw)
4 flat washers
4 nuts (with Nylock insert)

Qtanium 100 | Installation Manual
6
3 Mounting Locations
The installation is considered to be permanent as the firmware can be updated without
removing the Qtanium 100 from the asset. Always comply with the following important
installation information:
Ensure that the chosen mounting location will protect the Qtanium 100 from
damage when stacking the chassis or operating the asset.
Optimal GPS performance will be achieved if the mounting location provides the
Qtanium 100 with a clear view of the sky.
If the mounting location is on a HORIZONTAL surface, the Qtanium 100 must face UP
or DOWN.
If the mounting location is on a VERTICAL surface, the Qtanium 100 must be
horizontal with the label facing DOWN.
Important The Qtanium 100 contains an accelerometer that detects movement. It is
critical that the Qtanium 100 is mounted securely and cannot move independently of
the asset OR vibrate off its mounting location. Insecure mounting may result in false or
incorrect vehicle movement alerts.

Qtanium 100 | Installation Manual
7
4 Installation
1. Record the MSN (Module Serial Number) shown on the Qtanium 100 label, and the
asset number.
2. Select a mounting location.
3. Mount the Qtanium 100 using one of the following three methods:
Screws - Use the 4 mounting screws and 4 flat washers. Position each flat
washer between the screw head and the Qtanium 100 housing.
Bolts - Use the 4 bolts, 8 flat washers, and 4 nuts. Position a flat washer
between each bolt head and the Qtanium 100 housing, and another flat
washer between each nut and the asset.
Magnets - Use the optional Magnetic Mounting Kit. Each magnet MUST be in
contact with the mounting surface. At one end of the Qtanium 100, position
a flat washer over each magnet screw, between each nut and the Qtanium
100 housing. At the other end, position the lanyard tab over the 2 magnet
screws then secure using 2 flat washers and 2 nuts. Wrap the lanyard around
or through the chassis or a locking rod then attach both end loops to the
quick link. Attach the quick link to the remaining hole in the lanyard tab.
4. Remove the activation magnet (under the blue tape) from the Qtanium 100. This
automatically activates event reporting and the Qtanium 100 sends an event to
DIRECTOR.
5. Keep the activation magnet so that event reporting can be disabled if the Qtanium
100 is removed from the asset.
6. Position the asset outside, in a location that has a good view of the sky and good
cellular reception.
7. EITHER use the mobile DIRECTOR application on your phone to check that the
Qtanium 100 has established contact OR call DIRECTOR Support with the following
details and ask them to associate the Qtanium 100 with the asset number:
Customer Name
Qtanium 100 MSN
Asset number and asset VIN
Important Ensure that any holes drilled for the installation will not weaken the
structure of the asset or compromise the safety of the asset or its occupants. If in
doubt, consult the manufacturer.

Qtanium 100 | Installation Manual
8
5 Battery Replacement

Qtanium 100 | Installation Manual
9

Qtanium 100 | Installation Manual
10
6 Specifications
PHYSICAL
Weight
907g (32 oz)
Dimensions
55 x 55 x 260 mm (2.25 x 2.25 x 10.5”)
GENERAL
Communication modes
GPRS/EDGE/HSPA and CDMA 1xRTT packet data, UDP
and SMS
Location technology
50 channel GPS
Operating voltage
3.6 V
Internal cellular and GPS antennas
IP67 sealed and ruggedized enclosure
INTERNAL BATTERY
Capacity
57 amp hour
Technology
Lithium
Replaceable battery pack
POWER CONSUMPTION
Deep sleep
1mA
Sleep on network
10 mA
Active Standby
70 mA
ENVIRONMENTAL
Storage Temperature
-40 o C to +85 o C (-40 o F to +185 o F)
Operational Temperature
-30 o C to +75 o C (-32 o F to +167 o F)
Humidity
95% RH @ 50 o C non-condensing
Shock & Vibration
U.S. Military Standards 202G and 810F, SAE j1455
EMC/EMI
SAE J113; FCC –part 15B; Industry Canada
RoHS Complaint
CERTIFICATIONS
FCC
CE
IC
PTCRB
Applicable carriers
Other manuals for Qtanium 100
1
Table of contents
Other TELETRAC NAVMAN GPS manuals

TELETRAC NAVMAN
TELETRAC NAVMAN iFace User manual
TELETRAC NAVMAN
TELETRAC NAVMAN Qube300 Installation guide
TELETRAC NAVMAN
TELETRAC NAVMAN Qtanium 400 User manual
TELETRAC NAVMAN
TELETRAC NAVMAN TM470 Series Installation guide
TELETRAC NAVMAN
TELETRAC NAVMAN iFace User manual
TELETRAC NAVMAN
TELETRAC NAVMAN Qtanium 100 User manual
TELETRAC NAVMAN
TELETRAC NAVMAN Qtanium200 User manual
