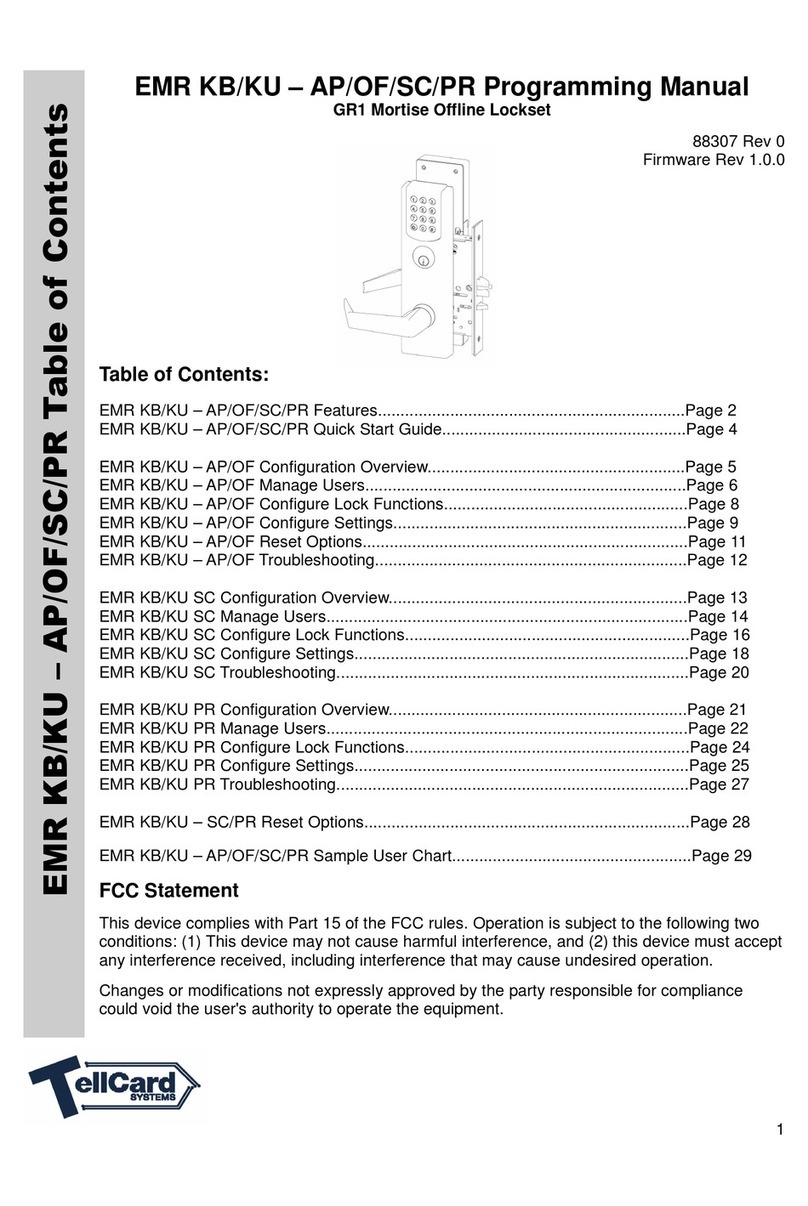
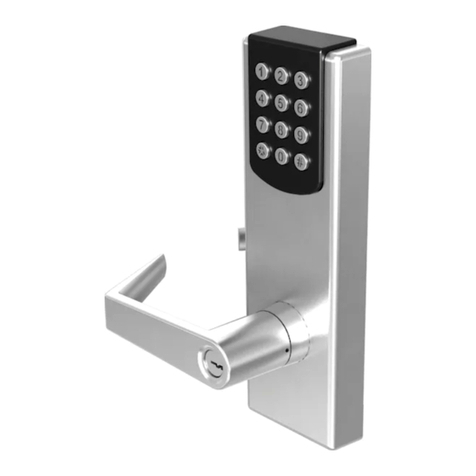
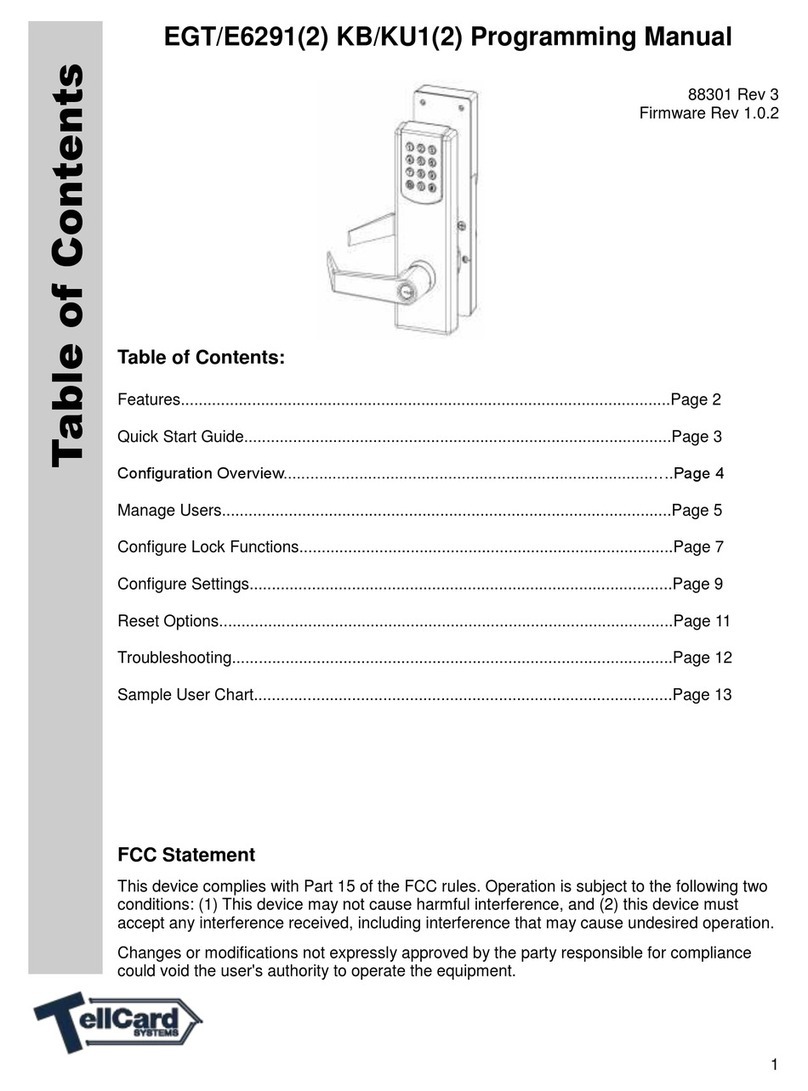
TellCard Systems EGT/E6291(2) KB(2) Owner's manual

1
EGT/E6291(2) KB(2) Programming Manual
88301 Rev 5
Firmware Rev 1.0.8
Table of Contents:
Features..............................................................................................................Page 2
Quick Start Guide................................................................................................Page 3
Configuration Overview..................................................................................…..Page 4
Manage Users.....................................................................................................Page 5
Configure Lock Functions....................................................................................Page 7
Configure Settings...............................................................................................Page 9
Reset Options......................................................................................................Page 11
Troubleshooting...................................................................................................Page 12
Sample User Chart..............................................................................................Page 13
User Instructions…..............................................................................................Page 14
FCC Statement
This device complies with Part 15 of the FCC rules. Operation is subject to the following two
conditions: (1) This device may not cause harmful interference, and (2) this device must
accept any interference received, including interference that may cause undesired operation.
Changes or modifications not expressly approved by the party responsible for compliance
could void the user's authority to operate the equipment.
Table of Contents

2
Lockset Features
100 users plus one master code
Change function of lock electronically
Emergency Lockdown
o Relock
o Passage
Passage Timer relocks after configurable amount of time
Power options:
o Battery operated with 4 AA Alkaline batteries, or
o 12V to 24V DC power input, or
o 12V to 24V AC power input
Minimum 130,000 cycles or one year per set of batteries
Low battery warning
Non-volatile memory
All programming entered through keypad
Valid code is 4-8 digits
Digits may be repeated
Both User and Master codes may start with zero (0)
Entry of three invalid user codes temporarily disables all codes
Mute function: Beeper may be audible or muted
No user numbers to track; user number is access code
Duplicate codes not allowed
Backlit keypad
Factory Default Settings
Function: Relock
Sound: ON
Unlock length: 4 seconds
Anti-tamper Lockout Delay Time: 20 seconds
Power Requirements
Power may be supplied in one of three ways:
Four AA alkaline batteries, or
Hard wired to 12V to 24V DC power supply, or
Hard wired to 12V to 24V AC power supply
External power requirements:
Voltage: 12 to 24VDC or 12 to 24VAC
Current: 0.30 A/12VDC; 0.30 A/24 VDC
Features

3
1. Install Battery Pack
A. After initial battery pack installation, LEDs above keypad will flash rapidly, indicat-
ing lock is waiting to accept a master code.
B. Door is unlocked until a valid master code is entered.
2. Set Master Code
A. Select Master Code (4-8 digits) and enter in boxes. Keep this page in you rec-
ords file.
B. Enter the selected “Master Code” followed by the * Button.
DEVICE IS NOW LOCKED AND OPERATIONAL WITH MASTER CODE.
Initial Set
-
up (Quick Start)

4
Programming
1. Understanding Light and Beeper Feedback:
Success: Two short beeps and green LED
Error: Long beep and red LED
Low battery: Success beep immediately followed by long error beep
Factory reset: Lights rapidly flashing
2. Keypad Backlighting:
Press and hold any number key to illuminate the keys. Backlight will automatically
turn off after 5 seconds of inactivity.
3. Steps to Fully Configure Lock
4. Setting Master Code
A. After initial battery pack installation LEDs above keypad will flash rapidly,
indicating lock is waiting to accept master code. To conserve battery,
LEDs will flash for two minutes.
B. Door is unlocked until a valid master code is entered.
C. Choose and enter a 4-8 digit master code. Press * to complete.
D. Device locks after master code is entered.
DEVICE IS NOW LOCKED AND OPERATIONAL WITH MASTER CODE.
Function Overview:
Mode Lock Function Page Number
0
Emergency Lockdown – Mode 0 Page 7
1
Relock – Mode 1 Page 7
2
Passage – Mode 2 Page 8
9
Permanent Passage – Mode 9 Page 8
SET
MASTER
CODE
SET
USER
CODES
CONFIGURE
FUNCTIONS
(OPTIONAL)
CONFIGURE
SETTINGS
(OPTIONAL)
GO!

5
Mode Lock Setting Page Number
3 Passage Mode Timer Page 9
4 Unlock Delay Time Page 9
5 Lockout Delay Time Page 9
6 Remote Release Functionality Page 10
7 Sound Page 10
8 Single and Limited Use Code(s) Page 6
Reset Reset Options Page 11
5. Manage Codes
When entering a new user code, press # after the user code, then press * to com-
plete the process.
NOTE: When entering a string of codes, all valid codes are immediately stored with
each press of the # key. If a code is rejected, all valid codes preceding the rejected
code are still in the memory.
Add Single
User Code
1. Key in master code.
2. Press #.
3. Key in new code.
4. Press #.
5. Press *.
Master Code # User Code # *
Add Multiple
User Codes
1. Key in master code.
2. Press #.
3. Key in 1st new code.
4. Press #.
5. Key in 2nd new code.
6. Press #, then *.
Master Code # User Code #
Second User Code # *
Delete Single
User Code
1. Key in master code.
2. Press #.
3. Press 10, then #.
4. Press 1, then *.
Master Code # User Code # *
Manage Users

6
Delete All
User Codes
1. Key in master code.
2. Press #.
3. Press 10, then #.
4. Press 1, then *.
Master Code # 10 # 1 *
Delete All
Single and
Limited User
Codes (Regular
codes are
not affected.)
1. Key in master code.
2. Press #.
3. Press 10, then #.
4. Press 2, then *.
Master Code # 10 # 2 *
Single Use Code(s) – Function 8
Single Use Code(s) - Function 8 allows a single entry. When used, the code is immediately
erased from memory. Single use code(s) are entered one at a time. Multiple single use codes
cannot be entered in a string like the standard user codes.
Key Stroke Example
Single
Use
Code(s) –
Function 8
1. Key in
master code.
2. Press #.
3. Press 8.
4. Press #.
5. Key in
new code.
6. Press *
Master Code # 8 # Single Use Code *
Limited Use Code(s) – Function 8
Limited Use Code(s) - Function 8 allows the user to enter a code for a configurable number of
times; minimum number of entries is 1, maximum is 9.The code is erased from memory im-
mediately after the last allowed access event. Limited use code(s) are entered one at a time.
Multiple limited use code(s) cannot be entered in a string like the standard user codes.
Key Stroke Example
Limited
Use
Code(s) –
Function 8
1. Key in
master code.
2. Press #.
3. Press 8.
4. Press #.
5. Key in
new code.
6. Press #.
7. Press X (1-9
entries allowed)
8. Press
,
then *.
Master Code # 8 # Limited Use Code #
The number of entries allowed (1-9) *
Manage Users
(Cont’ d)

7
The EGT KB lock has four operational modes (functions):
Emergency Lockdown – Mode 0, Relock – Mode 1, Passage (Toggle) – Mode 2, and
Permanent Passage – Mode 9.
The factory default setting is Relock – Mode 1.
Emergency Lockdown – Mode 0
In Emergency Lockdown – Mode 0, the lock temporarily disables all user codes except the
master code, and immediately locks the door. A master code or optional remote release
temporarily unlocks the door to allow entry, and then relocks.
1. Enter master code, followed by #.
2. Press zero (0).
3. Press *.
Key Stroke Example
Emergency
Lockdown –
Mode 0
1. Key in master code.
2. Press #.
3. Press zero (0).
4. Press *.
Master Code # 0 *
NOTE: To exit emergency lockdown, enter the master code, and then follow the instructions
below for one of the following:
Relock - Mode 1
Passage (Toggle) - Mode 2
Permanent Passage - Mode 9
Relock – Mode 1
In Relock – Mode 1, the lock will unlock for 4 seconds, and then relock. This mode is used
when you want the lock to remain secure at all times. Setting the device to Relock – Mode 1
immediately secures the door.
Key Stroke Example
Relock –
Mode 1
1. Key in master code.
2. Press #.
3. Press 1.
4. Press *.
Master Code # 1 *
Configure Lock Functions

8
Passage (Toggle) – Mode 2
In Passage (Toggle) – Mode 2, the lock will unlock when a valid code is entered. It remains
unlocked until another valid code is entered. Passage (Toggle) – Mode 2 is used when you
want to unlock a door and leave it unlocked for an extended period of time. Setting device to
Passage (Toggle) – Mode 2 does not immediately unlock the door.
Key Stroke Example
Passage (Toggle)
– Mode 2
1. Key in master code.
2. Press #.
3. Press 2.
4. Press *.
Master Code # 2 *
Permanent Passage – Mode 9
In Permanent Passage – Mode 9, the lock immediately unlocks. It cannot be locked until you
enter another mode such as Relock – Mode 1 or Passage (Toggle) – Mode 2.
Key Stroke Example
Permanent
Passage –
Mode 9
1. Key in master code.
2. Press #.
3. Press 9.
4. Press *.
Master Code # 9 *
Configure Lock Functions
(Cont’ d)

9
Passage Mode Timer
The Passage Mode Timer automatically locks after a configurable number of hours (Passage
(Toggle) – Mode 2). A setting of zero (0) disables this feature. The default setting is disabled
(0); minimum time is 1 hour, maximum is 9 hours.
Key Stroke Example
Passage
Mode Timer
Default = 0
X = Time Choice
(Hours)
1. Key in master code.
2. Press #.
3. Press 3.
3. Press #.
4. Press X
(Time Choice).
5. Press *.
Master Code # 3 #
The number of hours
unlocked (1-9) *
Unlock Delay Time
The Unlock Delay Time function sets the number of seconds the lock remains unlocked when
in Relock – Mode 1. The default time is 4 seconds; minimum is 1 second, maximum is 99
seconds.
Key Stroke Example
Unlock
Delay Time
Default =
4 seconds
X = Time Choice
(Seconds)
1. Key in master code.
2. Press #.
3. Press 4.
4. Press #.
5. Press X
(Time Choice).
6. Press *.
Master Code # 4 #
Unlock Delay Time
Seconds (1-99) *
Lockout Delay Time
The Lockout Delay Time function sets the number of seconds the lock will disallow keypad
entry after three unsuccessful code entries. The default time is 20 seconds, zero (0) seconds
disables the feature; maximum is 99 seconds.
Key Stroke Example
Locked
Delay Time
Default =
20 seconds
X = Time Choice
(Seconds)
1. Key in master code.
2. Press #.
3. Press 5.
4. Press #.
5. Press X
(Time Choice).
6. Press *.
Master Code # 5 #
Lockout Delay Time
Seconds (0-99) *
Configure Settings

10
Remote Release Functionality
This function allows activation by a momentary switch. Uses include
receptionist desk, security station, and offices.
Key Stroke Example
Remote
Functionality
X = Mode Choice
1. Key in master code.
2. Press #.
3. Press 6.
4. Press #.
5. Press X
(Mode Choice).
6. Press *.
Master Code # 6 #
Mode Choice (0-4) *
X = 0 → Default: Matches current function mode.
X = 1 → Use with Mode 1 and 2 when in:
A. Passage (Toggle) – Mode 2: Reverses current state of door. Activate M/O
Switch 1 time (locks the door). Activate the switch again (unlocks the door).
B. Relock – Mode 1: Activation allows temporary passage. Door automatically
relocks.
X = 2 → Passage (Toggle) – Use in Mode 2 only: Always locks the door, activation the
second time unlocks the door.
X = 3 → Switches to Emergency Lockdown – Mode 0. Set to Passage (Toggle) – Mode 2 or
Relock – Mode 1 on lock keypad to exit this mode.
X = 4 → Disables remote release.
Sound: The sound function toggles confirmation beeps from ON to OFF, and OFF to ON.
Key Stroke Example
Sound
Default = ON
1. Key in master code.
2. Press #.
3. Press 7.
4. Press *.
Master Code # 7 *
Configure Settings
(Cont’ d)

11
Reset Options:
Change Master
Code
This mode does not
delete users or
lock settings.
1. Hold program button (shown
above) for 5 seconds until beep
is heard.
2. Release button.
3. Enter new master code.
4. Press *.
Hold Program Button for
5 seconds until beep is
heard. Release button.
Master Code *
Factory Reset
This mode clears all
codes, and resets all
lock settings.
1. Hold program button (shown
above) for 5 seconds until beep
is heard.
2. Press #, 10 times.
3. Press *
4. After long beep enter master
code and press *
Hold Program Button for
5 seconds until beep is
heard. Release button.
##########
Reset Options

12
Problem
Possible Cause
Solution
No sound/tone when
buttons are pressed or
when I present my
credentials.
Sound is muted. Turn sound ON.
See page 10.
I hear a long steady tone
with a green light after I
enter or present my
credentials.
Low battery. Check and replace
batteries, if necessary.
I hear a long steady tone
with a red light after I enter
or present my credentials.
Invalid user code. Add user. See page 5.
Emergency Lockout
– Mode 0 is active. Change mode. See page 7.
The red and green lights
alternately flash.
The unit has been
factory reset.
Enter new master code.
See page 4.
The lock remains unlocked
after I enter/present my
credentials.
Permanent Passage -
Mode 9 is active. Change mode. See page 8.
There is a long tone and the
red light illuminates with
every button press or
credentials presentation.
More than 3 invalid
credentials were entered
in a row.
Wait 30 seconds depending
on configuration) and try
again. See Lockout Delay
Time on page 9.
Unlocks, but locks again
too quickly. Unlock delay time too short. Lengthen Unlock Delay
Time. See page 9.
The lock will not accept the
code I am trying to add.
Code already exists in
the lock. Enter a different code.
Code length is too short or
too long. Enter a 4-8 digit code.
You are not in
program mode. Refer to Managing Users
section. See page 5.
During the initial master key
entry an error code sounds.
The unit is not taking the
master code.
Reset the master code by
following instructions found
on page 11.
Troubleshooting

13
User #
User Name
Code
1
2
3
4
5
6
7
8
9
10
11
12
13
14
15
16
17
18
19
20
21
22
23
24
25
26
27
28
29
30
Sample User Chart

14
Listed below is the User Code you use to gain entry to this lock or facility.
Success: Two short beeps and green LED.
Error: Long beep and red LED. Try again.
*
A. Example: Key in a user code with any digit between 4 and 8.
B. Press *.
User Instructions

15
TellCard Systems
P. O. Box 485
Leola, PA 17540
855-200-2611
Table of contents
Other TellCard Systems Lock manuals
Popular Lock manuals by other brands
Richelieu
Richelieu SAFE-O-TRONIC access manual
Creche Innovations
Creche Innovations MicroCool Station mode instructions
Assa Abloy
Assa Abloy K100-622 installation instructions

Dormakaba
Dormakaba SVI 5000 Commissioning instructions
OPERTIS
OPERTIS eLOCK ES7670 operating instructions
Assa Abloy
Assa Abloy Adams Rite DL100 installation instructions
Securam
Securam SafeLogic Basic operating instructions
Visionis
Visionis VIS-ML1200LED-BL Installation & user guide
Mottura
Mottura 3D5 Series Warranty and Installation Instructions
Kaba
Kaba Simplex 1000 Series installation instructions
Turbolock
Turbolock TL111PRO manual
SECO-LARM
SECO-LARM SD-996C-NUVQ manual
