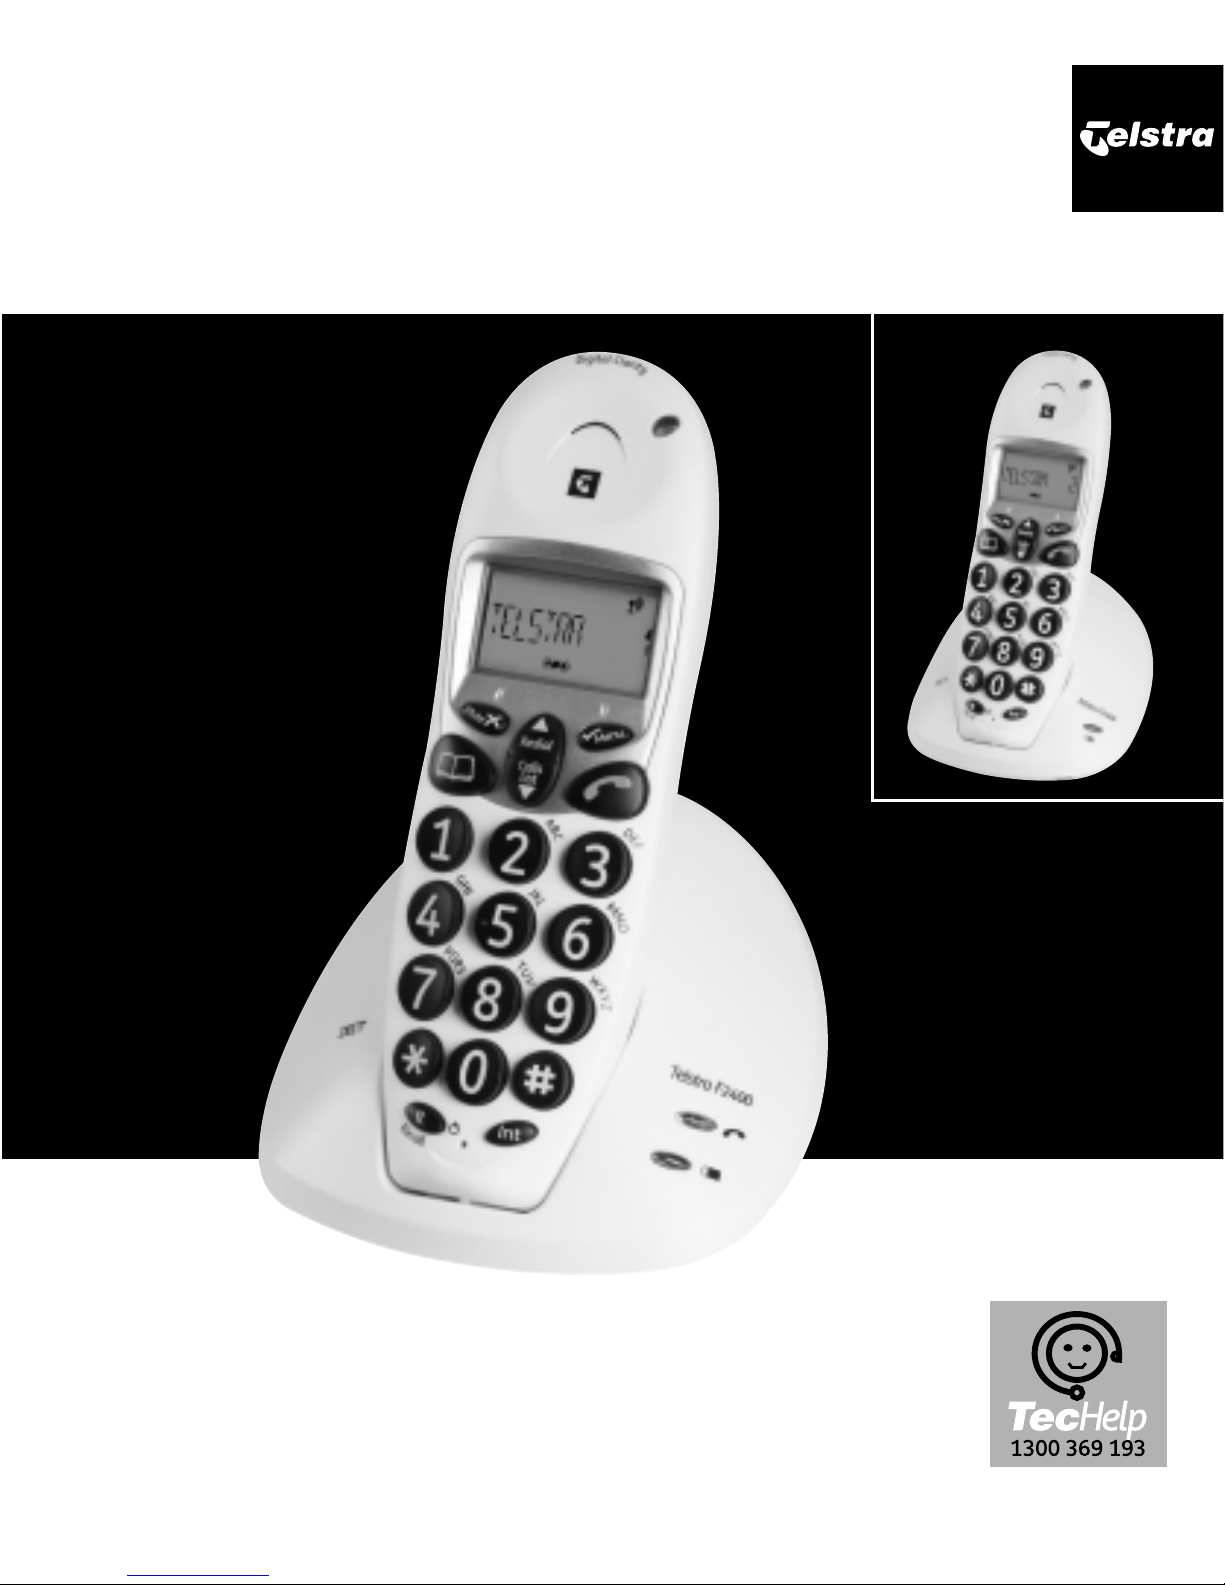
Telstra F2400 User manual
Other Telstra Cordless Telephone manuals

Telstra
Telstra 5200a User manual

Telstra
Telstra Slim Touch 9650 User manual

Telstra
Telstra 13500 User manual

Telstra
Telstra V580 User manual

Telstra
Telstra 7200 User manual

Telstra
Telstra F2400 User manual

Telstra
Telstra V900 TWIN - User manual

Telstra
Telstra 13950 User manual

Telstra
Telstra V900 TWIN - User manual

Telstra
Telstra Colombo User manual

Telstra
Telstra Slim Touch 9650 User manual

Telstra
Telstra TCG301 Assembly instructions

Telstra
Telstra Easy View 3400 Twin User manual

Telstra
Telstra 8100 User manual

Telstra
Telstra 13150 User manual

Telstra
Telstra T-VOICE 503 User manual

Telstra
Telstra 12200 User manual

Telstra
Telstra Slim User manual

Telstra
Telstra Commander E105 User manual

Telstra
Telstra Long Range 9750 User manual