18 19
4 Using your phone
4.1 Make a call
4.1.1 Preparatory dialling
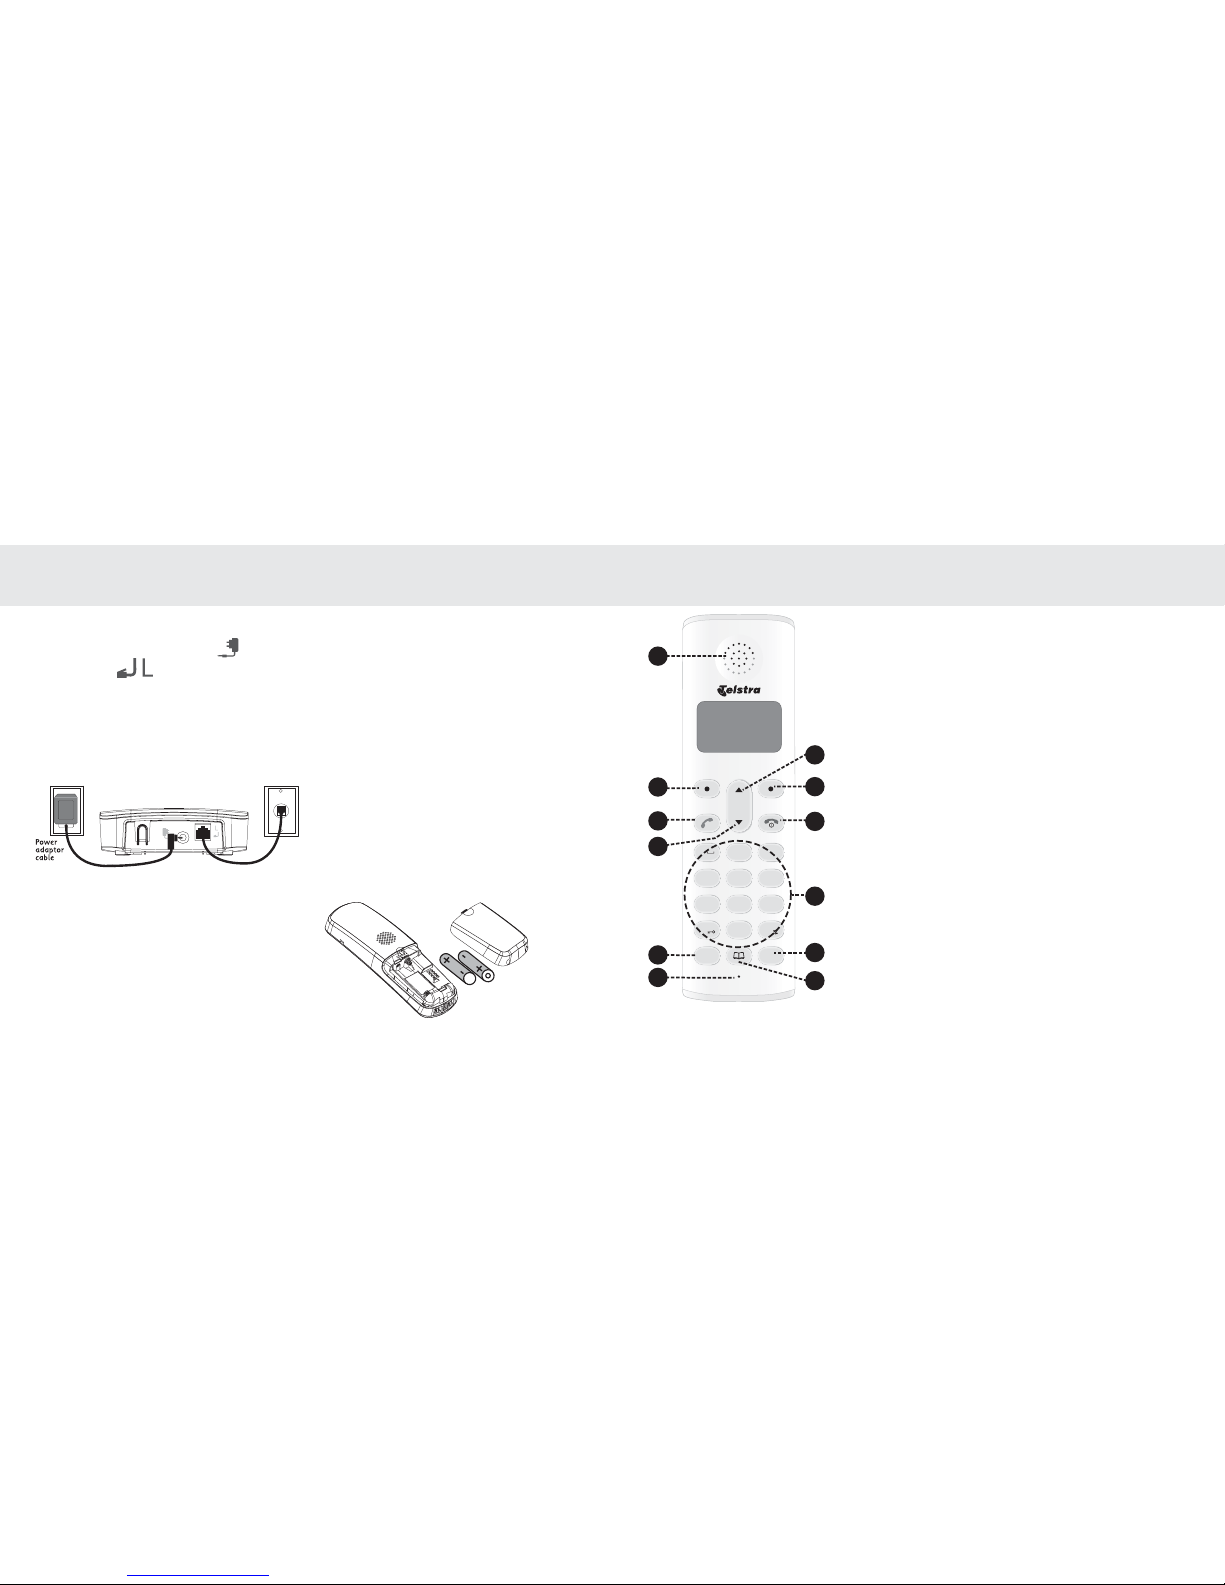
Allows you to enter a number
correctly before dialling.
Enter the phone number and press
to dial the number. Press
to clear the entry.
4.1.2 Direct dialling
For direct dialling following dial
tone, press to access the line
and enter the phone number.
4.1.3 Call from the
phonebook
Press to access the phonebook
and press Y\ to select the
desired phonebook entry. Press
to dial out to the selected
phonebook entry. Alternatively,
press , then Y\ to access
the phonebook to get the desired
phonebook entry.
To add numbers and names into the
phone book refer to Section 5.
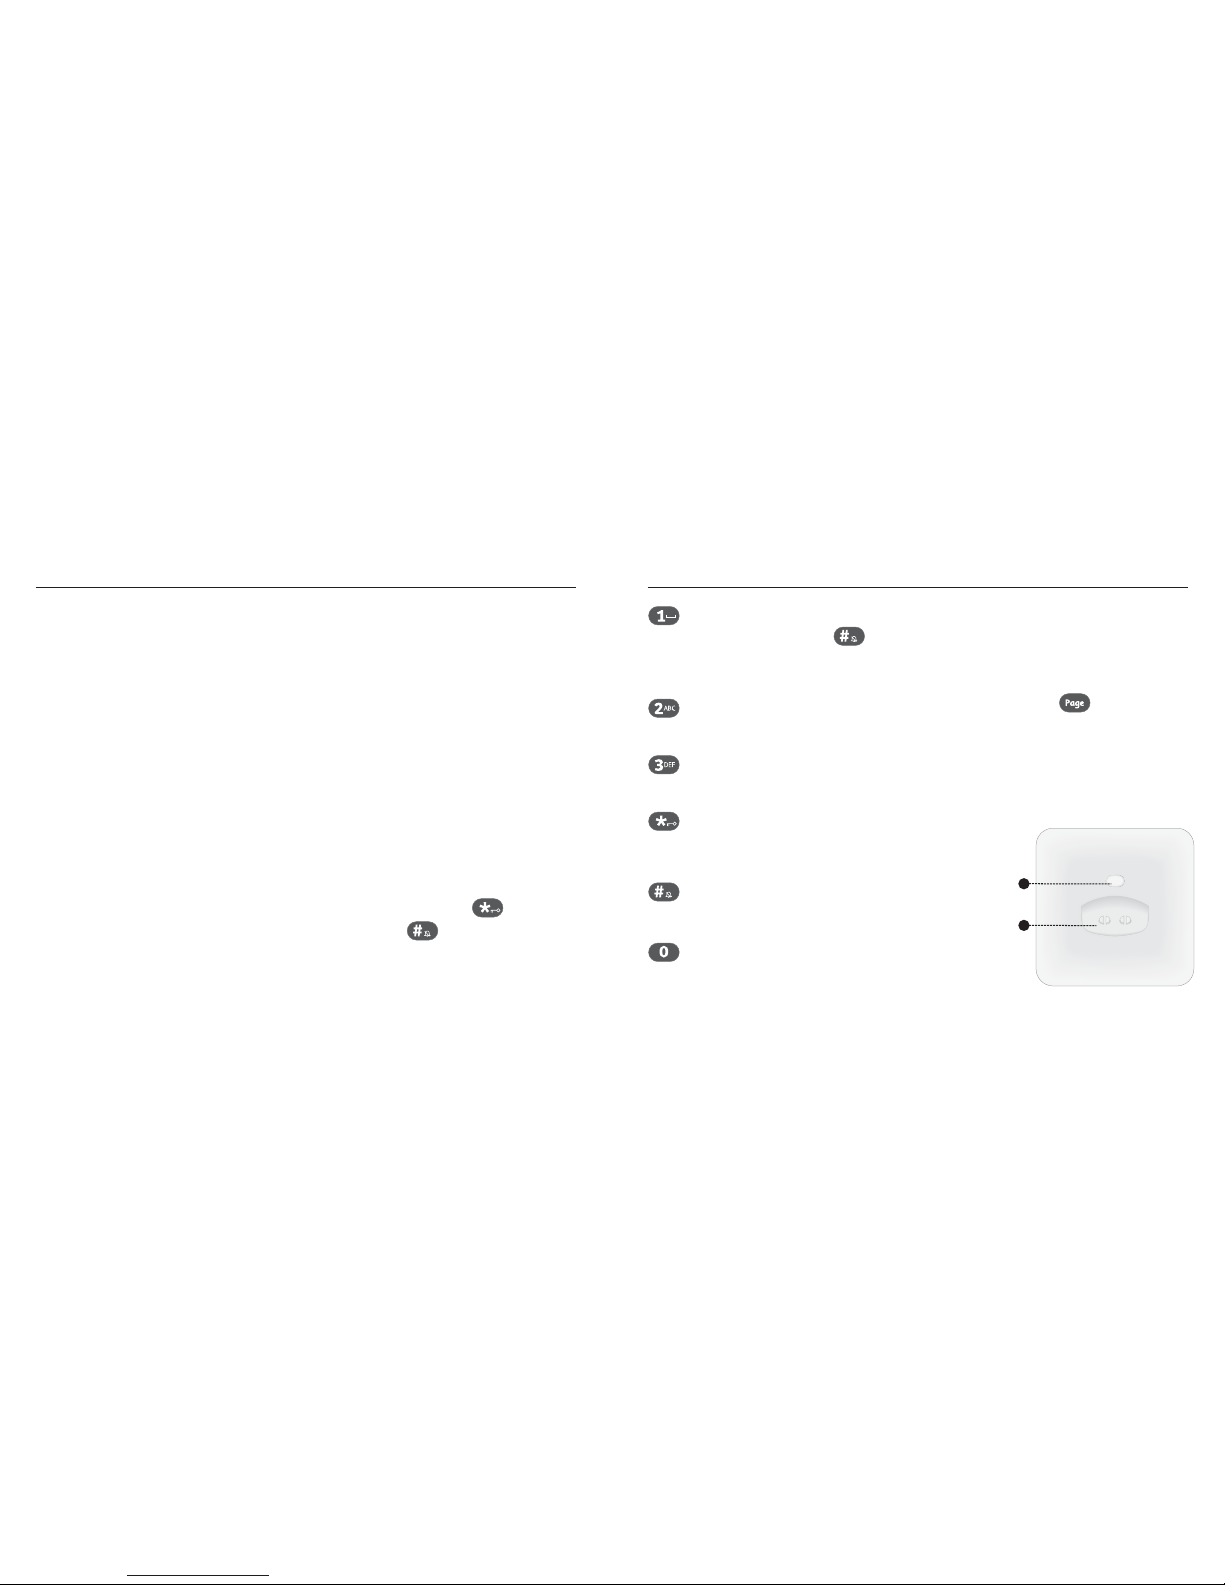
4.1.4 Call from the call list
When Telstra’s Calling Number
Display feature is active on your
service, called numbers will be
saved in the phone’s Call List.
Press to access the Call List and
press Y\ to select the desired
Call List entry. Press to dial
out to the selected Call List entry.
Alternatively, press then
Y\ to access the Call List from
the main menu.
4.1.5 Call from the redial list
Press to access the redial list and
press Y\ to select the desired
redial number. Press to dial out
to the selected redial number.
The Redial List contains a list of recently
dialled numbers,refer Section 4.8.
4.1.6 Call timer
Your handset automatically times
the duration of every call. The call
timer will display a few seconds
after the call has ended. It is shown
in hours, minutes and seconds
format (HH:MM:SS).
4.2 Answer a call
If the handset is not on the
charging cradle:
When the phone rings, press to
answer a call.
If the handset is on the charging
cradle or the base and if AUTO
ANSWER is set to ON:
When the phone rings, pick up the
handset to answer a call.
4.3 End a call
During a call, press to end the
call.
OR
Put the handset on the base to end
the call.
4.4 Adjust earpiece volume
There are 5 volume levels (VOLUME
1 to VOLUME 5) to choose from for
each of earpiece volume.
During a call:
Press Y\ to select volume
1-5. The current setting is shown
on-screen. When you end the call,
Using your phone