Specications Warnings & Disclaimers
Size:
4.1x4.1x4.1m / 13.5x13.5x13.5ft
Floor area:
7.25sqm/78sqf
Dry porch area
at ground level:
18sqm / 194sqft
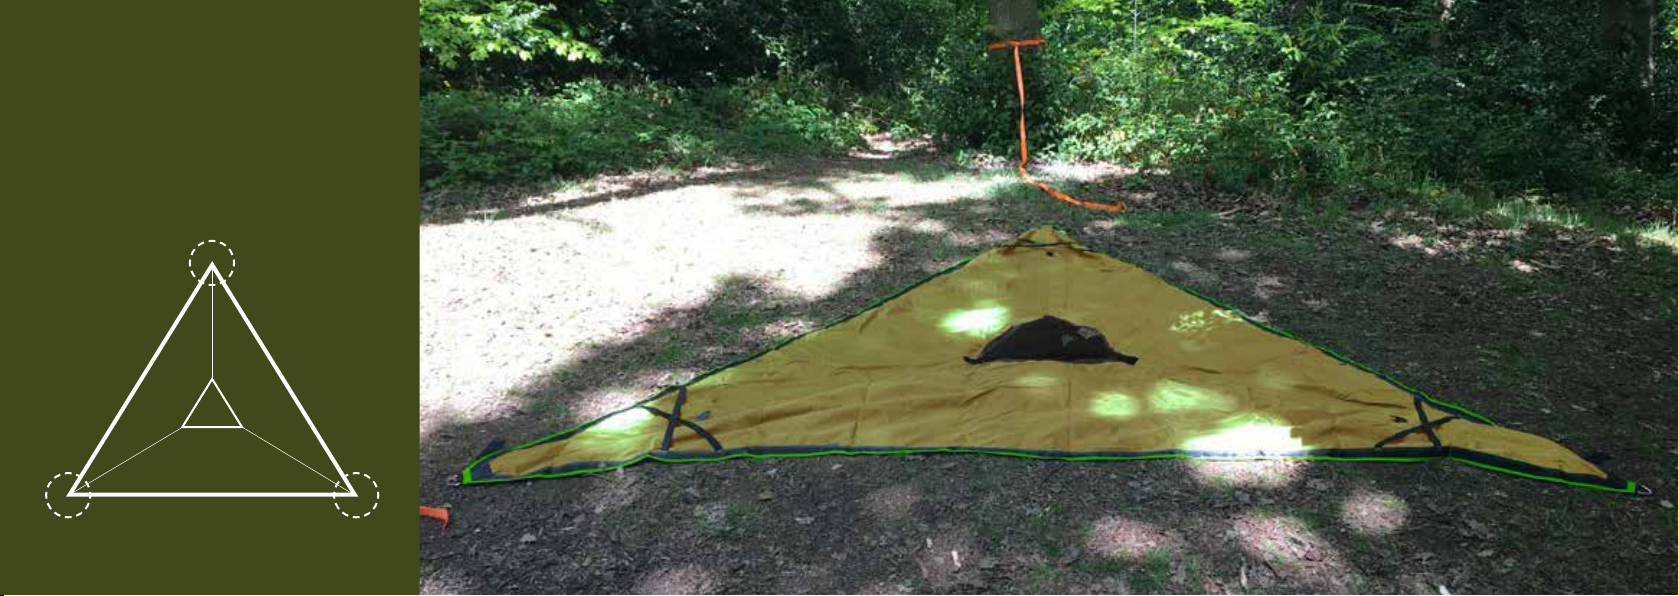
Entry Points:
x4
Bag Size:
62 x 28 x 28cm / 24 x 11 x 11”
Interior Height:
1.5m / 5ft
Poles:
x3 13mm diameter anodised
aluminium alloy 7001 T6
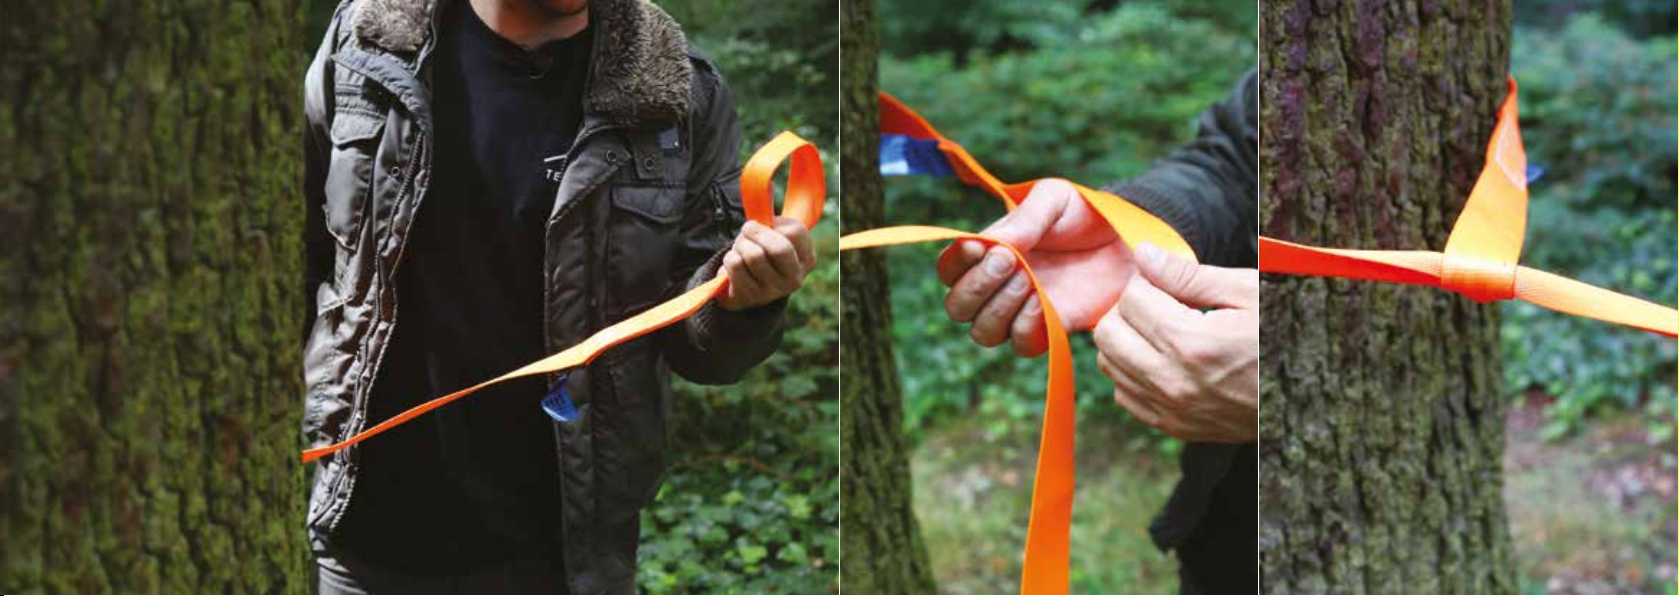
Ratchet & straps:
3 x 19’ / 6m polyester
webbing straps and 3 x heavy-
duty ratchet buckles - 2.5 ton
minimum breaking strength
Roof:
Tear resistant insect mesh hangs
from under-side of the y sheet
and poles to offer protection
against the smallest sand ies
Tent weight:
18KG /39.7lbs
Rainy:
70D PVC coated polyester
8000HH
Floor:
600D Dacron - 300g/sqm
reinforced with 20+ meters
of seat belt
Maximum capacity:
3 adults
Fire Rating:
Fire resistance meets USA
CPAI-84 and Canadian FR16
DO NOT EXCEED MAXIMUM LOAD 400kg / 880lbs
05 06
Installation and use of the Tentsile Tree Tent may
involve heights, can be dangerous and may lead
to injury and/or death.
The installation must never be executed by
minors, and extreme care and caution must be
taken when executed by adults.
Do not use any other components, parts, tools or
materials other than those included in the Tentsile
Tree Tent package, recommended in this manual
or in other Tentsile literature.
A hanging and/or suspension system is only as
strong as its weakest link and all instructions and
guidelines must be followed.
The Tentsile Tree Tent must only be used in
the manner described in this manual. When
assembled and installed, the Tentsile Tree Tent
places signicant force on the anchor points;
great care must be exercised when using it to
decrease the risk of injury and/or death.
Overloading the Tentsile Tree Tent with more
than 880lbs (400kg) increases the forces and
may cause anchor, Tree Tent and/or any parts
to fail, resulting in injury and/or death.
The manufacturer and resellers of the Tentsile
Tree Tent explicitly disclaim any and all
responsibility and liability for any death,
paralysis, injury, and/or damage to any
person or property that may occur that arises
out of or is in any way related to the use of
this product.
Using any equipment that is suspended above
ground can be a dangerous activity that may
result in serious injury and/or death even
when used properly. Use at your own risk and
always use common sense.