5 Using the product
17
4.5. Printing graphics (only testo 175 / testo 176)
You can set whether a printout should display graphics or not.
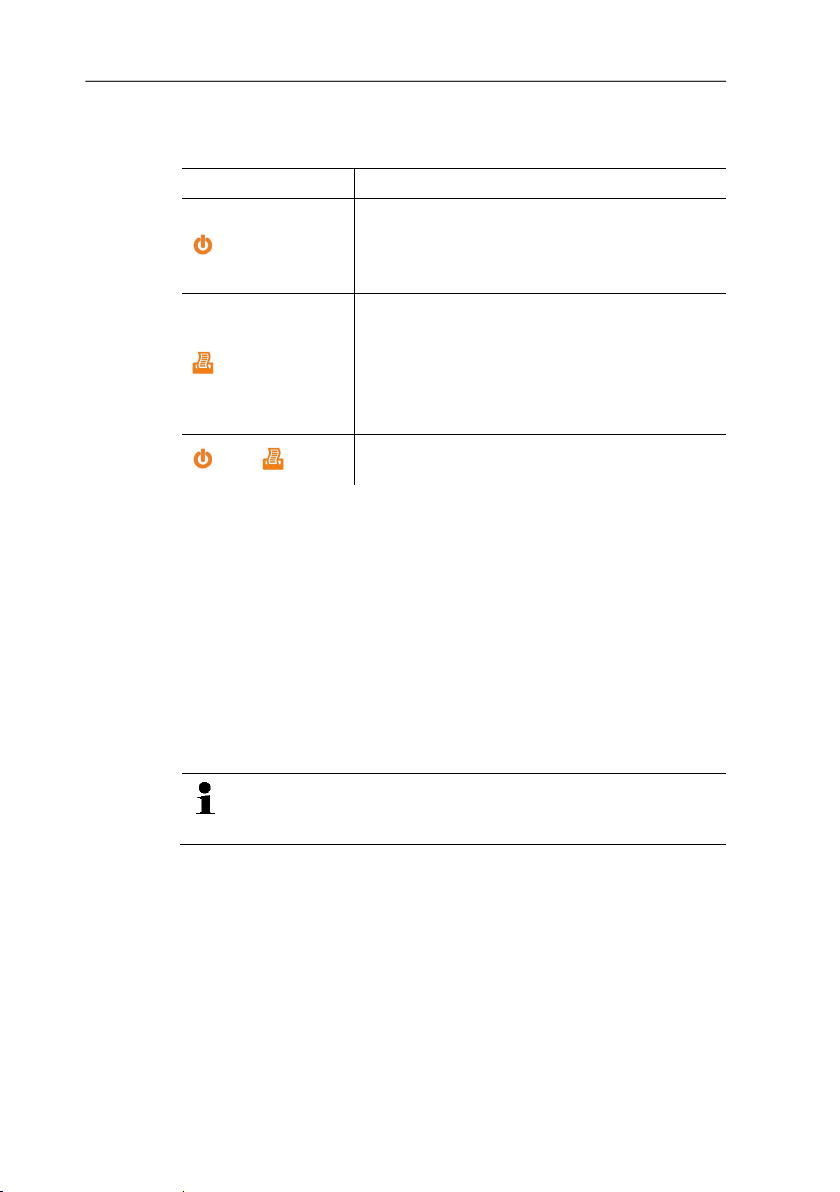
Activate graphics printout
1. Disconnect the USB connection between testo 175 / testo 176
and the printer.
✓Printer is in standby mode.
2. Press [ ] and [ ] simultaneously.
- The print format is printed out. The print format currently
selected is indicated by an *.
If necessary, the print format can be changed.
> Press [ ] and [ ] again simultaneously.
- The print format currently selected is printed out.
5Using the product
5.1. Printing data, testo 175 and testo176
✓Printer is switched on.
1. Connect the printer and testo175 / testo 176 via the micro USB
cable.
- Printer detection is automatic and is indicated as a message.
2. Press [ ] briefly.
- Data is read.
- The estimated read-out time is displayed.
To ensure fault-free data transfer, the connection between
the printer and the testo175 / testo 176 must not be
interrupted.
3. Start printout.
> Print a log of all recorded data:
press [ ] < 1 s
or
> Print a log of the data since the last time mark was set:
press [ ] > 2 s.
- Data is printed out (LED flashes green).