The Locator Company The Locator Pet Tracker User manual
- 1 -
USER GUIDE
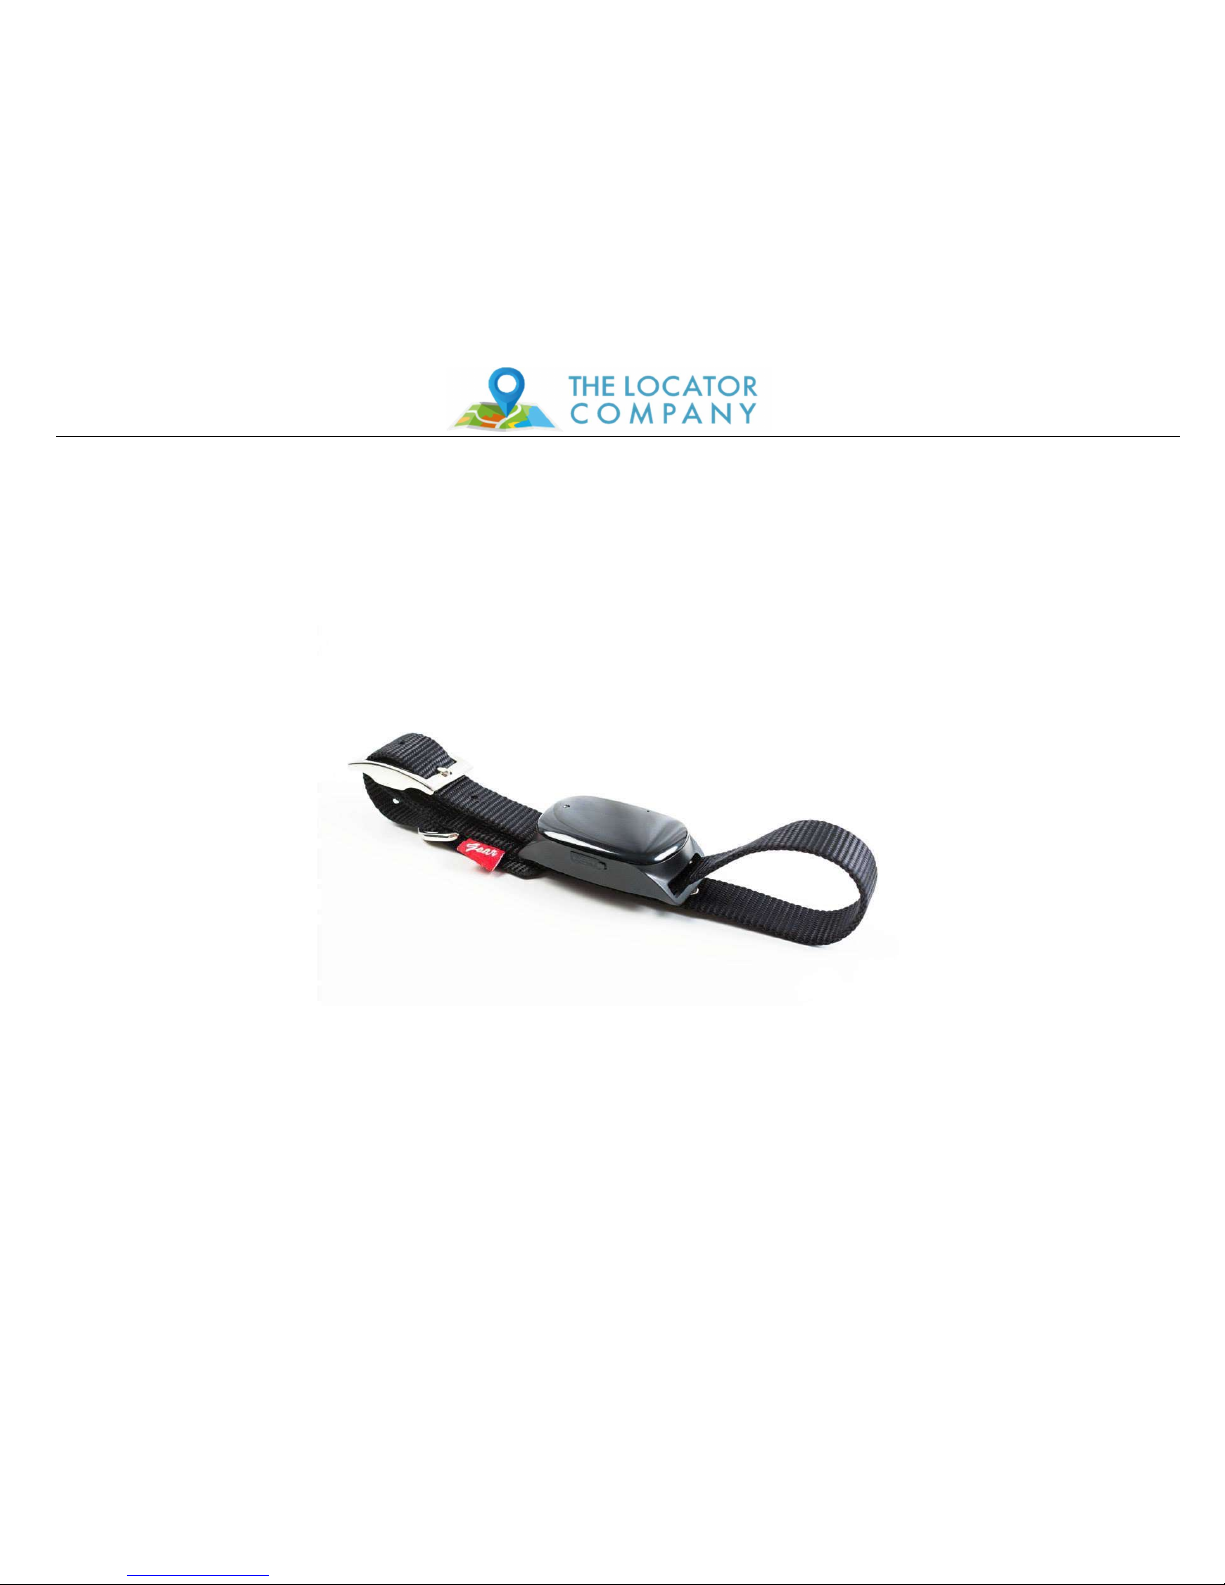
The Locator Pet Tracker

- 2 -
Product Overview
Thank you for using The Locator Pet Tracker. This device is an innovative miniature size personal remote positioning device with
built‐in U‐blox GPS and GSM/GPRS technology.
What’s New?
1.
Unique design, combination of style and technology.
2.
Supports A‐GPS for accelerated positioning.
3.
Two way voice communications.
4.
Firmware upgrade over the air.
5.
Built‐in 8MB flash memory.
6.
GPRS blind area data re‐upload function.
7.
Long battery life.
- 3 -
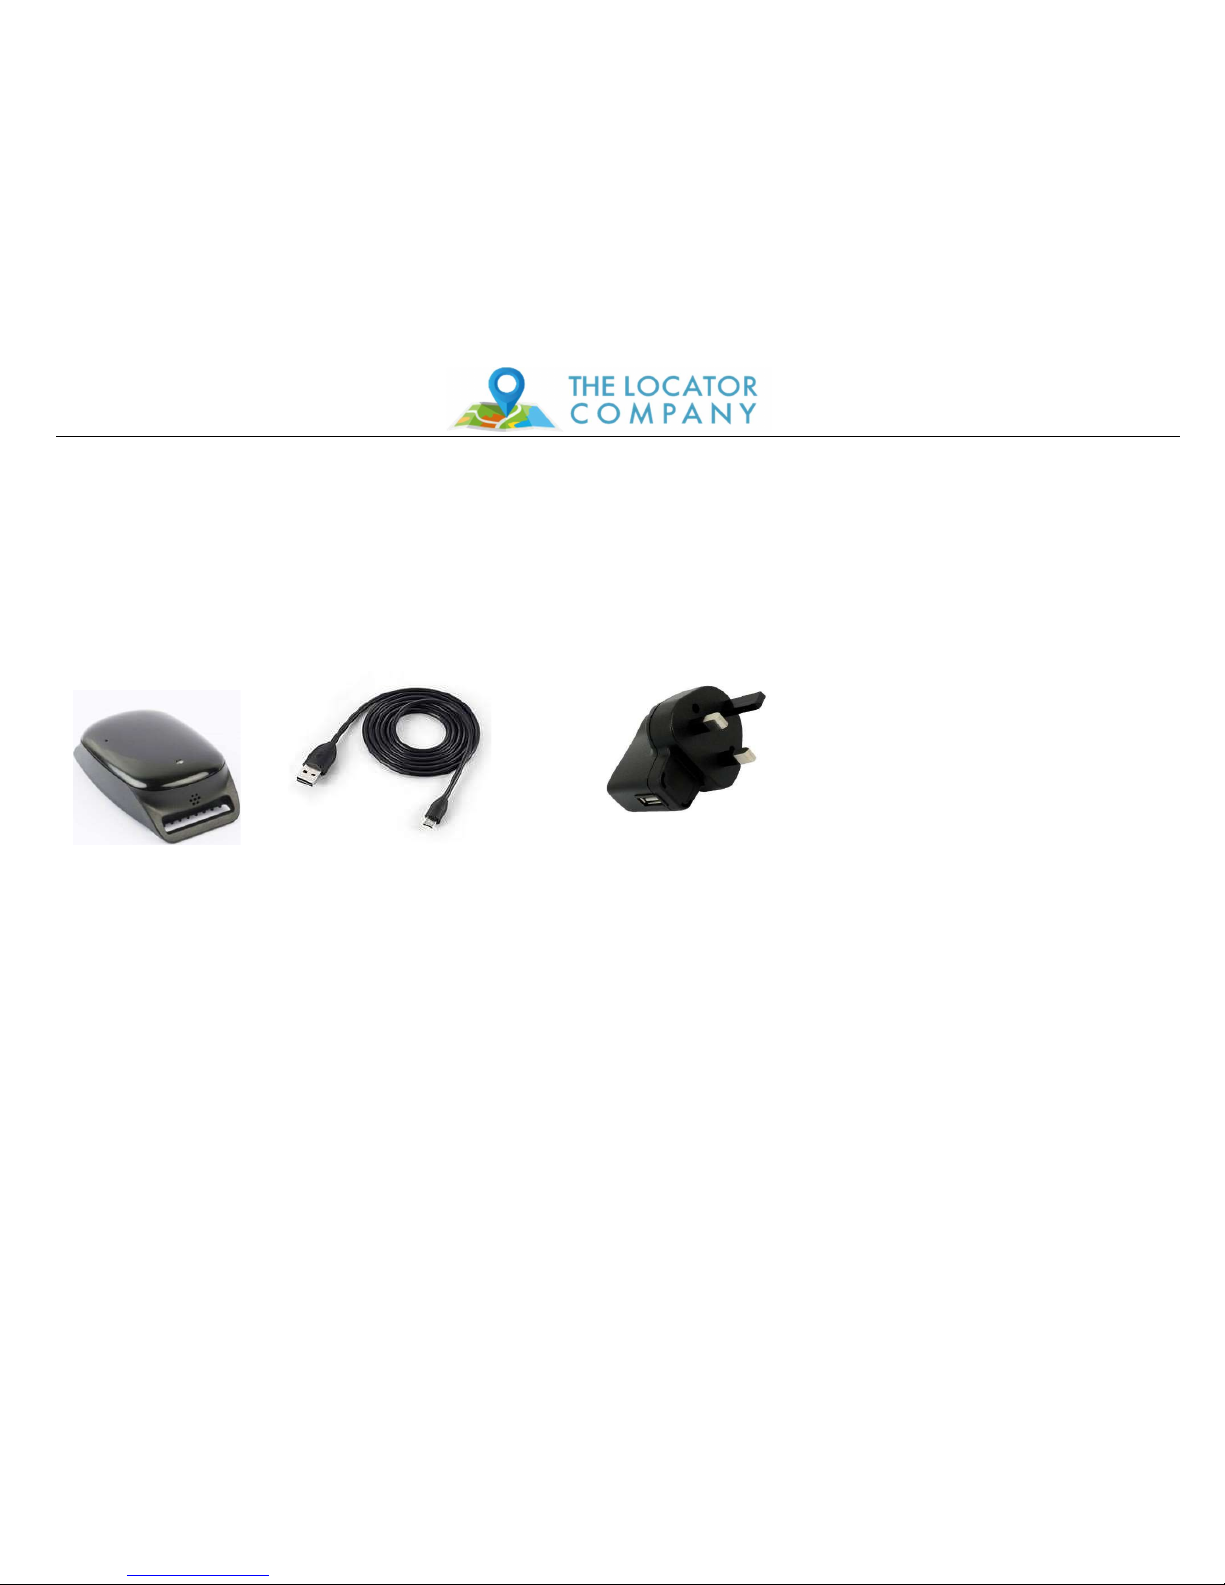
What’s in the box?
This device is supplied in a box which includes:
Device USB Cable Charger

- 4 -
GPS tracking system
Getting to know your device
Usages
−
For the first time use, please fully charge the battery for around 2~3 hours, using the USB charger.
−
When charging, the RED LED will be on (solid). After fully charging, the RED LED will go to Signal Mode.

- 5 -
GPS tracking system
Switching the device on and off
−
To turn on the device: Plug the device to a charging Micro USB cable.
※ To get an initial location, use outdoors or near a window so the device may fix onto the satellites.
−
To turn off the device: Send SMS: off to the device, after you hear the beep, the device is turned off.
−
To turn on/off the device manually : Open the case and turn on/off by inside switch.
What do the lights mean?
GSM LED‐‐GREEN
Light shows a single flash rapidly every 3 seconds The device is connected to GSM network
Light shows a double flash rapidly every 3 seconds The device is registered to GPRS network
Light shows a slow flash every 3 seconds The device is connecting to GSM network
Light Solid (not flashing)
No SIM Card detected
GPS LED‐‐BLUE
Light shows a single flash rapidly every 3 seconds The device has GPS positioning fix
Light shows a slow flash every 3 seconds (every 1 second on and 3
seconds off)
The device has no GPS fix
No flashing GPS chip is sleeping

- 6 -
GPS tracking system
Low battery alarm
When device battery is lower than 20%, it will send a SMS alarm “BAT: LOW!” to all authorized numbers. If battery lowers than 15%, the blue light will flash
rapidly to warn the user to charge the device as soon as possible.
1. Location request
4.1 Reply with coordinates and web link
Command: loc
The device will reply “GPS Info! Time: xxxxx; Lat: xxxx; Lon: xxxx; Spd: xxxxx, Altitude:xxxx Bt: xxx
maps.google.com/maps?q=loc:22.647379,114.030998
※Put coordinates to Google earth or Google maps. Click on search button, then you will find the position fixed.
※Click on the link then the location can be shown directly on Google Map on your mobile phone.
2. Listen‐in (Voice wiretapping)
Command: L1
A1, B1, C1 can make a silence call to the tracker, the track answers the call automatically and allows the caller to hear what is happening around the tracker.
There is no voice indication that the call is in progress.
To turn off this function, please send L0 to the device.
3. Shut down LED
Command: LED1
The device will reply “LED off” and later LEDs will stop flashing, but the device is actually on.
To turn off this function, please send LED0
- 7 -
GPS tracking system
Real time tracking via the Web platform and App
Your Locator Tracker is set up to work with the Web Platform and App.
You will have received your registration details with the login link to the web platform:
https://gsh3.net/id37
Your tracker has been set up so all you need to do now is log on and start tracking.
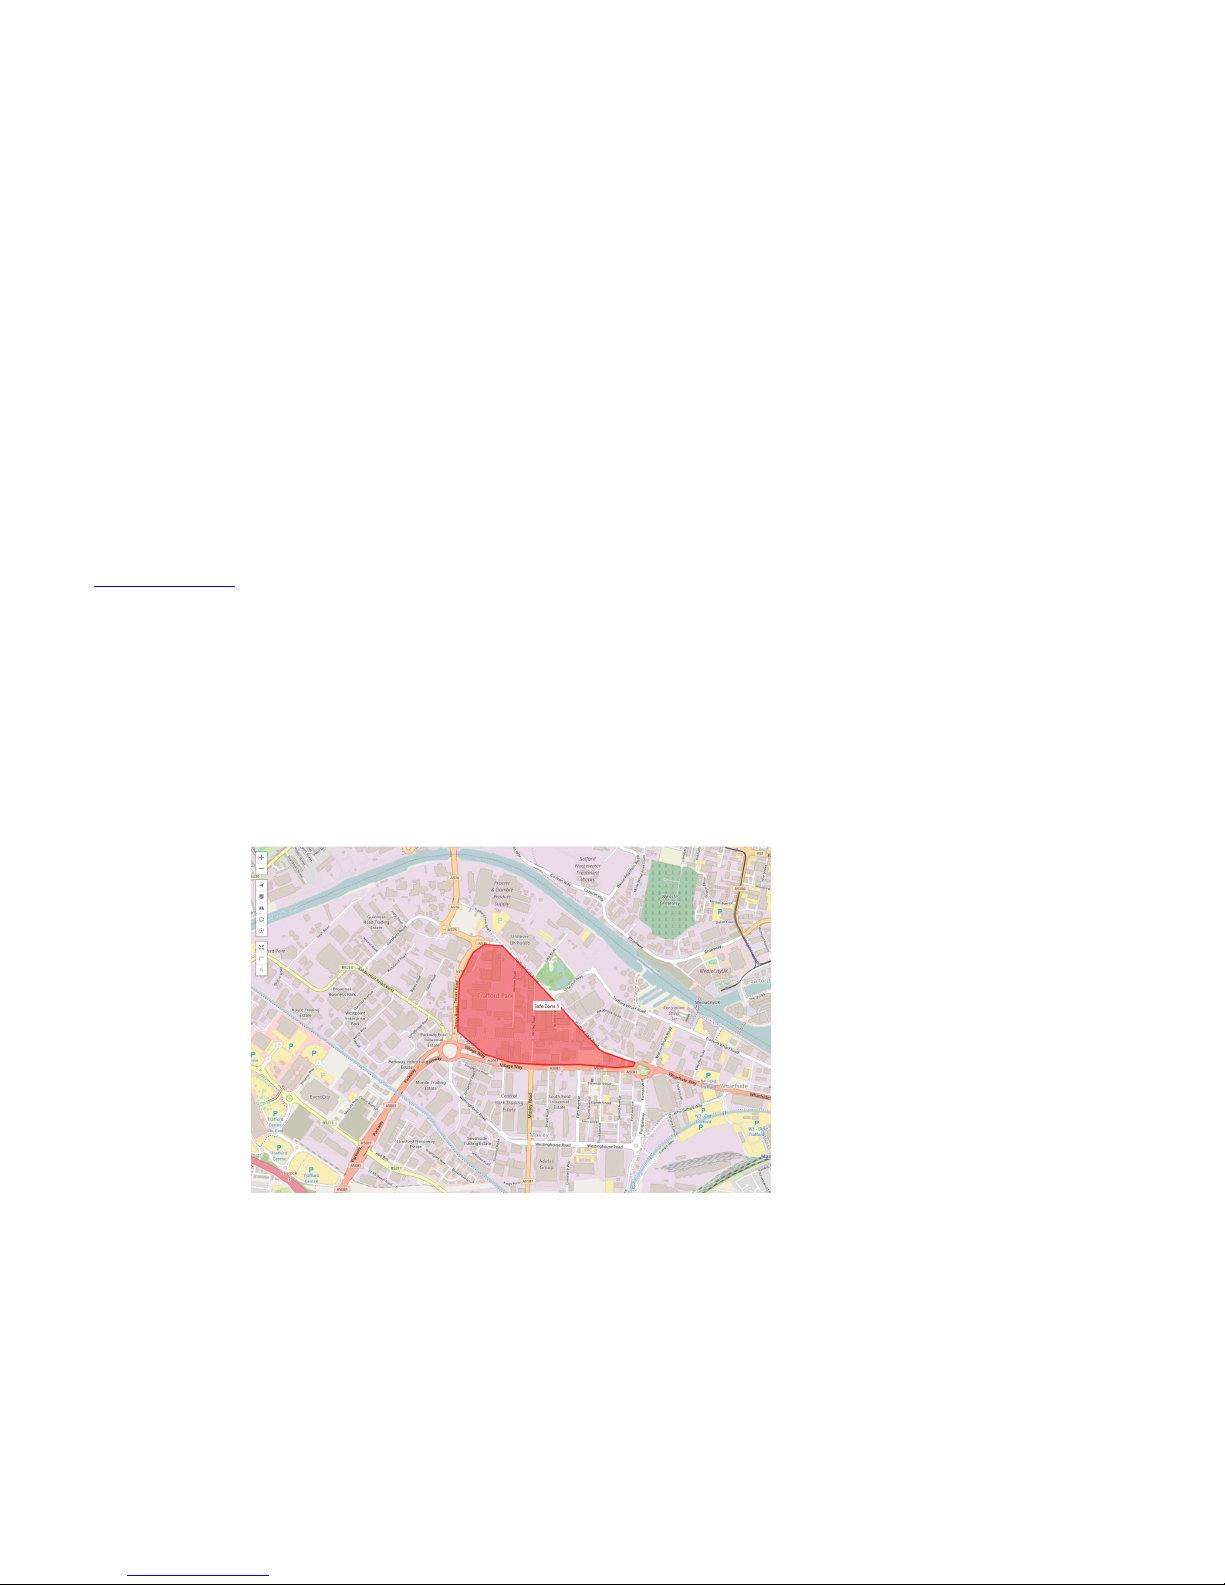
Safe Zones
What are they?
Safe Zones are areas that we can draw on the map that provide a safe area that you think your loved one can walk and be ok.
If they go outside of that Safe Zone then an alert will be sent to your mobile and the web platform letting you know that they may now be at risk!
By using the APP and web platform you can locate them quickly and respond as you see fit.
So what does a Safe Zone look like?
- 8 -
GPS tracking system
The Safe Zone can be drawn to fit any dimensions and you can have more than one!
E.G. if you want to know when the person with the tracker has left the Safe Zone around their house and has then arrived at the newsagent then you can have 2 safe zones and
each time they go in and out you will receive a text – so you can be reassured that they have gone out and come back.
Things to be aware of:
1. The safe zone can be breached if it is too small by what is called “drifting” this is where the tracker connects to various satellites and appears to be moving and so can
“drift” out of the zone
2. If you have more than one tracker then you can determine which zone relates to each tracker and how you want them to alert
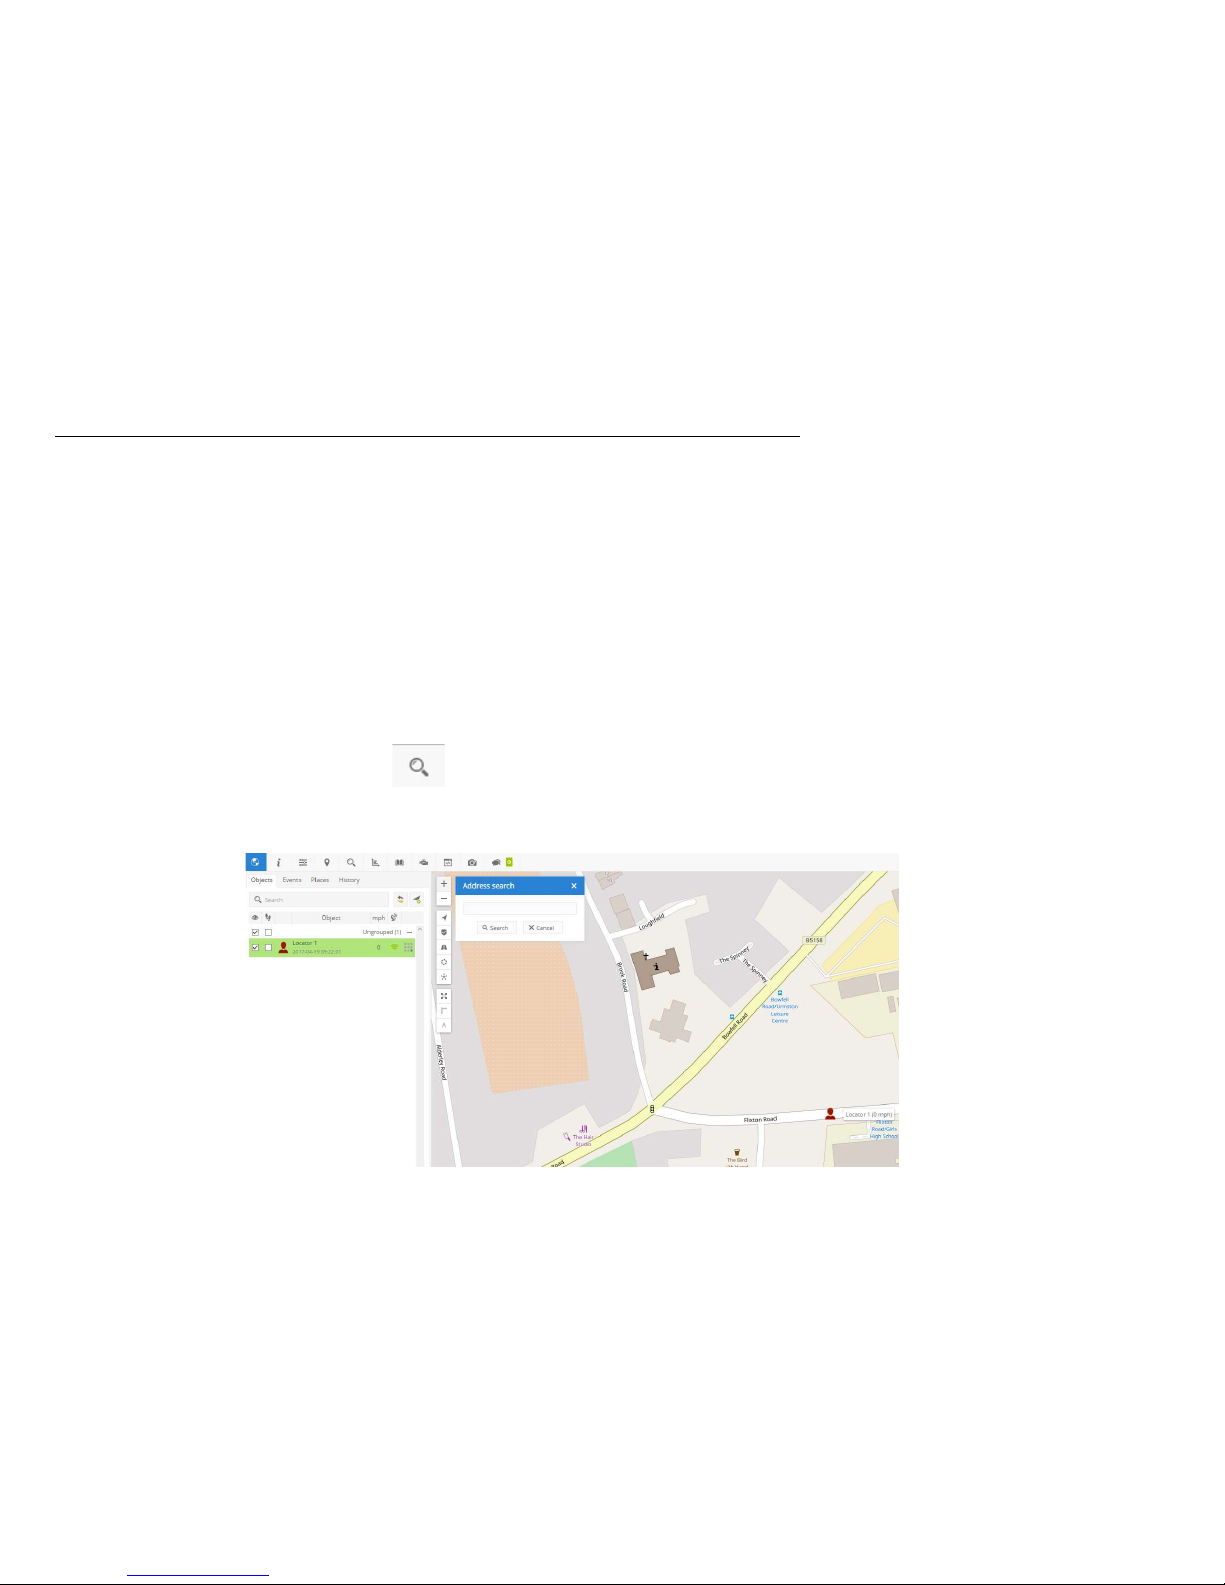
How to Create a Safe Zone
Login and go to the top icon banner and click on the icon – address search – you use this to select where you want the safe zone to be:
Enter the post code and click search – you may need to scroll into the map to get closer to your area!
- 9 -
GPS tracking system
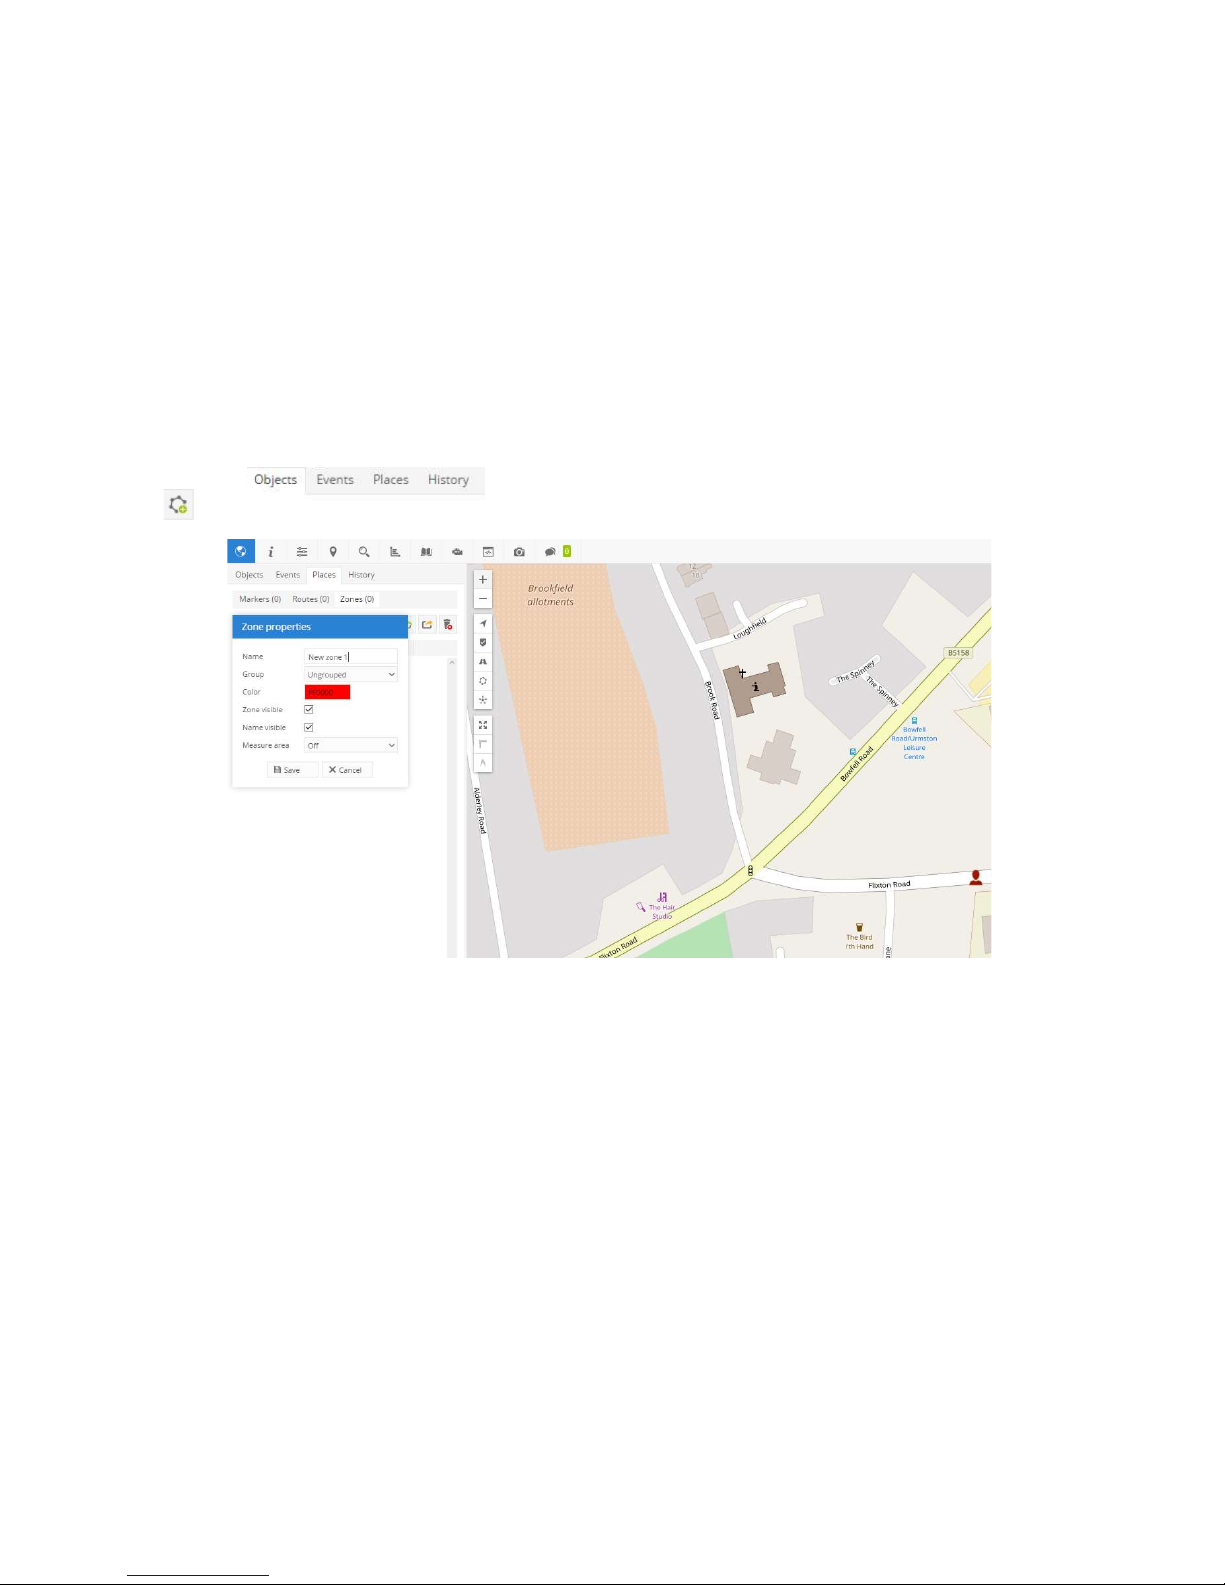
On the next icon banner select – “Places” and then “Zones”
Now click the icon
In this dialogue box you can now name the safe zone, e.g. Home, Shop etc
Now move your cursor on to the map area and black +, move it to the area you want to make as a safe zone and then click your mouse, the black cross will change to
the hand icon and a white square will appear
Now move your cursor to the next point where you want the safe zone to be and click again, another white box will appear with a dash line between the 2 squares –
you are now building your safe zone

- 10 -
GPS tracking system
When you have finished creating the area you want douuble click on the last white square and this releases the cursor
Now click Save and you have succeeded in creating a Safe Zone! You can edit at anty time by selecting the pencil on the zone that is now in your places list
The next stage is to create the events that you need for the Safe Zone:
Click on the Settings icon
Select the tab “Events” – you will see 3 events already created for you, Battery Low, Help Me! And Offline
- 11 -
GPS tracking system
Click on the blue + bottom left
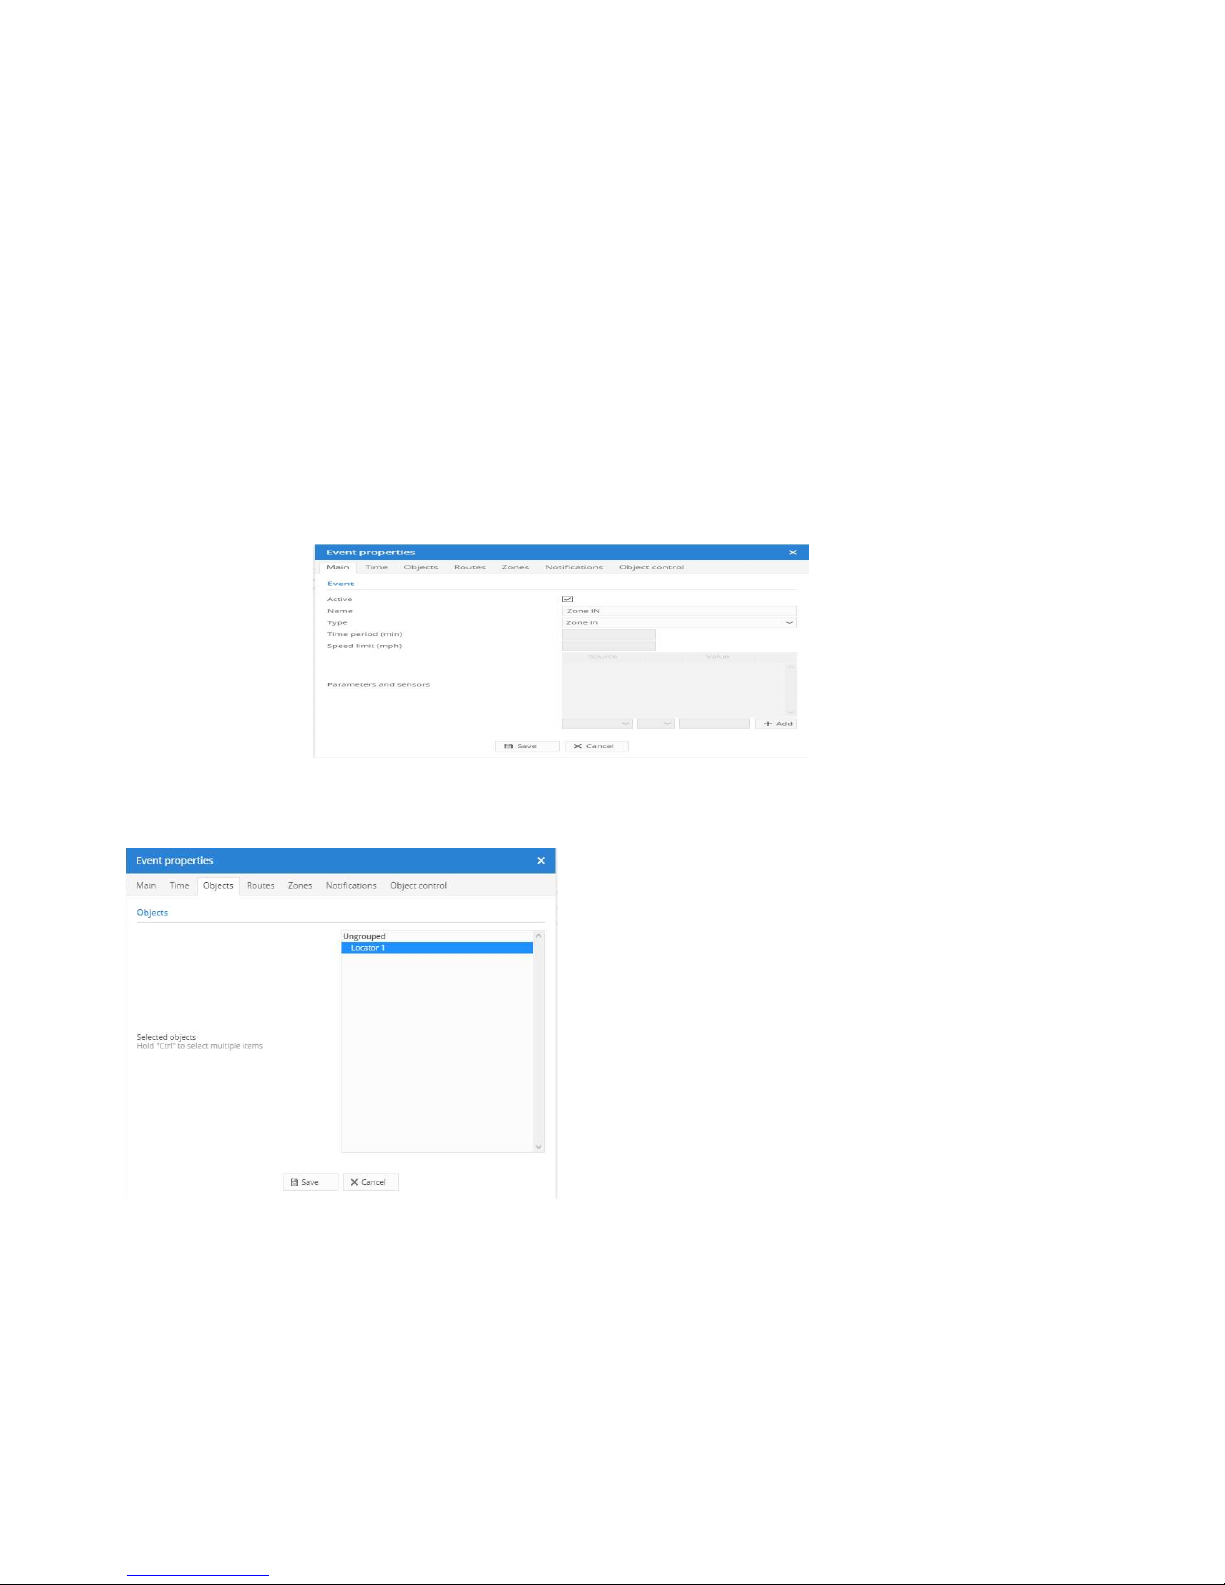
A dialogue box will appear – Event Properties – we are creating a Zone in and Zone out event for the safe zone you have just created
In the “Name” section type – “Zone IN Home” the Home is the name of your safe zone
From the “Type” drop down list scroll to the bottom and select “Zone In”
Now click on the “Objects “ tab
Select your tracker – it will turn blue

- 12 -
GPS tracking system
Now select the “Zones “ tab
You should see the name of the safe zone you created (Note: if you can’t see the zone then log out and log back in)
Select the Zone and it will turn blue
Now select “Notifications “ tab
Tick “System message”
Tick “Sound alert” if you want it to sound on your computer or tablet
Tick “Email” and put your email in if you want to receive and email – if you want more than one email then separate them with a ,
Tick “phone number” and enter the mobile number you want to receive the text message‐ again separate the numbers with a column
Now click save!
Congratulations! You have just created an event that will text you when the tracker enters the safe zone.

- 13 -
GPS tracking system
You need to repeat the above process to create the “Zone OUT” event – the only difference will be select Zone out from the “Type” dropdown list.
The APP
Go to Play store or Apple store and download the App: GPS Server Mobile
- 14 -
GPS tracking system
When you have installed the App follow these instructions to set it up:
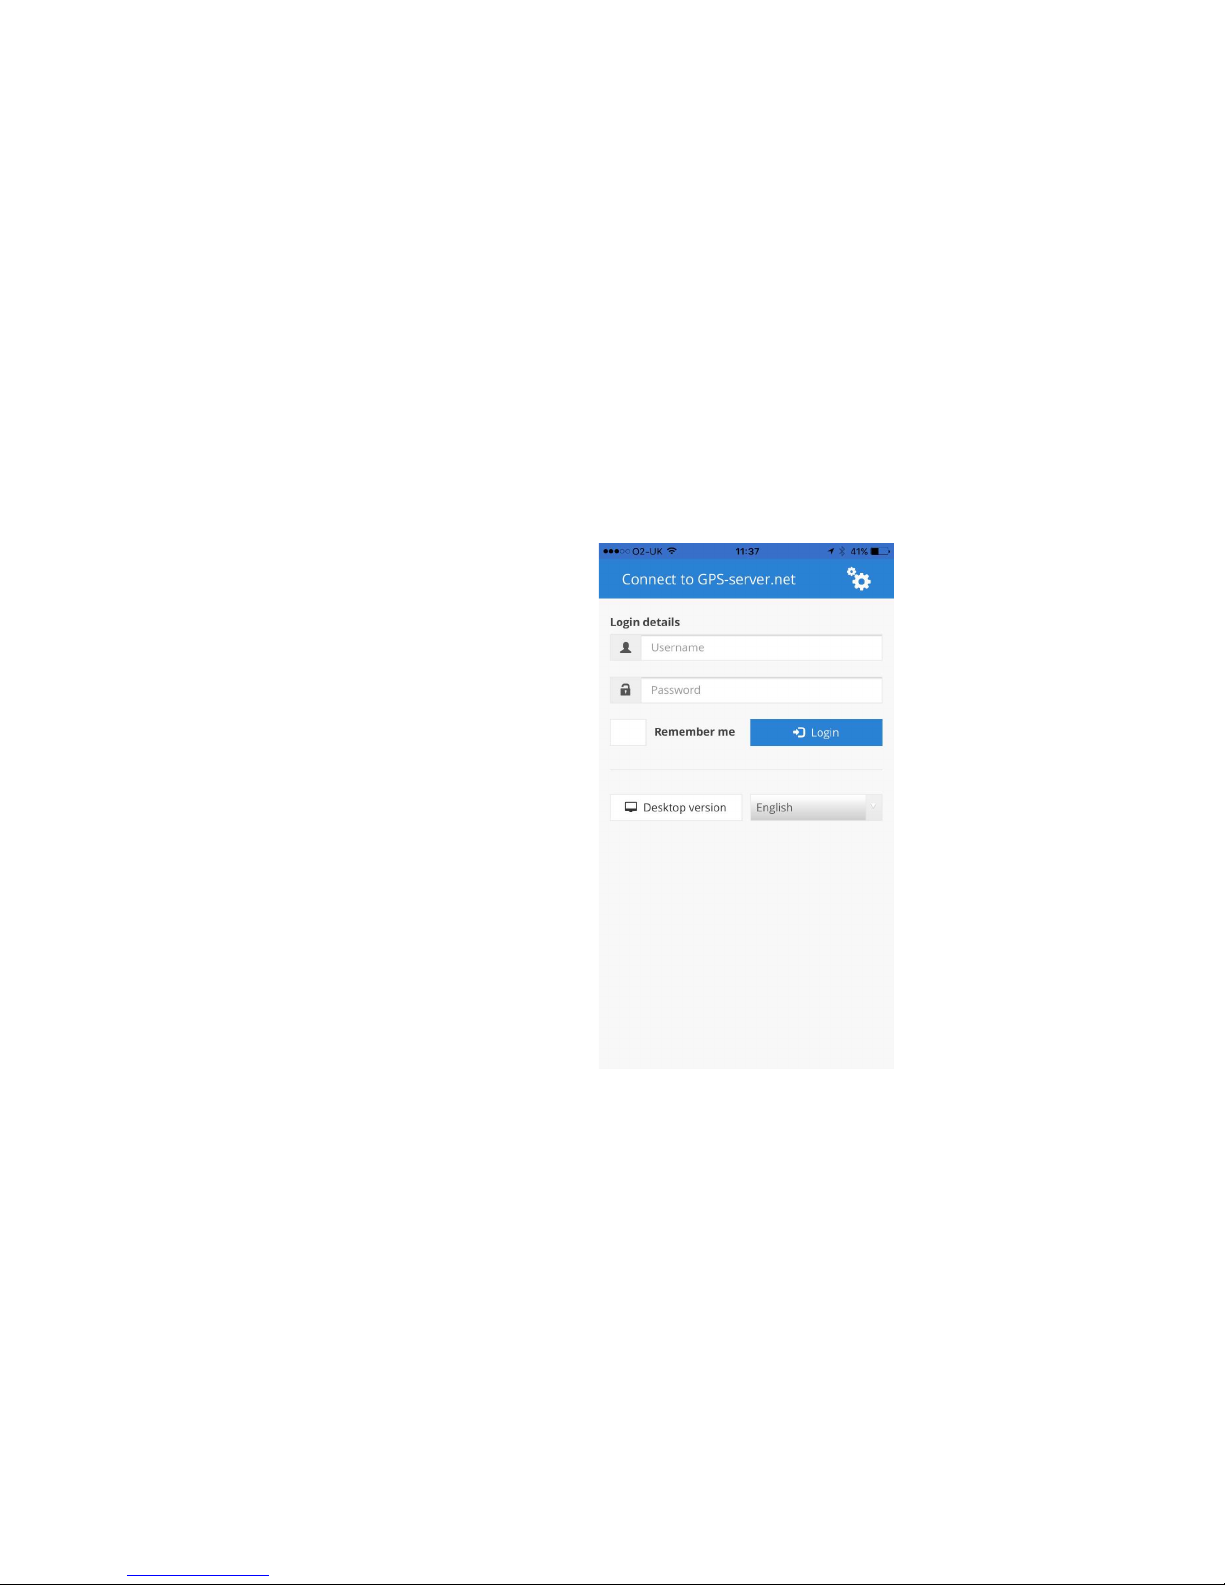
When the App opens, you are presented with the Login page
- 15 -
GPS tracking system
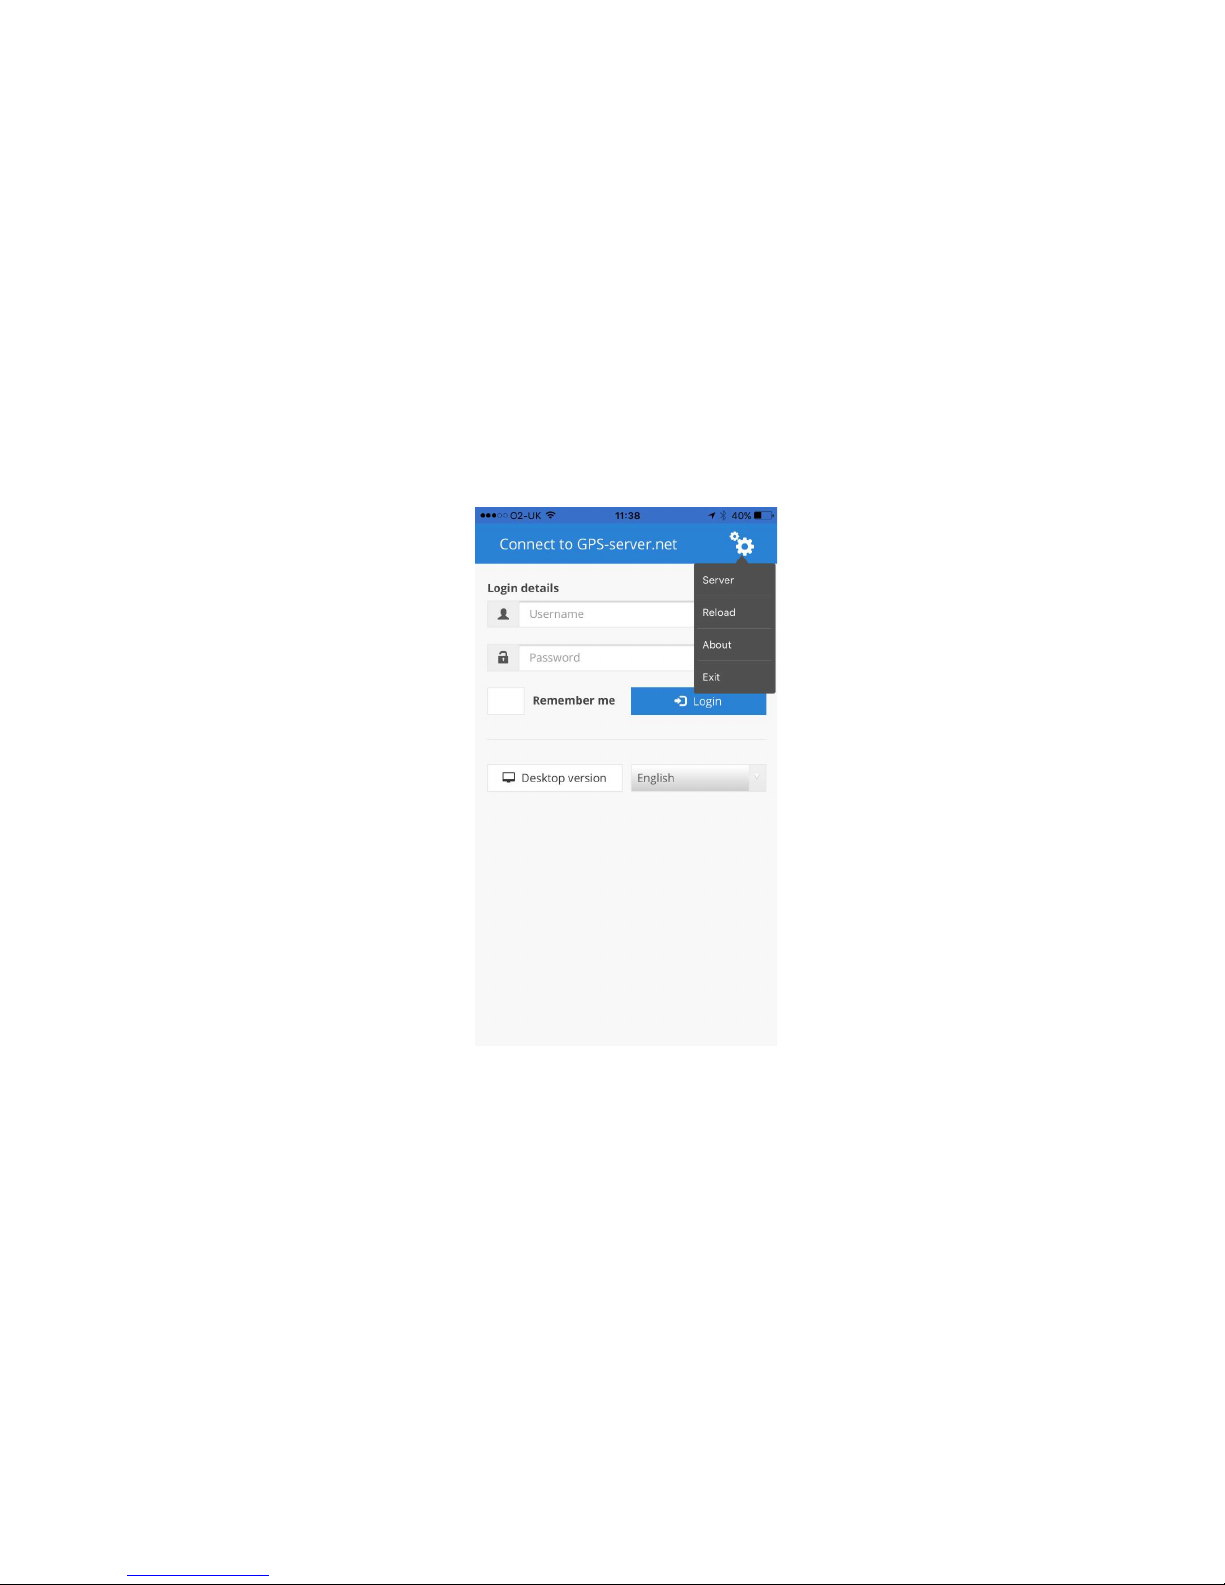
Click on the cogs – top right to go into settings
- 16 -
GPS tracking system
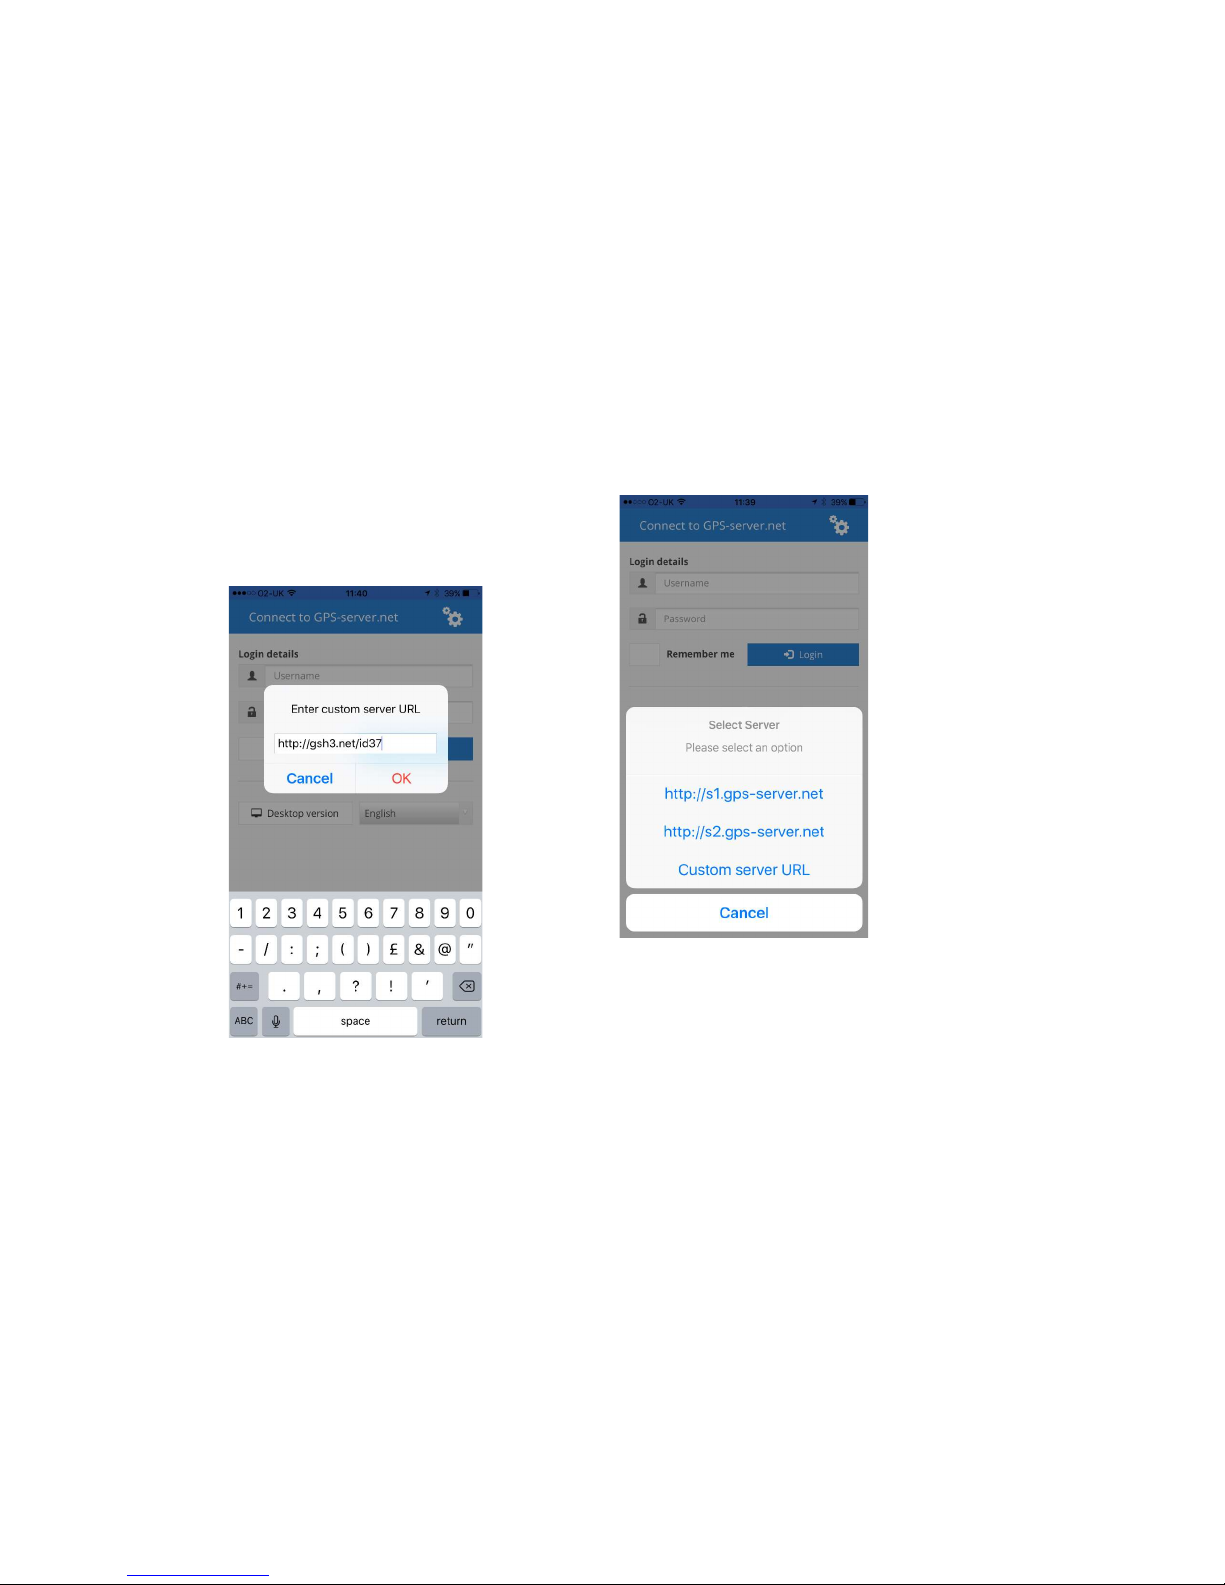
Now select “Server”
And then “Custom Server URL”
Type in the Locator server address as below – click OK

- 17 -
GPS tracking system
Now you can log in with your user name and password – click “remember me”
If when you have logged in and you cannot see the tracker then go to the 3 bars
Click on “Objects” and select your tracker ‐ you should now be able to see the tracker on the map
If you want to follow the tracker then in “objects” select the magnifying glass and you will now follow the tracker
Cautions:
Please comply with the instructions to extend the unit life:
1. Keep the unit dry. Any liquid may destroy or damage the inside circuitry.
2. Don’t use & store the unit in dusty places.
3. Don’t put the unit in overheated or overcooled places.
4. Clear the unit with a piece of dry cloth. Don’t clean in chemicals, detergent.
5. Don’t disassemble or refit the unit.
6. Using other batteries will cause unwanted situation
Hardware Specification:
Content Specs.
Mainframe Dimension 61mm*43mm*16mm
Weight 35g
GSM Frequencies 900/180/850/1900Mhz
GPS chip U‐blox 7 (Support AGPS)
GPS sensitivity Cold start: ‐148dBm Hot start: ‐162dBm
GPS accuracy <2.5m
Time to First Fix Cold start 32s, Warm start 11s, Hot start 1s
Charging Voltage 5V DC
Battery Chargeable 3.7V 900mAh
Standby Current ≤2mAh
Storage Temperature ‐40°C to +85°C
Operation Temperature ‐20°C to +80°C
Humidity
5%‐95% non‐condensing
Table of contents


