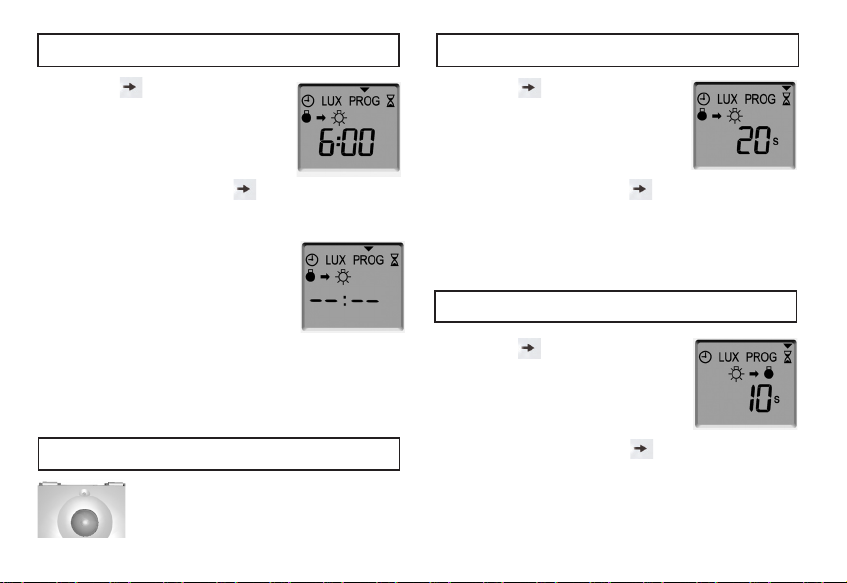
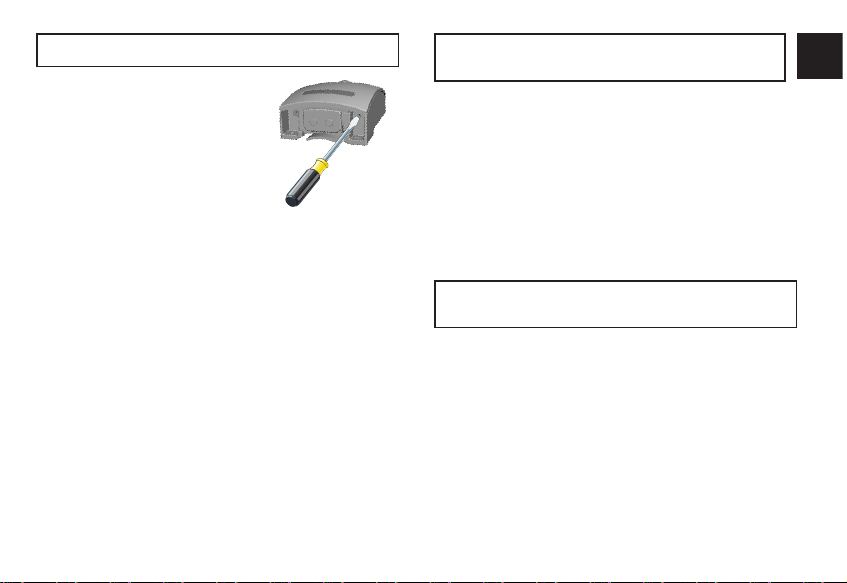
Theben Luna 129 User manual


Other Theben Switch manuals

Theben
Theben TIMEGUARD Weathersafe IS3N-20 Manual

Theben
Theben LUNA 111 top3 AL User manual

Theben
Theben TR 610 top2 User manual

Theben
Theben Timeguard AC1988 Manual

Theben
Theben TRA 69 H User manual

Theben
Theben TR 644 top2 User manual

Theben
Theben TR 610 top2 User manual

Theben
Theben eltimo 020 s User manual

Theben
Theben SELEKTA 170 top2 User manual

Theben
Theben TIMEGUARD IS3N-20 Manual

Theben
Theben termina tr 611 top2 Parts list manual

Theben
Theben SELEKTA 171 Top3 RC User manual

Theben
Theben LUNA Series User manual

Theben
Theben TR 030 top3 UP User manual

Theben
Theben SELEKTA 170 top2 User manual

Theben
Theben eltimo 020 top3 User manual

Theben
Theben LUNA 111 top2 User manual

Theben
Theben TIMEGUARD WF10COM Manual

Theben
Theben SEL 173 DCF User manual

Theben
Theben LUNA 121 top3 RC User manual


 Getting started guide")