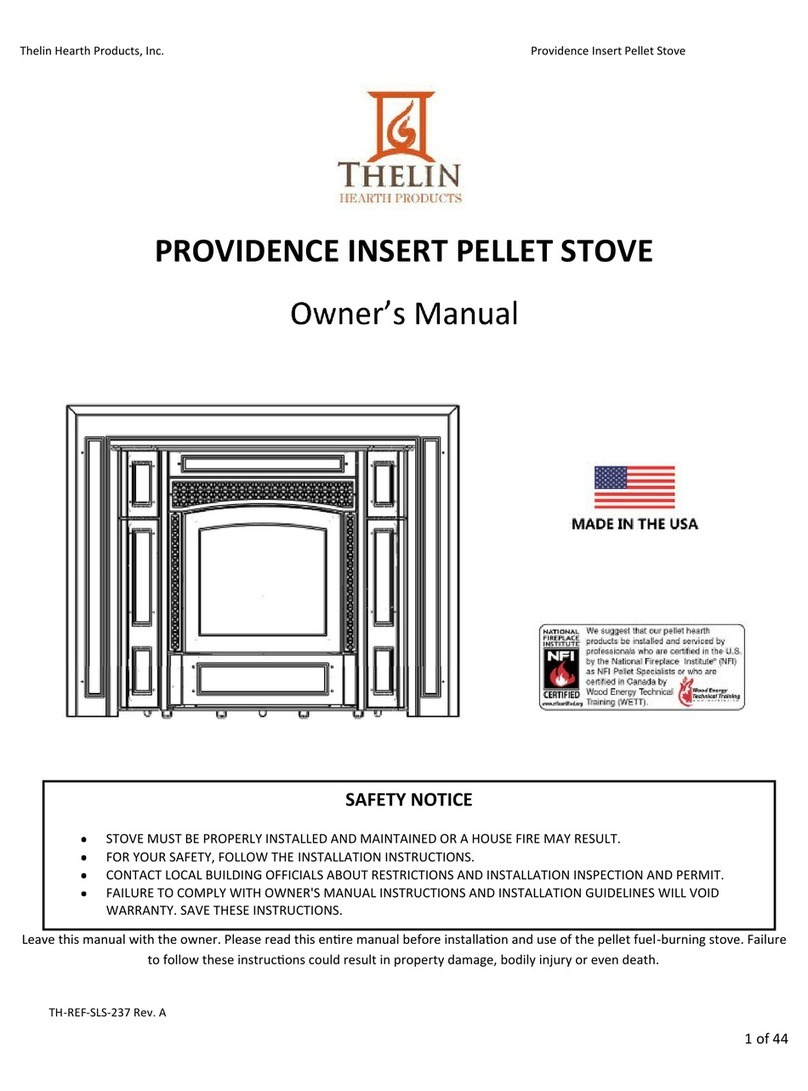
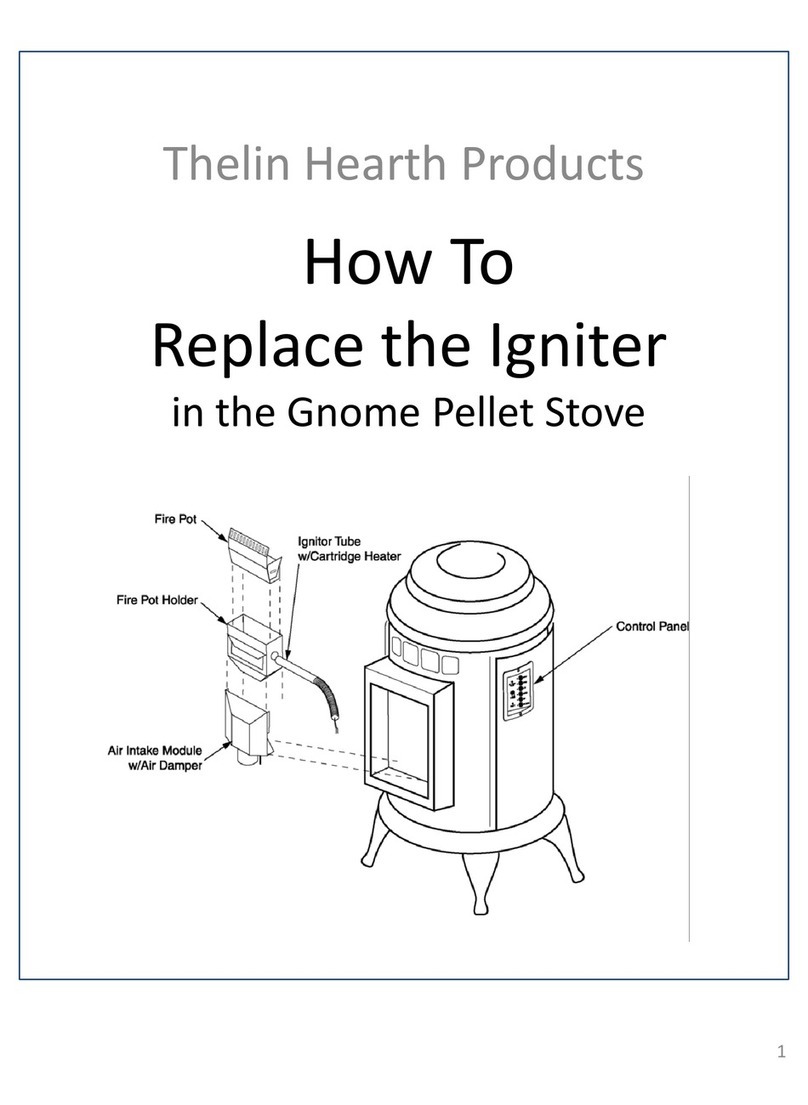
Thelin Parlour Direct Vent User manual

Thelin Co. Inc.
(800) 949-5048 or (530) 273-1976 Fax (530) 273-3707
TH-REF-GEN-200 Rev. A
GAS HEATER
SERVICE MANUAL
Please familiarize yourself with entire manual before attempting a
repair or adjustment of the heaters.
Parlour Direct Vent Gnome Direct Vent Echo Direct Vent

THELIN HEARTH PRODUCTS
Gas Heater Service Manual ii
TABLE OF CONTENTS
I. Introduction..........................................................................................................................5
II. Venting.................................................................................................................................5
III. Clearances ............................................................................................................................6
IV. Gas Hook Up........................................................................................................................6
V. Log Installation ....................................................................................................................6
VI. Gas Valve –Millivolt Check ...............................................................................................7
VII. Air Shutter Adjustment, Correct Flame, and Removal of Burner .......................................7
VIII. Restrictor Disks....................................................................................................................8
IX. Thermostat Hook Up............................................................................................................8
X. Conversion Kits and Installation..........................................................................................8
XI. Delayed Ignition Safety Door ..............................................................................................8
XII. General Maintenance ...........................................................................................................9
Warranty Replacement Program....................................................................................................10
Appendix A –SIT Valve Troubleshooting Guide ...................................................................... A-1
Appendix B –Conversion Kit Instructions..................................................................................B-1

THELIN HEARTH PRODUCTS
Gas Heater Service Manual 3
TABLE OF FIGURES
Figure 1 –Parlour B Vent Exterior Vent (1994 - 2001)............................................................................12
Figure 2 –Parlour Direct Vent Exterior Vent............................................................................................13
Figure 3 –Gnome Direct Vent Exterior Vent............................................................................................14
Figure 4 –Echo Venting Requirements.....................................................................................................15
Figure 5 –Echo Venting Requirements.....................................................................................................16
Figure 6 –Echo Co-Linear Flex System....................................................................................................16
Figure 7 –Parlour Direct Vent Pipe Configuration ...................................................................................17
Figure 8 –Gnome Direct Vent Pipe Configuration ...................................................................................18
Figure 9 –Echo Pipe Configurations.........................................................................................................19
Figure 10 –Vent Termination for B Vent and Direct Vent.......................................................................20
Figure 11 –Parlour B Vent Laboratory Listing Label (1994 –2001) .......................................................21
Figure 12 –Parlour Direct Vent Laboratory Listing Label (1995 –2004)................................................22
Figure 13 –Parlour Direct Vent Laboratory Listing Label (OMNI) (2004+) ...........................................23
Figure 14 –Gnome Direct Vent Laboratory Listing Label (1995 –2004)................................................24
Figure 15 –Gnome Direct Vent Laboratory Listing Label (OMNI) (2004+) ...........................................25
Figure 16 –Echo Laboratory Listing Label (to 3/6/2007).........................................................................26
Figure 17 –Echo Laboratory Listing Label (3/7/2007 to Present)............................................................27
Figure 18 –Parlour Direct Vent Vertical Pipe Installation –Air Intake Restrictor Disks ........................28
Figure 19 - Parlour Direct Vent Stove with Burner...................................................................................29
Figure 20 - Pyrotech Log Placement .........................................................................................................30
Figure 21 –Direct Vent Gas Heater Vent Termination Locations (1994 –2004) ....................................32
Figure 22 –Vent Termination Locations (OMNI) (2004+) ......................................................................33
Figure 23 –Parlour B Vent Sit Valve (Serial # 543-OM) .........................................................................34
Figure 24 –Parlour B Vent Robert Shaw Valve (Serial # 100-542) .........................................................35
Figure 25 –Parlour and Gnome Direct Vent SIT Valve ...........................................................................36
Figure 26 –Parlour and Gnome Direct Vent Robert Shaw Valve.............................................................37
Figure 27 –Diagram of Echo Control Components (SIT Valve)..............................................................38
Figure 28 –Diagram of Echo Control Components (Air Restrictor) ........................................................39
Figure 29 - Parlour B Vent Air Shutter and Manifold/Valve –SIT Valve (Bottom View) ......................40
Figure 30 –Parlour B Vent Log Placement and Air Shutter Adjust .........................................................41
Figure 31 –Parlour Direct Vent Log Placement and Air Shutter Adjust ..................................................42
Figure 32 –Gnome Direct Vent Log Placement and Air Shutter Adjust ..................................................43
Figure 33 –Echo Stove with Log & Ember Tray Placement ....................................................................44
Figure 34 - Echo Stove with Log & Ember Tray Placement.....................................................................46
Figure 35 –Parlour B Vent Manifold/Valve –Robert Shaw Valve (Bottom View).................................48
Figure 36 –Parlour and Gnome Stove with Burner Removed ..................................................................49
Figure 37 –Location of Echo Pilot, Burners, and Air Shutter ..................................................................50
Figure 38 –Directions for Enabling Echo Door Opening and Securing Door..........................................51
Figure 39 –Delayed Echo Ignition Safety Shut Down..............................................................................52
Figure 40 –Location of Restrictor Disks in Parlour and Gnome (1995 –2004)......................................53
Figure 41 –Location of Restrictor Disks in Parlour and Gnome (2004+) ................................................54
Figure 42 –Parlour/Gnome Direct Vent Delayed Ignition, Fan Mount, Snap Disc Sensor (1995-2004) ......55
Figure 43 –Delayed Ignition Safety Shut Down (2004+).........................................................................56
Figure 44 –Parlour B Vent Wiring Diagram –Robert Shaw Valve .........................................................57

THELIN HEARTH PRODUCTS
Gas Heater Service Manual 4
Figure 45 –Parlour B Vent Wiring Diagram –SIT Valve ........................................................................58
Figure 46 –Echo Venting Chart ................................................................................................................59
Figure 47 –Direct Vent Wiring Diagram (1995 –2004) ..........................................................................60
Figure 48 –Direct Vent Dimensions .........................................................................................................61

THELIN HEARTH PRODUCTS
Gas Heater Service Manual 5
I. INTRODUCTION
Thelin Hearth Products manufactures three
models of free-standing gas heaters: the Parlour
Direct Vent, Gnome Direct Vent, and Echo
Direct Vent. This manual will give you the
information you need to install them correctly,
troubleshoot problems, and fine-tune them after
they are installed. In addition, in Section X you
will find a step-by-step guide to converting the
LP stoves to natural gas and vice-versa.
To properly perform maintenance and work on
all models, you will need the following tools:
1/4-, 3/8-, or 1/2-inch socket set
Slot and phillips screw drivers (a Makita or
similar cordless drill works well)
Digital read-out volt meter
Allen wrench set
T-30 Torx tip
Wire stripper, crimp connectors, and crimp
tool
Drop light or flashlight with extension cord
Crescent wrench and set of end wrenches
Instrument for checking gas pressure, i.e.,
manometer
II. VENTING
Figure 1 through Figure 10 will give you the
recommended venting systems for all Thelin
Hearth Products gas heaters. Venting properly is
extremely important. Ninety percent of
problems with Direct Vent stoves relate to
improper venting. If you deviate from these
installation diagrams, you must remember the
following:
1. All horizontal runs must maintain a 1/2-inch
per foot rise. Horizontal funs over 4 feet are
highly discouraged.
2. Each added 90- or 45-degree bend creates
static pressure and will affect the
performance of the heater. Two 45-degree
elbows are always better than one 90-degree
elbow.
3. Long vertical runs (over 8 feet) on the Direct
Vent models can create turbulence problems
with the incoming combustion air and these
installations may require adjustment of the
Restrictor disks (see Section VII). If the
pilot flame pulls away from the
thermocouple, a drop out will occur and the
burner will go out. This symptom can be
created by too much incoming combustion
air.
4. It is extremely important that all interlocking
connections are locked properly and
securely. Failure to lock sections together
correctly will result in a mixture of
combustion air and exhaust gases, and the
fire will lift off of the burner and go out.

THELIN HEARTH PRODUCTS
Gas Heater Service Manual 6
III. CLEARANCES
Figure 11 through Figure 22 will give you the
proper clearances to combustible surfaces, both
for the stove and surrounding areas including
walls, windows, porches, etc. The Parlour B
Vent requires a hearth pad extending the full
width and length of the heater. The Direct Vent
stoves do not require a hearth pad, but it is
highly recommended on carpets, rugs, or any
other soft material. A hearth pad on these
surfaces will give stability to the heater and
prevent tipping. Follow the instructions
carefully when placing the stove near drapes,
furniture, and other combustible material.
IV. GAS HOOK UP
You are required to have a shut-off valve
immediately preceding the flex gas line to the
stove. This valve should be easily accessible and
visually prominent after the installation is
complete. Do not compromise on the placement
of the shut off valve. The following should
always be strictly adhered to when hooking
up the heater to the gas line:
1. Use yellow Teflon gas tape when making
connections to the stove and valve. Do not
allow pieces of tape or other materials to
enter the pipe and valve openings. Foreign
matter in the pipe of valve openings will
prevent the even flow of gas and create
problems when the stove is burning.
2. Purge the gas line of air before attempting to
light the pilot. Air pockets in the gas line
will create problems when trying to light the
pilot and burner.
3. If you are not certain of the gas pressure for
the stove, always test the pressure before
lighting the pilot. All Thelin Hearth
Products gas valves are equipped with
pressure test ports (see Figure 23 through
Figure 26 for location of ports). With a low-
cost manometer you can make sure the
pressure is correct before lighting the pilot.
See Figure 11 through Figure 22 for the
correct manifold pressure in water columns
for each stove and each fuel, LP or natural
gas.
4. Always check connections for leaks before
lighting stove. We recommend a battery-
operated gas “sniffer,” but liquid soap also
works well for checking the connections for
leaks.
V. LOG INSTALLATION
Figure 30 through Figure 33 show the correct
placement of the logs in the stoves. Incorrect log
installation will create burn problems, sooting,
and clogged burners. Important points to
remember when checking log placement are as
follows:
1. Each stove has a front and rear log. make
sure the front log and rear log are in their
proper places. Consult diagrams if you are
not sure.
2. Make certain the logs do not impinge upon
the flame flow. Logs must not be placed
over the flame so as to obstruct the flame
pattern. Make sure the burners can be seen
through the log openings.
3. If the logs are installed correctly, you will be
able to see the pilot when it is lit. This is
important on start up as you will be able to
watch the pilot as it lights.

THELIN HEARTH PRODUCTS
Gas Heater Service Manual 7
VI. GAS VALVE –MILLIVOLT
CHECK
Thelin Hearth Products uses two gas valves on
their heaters. Early stoves from 1994 to 1998
have Robert Shaw valves. All current models
are equipped with SIT valves. Diagrams for
both these valves are attached (see Figure 23
through Figure 26). The diagrams show you the
location of the Piezo lighter, the Hi/Lo flame
adjustment knob and the On, Off, Pilot knob. In
addition, the pilot flame adjustment set screw
can be located by viewing these diagrams. Study
them carefully as the location of each
component is exactly like they are on the valve
itself.
Checking for proper millivoltage: Attached as
Appendix A to this manual is the SIT valve
troubleshooting guide. This guide will take you
step by step through the adjustment and
troubleshooting of the SIT valve. Please note
that on Page 2 of the guide (“General Guide for
Set-Up of Nova mV System,” item numbers 7
and 8), are procedures for checking millivoltage
of the valve. Follow the steps outlined in the
guide to make sure the valve is functioning
properly.
Inlet/outlet pressure: Both inlet and outlet
pressure can be checked directly from the valve
by utilizing a small plastic tube hooked directly
to a manometer. Note “IN” and “OUT”
receptacles on the SIT valve (Figure 23 and
Figure 25). Hook tube to these orifices after
loosening internal screw and hook directly to
manometer to check pressure. Robert Shaw
valves do not have these receptacles. Pressure
can be checked on the Robert Shaw valves from
the orifice manifold (See Figure 32).
VII. AIR SHUTTER ADJUSTMENT,
CORRECT FLAME, AND
REMOVAL OF BURNER
Both B Vent and Direct Vent stoves are
equipped with air shutters that allow for fine
tuning and adjusting of the air-to-fuel ratio. The
B Vent heater can be adjusted from the bottom
of the stove (see Figure 28). The Direct Vent
stoves require the removal of the burner to
adjust the air shutter (see Figure 35 and Figure
36) for removal of burner and location of air
shutter.
It is critical when removing or replacing the
burner to make sure the orifice is aligned
correctly into the air shutter hole. Do not force
or pry burner or orifice. If alignment is correct,
they will mate and align easily.
The correct flame for all burners is blue flame at
the bottom and yellow at the top. Too much
orange means the stove is burning too rich. If
you notice wisps of black smoke coming off the
tips of the flames, this means the burner is
starved for air and the air shutter should be
opened to allow more air to flow with the gas. It
is important to watch the flame characteristics
for some time after light-up as the heat
generated from the burner can change the flame
pattern. It usually takes 15 or 20 minutes for the
flame pattern to stabilize.

THELIN HEARTH PRODUCTS
Gas Heater Service Manual 8
VIII. RESTRICTOR DISKS
Thelin Hearth Products Direct Vent stoves are
equipped with incoming air Restrictor disks so
you can fine tune the combustion air and
prevent air turbulence at the pilot light. For
location of these disks, see Figure 40 and Figure
41. To access the disks, you must remove the
burner as outlined in Section VII, “Air Shutter
Adjustment.” Some scenarios that may require
disk adjustment are as follows:
1. If the Direct Vent heater is installed with a
high vertical run (in excess of eight [8] feet),
the incoming combustion air may create too
much air turbulence and lift the pilot flame
away from the thermocouple. A quick drop
out may result, shutting off the burner and
pilot light.
2. A powerful prevailing wind aimed directly
at the DV termination cap could result in too
much incoming air and disturb the pilot
flame. Adjusting the Restrictor disks will
overcome this problem.
IX. THERMOSTAT HOOK UP
Diagrams 11 through 14 will show you the
location of the thermostat hook-up terminal. Do
not try to wire around this terminal. The wiring
has already been done for you and the provided
terminal must be used for thermostat hook up.
Note: a millivolt thermostat must be used on all
Thelin Hearth Products gas heaters. NO
EXCEPTIONS!
X. CONVERSION KITS AND
INSTALLATION
All Thelin Hearth Products gas stoves can be
converted from LP gas to natural gas, or from
natural gas to LP gas. The kits consist of three
parts plus a label indicating the change has been
made. The components of the kit are: (a) Main
Orifice, (b) Control Regulator, (c) Pilot Orifice,
and (d) label indicating for which gas the stove
is equipped. See Figure 23 through Figure 26
and Figure 36 through Figure 41 for the location
of these parts. Tools necessary for making the
conversion are 7/16, 1/2, and 9/16 end
wrenches, slot and phillips screw drivers, and a
1/4-inch drive ratchet set. Removal of the main
orifice requires two wrenches. Do not attempt
to remove orifice with one wrench as you can
twist the gas line and break it. For specific
instructions on conversions, see Appendix B.
XI. DELAYED IGNITION SAFETY
DOOR (1995 –2004)
See Figure 42 for the location of the safety door.
In the event of a delayed ignition and/or
explosion, this door will fly open and shut off
the burner. Both Direct Vent stoves are
equipped with the safety door. The stove can not
be restarted until the door is reset, the switch is
activated, and the cause of the explosion is
determined. To access this door, you must
remove the outer wrap on the stove. Be careful
when removing the shield as the wires to the
fan and sensors are attached to the inner side
of the shield. These can be easily removed once
the shield is loose from the body of the stove.
The gas valve, pilot assembly, and gas lines
should all be checked before re-assembly.

THELIN HEARTH PRODUCTS
Gas Heater Service Manual 9
XII. GENERAL MAINTENANCE
At least once a year the following maintenance
should be performed on the gas heaters:
1. Remove log set and inspect burner for soot
build up and/or blocked holes in the burner
tubes. Excessive soot build up indicates an
air/fuel ratio problem and means some
adjustment is necessary.
2. Remove the outer wrap and inspect the fan
for dust and lint build up. Pay particular
attention to the squirrel cage fan blades as
these can accumulate dust and lint, affecting
the performance of the fan. Clean as
necessary.
3. The wire harness and control knob
connections should be checked for wear and
tear. Make sure all wires are pliable and not
hard or brittle. Connections should be secure
and tight. Replace wires and connectors as
needed. Remember, all wires are color-
coded as per wiring shown in Figure 44
through Figure 47.
In conclusion, we would like to remind you that
Thelin Hearth Products can provide support via
telephone. Service personnel are welcome to use
our toll-free number, (800) 949-5048.

THELIN HEARTH PRODUCTS
Gas Heater Service Manual 10
WARRANTY COVERAGE
Warranted for five years from the date of retail
purchase against defects in workmanship to
include heater cabinet and body. Warranted for
one year from date of retail purchase to include
drive mechanism and electronic components.
Solely for the benefit of the original purchaser.
(Retain your dated sales receipt as proof of
purchase.)
Covered
Replacement of defective parts and labor and
product return to consumer.
Not Covered
Door glass, plating, and gasket. Damages
caused by abuse or failure to perform normal
maintenance and any related expense. This
warranty shall not apply to any defect,
malfunction, or failure to conform with the
warranty provisions if caused by damage (not
resulting from defect or malfunction) due to
unreasonable use by purchaser. Consequential
damages, incidental damages, or incidental
expenses, including damage to property. Some
states do not allow the exclusions or limitation
or incidental consequential damages, so the
above limitation or exclusion may not apply to
you. This warranty gives you specific legal
rights which vary from state to state.
Authorized Warranty Payment
Thelin Hearth Products will credit the
distributor/dealer account the sum of fifty
dollars ($50.00) per occurrence and thirty-five
cents ($0.35) per mile, maximum one hundred
miles round trip.
Qualification for Warranty Performance
Return product or defective part with proof of
purchase and narrative description of defect
together with your name and address, freight
prepaid to: Thelin Hearth Products, Warranty
Division, 12400 Loma Rica Dr., Grass Valley,
CA 95945. Returned part or product will be
repaired or replaced at Thelin Hearth Products’
option and will be returned to you freight
prepaid as soon as practical, but not later than
30 days after received.
Warranty Work
All warranty work must be authorized by the
factory in advance of the repair and an
authorization number assigned. A warranty
claim form must be completed and signed by
both the repair person and the customer. All
claims must be submitted to your distributor, if
you are buying products through a distributor. In
the event a unit has to be replaced, the warranty
claim form must be affixed to the unit with a
description of the defect. Only the factory can
authorize a heater return.
Any replacement parts required may be obtained
from Thelin Hearth Products and will require a
purchase order. Parts will be invoiced to the
dealer account and credit will be issued upon
return to Thelin. All returned parts must be
accompanied by a warranty claim form. If you
have a warranty claim for installing parts, use
the same claim form and authorization number.
Please note: No credit will be issued until a
warranty form with an authorization number is
received along with the defective part.

THELIN HEARTH PRODUCTS
Gas Heater Service Manual 11
Thelin Hearth Products warrants the Pellet & Gas Heater against defects in material and workmanship for a period
of five (5) years from the date of purchase with the exception of the electrical components, gaskets, logs, moving
parts, gas valve and control, and burner which are warranted for a period of one (1) year from date of purchase.
Glass, gasketing, gold plating, and paint are not covered by the warranty. This warranty does not include service
call cost or any other additional charges. Call the dealer to arrange for all warranty work.
Exclusions to this limited warranty include: Injury due to malfunction of the product, loss, damage, defect, failure
to function, due to an accident, negligence, misuse, improper installation, alteration or adjustment of the
manufacturer’s settings, lack of proper and regular maintenance, damage incurred while in transit, or an act of
God.
Only the original purchaser of this heater is covered by this limited warranty. If the unit is used for commercial
purposes, it is excluded from this warranty. The warranty is automatically voided if the unit’s serial number has
been removed or altered in any way or the wrong fuel has been used.
No dealer, distributor, or similar person has the authority to represent or warrant Thelin Hearth Products beyond
the terms contained in this limited warranty. Thelin Hearth Products assumes no liability for such representations
or warranties.
THIS LIMITED WARRANTY IS THE ONLY WARRANTY SUPPLIED BY THELIN HEARTH PRODUCTS,
(UNLESS AN EXTENDED WARRANTY HAS BEEN PURCHASED) THE MANUFACTURER OF THE
UNITS. ALL OTHER WARRANTIES, WHETHER EXPRESS OR IMPLIED, ARE HEREBY EXPRESSLY
DISCLAIMED AND PURCHASER’S RECOURSE IS EXPRESSLY LIMITED TO THE WARRANTIES SET
FORTH WITHIN.
HOW TO USE THIS WARRANTY: If you find this unit to be defective in material and/or workmanship within
a period of five (5) years from the date of purchase, contact your local dealer from whom you purchased the
heater. All warranty work must be authorized by the factory in advance of repair and an authorization number
assigned. A warranty repair claim form must be signed by both the dealer and the customer. In the event your
dealer is no longer in business or you cannot locate a dealer, you may do the following: Call or write factory,
giving proof of purchase information and a narrative description of the defect together with your name and
address. Only the factory can authorize a heater or part return. Upon authorization by factory, return defective
heater or part, freight prepaid to Thelin Hearth Products, Warranty Division, 12400 Loma Rica Drive, Grass
Valley, CA 95945. Returned part or product will be repaired or replaced at Thelin Hearth Products’option and
will be returned to you, freight prepaid, as soon as practical, but not later than 30 days after receipt.
To register your Thelin Hearth Products warranty, complete and sign the enclosed warranty card and mail it
within ten (10) days from date of purchase.
OTHER RIGHTS: This warranty provides you with certain legal rights. You may have additional rights, which
vary from state to state in regard to this warranty.
AUTHORIZED WARRANTY PAYMENT: Thelin Hearth Products will credit the dealer account the sum of
fifty dollars ($50.00) per occurrence and thirty-five cents ($0.35) per mile, maximum one hundred (100) miles
round trip.
Thelin Hearth Products reserves the right to change, without notice, product features or specifications described.

THELIN HEARTH PRODUCTS
Gas Heater Service Manual 12
FIGURE 1 –PARLOUR B VENT EXTERIOR VENT (1994 - 2001)

THELIN HEARTH PRODUCTS
Gas Heater Service Manual 13
FIGURE 2 –PARLOUR DIRECT VENT EXTERIOR VENT

THELIN HEARTH PRODUCTS
Gas Heater Service Manual 14
FIGURE 3 –GNOME DIRECT VENT EXTERIOR VENT

THELIN HEARTH PRODUCTS
Gas Heater Service Manual 15
FIGURE 4 –ECHO VENTING REQUIREMENTS

THELIN HEARTH PRODUCTS
Gas Heater Service Manual 16
FIGURE 5 –ECHO VENTING REQUIREMENTS
FIGURE 6 –ECHO CO-LINEAR FLEX SYSTEM

THELIN HEARTH PRODUCTS
Gas Heater Service Manual 17
FIGURE 7 –PARLOUR DIRECT VENT PIPE CONFIGURATION

THELIN HEARTH PRODUCTS
Gas Heater Service Manual 18
FIGURE 8 –GNOME DIRECT VENT PIPE CONFIGURATION

THELIN HEARTH PRODUCTS
Gas Heater Service Manual 19
FIGURE 9 –ECHO PIPE CONFIGURATIONS
EECCHHOOHOORRIIZZOONNTTAALLVEENNTTWIITTHHSNNOORRKKLLEE
EECCHHOOHOORRIIZZOONNTTAALLVEENNTT
EECCHHOOVEERRTTIICCAALLVEENNTT

THELIN HEARTH PRODUCTS
Gas Heater Service Manual 20
FIGURE 10 –VENT TERMINATION FOR B VENT AND DIRECT VENT
Roof Pitch H (Min.) Ft.
Flat to 6/12 ................................................1.0
Over 6/12 to 7/12 ....................................1.25
Over 7/12 to 8/12 ......................................1.5
Over 8/12 to 9/12 ......................................2.0
Over 9/12 to 10/12 ....................................2.5
Over 10/12 to 11/12 ................................3.25
Over 11/12 to 12/12 ..................................4.0
Over 12/12 to 14/12 ..................................5.0
Over 14/12 to 16/12 ..................................6.0
Over 16/12 to 18/12 ..................................7.0
Over 18/12 to 20/12 ..................................7.5
Over 20/12 to 21/12 ..................................8.0
This manual suits for next models
2
Table of contents
Other Thelin Stove manuals
Popular Stove manuals by other brands
Flamerite Fires
Flamerite Fires Little Atom quick start guide

Morso UK
Morso UK 1410 Supplementary installation & operation instructions
Bullerjan
Bullerjan Free Flow FF15 manual
Nibe
Nibe Contura 51 installation instructions
J. A. Roby
J. A. Roby PIONEER manual
Ravelli
Ravelli RBV 706 Use and maintenance manual
vienybe
vienybe Vienybe-01 Instructions for installation and use
HWAM
HWAM 3740 manual
Arada
Arada BK743 Installation, servicing & user instructions

Valor
Valor Madrona MF28EN Installation & operating instructions
Broseley
Broseley Gas Q7 MK2 Installation & operating instructions
Allied
Allied A95DF1E Service manual

