1
3
5
2
4
6
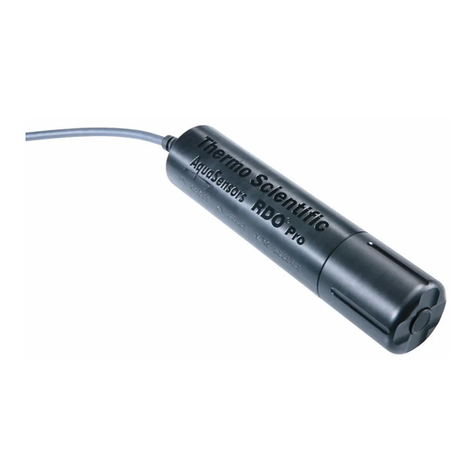
RDO
Meter Overview
1. To power on the meter, press the power key.
2. Press the line select key to choose the top, middle
or bottom display line. The icon will point to the
selected line.
3. In the measurement mode, press the up arrow or
down arrow key to change the measurement units
on the bottom display line to dissolved oxygen (%
saturation), dissolved oxygen (mg/L), barometric
pressure (no icon), temperature (no icon) or a
blank line.
4. To escape out of any meter function, press and hold
the measure key until the meter returns to the
measurement mode.
5. The 3-Star, 4-Star and 5-Star RDO optical dissolved
oxygen meters can perform an air calibration using
water saturated air, water calibration using air
saturated water, manual calibration (Winkler titration)
or zero point calibration.
Air Calibration
1. Press the power key to turn on the meter. See 1.
2. In the measurement mode, press the line select key
until the icon points to the bottom line and press
the up arrow key until the %sat or mg/L icon is
shown. See 2.
3. Make sure that the RDO sensor is connected to the
meter. See 3.
4. Prepare the calibration sleeve, insert the RDO sensor
into the prepared calibration sleeve and wait five
minutes for the RDO sensor to equilibrate. See 4.
To prepare the calibration sleeve, remove the cap
from the sleeve and remove the sponge from the cap.
Saturate the sponge with distilled water, squeeze all
the excess water out of the sponge and reassemble
the calibration sleeve.
5. Press the calibrate key. See 5.
6. When the reading stabilizes, the meter will display
100.0% saturation and proceed to the measurement
mode. See 6.
RDO Calibration Type Selection
1. In the measurement mode, press the setup key.
2. Press the up arrow key until dO is displayed on the
top line.
3. Press the line select key to move the icon to the
middle line. Press the up arrow key until CALt is
displayed on the middle line.
4. Press the line select key to move the icon to
the bottom line. Press the up arrow key to select
the calibration type as AIr for a water saturated
air calibration, H20 for an air saturated water
calibration, mAn for a manual calibration (Winkler
titration) or SEt0 for a zero point calibration. AIr is
the default setting.
5. Press the line select key to move the icon to the
top line and press the measure key.
Measurement Mode Selection
1. In the measurement mode, press the setup key.
2. Press the up arrow key until rEAd is displayed on
the top line.
3. Press the line select key to move the icon to the
middle line. Press the up arrow key until tYPE is
displayed on the middle line.
4. Press the line select key to move the icon to the
bottom line. Press the up arrow key to select AUt0
for the AUTO-READ™ mode, tImE for the timed
mode or C0nt for the continuous mode. AUt0 is the
default setting.
5. Press the line select key to move the icon to the
top line and press the measure key.
Automatic Datalog Feature
1. In the measurement mode, press the setup key.
2. Press the up arrow key until LOg is displayed on
the top line.
3. Press the line select key to move the icon to the
middle line. Press the up arrow key until AUt0 is
displayed on the middle line.
4. Press the line select key to move the icon to the
bottom line. Press the up arrow key to select OFF
or On. OFF is the default setting.
5. Press the line select key to move the icon to the
top line and press the measure key.
Thermo Scientific Orion Star™
RDO®Optical DO Meter Quick Start Guide
RDO Optical DO Measurements
Turn on the automatic datalog feature to send
measurements to the meter datalog or connect the
meter to a printer or computer.
1. Rinse the RDO sensor with distilled water, blot it
dry with a lint-free tissue and insert the sensor
into the sample.
2. If the meter is in the AUTO-READ measurement
mode, press the measure key to start a reading.
Once the reading is stable, the AR icon will stop
flashing and the display will freeze. Press the
measure key to take a new reading.
If the meter is in the timed measurement mode,
the meter will take a dissolved oxygen reading
at the frequency specified by the operator. If
parameters other than dissolved oxygen are
measured, the meter will immediately take
the other readings and continuously update
the display.
If the meter is in the continuous measurement
mode, the meter will immediately start taking
readings and continuously update the display.
Once the reading is stable, the %sat or mg/L
icon will stop flashing. This mode is not
recommended for everyday use, as it consumes a
significant amount of the meter’s battery power.
3. Remove the RDO sensor from the sample, rinse
it with distilled water, blot it dry with a lint-free
tissue, insert the sensor into the next sample and
repeat step 2 or see the RDO sensor user guide
for recommended storage.
Printing Data
If the automatic datalog feature is on, the meter will
log a measurement every time the measure key is
pressed (AUTO-READ and continuous modes) or at
the preset time interval (timed mode).
1. Connect the meter to a printer or computer and
verify the baud rate and output settings in the
meter setup menu.
2. In the measurement mode, press the log
view key.
3. Press the up arrow key to select SEnd to print
the datalog or CALS to print the calibration log.
4. Press the log view key to send the selected data
to the printer or computer.
English
