5
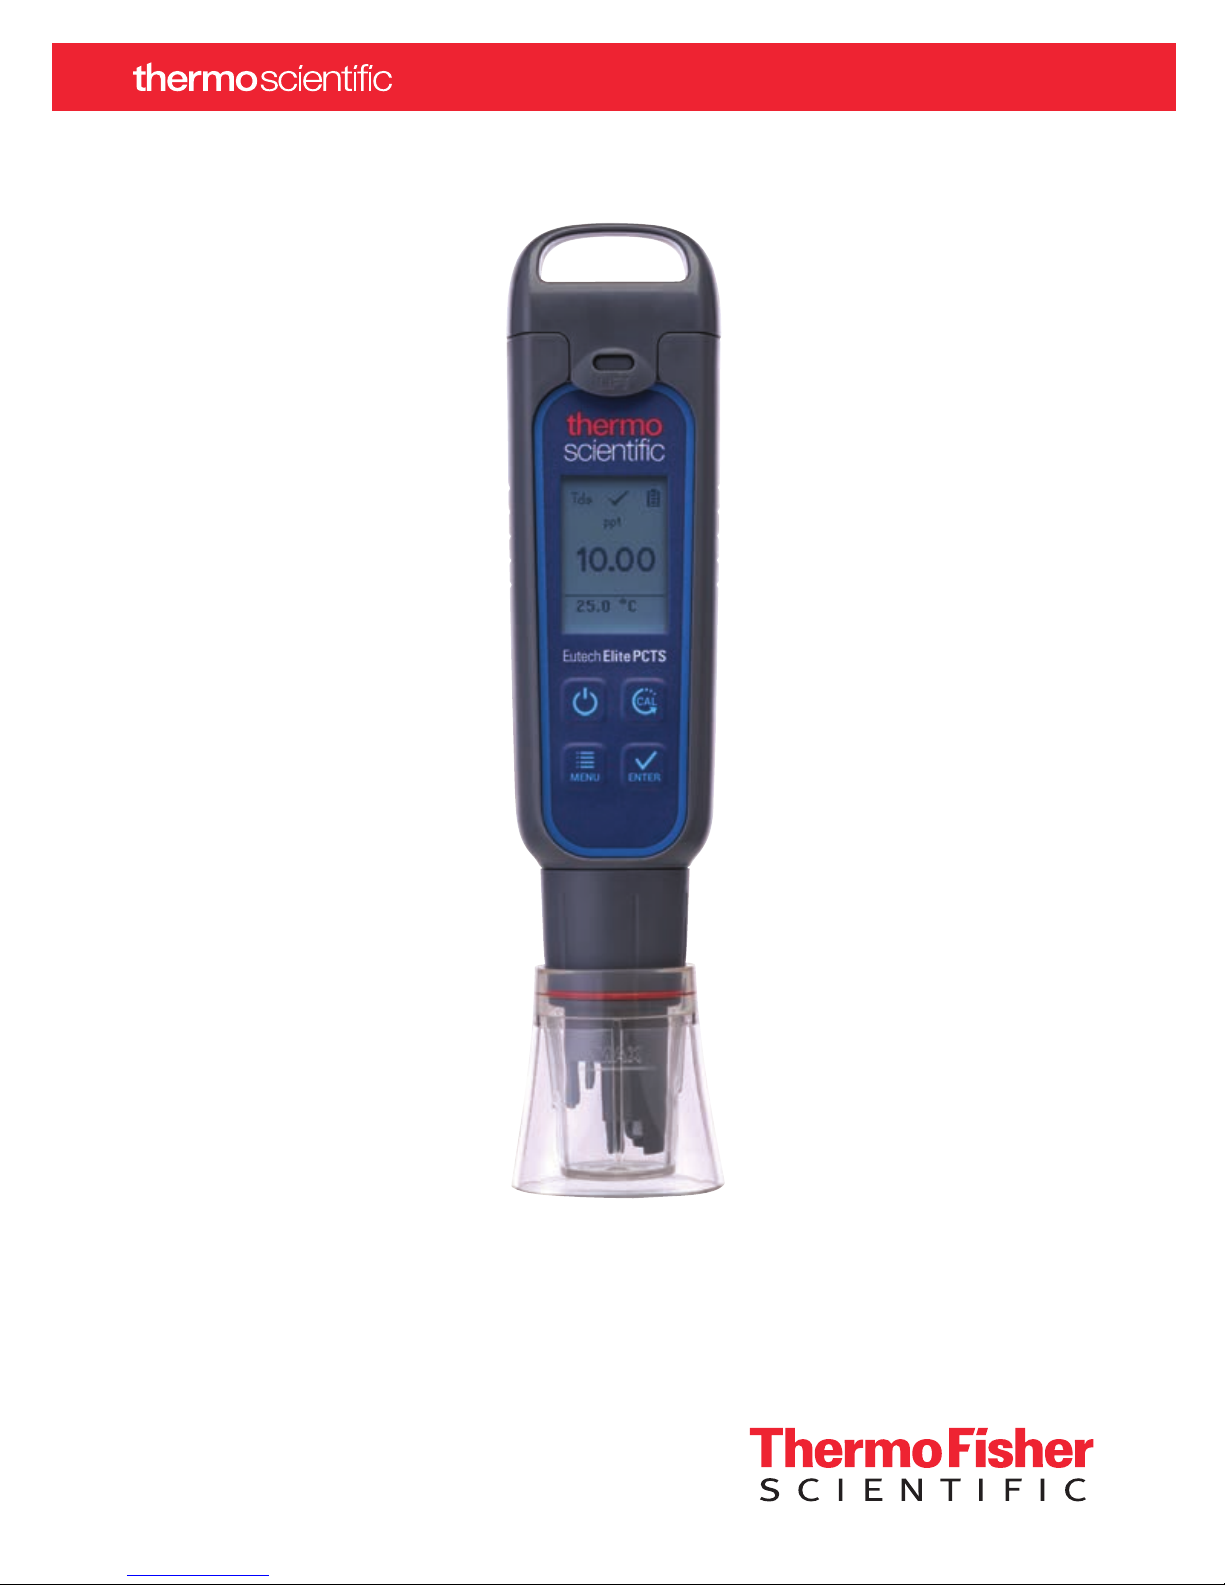
Elite PCTS Tester Operating Instructions
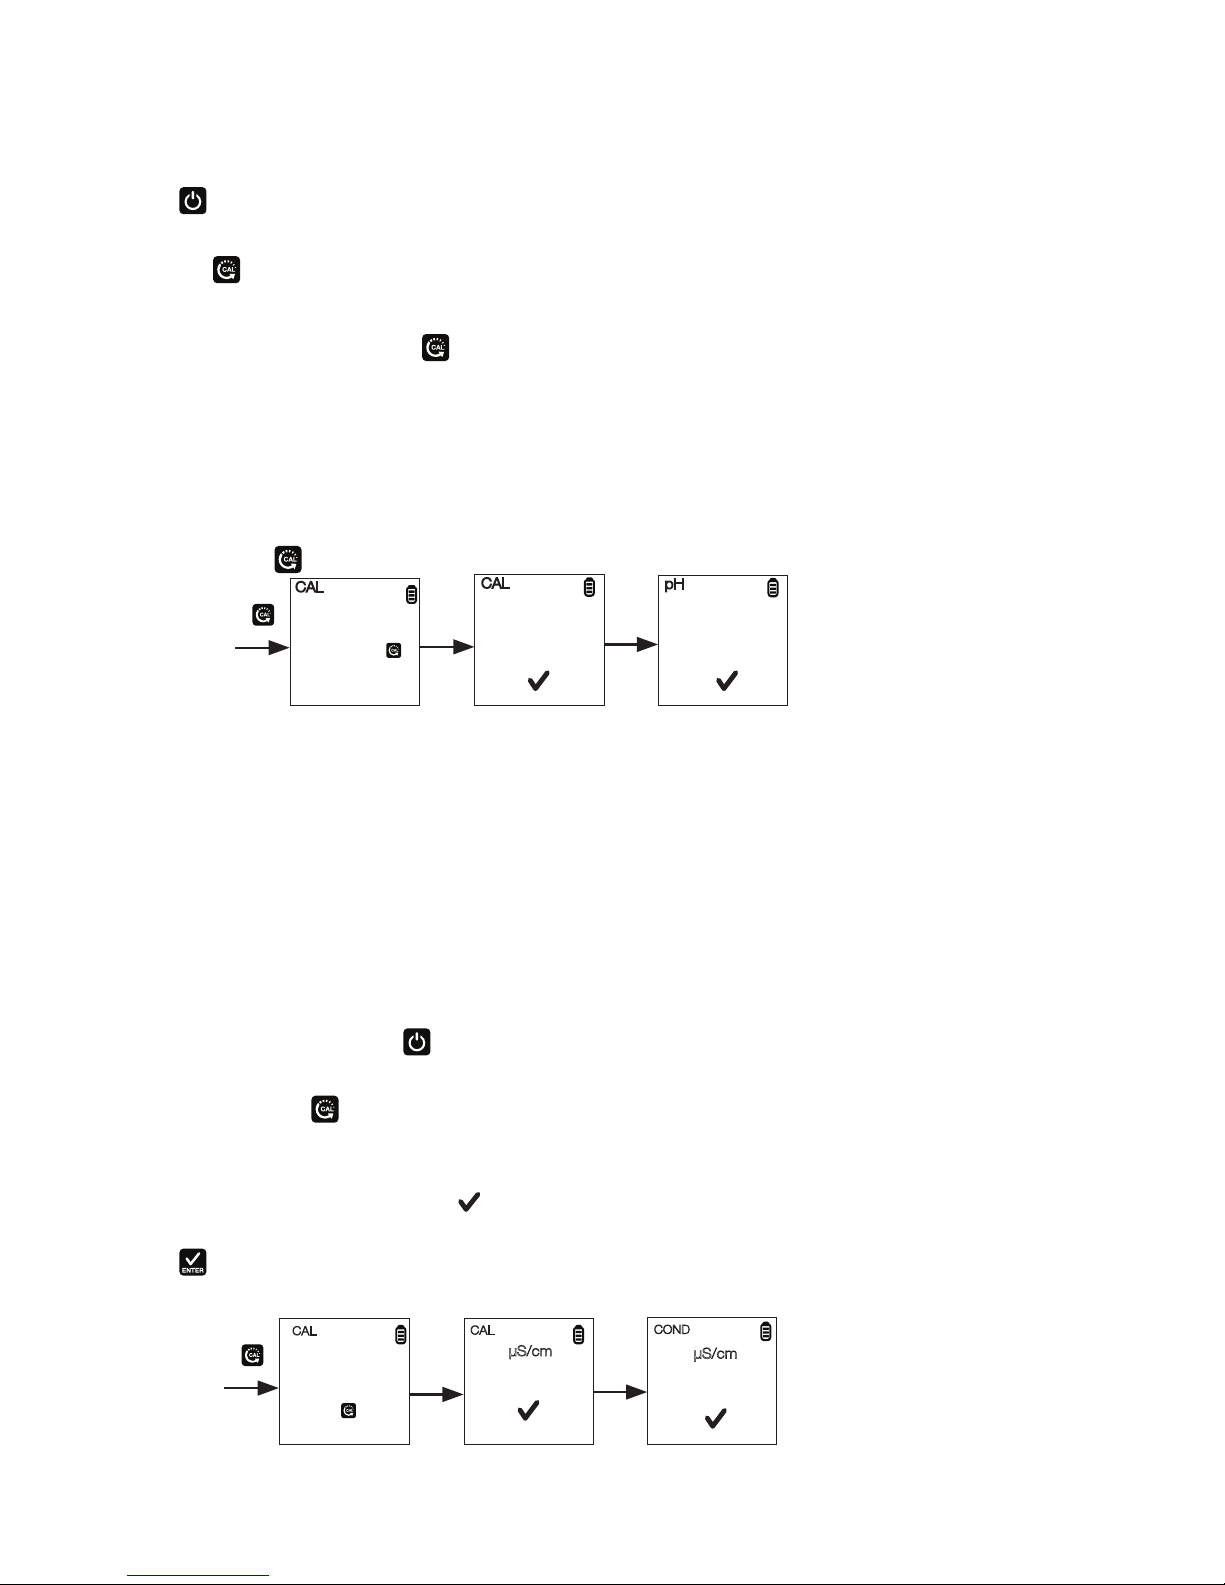
pH Calibration
Calibration should be done regularly, preferably once a week. Calibrate up to three points using either the USA or the
NIST buffer set standards.
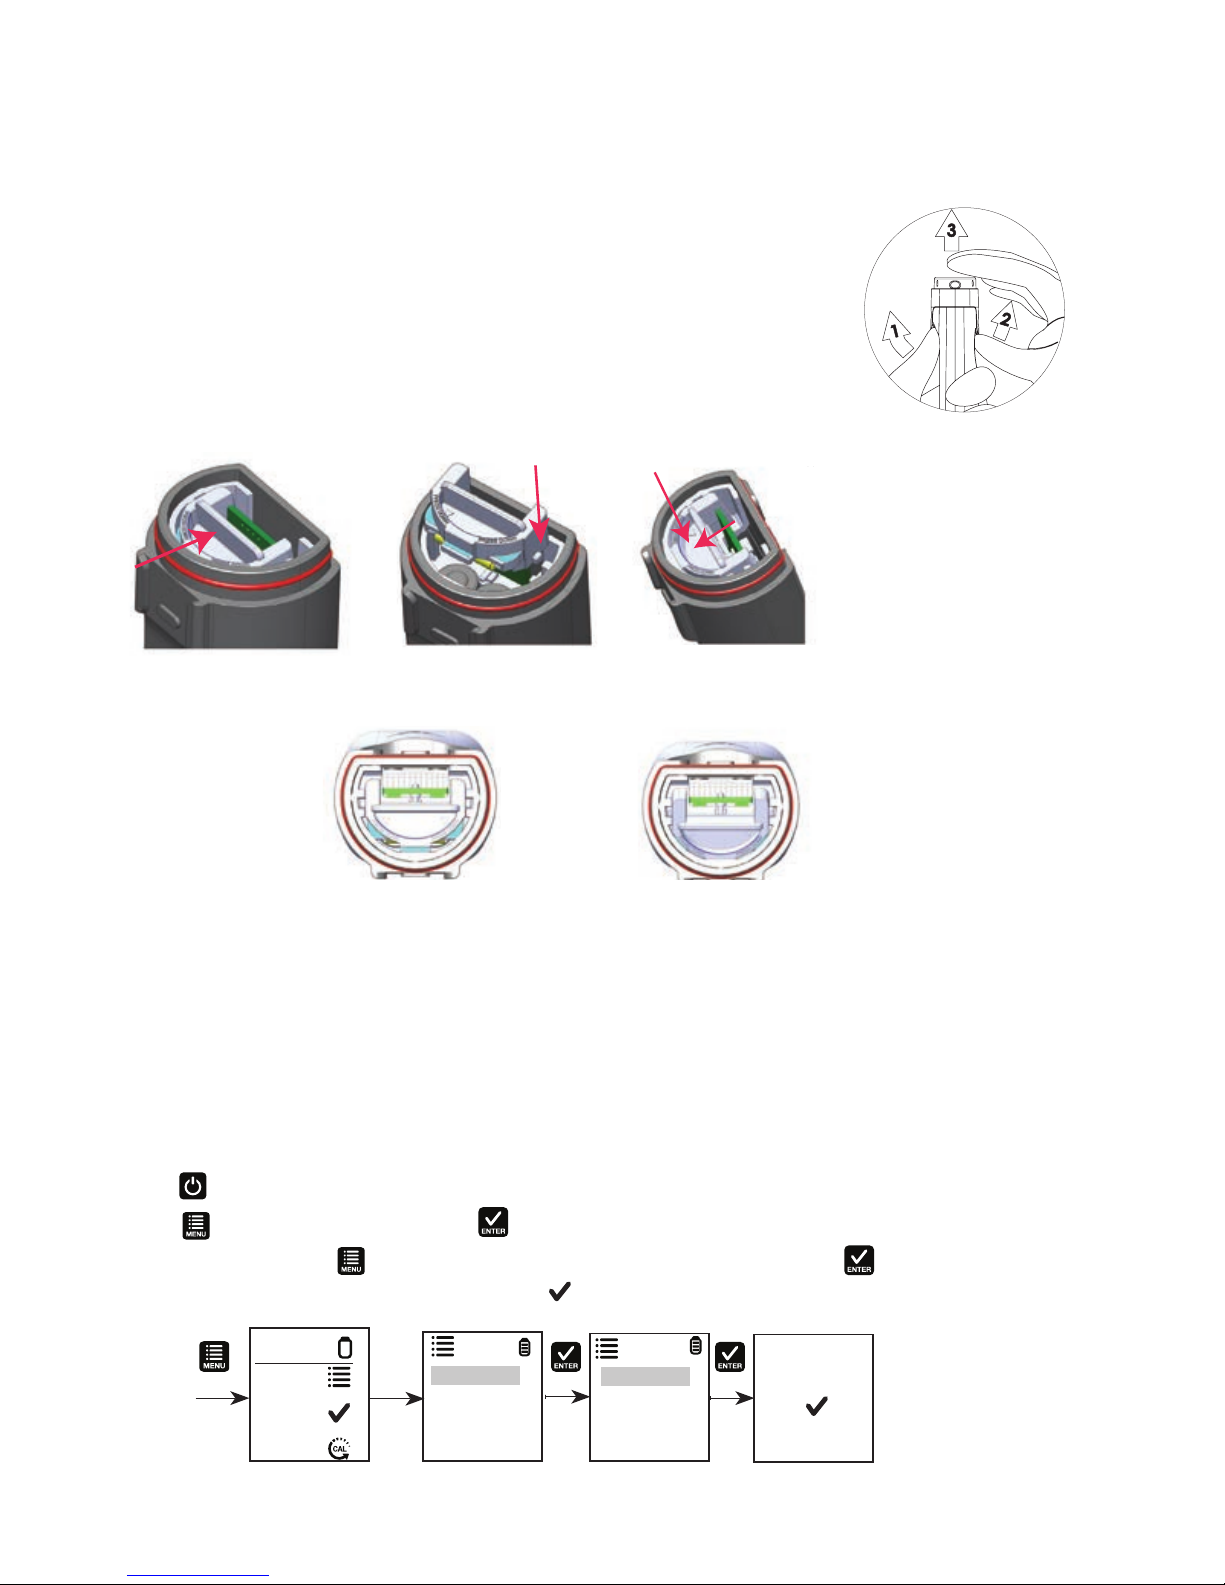
1. Press to power the tester on if needed.
2. Dip electrode about 2 cm to 3 cm into the pH standard buffer solution.
3. Press the to enter calibration mode. The CAL indicator will be displayed. The upper display will show the
measured reading based on the last calibration while the lower display will indicate the pH standard buffer
solution.
Note: To abort calibration, press to escape.
4. Allow about 2 minutes for the tester reading to stabilize. The timer icon ashes during this time. Once the reading
is stabilized, the timer stops ashing. Automatic conrmation happens when the buffer is found and the display
returned to measurement window with reading calibrated to pH standard buffer solution.
5. Repeat with other buffers if necessary. Rinse electrode before dipping into next buffer.
Note: The calibration mode allows you to perform up to three calibration points. Calibration automatically is
conrmed with the buffer identication. No user interaction is required after starting the calibration by
pressing the .
.
Calibration for Conductivity, TDS, or Salinity
For best results, periodic calibration with an accurate standard is recommended prior to measurement. Use the
calibration standard value that is close to your intended sample value. The tester will retain one calibration value in
each mode (conductivity, TDS, salinity) when the instrument is powered off. The conductivity value can be calibrated
automatically or manually, while the TDS & salinity values require manual calibration. The tester will begin in the
measurement mode that was used when it was powered off. See “Measurement Parameter Setting” to change the
desired parameter.
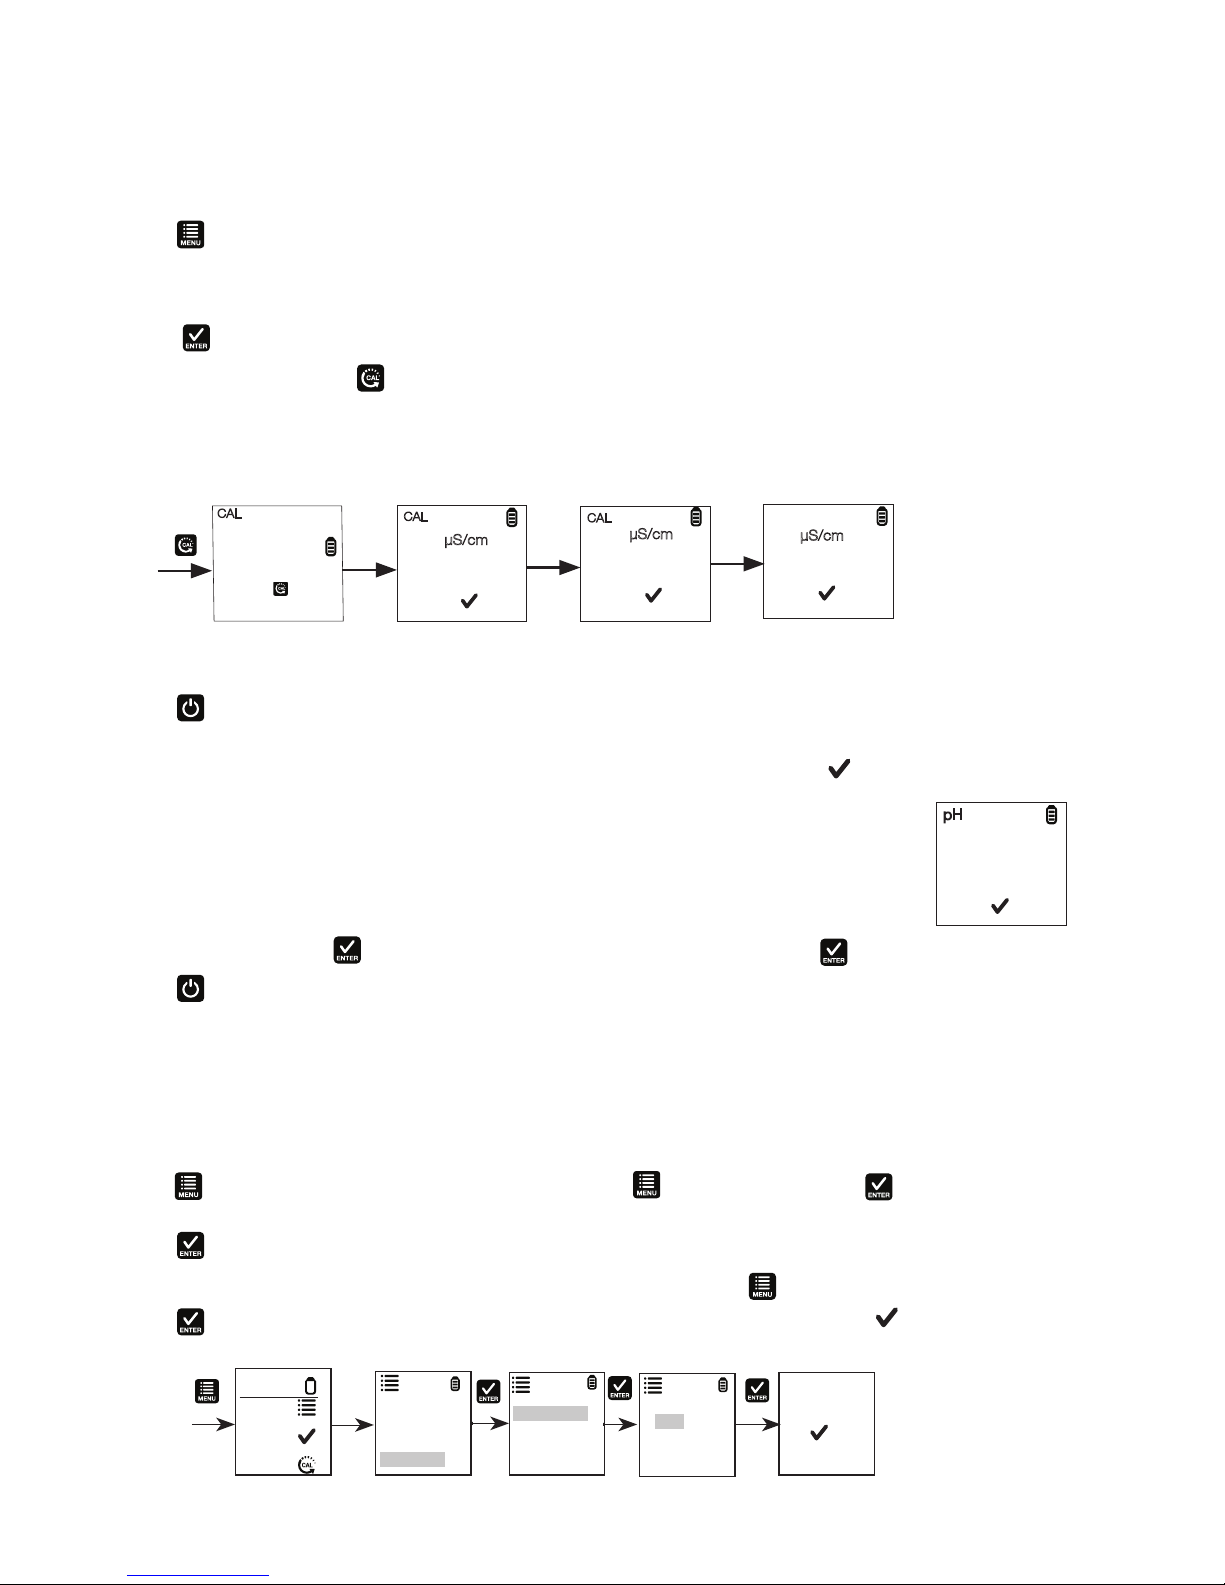
Automatic Calibration for Conductivity
1. Remove the cap and press the to power on.
2. Dip the sensor in at least 30 mm of calibration standard.
3. Stir gently and press to begin the calibration.
4. The display will show CAL followed by the default value. CAL is indicated on the display during calibration mode.
5. If the reading is within the calibration range of the automatically recognized standards; 80 (84 µS/cm), 1410 (1413
µS/cm), or 12.90 (12.88 mS/cm), the icon is displayed when the automatic calibration standard value has
been detected.
6. Press to accept the auto conductivity standard and nish the calibration.
7. Display returns to Measurement window.
CAL
µS/cm
844
1413
CAL
Place the tester
in the calibration
STD to start
or press to
escape.
COND
µS/cm
844
23.5 °C
7.01
25.5°C
CAL
7.45
7.01
pH
CAL
Place the tester
in the buffer to
start or press
to escape.
pH pH