6
thermopatch.com
Manual Y151 V. 4.0 ENG EUR from original TPC 47117-MAN Rev 1214 6
V. 4.0 ENG
Oct. 2015
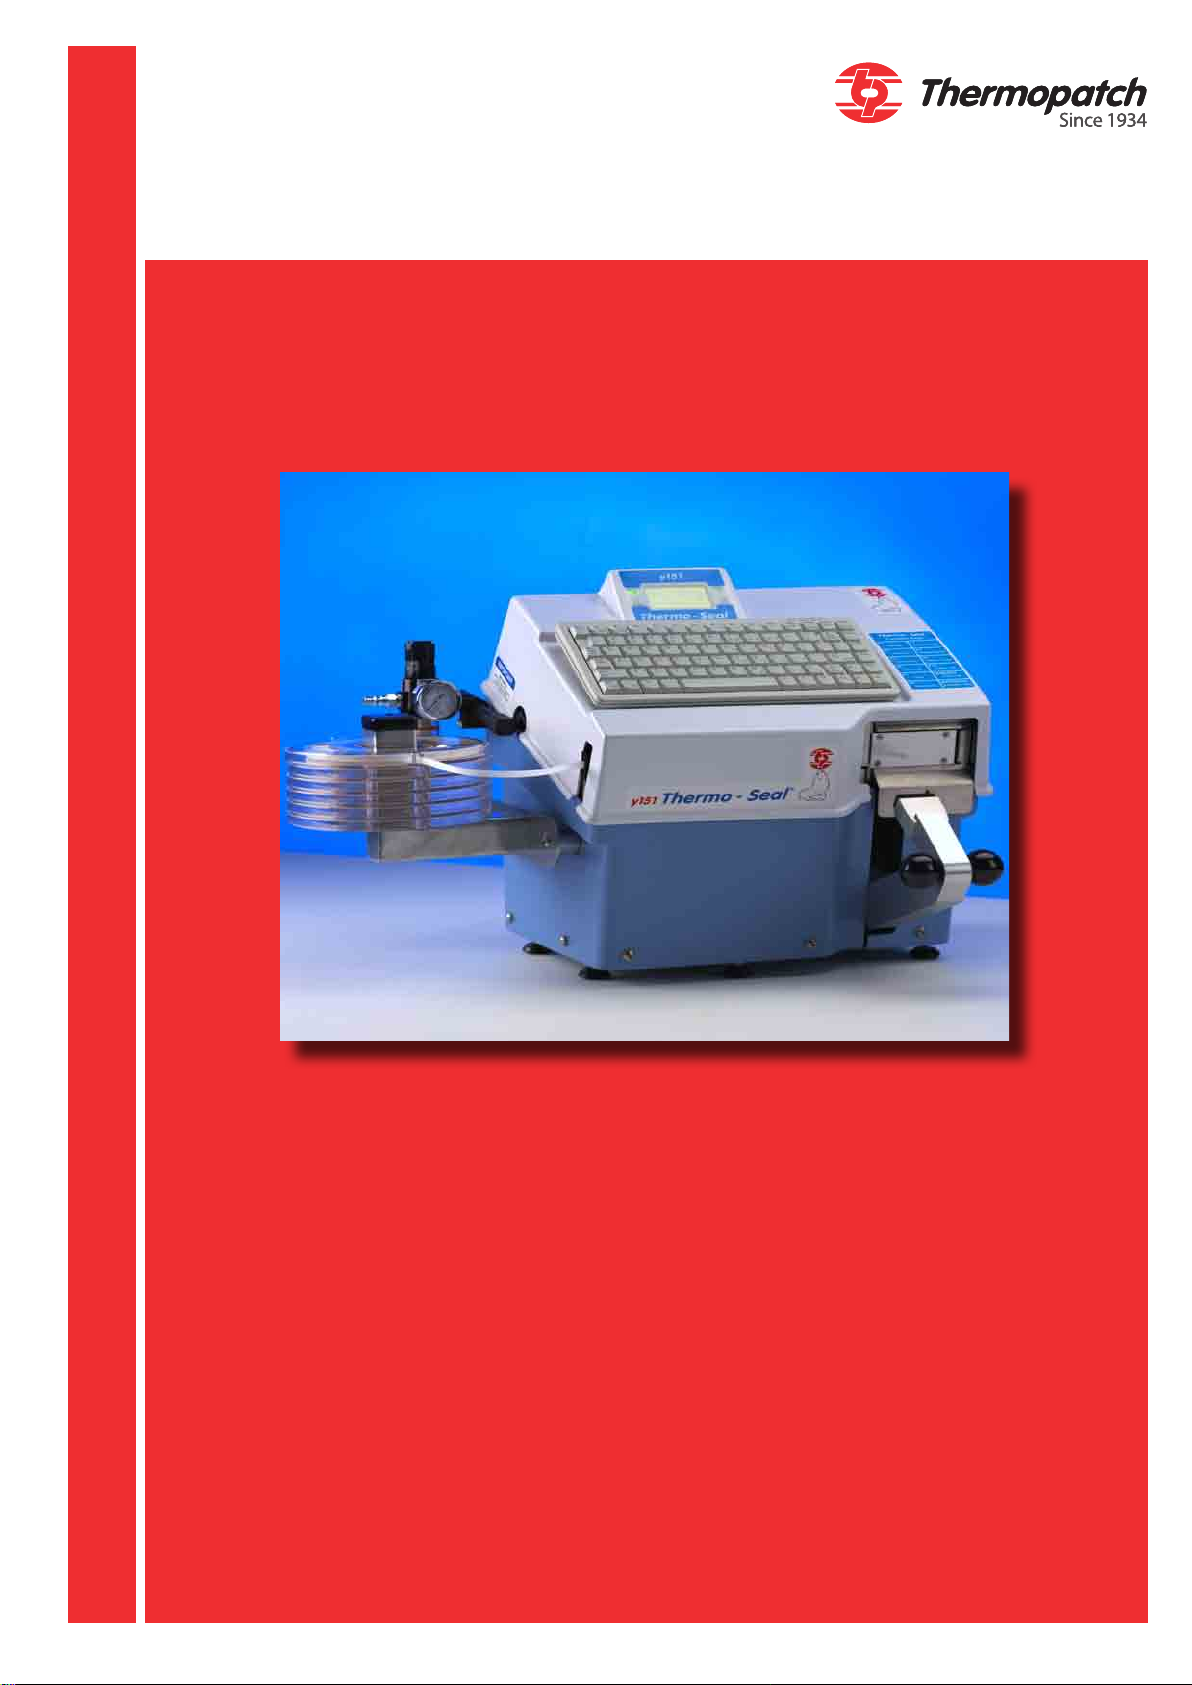
1. General description
The Y151 Thermo-Seal is a machine for the temporary
marking of garments and other textile items.
Temporary marking of a garment or textile item is achieved
without the use of chemical solvents or other harmful
materials. By means of an ink ribbon cartridge, a code
(maximum of 12 characters per label) is printed directly onto
the Thermo-Seal label tape, and it is sealed directly onto the
garment or textile item.
Most garments or textile items can be marked directly.
For garments over very sensitive fabric, there are alternative
methods of xing the temporary label to the garment. The
most common option is to print an extra-long label.
The extra-long label is inserted through the button hole of
the garment, and then the ends are sealed together. Another
option is to seal directly onto a “ag tag”. The ag tag is then
stapled or pinned onto the garment.
The Thermo-Seal label type is specically designed to adhere
to the garment or other textile item through the cleaning
process and then be easily removed without leaving any label
residue on the garment. Thermo-Seal label tape is available
in ten dierent colors.
The colors of the Thermo-Seal label tape, and the printed
code on the label, oer a variety of ways to sort garments.
The Y151 Thermo-Seal machine operates electrically and
pneumatically, through use of compressed air. The code to
be printed on the label tape is entered through the machine
keyboard. Raising the Press Arm engages the pneumatic
system to automatically cut and seal the label tape onto the
garment or textile item.
Time, temperature, and other optional settings can be
entered through the machine keyboard.
The time and temperature, as well as other information, can
be viewed from the Keyboard LCD Panel.
The new heater unit design, as well as electronics, ensures
the consumer of lower energy consumption and a safer work
environment.