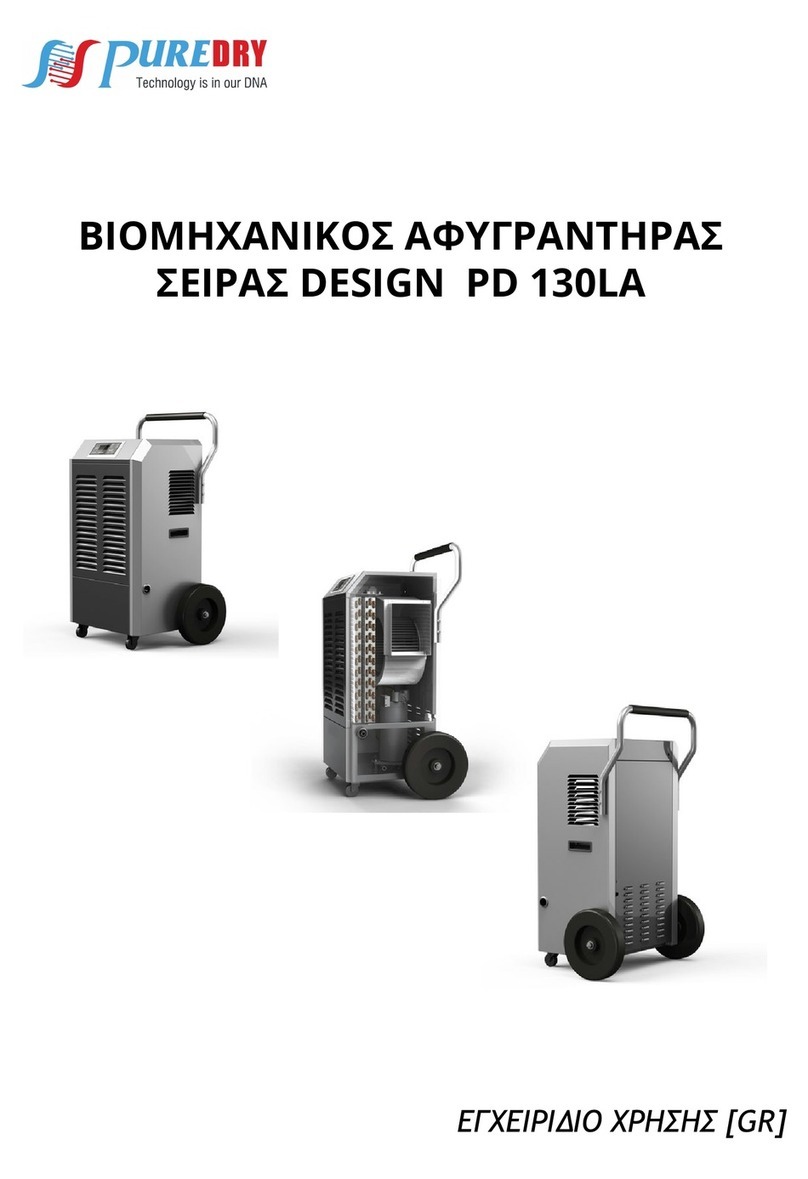
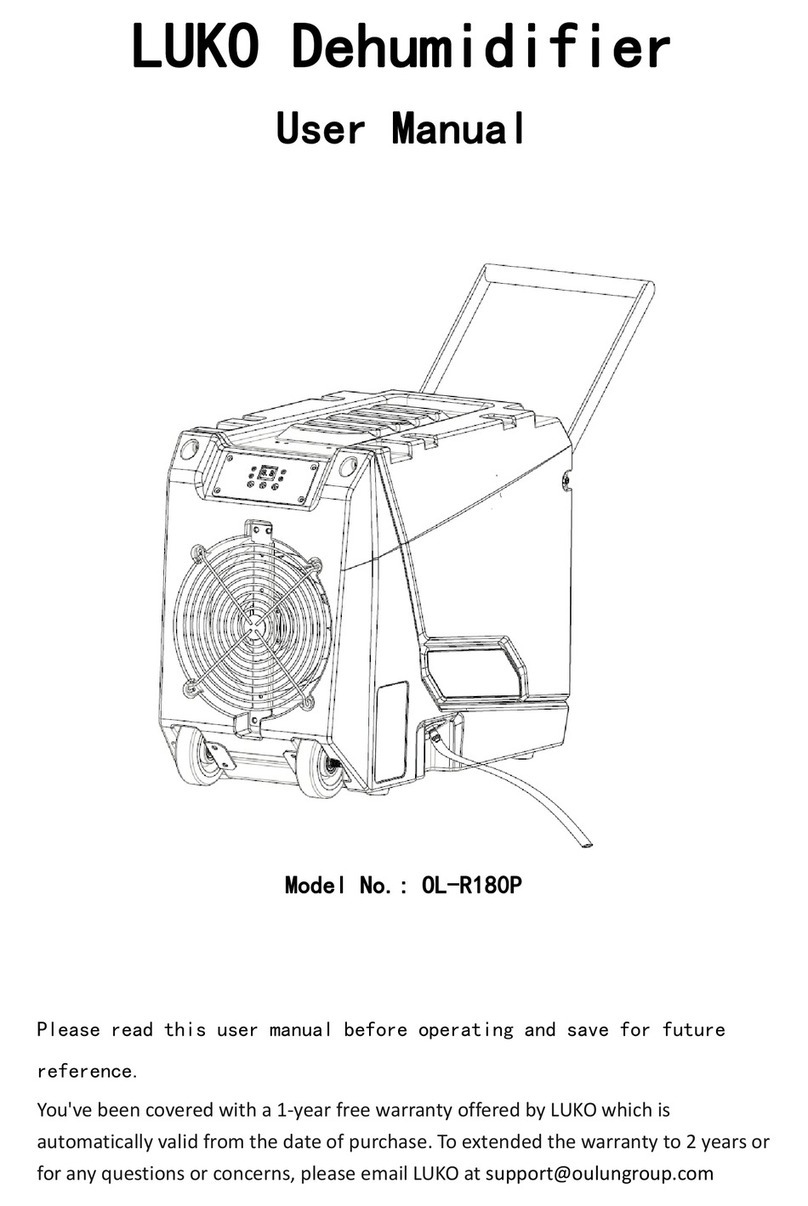
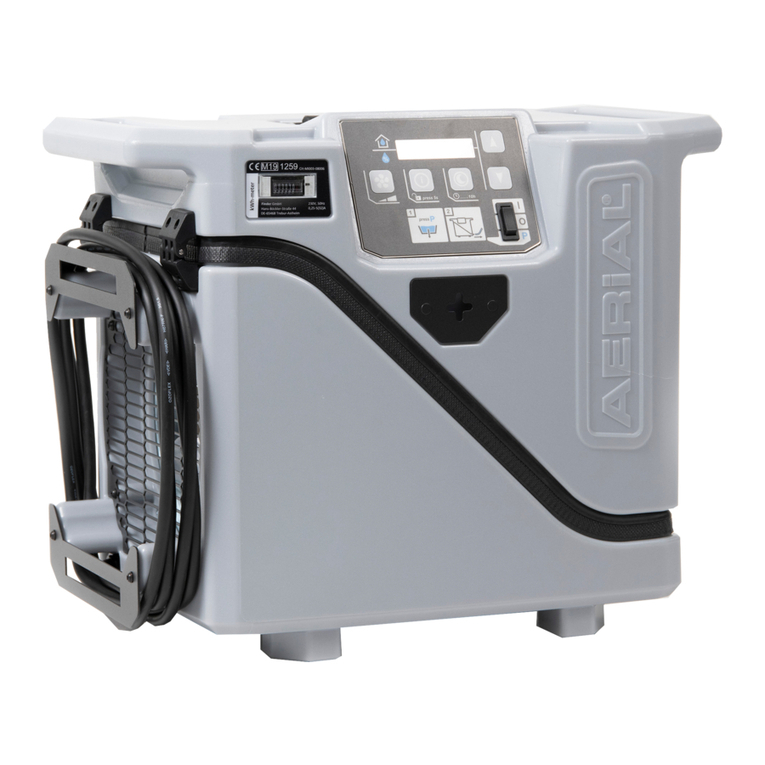
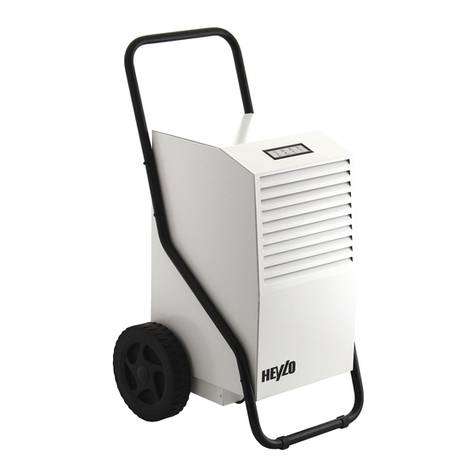
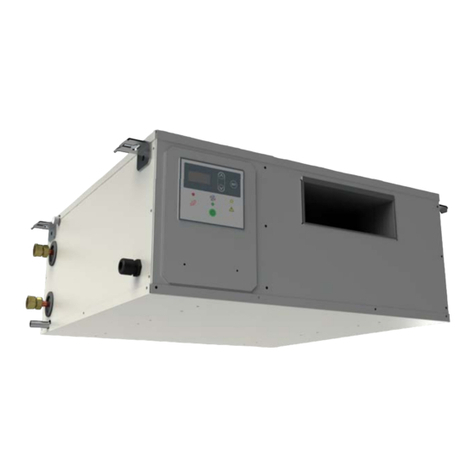
ThermoPlus Air IRD R404A Series Installation and operating instructions

ICE RINK DEFOGGER
ICE RINK DEFOGGER
MODELS
FOR APPLICATIONS FROM +80°F TO +30°F (+27°C TO -1°C)
INSTALLATION, OPERATION AND MAINTENANCE
SERIES "IRD R404A"
IRD-050-4E IRD-050-5E IRD-050-7E
IRD-050-8E
IRD-075-5E IRD-075-7E
IRD-075-8E
IRD-100-5E IRD-100-7E
IRD-100-8E
(208-240/1/60) (208-230/3/60) (460/3/60) (575/3/60)
GENERAL
Thermoplus Air packaged dehumidifiers are
designed for installation on a platform well above the
ice surface - (Fig. 1 recommended). A large size
platform must be provided for ease of installation and
SERVICE. The units must be suspended at least 15
feet (4.6 m) above the ice surface. For lower
installation, the discharge louvers must be adjusted so
that the air does not blow directly onto the ice surface.
INSPECTION
The Thermoplus air dehumidifier must be inspected
for damage immediately upon delivery. Any damage
must be reported immediately to the carrier. The bill of
lading must be marked "Received Damaged" and a
claim filed with the Carrier. After reception, missing
parts or damage to the unit must also be reported and
a claim must be filed with the Carrier.
Ensure that the electrical specifications on the
nameplate correspond to the power supply voltage
requested on the purchase order and with the
power supply available on site.
INSTALLATION
These units must be installed on a service platform 15
to 25 feet (4.6 to 7.6 m) above the ice surface. Since
these machines operate on the cooling and reheat
principle, the discharge air could cause the ice to melt
if it is too close to the ice surface. If the unit is to be
installed less than 15 feet (4.6 m) from the ice
surface, then the horizontal duct louvers (by others)
must be adjusted to direct the airflow away from the
ice surface.
It is mandatory that this unit have a 36 inch (0.9 m)
discharge duct, complete with horizontal and vertical
adjustable louvers or at least with horizontal
adjustable louvers (supplied by others). See Fig. 2.
The discharge duct and louvers must not have a static
pressure drop greater than 0.2 inch (5 mm).
Excessive pressure drop will reduce unit capacity and
cause system unbalance.
Check blower rotation. On three phase units, if it is
necessary to reverse the rotation, interchange any two
supply leads.
The unit must be level for proper condensate
drainage. A "P" trap must be installed on the drain
pan outlet. Drain connection is 1-1/4" MPT. On
installations where the unit is to operate at
temperature below freezing, a drain line heater must
be wrapped around the condensate drain to
prevent freeze up. The drain pan itself is heated to
prevent condensate freeze-up inside the unit.
Removal of the drain pan for cleaning requires
access from side opposite to drain to disconnect
the drain pan heater line.
ELECTRICAL CONNECTION
Site power supply must correspond with the unit
serial plate data. All connections must be made in
accordance with local and national codes. Power line
supply must be of suitable size and adequately
protected.
Power disconnect must be installed next to the
unit.
MAINTENANCE
Units must be inspected at least twice per season.
CHECK LIST
1) Belt tension -
Check deflection at mid point between pulleys.
2) Coils -
Clean and free of dust or grease.
3) Oil on fittings -
Possible leak, contact refrigeration mechanic.
4) Drain pans -
To be free of obstructions (dirt, etc.).
5) Electrical connections -
All contacts must be tight to avoid overheating.

MAN-IRD-012-05-E
2
6) Air filters -
Must be replaced at least every two months.
NOTES:
1. Warranty will be void if units operate under low
airflow conditions due to blocked filters.
2. Unit must not be operated without filters.
REFRIGERANT CHARGE
These units are not standard packaged air
conditioners. They are specially engineered
refrigeration products. Only qualified service
personnel should start and service these
machines. They can operate as low as 70 psig
(483 kPa) head pressure. The refrigerant charge of
R404A is marked on the nameplate. Do not exceed
the refrigerant charge marked thereon.
DEFROST SYSTEM
Field adjustment is provided for a selective defrosting
frequency at 30 - 45 - 90 minute intervals. Also the
defrost temperature termination is adjustable from
55°F to 70°F (13°C to 21°C). In effect, the defrost
system is engineered to work on a time initiated -
temperature terminated principle with a frequency
and termination adjustment range, if required.
Initiation of the defrost cycle can only occur if the
suction temperature is below the fixed initiation
temperature of 26°F (-3°C) for more then the defrost
timer setting (30-45-90 min.). If the suction
temperature is above 26°F (-3°C) during the first sixty
seconds then the cycle is skipped. If the suction
temperature is 26°F (-3°C) or lower at any time during
the first sixty seconds, then the defrost cycle will
occur, timer will start counting at the end of the defrost
timer setting (30-45-90 min.) the defrost cycle will be
initiate.
The defrost will end when the suction temperature
reaches 55°F (13°C) or higher depending on the field
adjustments made afterwards. If the suction cannot
reach the desired preset temperature due to excess
ice or malfunction, a time safe termination will occur
after 10 minutes.
POSSIBLE MALFUNCTION
1) Low refrigerant charge
2) High refrigerant charge
3) Defective hot gas valve
4) Defective de-ice control
Refer to piping diagram for gas flow. (Fig. 5)
The installation of one or even two IRD Series units
may not be sufficient to eliminate stagnation,
especially when the ceiling structure creates
obstacles for good air distribution. A minimum of
two IRD Series units MUST be used in ice rink
applications.
IMPORTANT!!!
It is of utmost importance that NO air is blown
directly onto the ice surface since this causes
the ice to melt. The units must be equipped with
a 36 inch (0.9 m) discharge duct extension
complete with adjustable horizontal and vertical
louvers in the discharge grill.
Units must be installed as shown in the drawing
on the following page paying particular
attention to the mounting height above the ice
surface, and allowing a minimum of four feet
between the inlet and any obstacles such as an
end wall. This configuration is necessary in
order to "scoop" out the moist air from the ice
surface, without causing the ice to melt.
IMPORTANT!!!
Provide service access to the unit for maintenance,
inspection and service of components. Minimum
access area on all sides is 24 inches (0.6 m). A step
ladder is not considered a safe means of access.
Provide clearances according to the local building
and electrical codes.
Step 1
Pre-installation Inspection
Remove packing material and inspect for internal
and external shipping damage.
In case of transport damage, notify the carrier as
per instructions posted on the shipping crate.
Step 2
Location of the IRD Series Units
(See also drawing fig 1 and 3)
Provide service access to the unit for maintenance,
inspection and service of components. Filters must
be changed, the belt tension adjusted and the drain
pan may require periodic cleaning. A step ladder is
not considered a means of service access.
Minimum service access clearance on all sides is
two feet.
DO NOT install the unit over the ice surface, as
servicing will be dangerous.
Units must be level to ensure proper draining of the
condensate.

ICE RINK DEFOGGER
Allow a minimum of four feet clearance from any
obstruction on the return side of the unit.
Check that the unit will not block the view if the ice
rink has a spectator area. The unit can be moved as
long as the discharge location is not affected.
Use anti-vibration pads such as machinery cork or
rubber pads to isolate the unit from the supportive
structure. The units are normally installed on
platforms (see drawing). DO NOT mount units on
plywood sheets or similar materials, which are
prone to cause resonance.
Step 3
Condensate Drain
The unit has a 1-1/4" MPT drain connection. The
drain line and external P-TRAP must be heated if
the machine is to operate at temperature below
freezing.
Step 4
Electrical Hook-up
Provide and install a main disconnect switch within
the vicinity of the unit. Refer to the unit nameplate
for proper voltage, ampacity and maximum main
fuse protection. Wires and main disconnect switch
should be provided in accordance with local
electrical codes. Use copper conductors only.
Power leads are brought into the unit through the
top or bottom of the main control panel. Supply
voltage must not vary more than 10% of the
nameplate voltage. Unbalanced phase voltage must
not exceed 2% between phases. Ensure that the
unit is connected to the ground lug terminal, located
in the control panel.
The unit is controlled by a humidistat (factory
installed). Control voltage is 240 volts. If a remote
on/off switch (supplied by others) is installed, mount
the on/off switch in a convenient location using
wiring according to the local electrical codes. The
switch provided should be a double pole switch, so
that two units can use the same switch.
Step 5
Discharge Duct Extension
Provide a 36 inch (0.9 m) discharge duct extension
complete with horizontally and vertically adjustable
louvers.
IMPORTANT!!!
Before starting up the IRD, enclosure
temperature must be between 30°F and 80°F (-
1°C and 27°C).
Step 6
Leak test the entire unit. Abnormal transportation
and handling shocks may have caused a refrigerant
leak. In case of solder repair use an inert gas to
prevent scale formation in tubing.
Step 7
Wire connections may become dislodged or
loosened during shipment. Check screws for
tightness.
Step 8
Check drain connection. Test condensate drain by
pouring water into the drip pan. This will also fill P-
trap. The access panel must be removed for this
procedure.
Step 9
Check to see that clean filters are installed. If filters
are dirty, check coils. Dirty coils must be cleaned
and filters replaced.
Step 10
Move on/off switch on the unit to the OFF position.
Step 11
Check line voltage to match with unit nameplate.
Install line voltage disconnect switch (see field
wiring diagram). Connect power supply. Check
ground connections.
Step 12
Wire the remote manual on/off switch to the
terminals on the panel and move switch to OFF
position.
Step 13
Turn the power on. For compressors without service
valves the crankcase heater must be energised at
least one hour before start-up. The crankcase
heaters are energised as soon as power is supplied
to the unit (if so equipped).
Step 14
Move unit on/off switch to the ON position. Move the
remote on/off switch to the ON position.
Step 15
After the initial time delay, the compressor and
blower will start. Control light indicates compressor
in operation. If the compressor does not start
(locked rotor) or knocks during start-up, stop the
compressor and leave the crankcase heater on for
at least 12 hours before attempting start-up again.

MAN-IRD-012-05-E
4
Step 16
Check that the blower has correct rotation on three
phase units. If not, then switch two of the three legs
and try again.
Step 17
Check blower motor amperage. Check compressor
amperage. Reading must not exceed that indicated
on nameplate.
Step 18
Check compressor discharge line temperature. If
above 200°F (93°C) and if the sight glass is full,
adjust expansion valve to maintain 50-70°F (10-
21°C) above condensing temperature. If the sight
glass is empty or bubbling, then refrigerant has
been lost. Look for the leak, repair and recharge
system until sight glass is full. Do not overcharge.
Step 19
Adjust louvers in discharge duct so that air is
directly along the boards. DO NOT DIRECT OVER
THE ICE SURFACE!
Step 20
Fill in the start-up report and warranty registration
form, and forward a copy to sales agent, or
Thermoplus air factory.
Warranty is not valid until start-up report received at
the factory.
Leave the owner's manual complete with start-up
report with the IRD unit.
The IRD Series is remotely started by the remote
on/off switch. Turn on the IRD units approximately
one to two hours before the ice rink is to be used,
and leave the units running continuously during the
active period or whenever high humidity is a
problem.
When the return air temperature is low, the IRD
Series actually freezes moisture out of the air. The
coils have been designed for frost build-up. An
automatic built-in defrost cycle engages periodically
to eliminate the ice build-up. When a defrost cycle is
initiated, the blower is shut off. The compressor
continues to run during the defrost cycle. Once the
defrost cycle is completed, the compressor stays in
operation and the blower restarts.
The IRD Series units are protected by an internal
temperature limiting thermostat which is factory set
at 30°F (-1°C). The IRD Series technology is so far
advanced that it requires virtually no maintenance.
Air Filters
The air filters should be checked once per month.
Dirty filters should be changed immediately and
replaced with identical filters, which should be
available locally. Clogged and dirty filters will
seriously hamper the performance of the
equipment.
Blower Belt
The following procedure should only be performed
by a factory trained service technician.
Check the belt for signs of wear and replace if
severely worn or cracked.
IMPORTANT!
The IRD Series units must be fine-tuned on
start-up for maximum energy efficiency and
moisture removal capacity. Adjust the
expansion valve for proper operation, a 8 to
12°F (-13 to -11°C) superheat is recommended
for optimal performance.

ICE RINK DEFOGGER
If You Have a Problem…
Problem Suggested Causes and Solutions
Dehumidifying coil iced-up With return air temperature below 64°F (18°C), this is normal. Unit
should defrost automatically about every 30 - 45 - 90 minutes, as
adjusted.
Check operation of defrost timer and hot gas valve solenoid, replace if
defective.
Obstruction at air inlet. Allow 4 feet (1.2 m) minimum clearance
between air inlet and nearest obstruction.
Poor return air ductwork (if so equipped) creates stratification at air
inlet.
Ducts not recommend.
Loose blower belt, adjust.
Low refrigerant charge, add refrigerant.
Dirty filters, replace.
Wrong filter with too much air resistance, replace with disposable type.
Return air too dry, set point to low (50% recommended).
High Humidity Obstruction at air inlet. Allow 4 feet (1.2 m) minimum clearance
between air inlet and nearest obstruction.
Poor return air ductwork (if so equipped) creates stratification at air
inlet.
Follow duct design standards.
Unit undersized. Recheck load calculations.
High head pressure Do not operate unit above 80°F (27°C).
Low airflow, adjust blower belts.
Restricted filter dryers, replace.
Manual shut off valve(s) not fully open, if so equipped. Open valves
fully.
Non-condensable gases in system.
Low head pressure Do not operate unit below 30°F (-1°C) due to low limit thermostat
adjustment.
Low refrigerant charge, add refrigerant.
Return air too dry, set point to low (50% recommended).
Unit will not start This is normal if space above 80°F (27°C) or below 30°F (-1°C).
Loose control or power wiring, tighten and check continuity.
Anti-short cycle timer prevents start-up. 5 minutes maximum.
Open thermal compressor protection, allow 1 hour for compressor to
cool.
Defective 240V control voltage transformer, replace.
Defective fuse, replace.
Check operation of defrost timer, replace if defective.
Compressor "on" light not illuminated, unit off or no power supplied.
Humidity is lower then set point (50% recommended).
Unit noisy Verify crankcase heater.
Blower ball bearing failure, replace.
Loose belt or pulley, adjust.

MAN-IRD-012-05-E
6
PROPOSED PLATFORM
Fig. 1
PROPOSED DIFFUSER
Fig. 2
LOCATING THE UNITS
IN AN ICE-RINK
Fig. 3
1. Direct the airflow along the boards;
do not direct air over the ice
surface.
2. Discharge duct equipped with
horizontally and vertically
adjustable louvers supplied by
others.
3. Minimum horizontal distance from
nearest obstruction is 4 feet (1.2
m). (X)
4. Unit should be 15 to 25 feet above
ice surface (4.6 to 7.6 m). (Y)

ICE RINK DEFOGGER
ELECTRICAL DIAGRAM
Fig.4

MAN-IRD-012-05-E
8
PIPING DIAGRAM
Fig.5

ICE RINK DEFOGGER
Start-up Report & Warranty Registration
Warranty void unless completed and a copy returned to Thermoplus Air immediately after start-
up!
Installation Name
Installation Address
Thermoplus Air Representative
Model # Serial #
Compressor Serial # Belt Size
Electrical power L1-L2 L2-L3 L1-L3 Nameplate
Blower amperage
Blower voltage
Compressor amperage
Compressor voltage
Adequate service access
provided? □ Main blower connected? □
Discharge duct with louvers
installed? □
Air supply outlets as per
installation drawings? □ Wire connections checked for
tightness? □
Air flow and blower speed
adjusted? □
Units level and vibration
isolated? □ Drain connection tested and
P-trap filled? □
Air entering temperature ____°F
Minimum 4 feet Clearance on
return side of units? □ Compressor service valves
opened? □
Air leaving temperature ____°F
Condensate drain connected? □ Clean air filters installed? □
Air leaving evaporator
temperature ____°F
Main disconnect switch
installed? □ Coils are clean? □
Refrigerant charge OK? □
Remote on/off switch (double
pole) installed? □ On/Off switch on unit in "on"
position? □
Compressor discharge
temperature ____°F
Enclosure temperature
between 35°F and 80°F? □ Crankcase heater working? □
Supply air directed properly □
Comments:
Form completed by Signature
Company Name
Date Telephone ( )
This manual suits for next models
10
Table of contents
Other ThermoPlus Air Dehumidifier manuals
