Page 3For technical questions, please call 1-888-866-5797.Item 62538
17. Maintain labels and nameplates.
These carry important information.
If unreadable or missing, contact
Harbor Freight Tools for a replacement.
18. The warnings, precautions, and
instructions discussed in this instruction
manual cannot cover all possible
conditions and situations that may
occur. It must be understood by the
operator that common sense and
caution are factors which cannot
be built into this product, but must
be supplied by the operator.
Power Cord Safety
1. A short power supply cord is to be
provided to reduce risks resulting
from becoming entangled in or
tripping over a longer cord.
2. Longer extension cords are available
and may be used if care is exercised
in their use. Follow all directions
when using a long extension cord.
3. If a long extension cord is used,
a. the marked electrical rating of the
(detachable power supply cord
or) extension cord should be at
least as great as the electrical
rating of the appliance,
b. if the appliance is of the grounded
type, the extension cord should be
a grounding type 3-wire cord, and
c. the longer cord should be arranged so
that it will not drape over the counter
top or tabletop where it can be pulled
on by children or tripped over.
SAVE THESE INSTRUCTIONS.
Operation
1. Place the Battery Charger
on a flat, smooth, dry surface
near an electrical outlet.
2. Turn the Switch to the
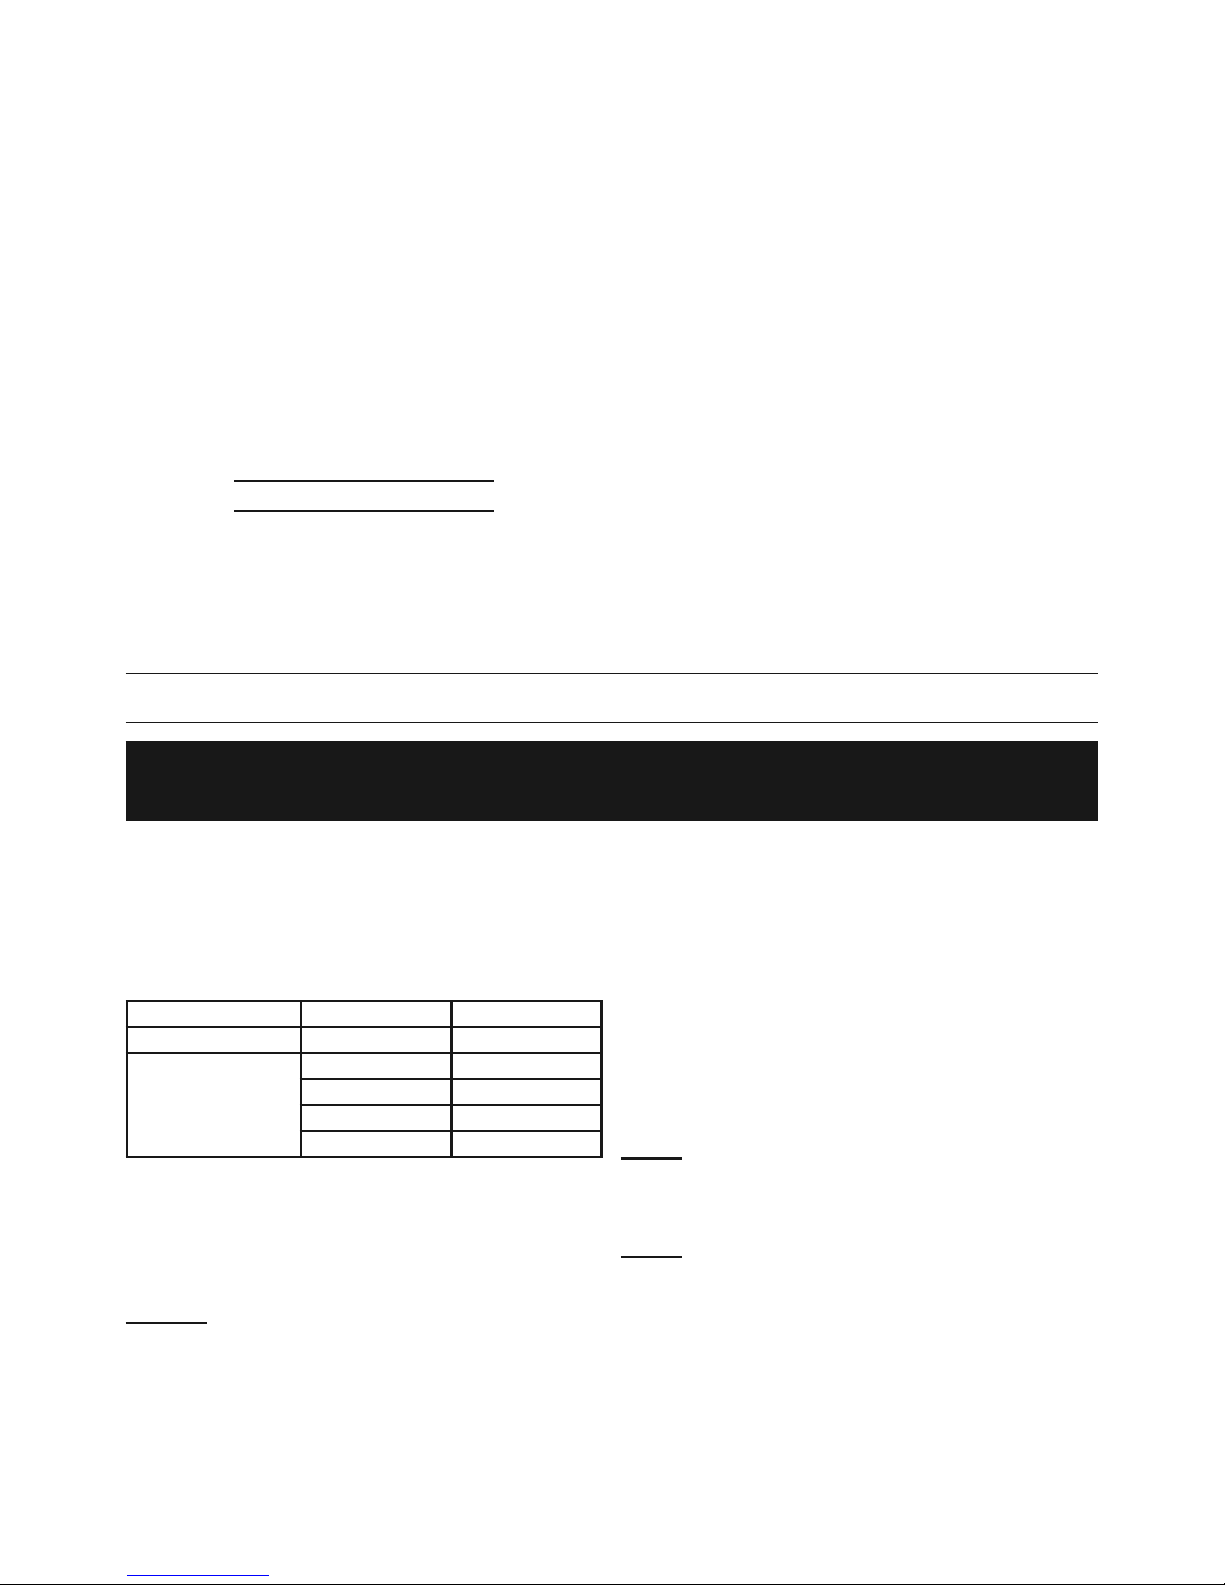
desired charge cycle.
Setting A B
Cycle Time 5 Hours 8 Hours
Battery Capacity C/D: 1600mAh C/D: 3000mAh
AA: 1300mAh AA: 2500mAh
AAA: 500mAh AAA: 1000mAh
9V: 120mAh 9V: 120mAh
4. Insert 1 to 4, D, C, AA, AAA batteries,
or 1 to 2 9V batteries in the Battery
Compartment. DO NOT CHARGE NiCd
(NICKEL-CADMIUM) BATTERIES.
Notice: Do not connect
batteries backwards, it may
damage the charger.
5. Plug the Charger into a correct
household electric outlet. The LED
(CH 1, CH 2, CH 3 or CH 4) will
glow red color to indicate the proper
charging. After the proper charge time is
reached, the red lights will turn off and
the trickle charge is on. The charged
batteries are now ready for use.
6. Unplug the Battery Charger and
remove all batteries when not in use.
Note: When 9V batteries are placed in
the Charger the green light at the
top of the Charger will come on.
Note: Unplug and then re-plug the Battery
Charger each time you recharge the
empty batteries to reset the charger.