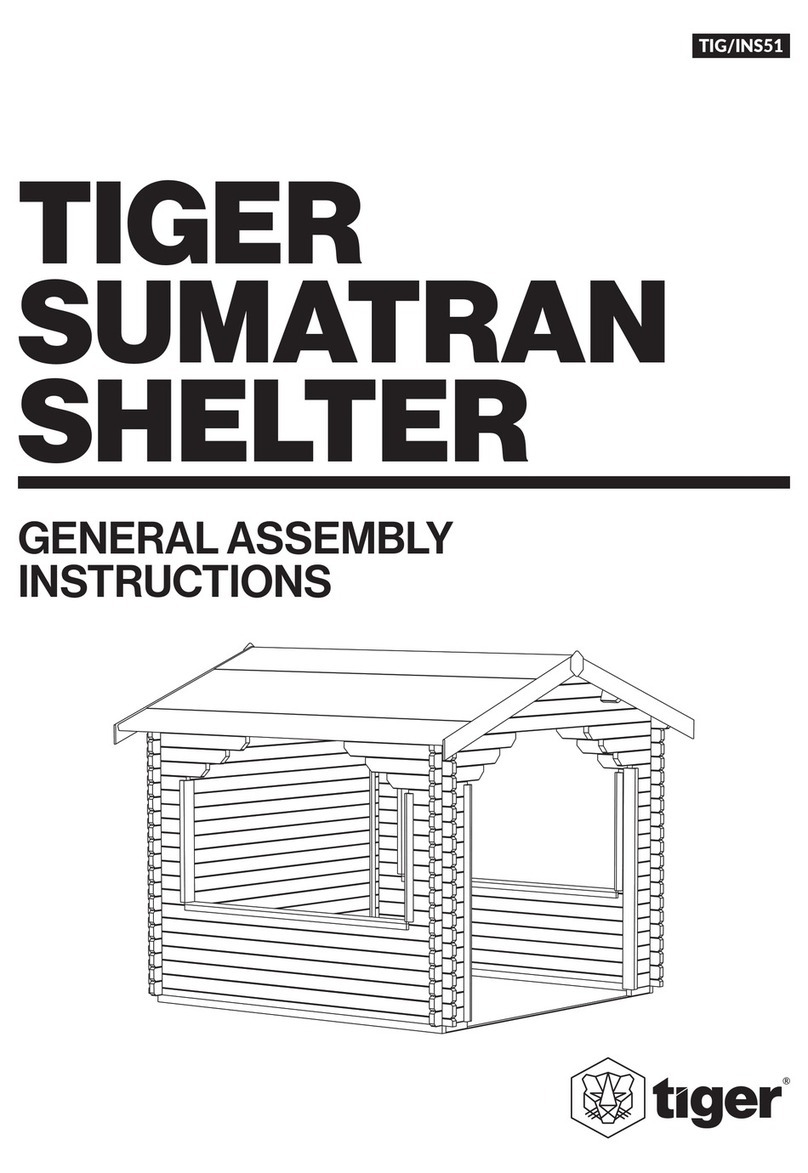
Tiger TIG/INS07 User manual

TIGER
GARDEN
PAVILION
GENERAL ASSEMBLY
INSTRUCTIONS
TIG/INS07

BEFORE YOU GET STARTED
PLEASE READ INSTRUCTIONS CAREFULLY
• Check the pack and make sure you have all the parts listed.
• When you are ready to start, make sure you have the right tools at hand (not supplied).
• Ensure there is plenty of space and a clean dry area for assembly.
TIMBER
As with all natural materials, mber can be aected during various weather condions. For the duraon of
heavy or extended periods of rain, swelling of the wood logs may occur. Warping of the wood may also occur
during excessive dry spells due to an interior moisture loss. Unfortunately, these processes cannot be avoided
but can be migated. It is suggested that the outdoor building is sprayed with water during extended periods of
warm sunshine and sheltered as much as possible during rain or snow.
Please do not paint or treat your pavilion mbers before assembly as they must stay dry for a snug tongue and
groove t. To validate your guarantee and ensure longevity of the product, it is ESSENTIAL that your building is
treated with an appropriate high-quality oil or solvent based preservave AFTER assembly, both internally and
externally, then annually thereaer.
BUILDING A BASE
Care must be taken to ensure the product is placed on a suitable base. When thinking about where the building
and base is going to be constructed. Ensure that there will be access to all sides for maintenance work and
annual treatment.
Ensure the base is rm and level and is built on rm ground, to prevent distoron.
The constructed base must be at least the size of framing as referenced in supplied construct diagram.
RECOMMENDED TYPES OF BASE
• Concrete 75mm laid on top of 75mm hard-core.
• Slabs laid on 50mm of sharp sand.
• Timber base - Self constructed/Buy pre-made.
WOOD WARPING
MAY OCCUR
WINTER
EXPANSION
SUMMER
CONTRACTION
PLASTIC BASE
TIMBER BASECONCRETE BASE SLAB BASE
MADE IN THE UK SINCE 1913.
We have been making our high quality,
great value garden buildings here in
Britain for decades.
BROKEN SLABS BARE SOIL LOOSE GRAVEL
02 gersheds.com 0113 205 4189 sales@gersheds.com

Please retain instrucons for future reference
CAUTION:
All buildings should be erected
by three competent adults.
CAUTION:
It is advisable to wear safety
gloves during building installaon.
Whilst all products manufactured are made to the highest standards of safety, we cannot accept responsibility for your safety whilst erecng or
using this product.
03

BEFORE YOU GET STARTED
TOOLS REQUIRED
We recommend using the following tools (not supplied):
SCREWDRIVER +
RUBBER MALLET DRILL LADDER TAPE MEASURE SHARP KNIFE SPIRIT LEVEL
ASSEMBLY
• Assembly is straight forward if you follow these step-by-step instrucons.
• We recommend geng everything aligned properly before screwing together and that
screw holes should be pre-drilled to avoid spling the mber. (Do not come pre-drilled).
IMPORTANT
• Before assembly, please make sure you have a suitable base ready to erect your building on.
• Your base MUST be rm and level to ensure that the building is assembled properly and is square.
• Please carefully remove the packaging and unpack the components in your delivery
• DO NOT start your build unl you have checked that all the parts of your building are present and in a suitable condion.
• If you are organising a third party to install your building, it is best pracce not to schedule this immediately on receipt of
your order, to give you me to check your delivery.
HAMMER
WOOD SAW
CN20
FIXING KIT CONTENTS:
Clout Nails (20mm Galvanised - QTY
240)
S40
Screws (40mm - QTY 60)
S70
Screws (70mm - QTY 48)
ALSO SUPPLIED IN PACK:
• 12x6 Roll Felt (1m wide - QTY 2)
• 10m Roll Felt (0.5m wide - QTY 1)
• Acorn Top (QTY 1)
04 gersheds.com 0113 205 4189 sales@gersheds.com

Please retain instrucons for future reference
Unpacking The Garden Pavilion.
• Remove packaging and the pavilion components.
NOTE: PARTS MAY HAVE BECOME LOOSE OR MOVED DURING TRANSPORTATION.
• Lay components on a dry, horizontal surface.
BUILDING PACK CONTENTS:
For full details of what should be included please see the Module Pack List that is supplied with the delivery.
They are also available on request in pdf form from our helpful Customer Support team – please call 0113 205
4189 or use the Items Delivered Query form at gersheds.com/contact.
05

UPRIGHT
POST LAYOUT
TIGER GARDEN PAVILION GENERAL INSTRUCTIONS
NOTE - Make sure that customer supplied xings
are in place before building commences - For post layout. (Detail A)
IMPORTANT:
Customer to supply own xings
for type of ground.
Posts 92mm square.
A
2877 EXTERNAL
2600 INTERNAL
2877 EXTERNAL
2600 INTERNAL
06 gersheds.com 0113 205 4189 sales@gersheds.com

Please retain instrucons for future reference
Step 1:
ASSEMBLE UPRIGHT FRAMES
(CHECK WHAT SIZE YOU HAVE AND THE MODULES SUPPLIED)
• Layout upright posts and longer horizontal rails (2790 mm) as shown. (Detail B)
• Secure together using 1x S70 per join. (Detail C)
NOTE: DO NOT TIGHTEN FULLY.
• Check frame is square by measuring between points. If measurements are the same, your frame is square.
Manually adjust if required. (Detail D).
• Secure together with 1x S70 per join and ghten exisng screw. (Detail E)
• Repeat for other side.
UPRIGHT POST
E
C
UPRIGHT POST
HORIZONTAL RAIL
2790
B
S70
D
1
1
2
2
07

Step 2:
ASSEMBLE FRAME
• Slot in shorter horizontal rails (2705mm) as shown. (Detail F)
• Secure to upright post using 1x S70 per join. (Detail G)
NOTE: DO NOT TIGHTEN FULLY.
• Check frame is square by measuring between points. If measurements are the same, your frame is square.
Manually adjust if required. (Detail H)
• Secure together with 1x S70 per join and ghten exisng screw. (Detail I)
• Repeat for remaining corners.
TIGER GARDEN PAVILION GENERAL INSTRUCTIONS
4 3
43
F
S70
G
I
H
08 gersheds.com 0113 205 4189 sales@gersheds.com

Please retain instrucons for future reference
Step 3:
INSTALL SUPPORT ARMS
• Install support arms as shown.
• Secure to upright post using 1x S70 per arm. (Detail J)
• Secure to horizontal rail using 1x S70 per arm. (Detail J)
• Check frame is square by measuring between points. (See Step 1 - Detail D)
If measurements are the same, your frame is square. Manually adjust if required.
• Repeat for remaining support arms.
Step 4:
FIXING TO BASE
• Secure the garden pavilion to your desired
base before ng the roof.
NOTE: TIGER SHEDS DOES NOT PROVIDE
GROUND FIXINGS.
• Again, check frame is square.
J
S70
S70
09
IMPORTANT:
Customer to supply own xings
for type of ground.
Posts 92mm square.

TIGER GARDEN PAVILION GENERAL INSTRUCTIONS
ROOF PANEL A ROOF PANEL B
Step 6:
PREPARING THE ROOF FELT
• We recommend measuring and cung roof felt against assembled roof panels on a level surface.
• Roll felt out onto a clean at surface 30 minutes before you need it so it has a chance to aen out.
• Take 1x 12x6 roll of felt. Measure length of roof and cut 2 lower strips of felt to size (Piece 1). Use a straight
edge to guide cung. The ocut (Piece 2) will be used in Step 9.
NOTE: USE THE SAME ANGLE CUT FOR BOTH PIECES. (Detail K2)
NOTE: THE EDGE OF THE FELT (PIECE 2) WILL NOT BE FLUSH WITH THE RIDGE.
THIS WILL BE COVERED BY CUT FELT IN STEP 9.4. (Detail K2)
• Repeat for second 12x6 roll of felt.
• Cut 10m roll into 4 equal lengths. (2.5m)
NOTE: DO NOT FELT THE ROOF PANELS AT THIS STAGE.
Step 5:
ASSEMBLING ROOF PANELS
• Fix 1x A & 1x B roof panels together using 2x S40 equally
spaced per secon.
• For extra strength, we recommend securing through both
sides of the framing of each panel. (Detail K1)
S40
S40
K1
10 gersheds.com 0113 205 4189 sales@gersheds.com

Please retain instrucons for future reference
Step 7:
INSTALLING ROOF PANELS
• Unscrew top piece of acorn. (Detail L)
• Hook the joined roof panels onto the horizontal rails. (Detail M)
Guide top of joined roof panels into acorn base and lower unl panels are “locked in” place.
ML
RIDGE
LOWER
RIDGE
PEAK
ACORN
TOP
ACORN
BASE
3150 1335
1335 3150
PIECE 1
PIECE 1
PIECE 2
PIECE 2
FOR REFERENCE ONLY - NOT TO SCALE
PIECE 2
PIECE 1
ROOF PANEL A ROOF PANEL B
75mm
OVERLAP
K3
K2
11

TIGER GARDEN PAVILION GENERAL INSTRUCTIONS
• For remaining roof panels, push acorn base upward, slightly loosening the roof and catch the new panel edge
then lower to “lock in”. For order of panel installaon. (Detail N)
• Secure through acorn base using 2x S40 per joined roof panel. (Detail O)
NOTES: CHECK GARDEN PAVILION IS SQUARE BY MEASURING POINTS SHOWN IN STEP 2.
IF MEASUREMENTS ARE THE SAME, THE FRAME IS SQUARE. Manually adjust if required.
• Secure roof panels to horizontal rails using 4x S40 equally spaced per joined roof panel. (Detail P)
• Secure roof panels to each other internally using 3x S40 equally spaced per ridge. (Detail Q)
3 1
P
O
Q
N
4
2S40
S40
S40
S40
12 gersheds.com 0113 205 4189 sales@gersheds.com

Please retain instrucons for future reference
Step 8:
ATTACHING ROOF SKIRTING
• Secure skirng to boom of roof panels using 4x S40 equally spaced per skirng. (Detail R)
• Repeat for remaining roof panels. 4 roof secons in total.
R
S40
13

TIGER GARDEN PAVILION GENERAL INSTRUCTIONS
Step 9:
FELTING THE ROOF
(MEASURE AND CUT BEFORE INSTALLING THE FELT)
• 9.1: Roll large angle cut felt piece along low side of roof (Piece 1) leaving sucient overhang to fold down
onto lower edge. Do not fold underneath roof. (Detail S1 & S2)
Secure to roof skirng using CN20 at approx 100mm intervals. (Detail S2)
Ensure the felt is ght, then secure the top edge of felt using CN20 at approx. 100mm intervals along
the full length. Secure along ridges using 5x CN20.
• 9.2: Repeat process for all lower secons of felt.
• 9.3: Place smaller angle cut felt (Piece 2) as shown. Overlap the top piece of felt with the boom piece
by approx. 75mm. (Detail T)
NOTE: THE EDGE OF THE FELT WILL NOT BE FLUSH WITH THE RIDGE. THIS WILL BE COVERED
BY CUT FELT IN STEP 9.4.
• 9.4: Use 2.5m cut pieces of felt cover the ridges where the felt overlaps. Secure using CN20 along edges
of felt at 100mm intervals.
• 9.5: Reaach acorn top, trapping felt at peak in between the acorn top and roof board.
S1 S2 T
CN20
INCORRECT
FELT
CORRECT
FELT
9.1 9.2
9.3 9.4
CN20
CN20
ROOF
BOARD
PIECE 1
PIECE 2
14 gersheds.com 0113 205 4189 sales@gersheds.com

Step 10:
INSTALLING PAVILION FEET
• Secure the garden pavilion feet to outside of upright post using 2x S70 per foot, 2 feet per post. (Detail U)
• Repeat for all remaining corners.
Please retain instrucons for future reference
U
S40
S40
S40
S40
15

Display Agent
Woodlands DIY Store
Staon Yard,
Horsforth,
Leeds,
LS18 5NZ
Telephone: 0113 205 4189
Website: gersheds.com
Email: customersupport@gersheds.com
TIG/INS07
Table of contents
Other Tiger Outdoor Furnishing manuals
Popular Outdoor Furnishing manuals by other brands

Arboria
Arboria Tuscany Arbor Assembly instructions

STEP
STEP Snowmelt installation manual

Modern-Mill
Modern-Mill ACRE THE FERNWOOD Assembly instructions

Eagle Peak
Eagle Peak HTDH120-BLK instruction manual

real living
real living WHITMORE GBO23-912C Assembly instructions

Sunset West
Sunset West Redondo 3801-DB Assembly instructions