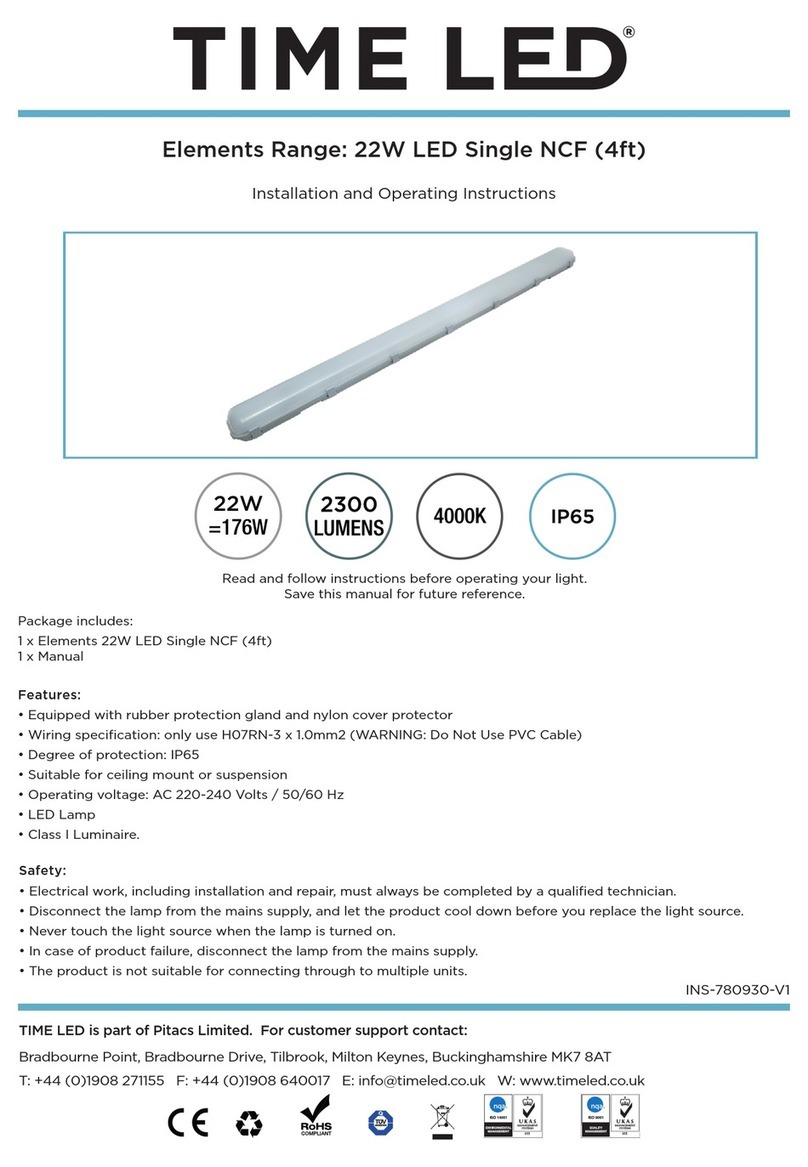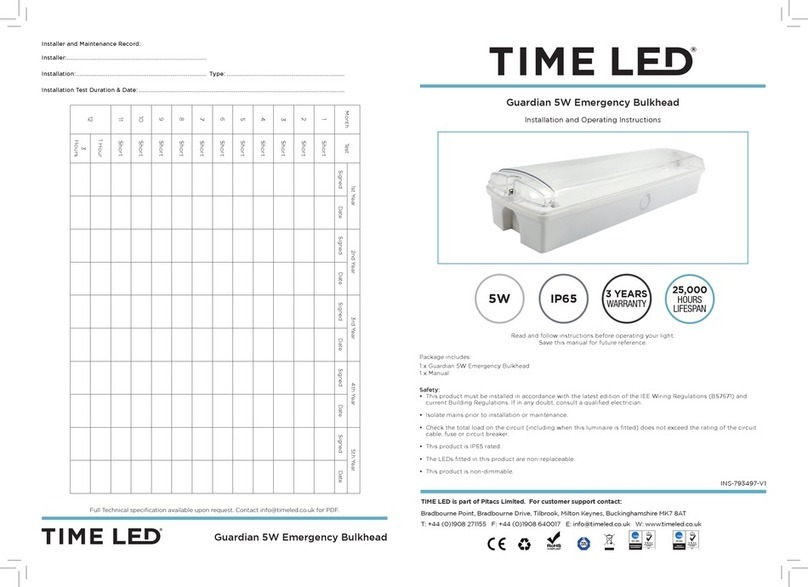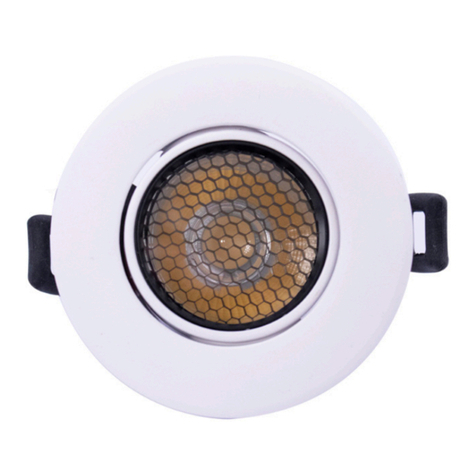
793954 Prestige Pro Black Bezel
793961 Prestige Pro Brass Bezel
793978 Prestige Pro Brushed Chrome Bezel
793985 Prestige Pro Chrome Bezel
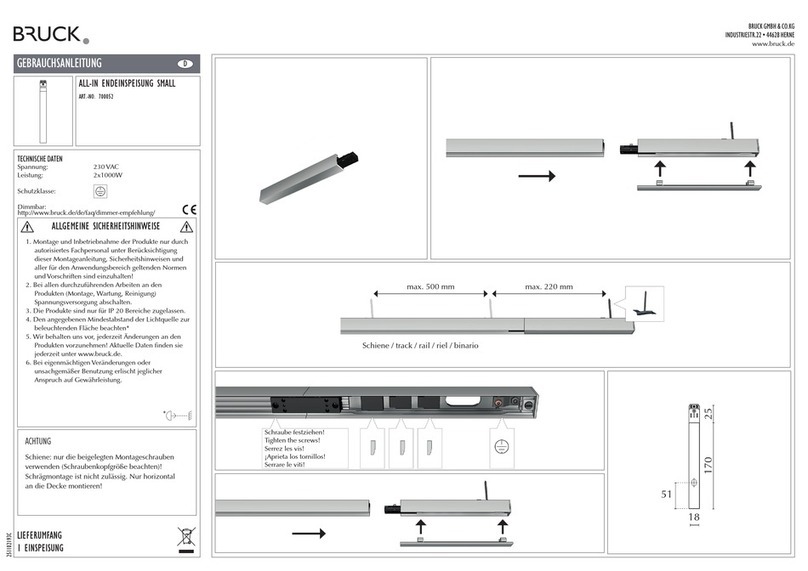
4) Feed the excess mains supply cable back through the hole and into the ceiling void. With the spring clips
held in the upward position, tilt and insert the connector block and luminaire through the cut out hole
and into the ceiling void, take care not to trap any cables. The spring clips will locate onto the top of the
ceiling surface to provide a secure installation. Ensure that the rubber seal ring is securely in place on the
backofthebezelhousingandthattheluminaireisttedcentrallytothecutouthole.
5) Reconnect the mains power supply and test the installation for correct and satisfactory operation.
Additional Safety Information:
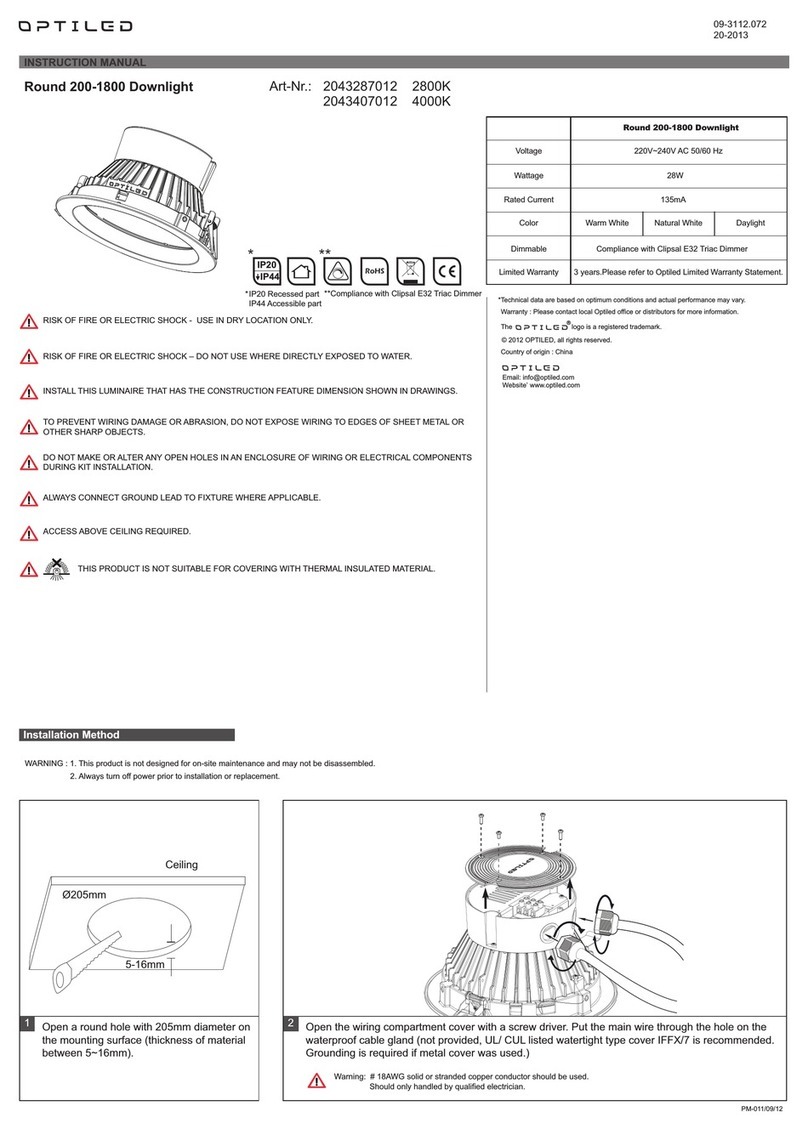
•This luminaire can be loosely covered with mineral wool insulation material. However, minimum clearance
distances around the luminaire must be observed: 25mm above the top of the luminaire, 75mm to all
sides of the luminaire and 0.5m minimum distance between luminaires.
• Whenremovingtheluminaireformaintenanceorchangingthebezel,allowsufcienttimeforthe
product to cool before handling.
• ThisproductisratedIP65andissuitableforinstallationinbathroomzones1and2asdenedbythe
National Wiring Regulations.
• This is a Class ll construction luminaire
• This luminaire is suitable for use in ambient temperatures of -10°C to +40°C.
• MCBs may require to be uprated to allow for increased initial inrush current.
• Do not carry out any insulation resistance tests with the luminaire connected to the lighting circuit.
• Ensure that all electrical connections are tight with no loose strands including factory made connections.
Optional Colour Bezels:
Theoptionalcolourbezelssuppliedcanbechangedifrequired.Rotatethexedbezelonequarter
turn anticlockwise and pull it away from the luminaire. Select a new bezel and rotate it one quarter turn
clockwise back onto the front of the luminaire.
Bezels available for purchase seperately.
